
Copyright Anne Ibach 2018


I’ve developed my own pattern over time by taking tricks and techniques from different video and print tutorials I’ve seen, and by adding my own tricks and techniques.
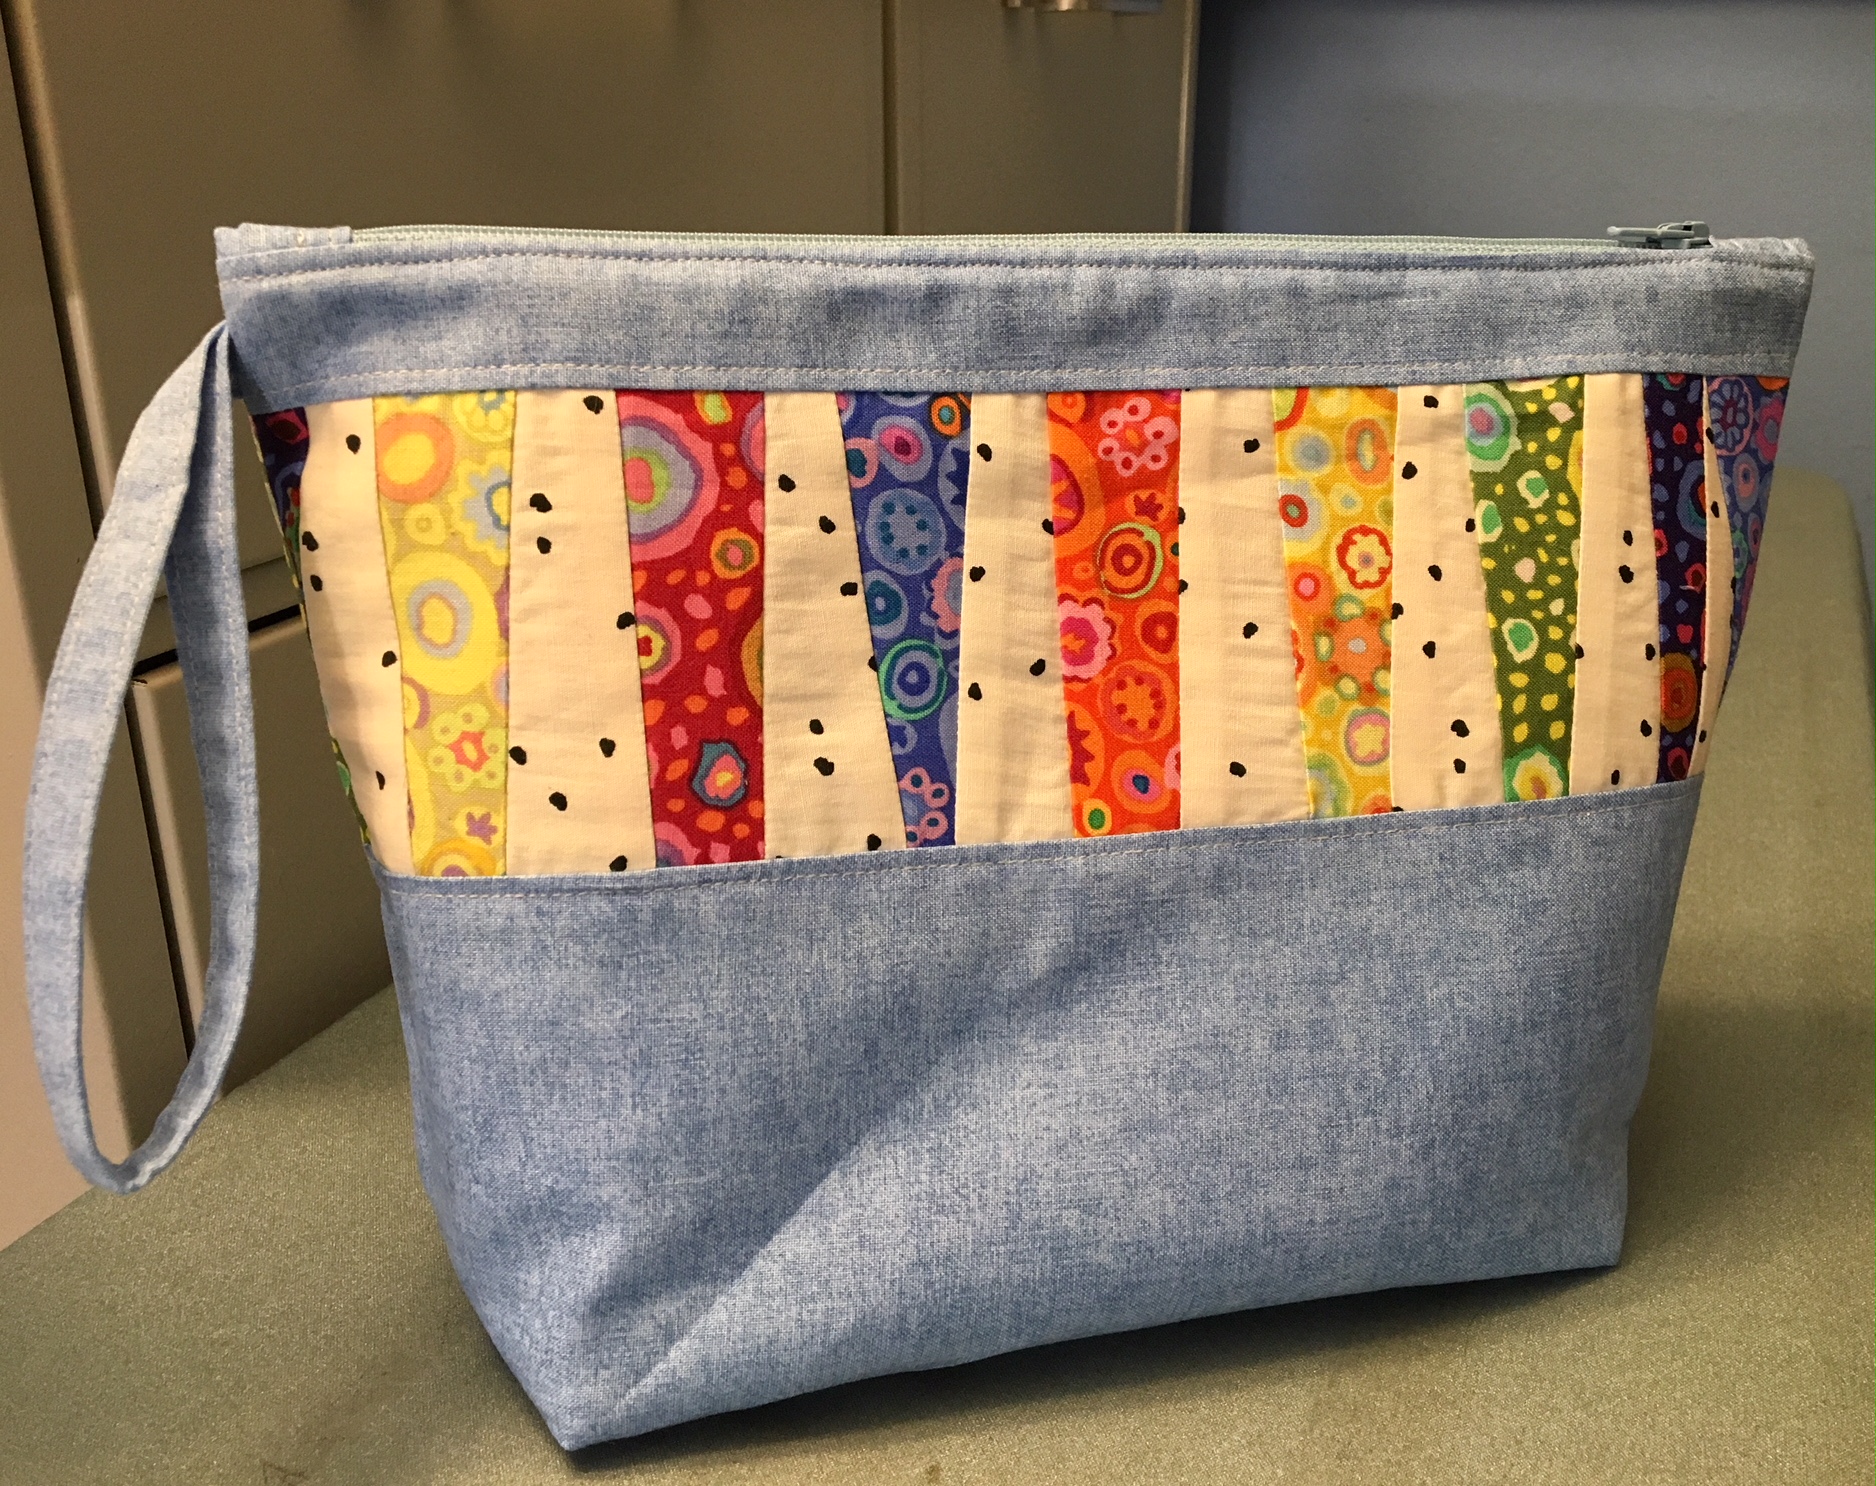
This tutorial is for the single larger pouch that features an inset panel of some kind of piecing or patchwork. I’m not going to go into how I make that panel. That’s the part where you get to be creative!
(Stay tuned for a future tutorial on how I make the pieced panels for the pouch.)
Let’s get started!
Materials:
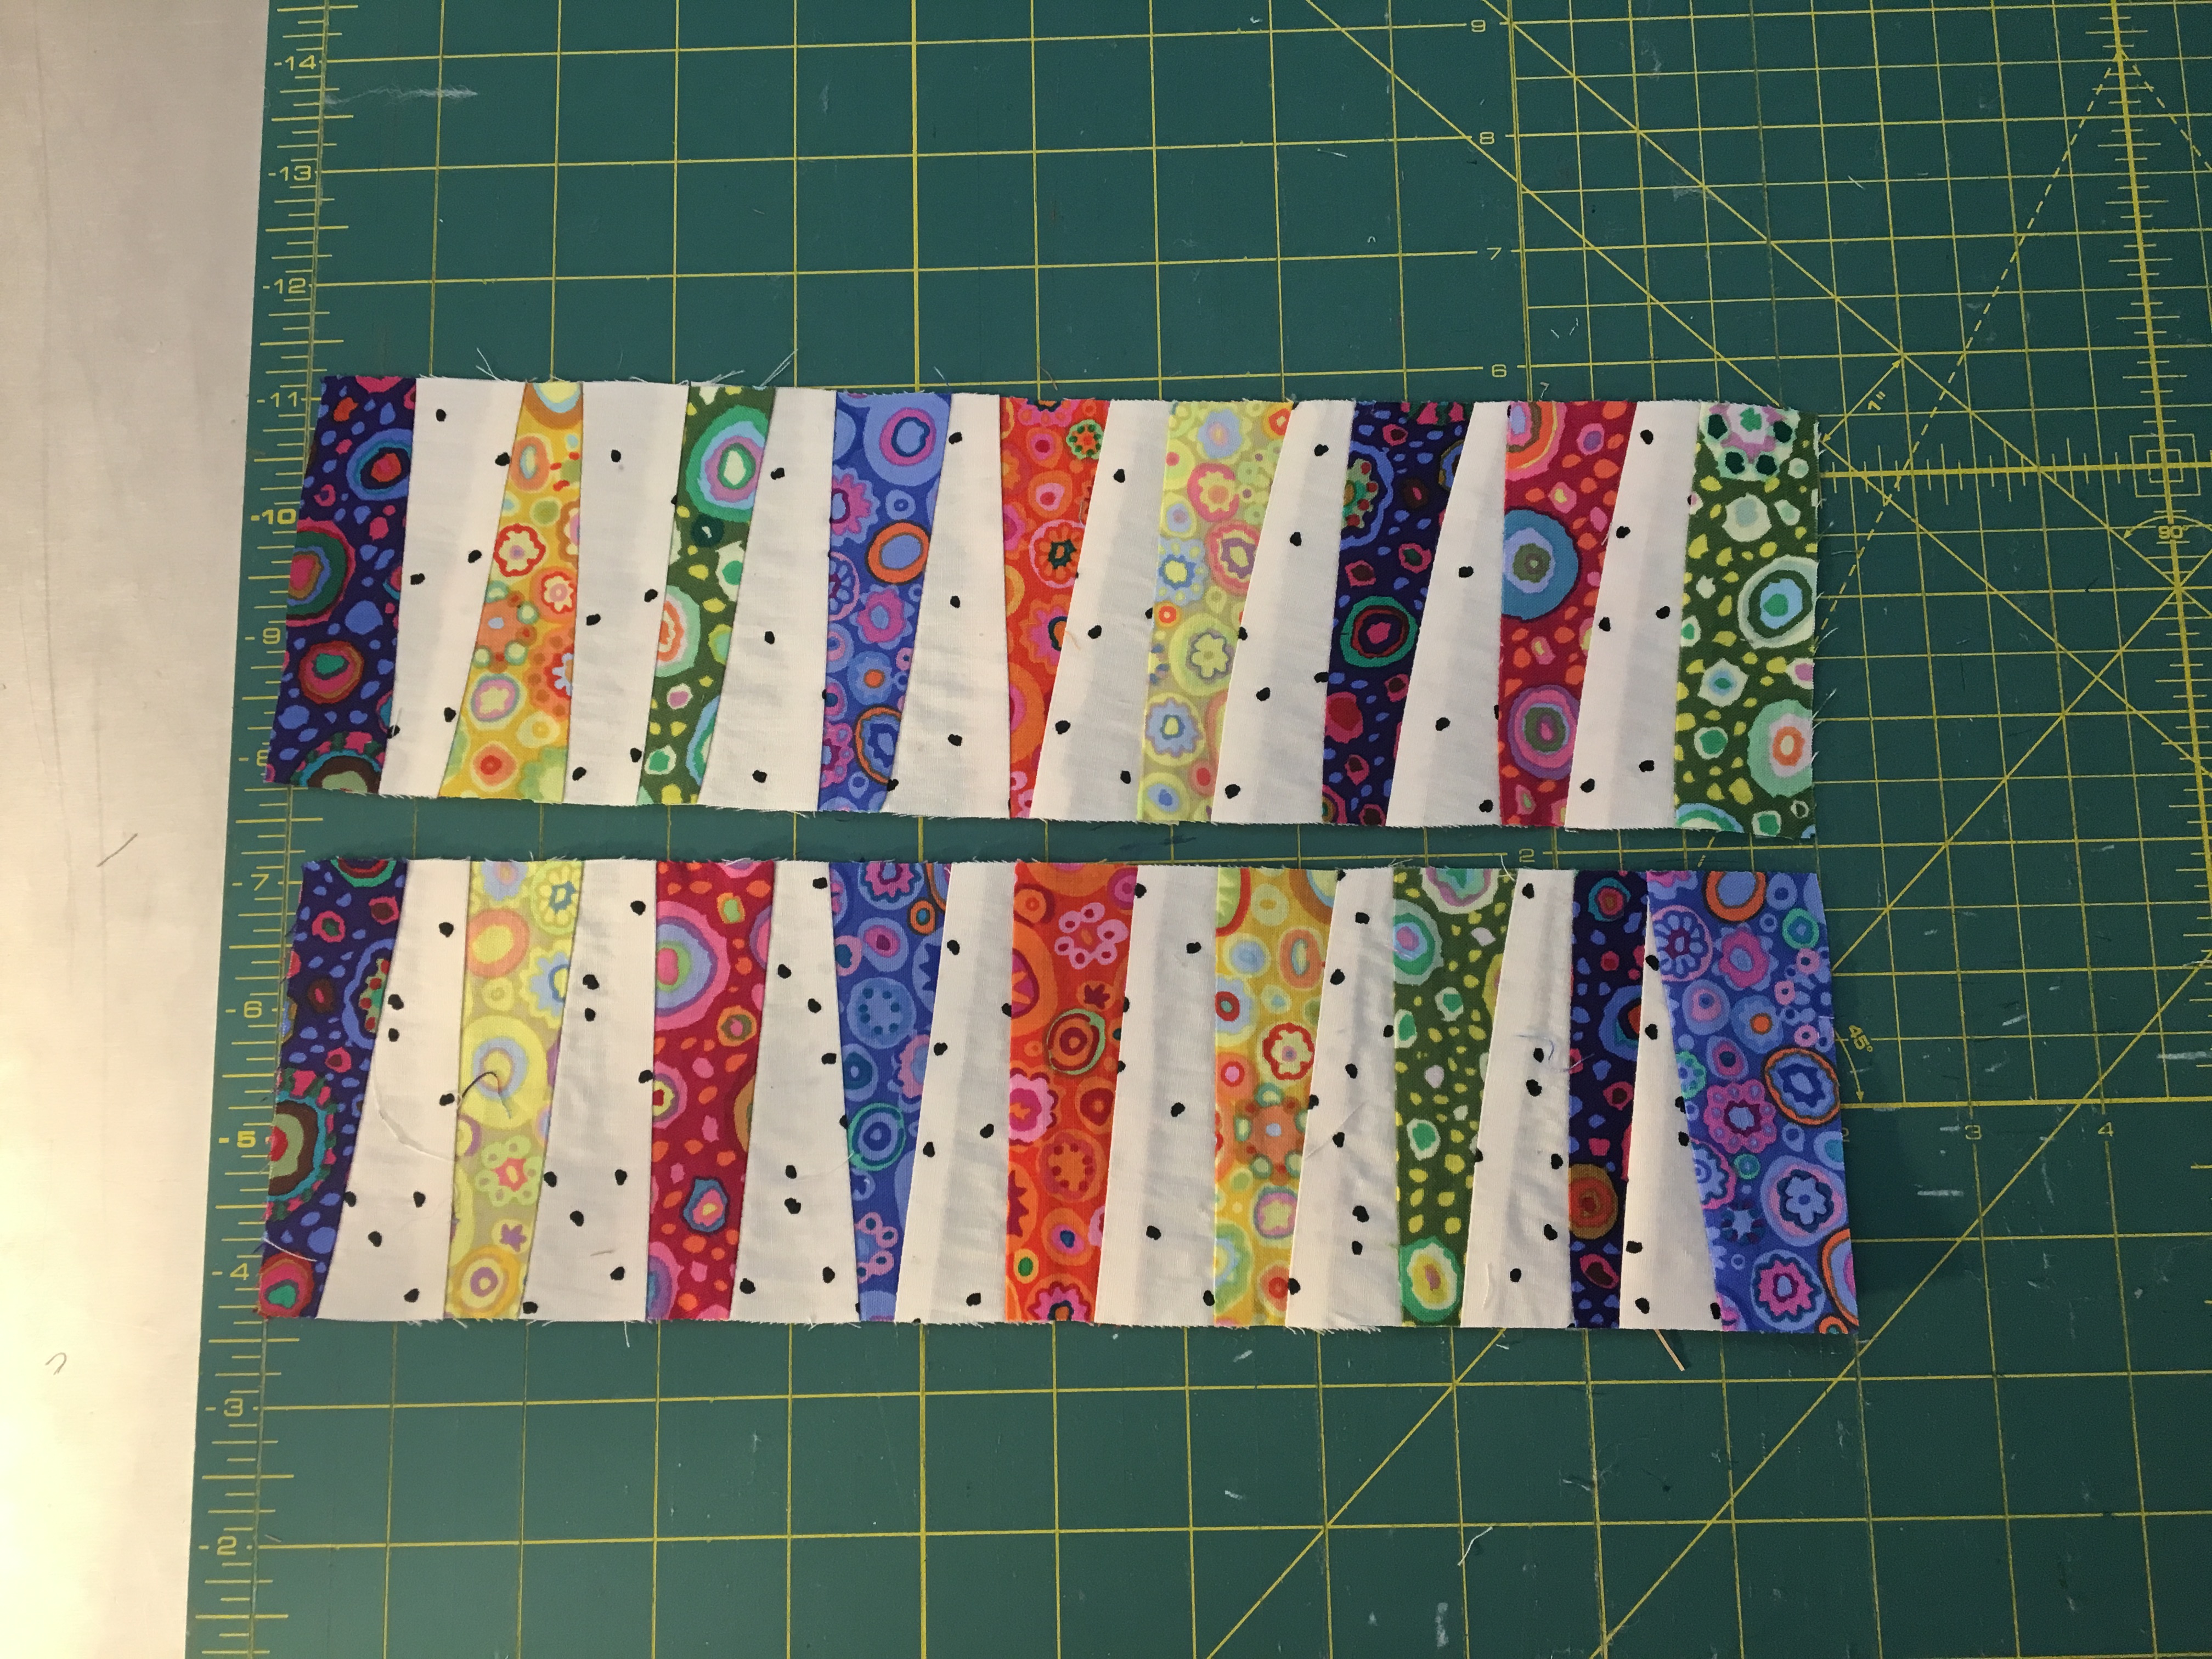
- Your completed pieced panel. I make mine from fabric scraps (Kaffe Fassett Collective scraps, batik scraps, etc…). 12 inches wide by any height. Mine are typically around 3 or 4 inches tall.
- Fabric for outside of the bag: 1/3 yard will make at least two pouches of this size.
- Lining Fabric: 1/3 yard of something fun! I LOVE a surprising and bold lining! 1/3 yards is enough to make 2 pouches.
- One zipper: at least 12 inches wide. Match it to the bag body, or pick a color from the pieced panel.
- Thread: either blend in or contrast for sewing and top stitching. I typically use grey or off white.
- Fusible batting: 1/3 yard is enough to make two pouches. I use Pelon brand poly variety. But you can use their cotton variety as well.
Fabric cutting/measurements:
Lining: For each pouch, you’ll need two pieces that measure 12×10 inches. Cut your 1/3-yard fabric to a precise 12 inches wide, width of fabric. Turn it on its side, trim off the selvedge, and cut two 10-inch sections.
Fusible batting: Cut just like you cut the lining fabric. 2 pieces at 12×10 inches.
Pieced panel: Your pieced panel will need to be 12 inches wide. (I plan on doing a tutorial on how I piece these panels, but be creative!) Mine are usually around 3 to 4 inches high, sometimes more.
Bag Body Fabric: I cut a precise 12-inch strip, width of fabric, from my 1/3 yard piece, and then cut each piece for the body of the pouch from that 12 inch strip. I leave the piece folded and cut two at a time of each body piece.
Top strip, above pieced panel and sewn to zipper: From 12-inch strip of body fabric, cut a 1 ½ inch strip. This will give you two pieces, one for each side of the bag.
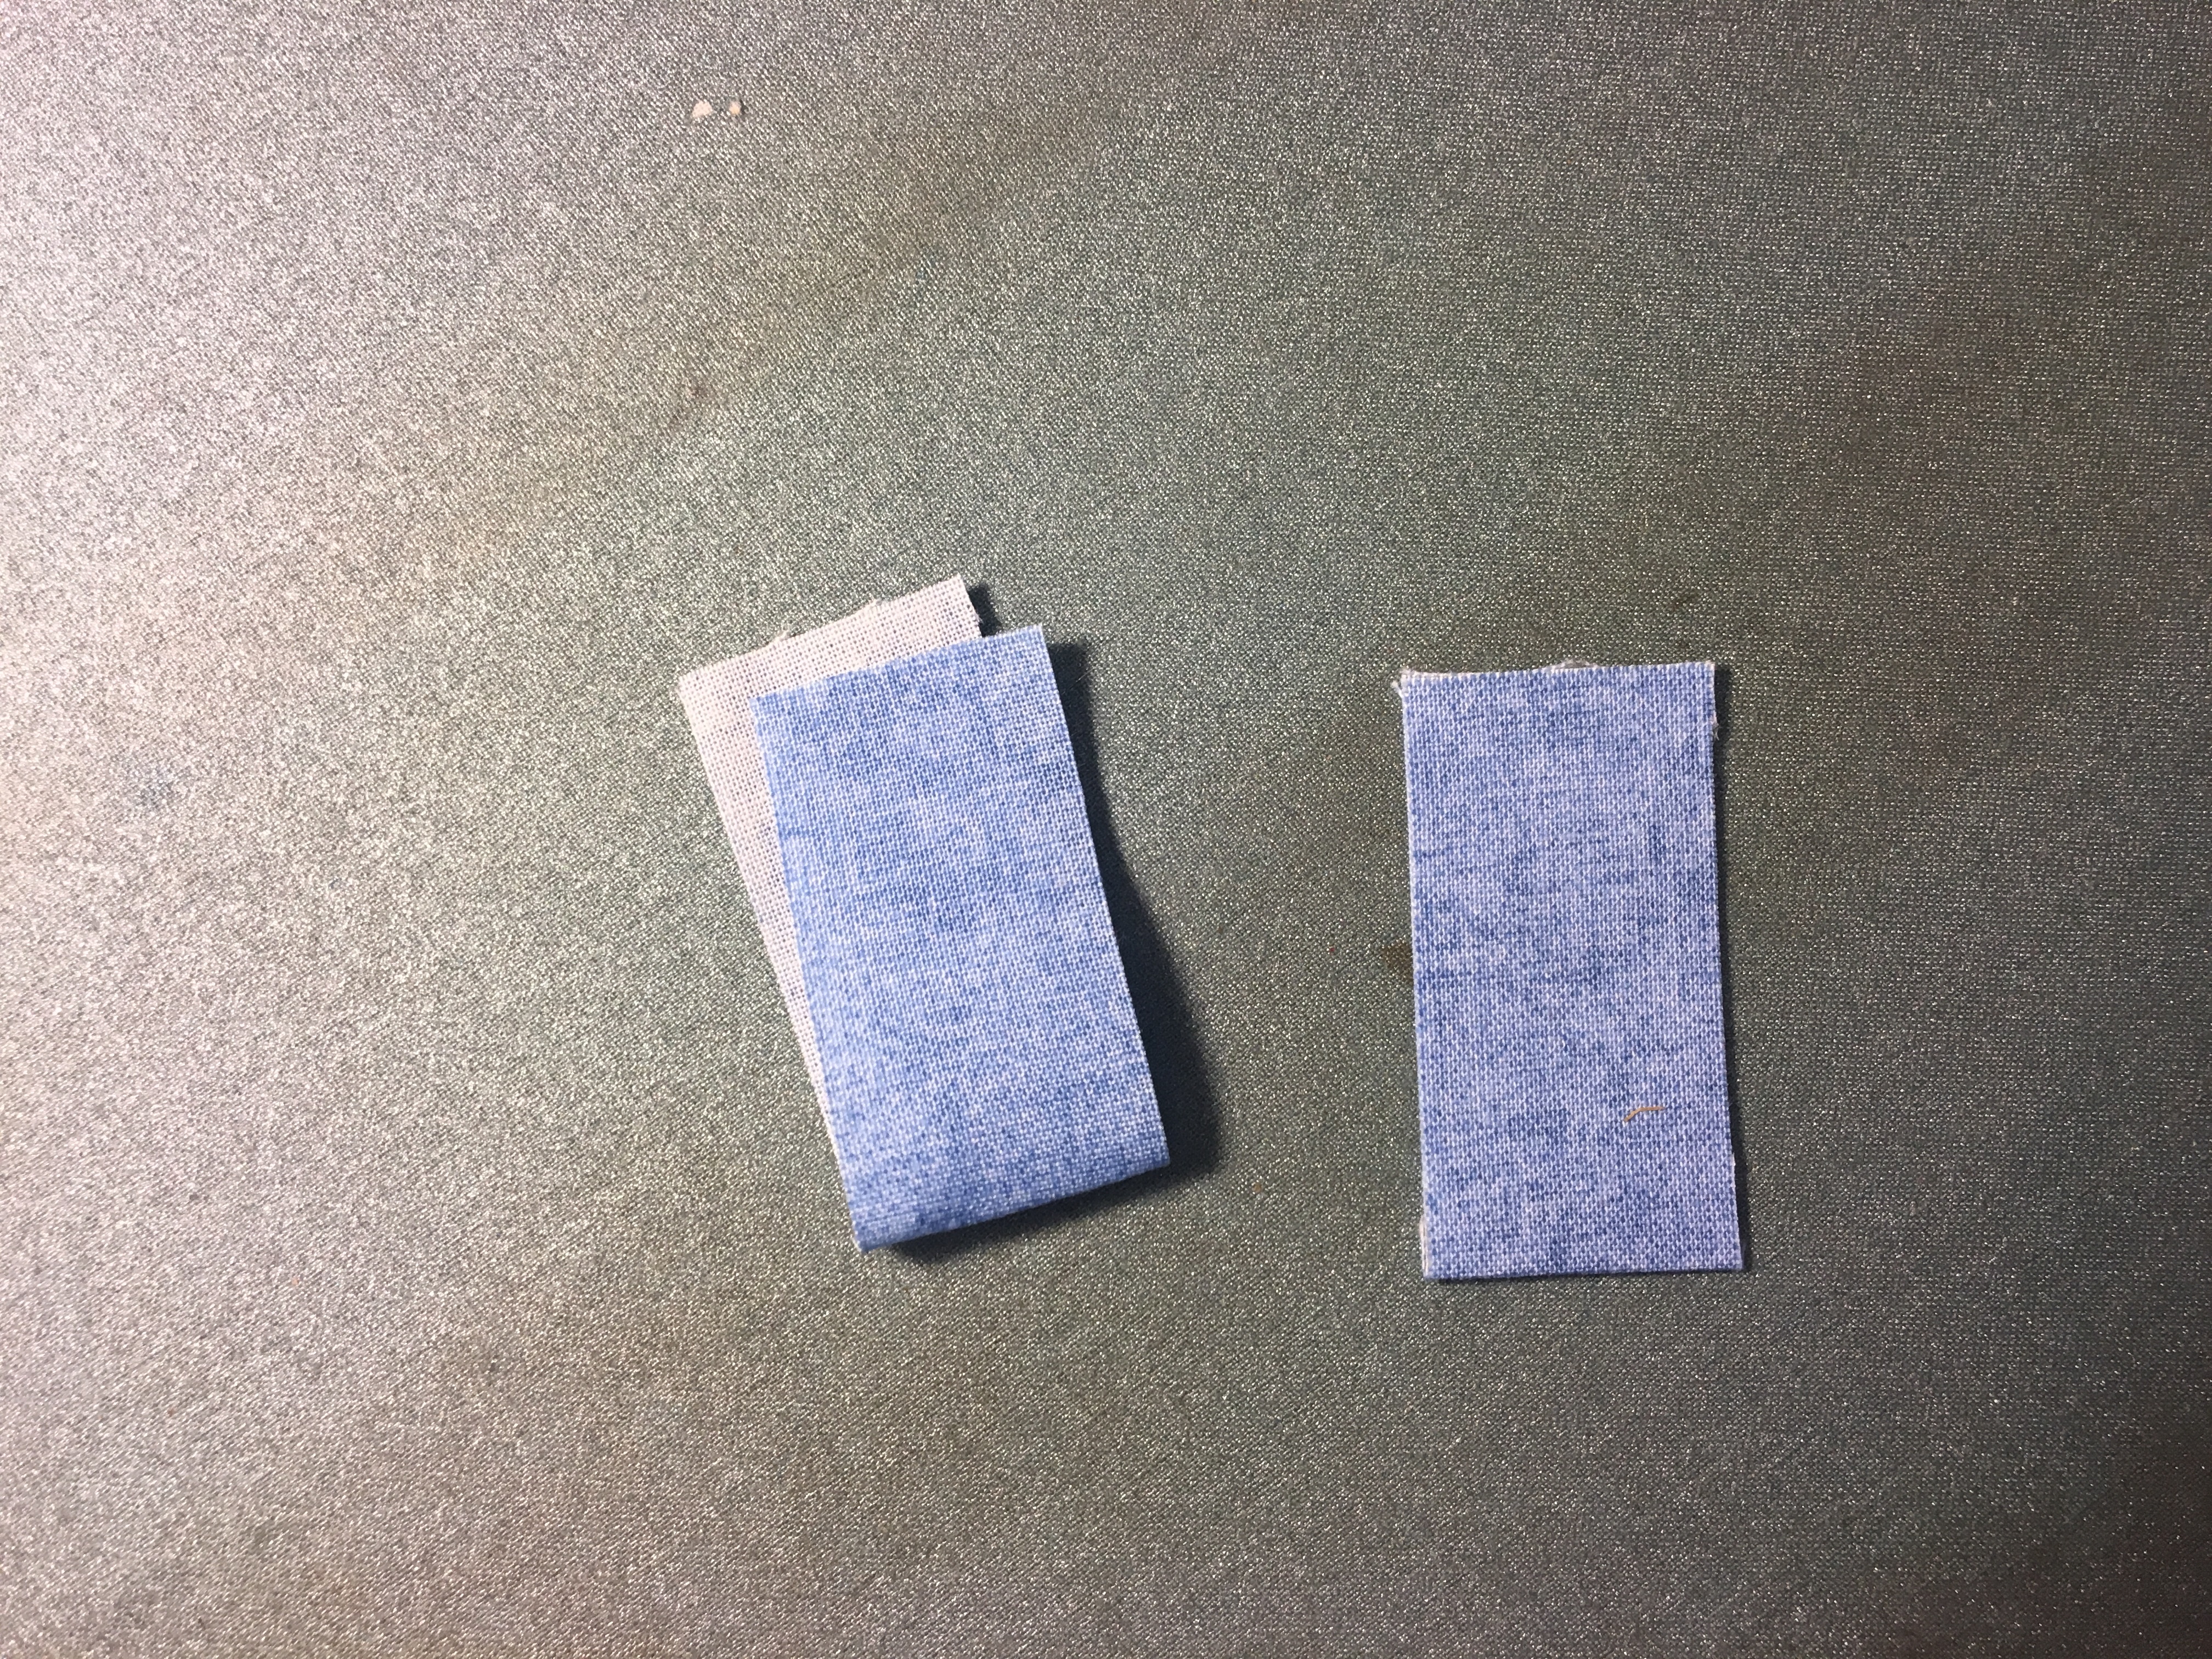
Zipper tabs: Cut a 1-inch strip across the 12-inch piece. This gives you two pieces that will then be cut into 4-inch lengths. You need two 4-inch pieces for the zipper for one pouch. These two strips will do four pouches.
Bottom panel: I usually wait to cut this until I have the top strip and pieced panel sewn together. I measure that top piece, add ½ inch of height for the seam allowance, and cut the bottom piece so the entire piece will measure 10 inches tall when sewn. So, if the top piece measures 12 inches by 5 inches, I cut the bottom piece 12x 5 -½ inches (5 inches plus ½ inch for seam allowance). If the top piece measures 4 inches, I cut the bottom piece 6.5 inches (six inches, plus ½ inch for seam allowance). You can always just cut this piece taller than you think you’ll need, and then trim the entire pouch side to 12/10 when it’s all sewn together.
This particular piece measured 4.5 inches, so I added 5.5 inches to make 10 inches, plus 1/2 inch for the seam allowance — I cut the bottom piece to 6 inches. 4.5 + 5.5 = 10, plus 1/2 inch seam allowance.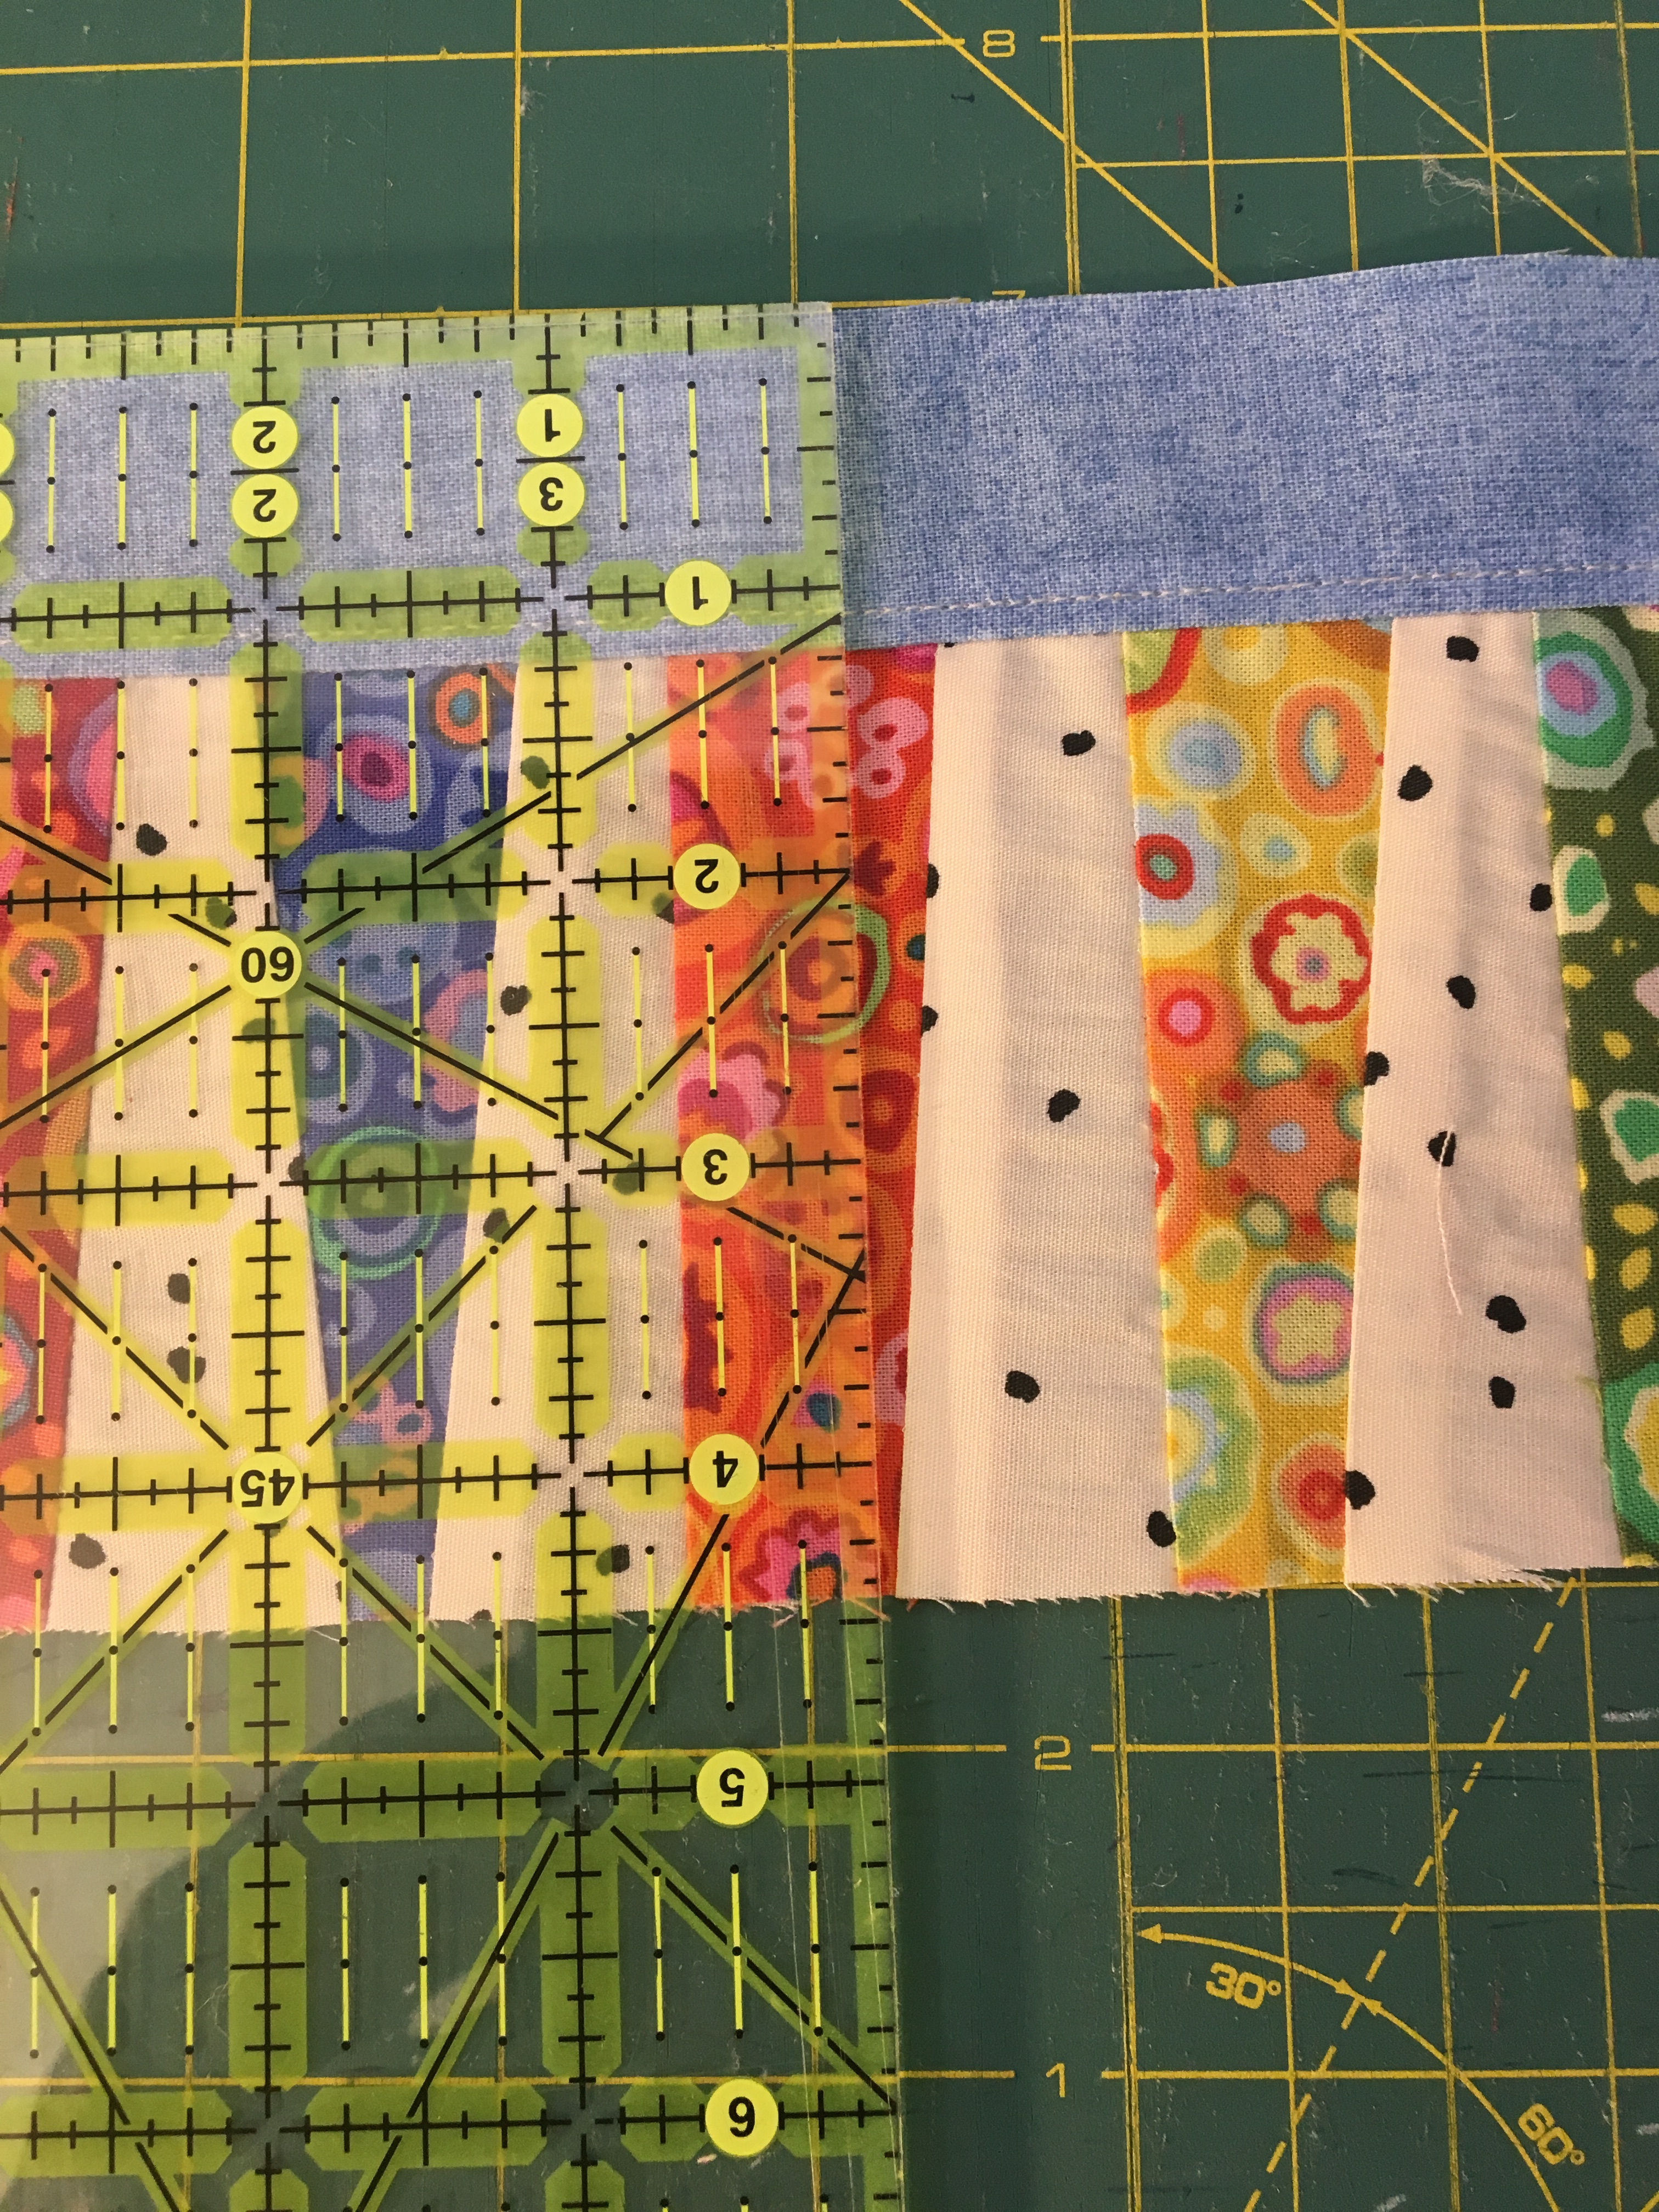
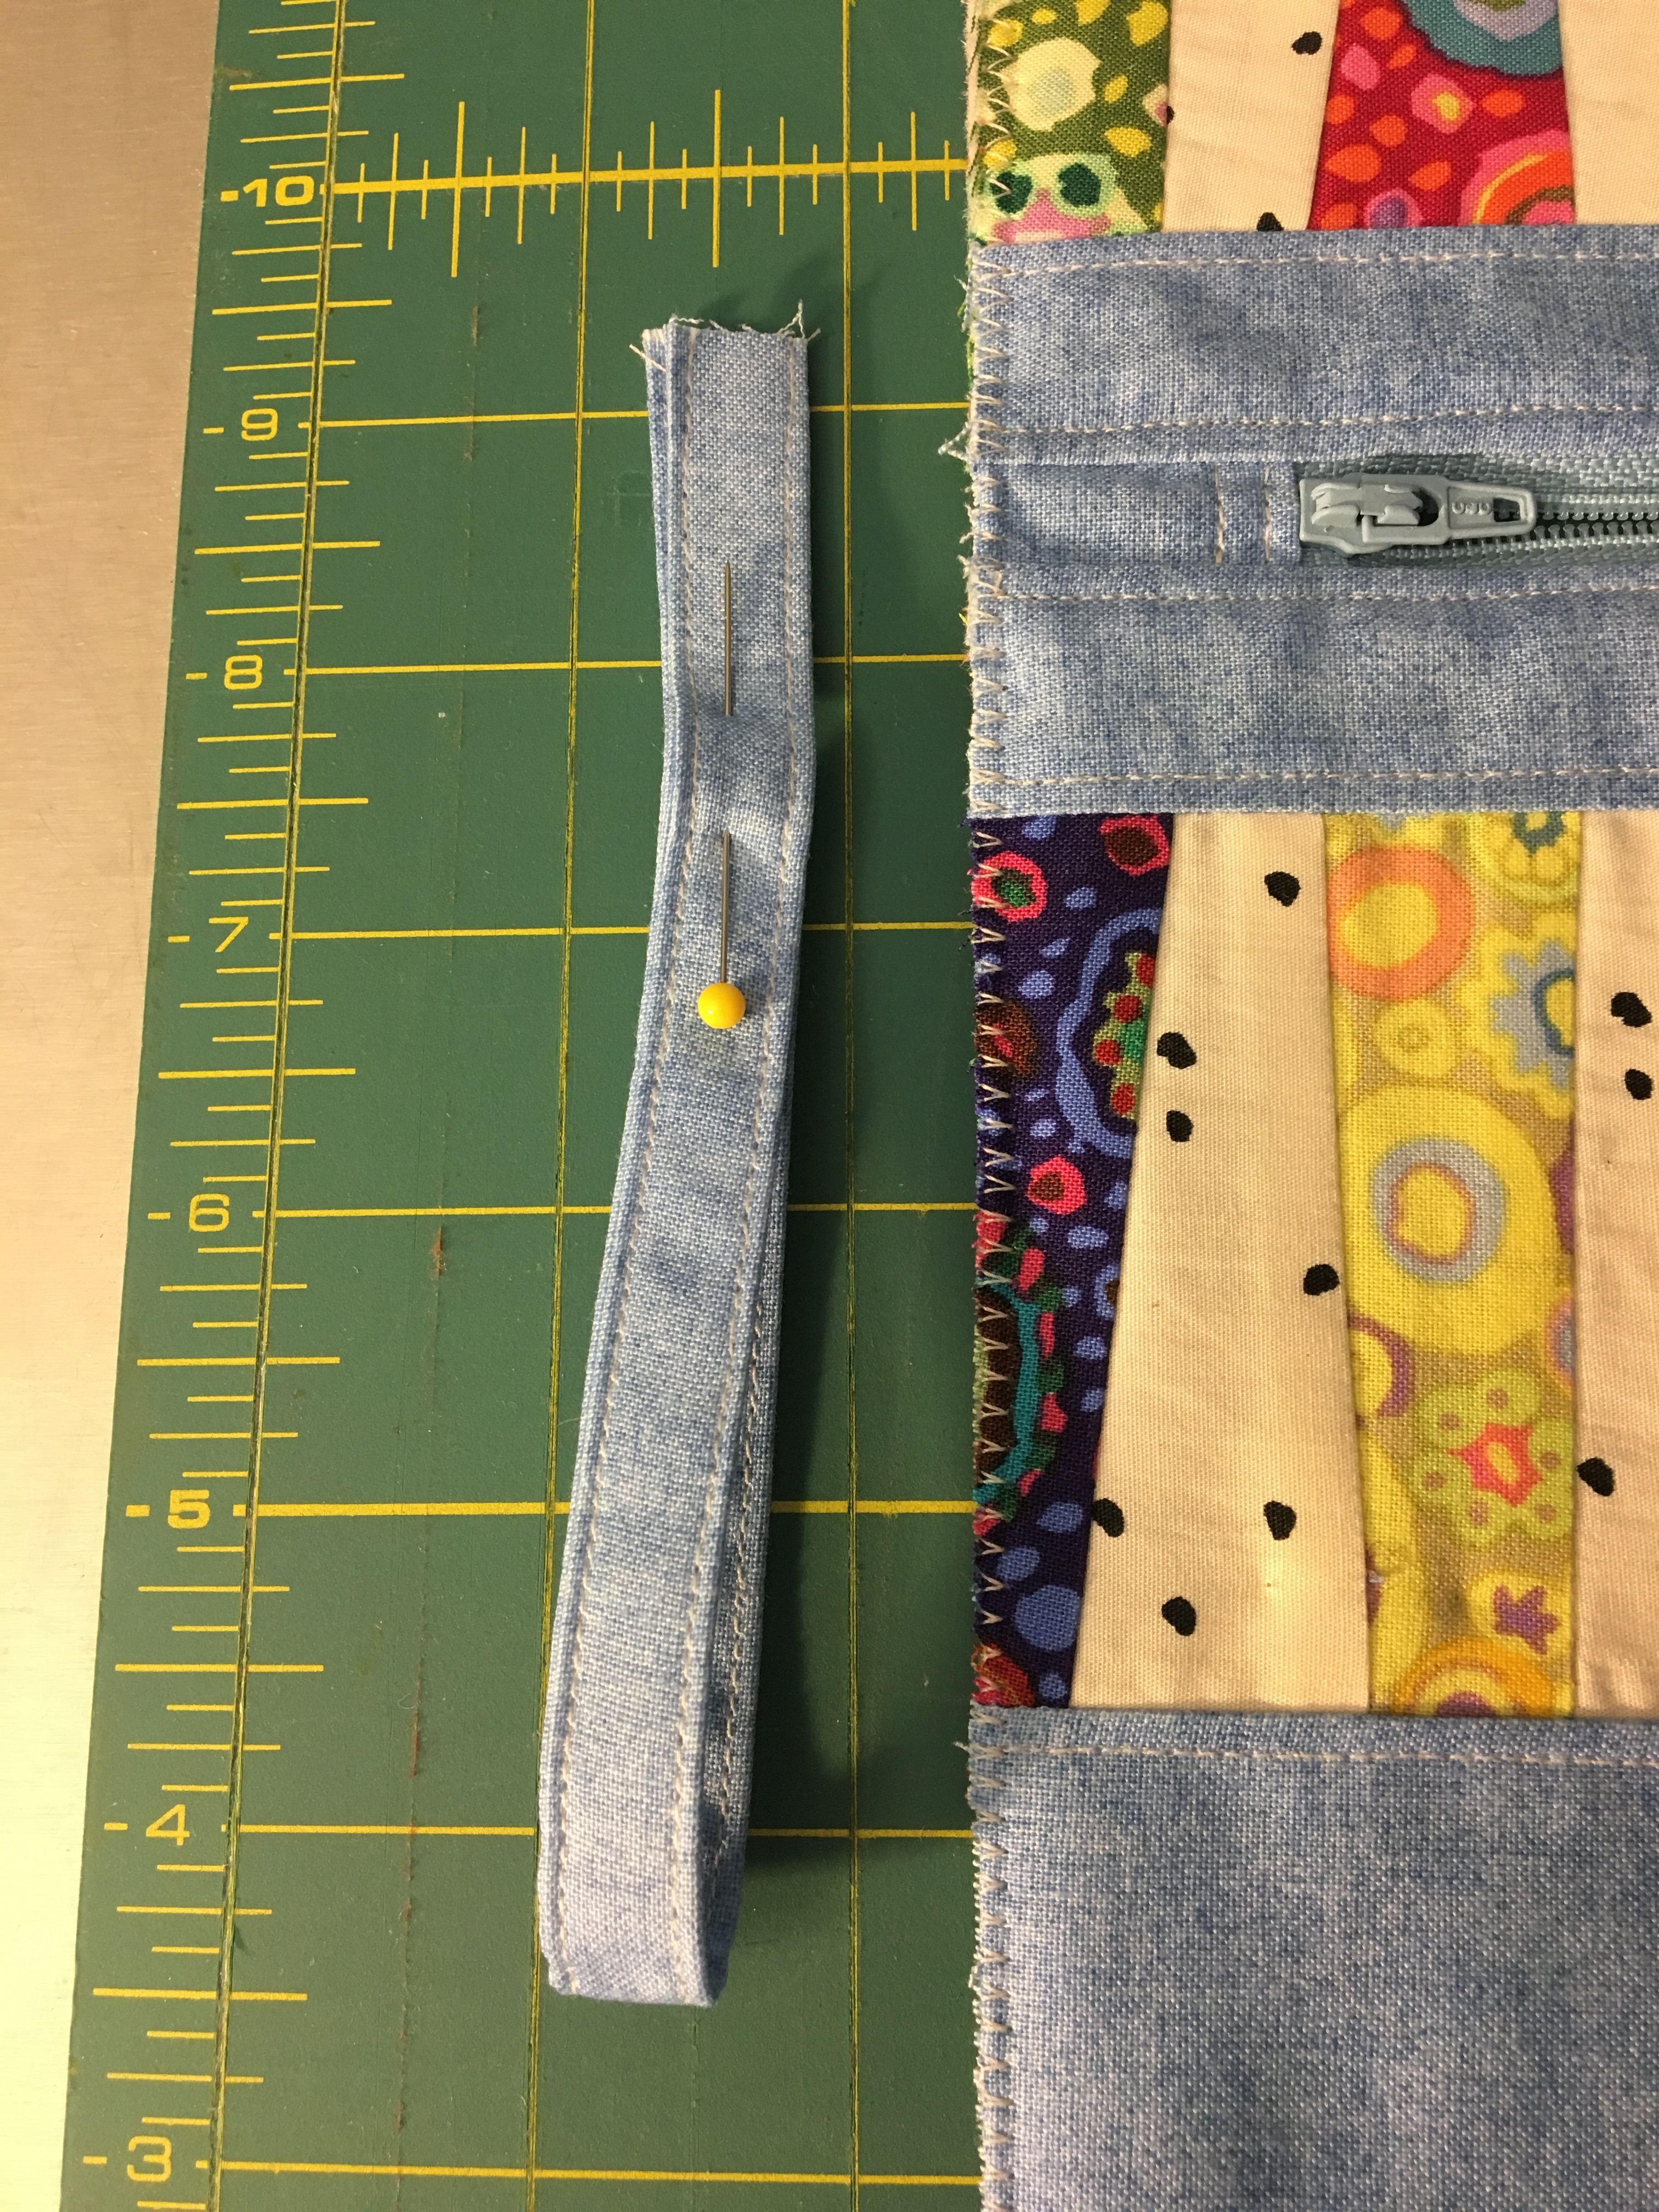
Handle: from the 12 inch strip of body fabric, I cut strips 2 inches wide. This make handles for two pouches.
 Left to right: handle, top strip, zipper tabs
Prepping handle, zipper tabs and lining:
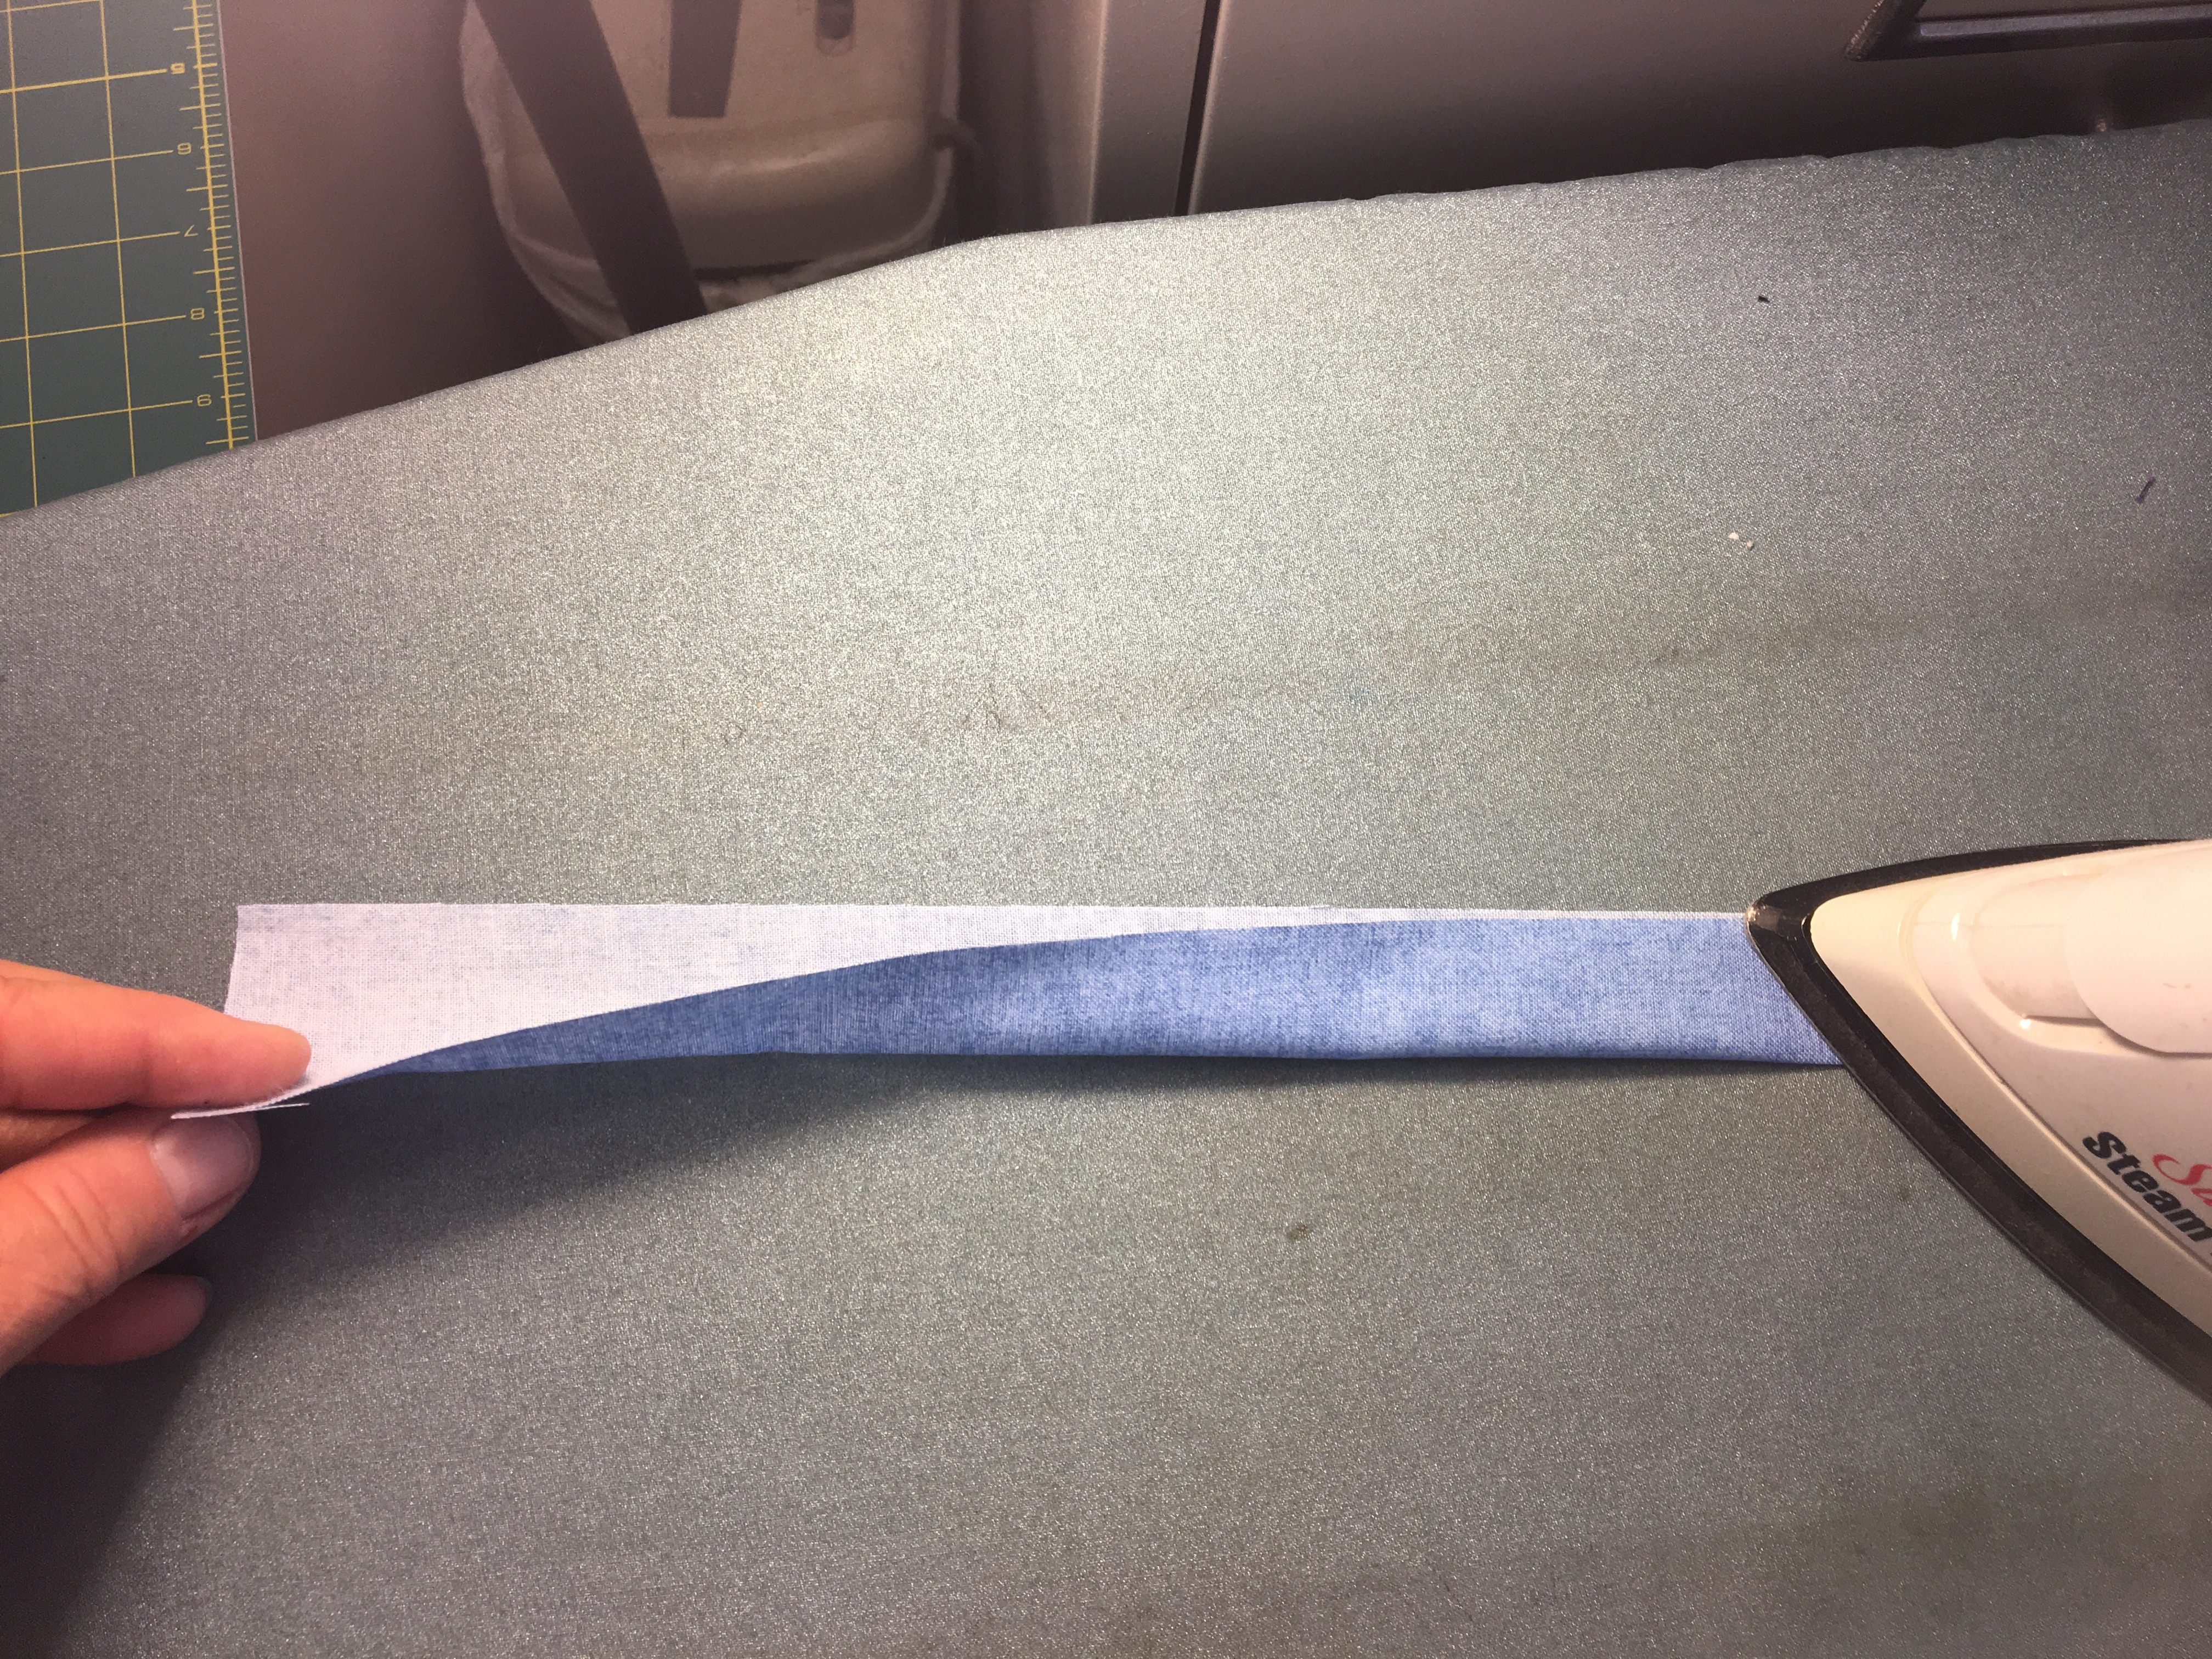
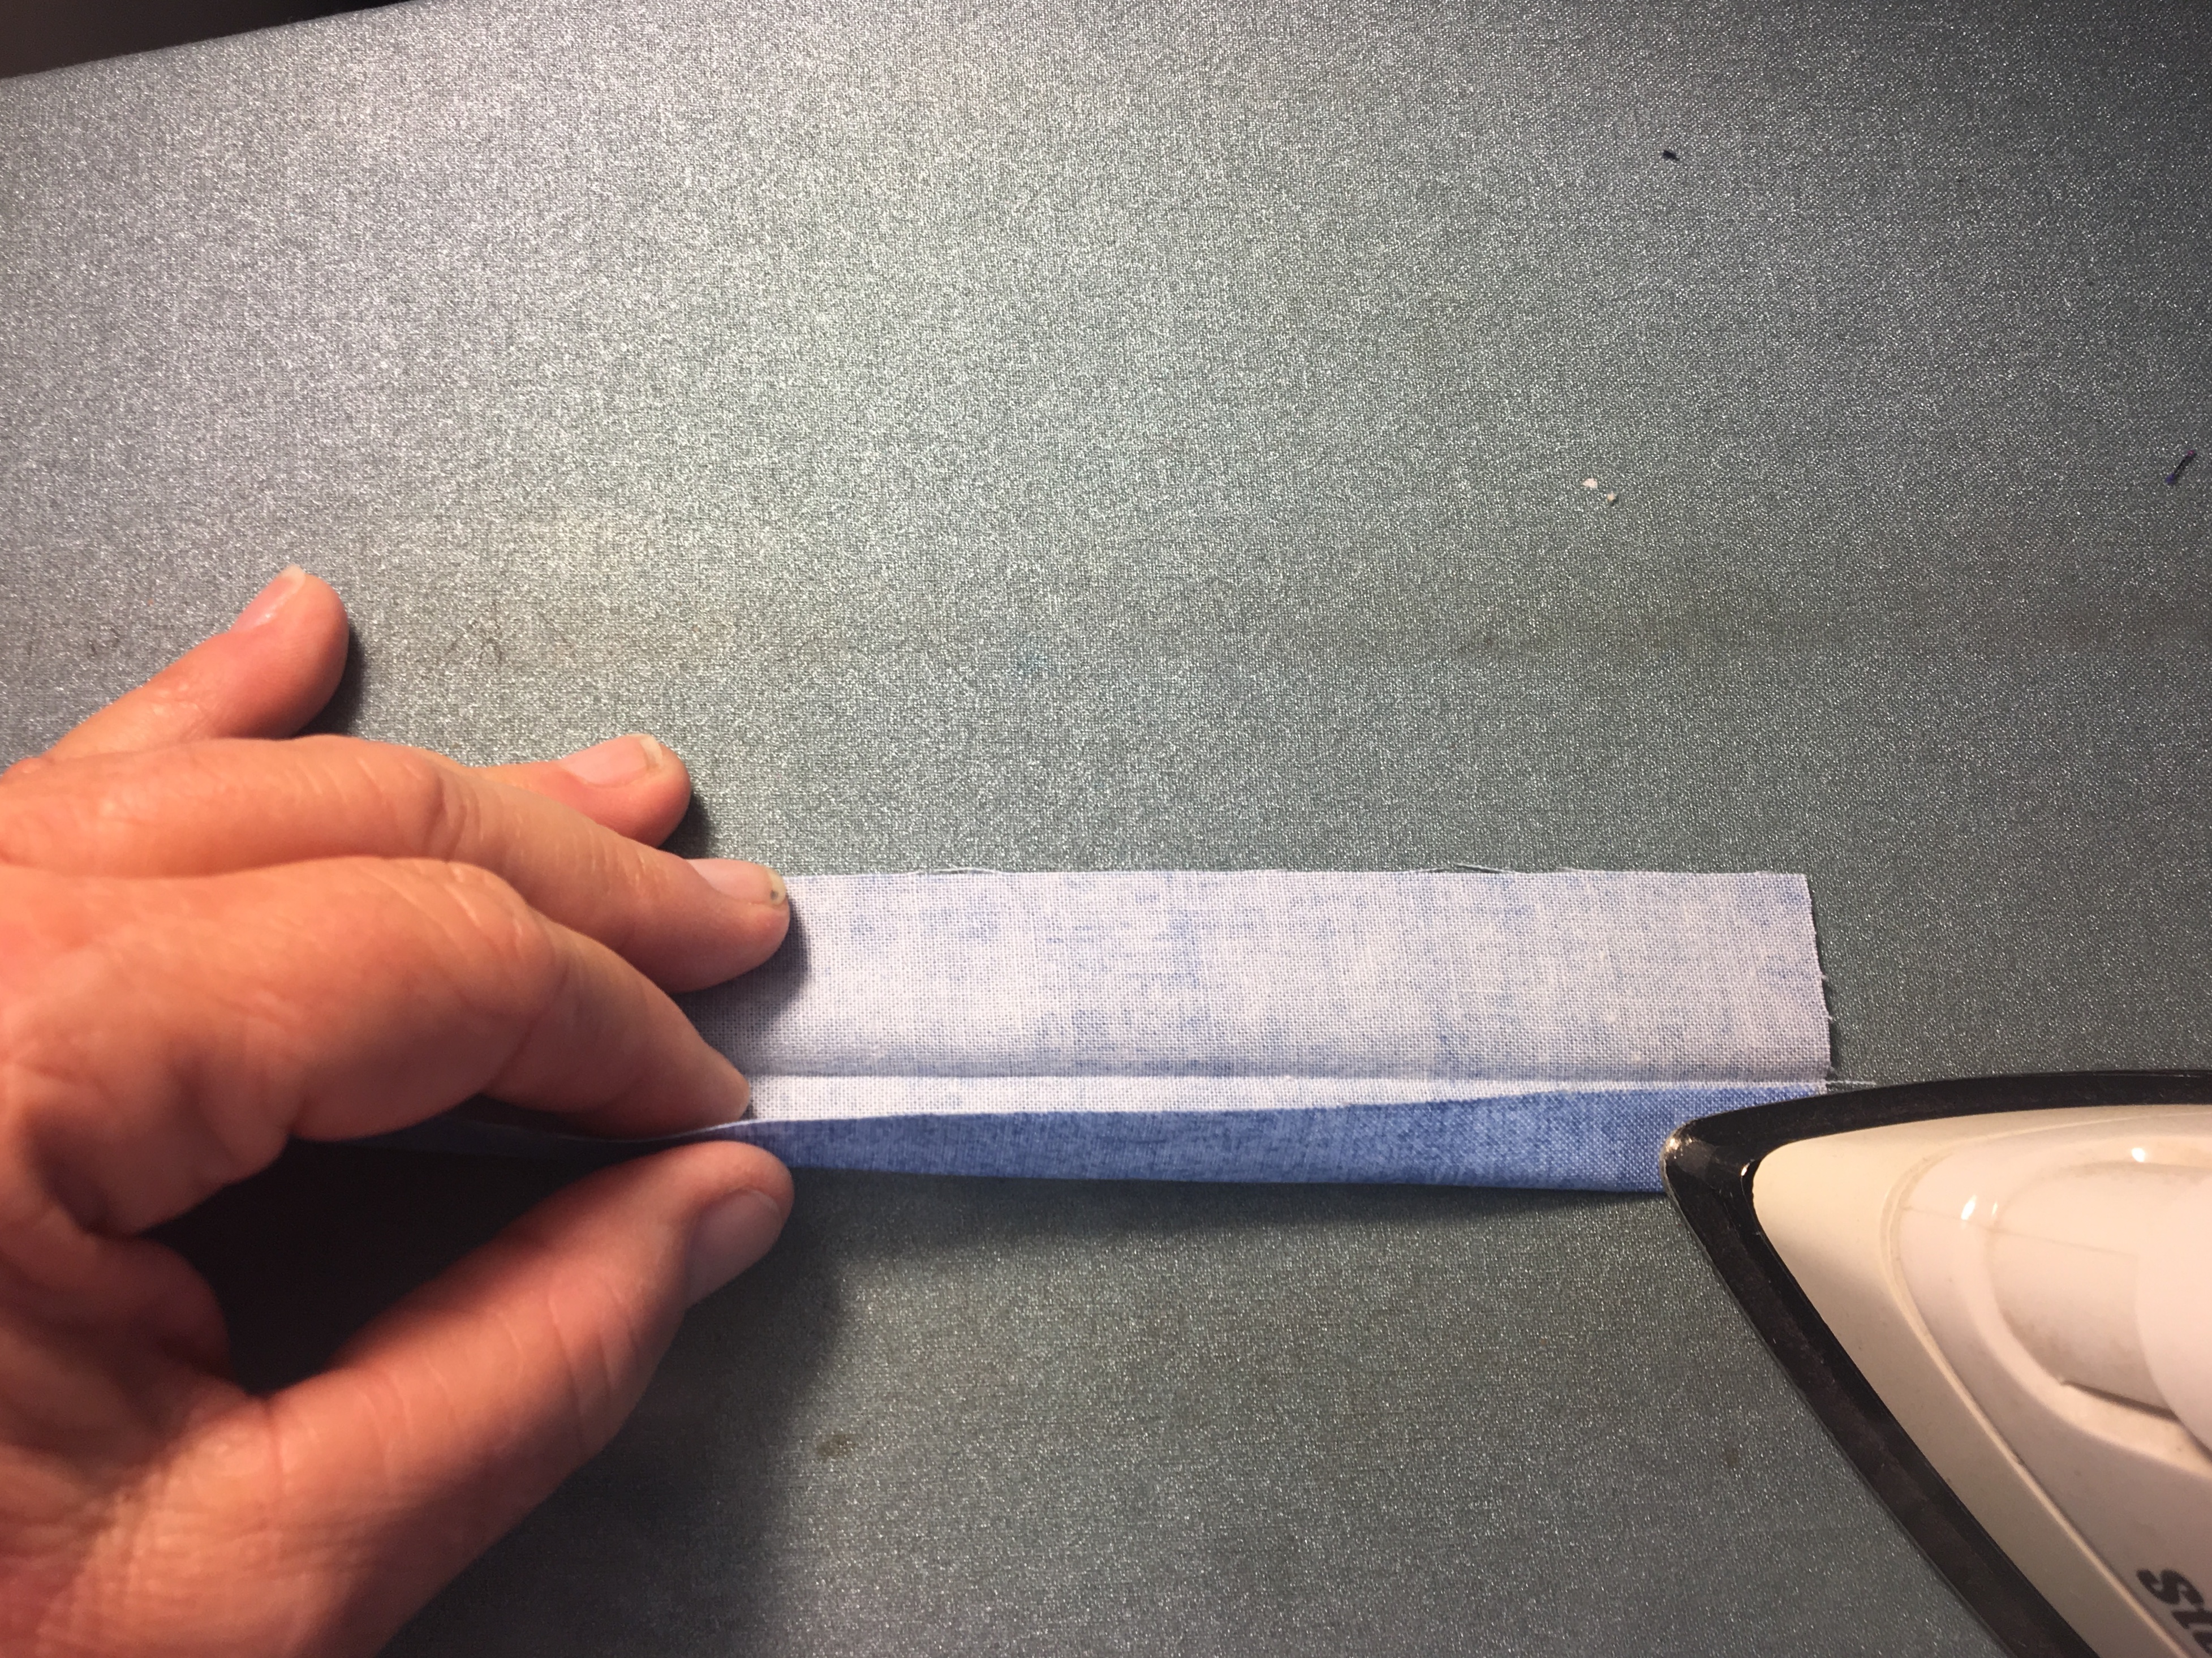
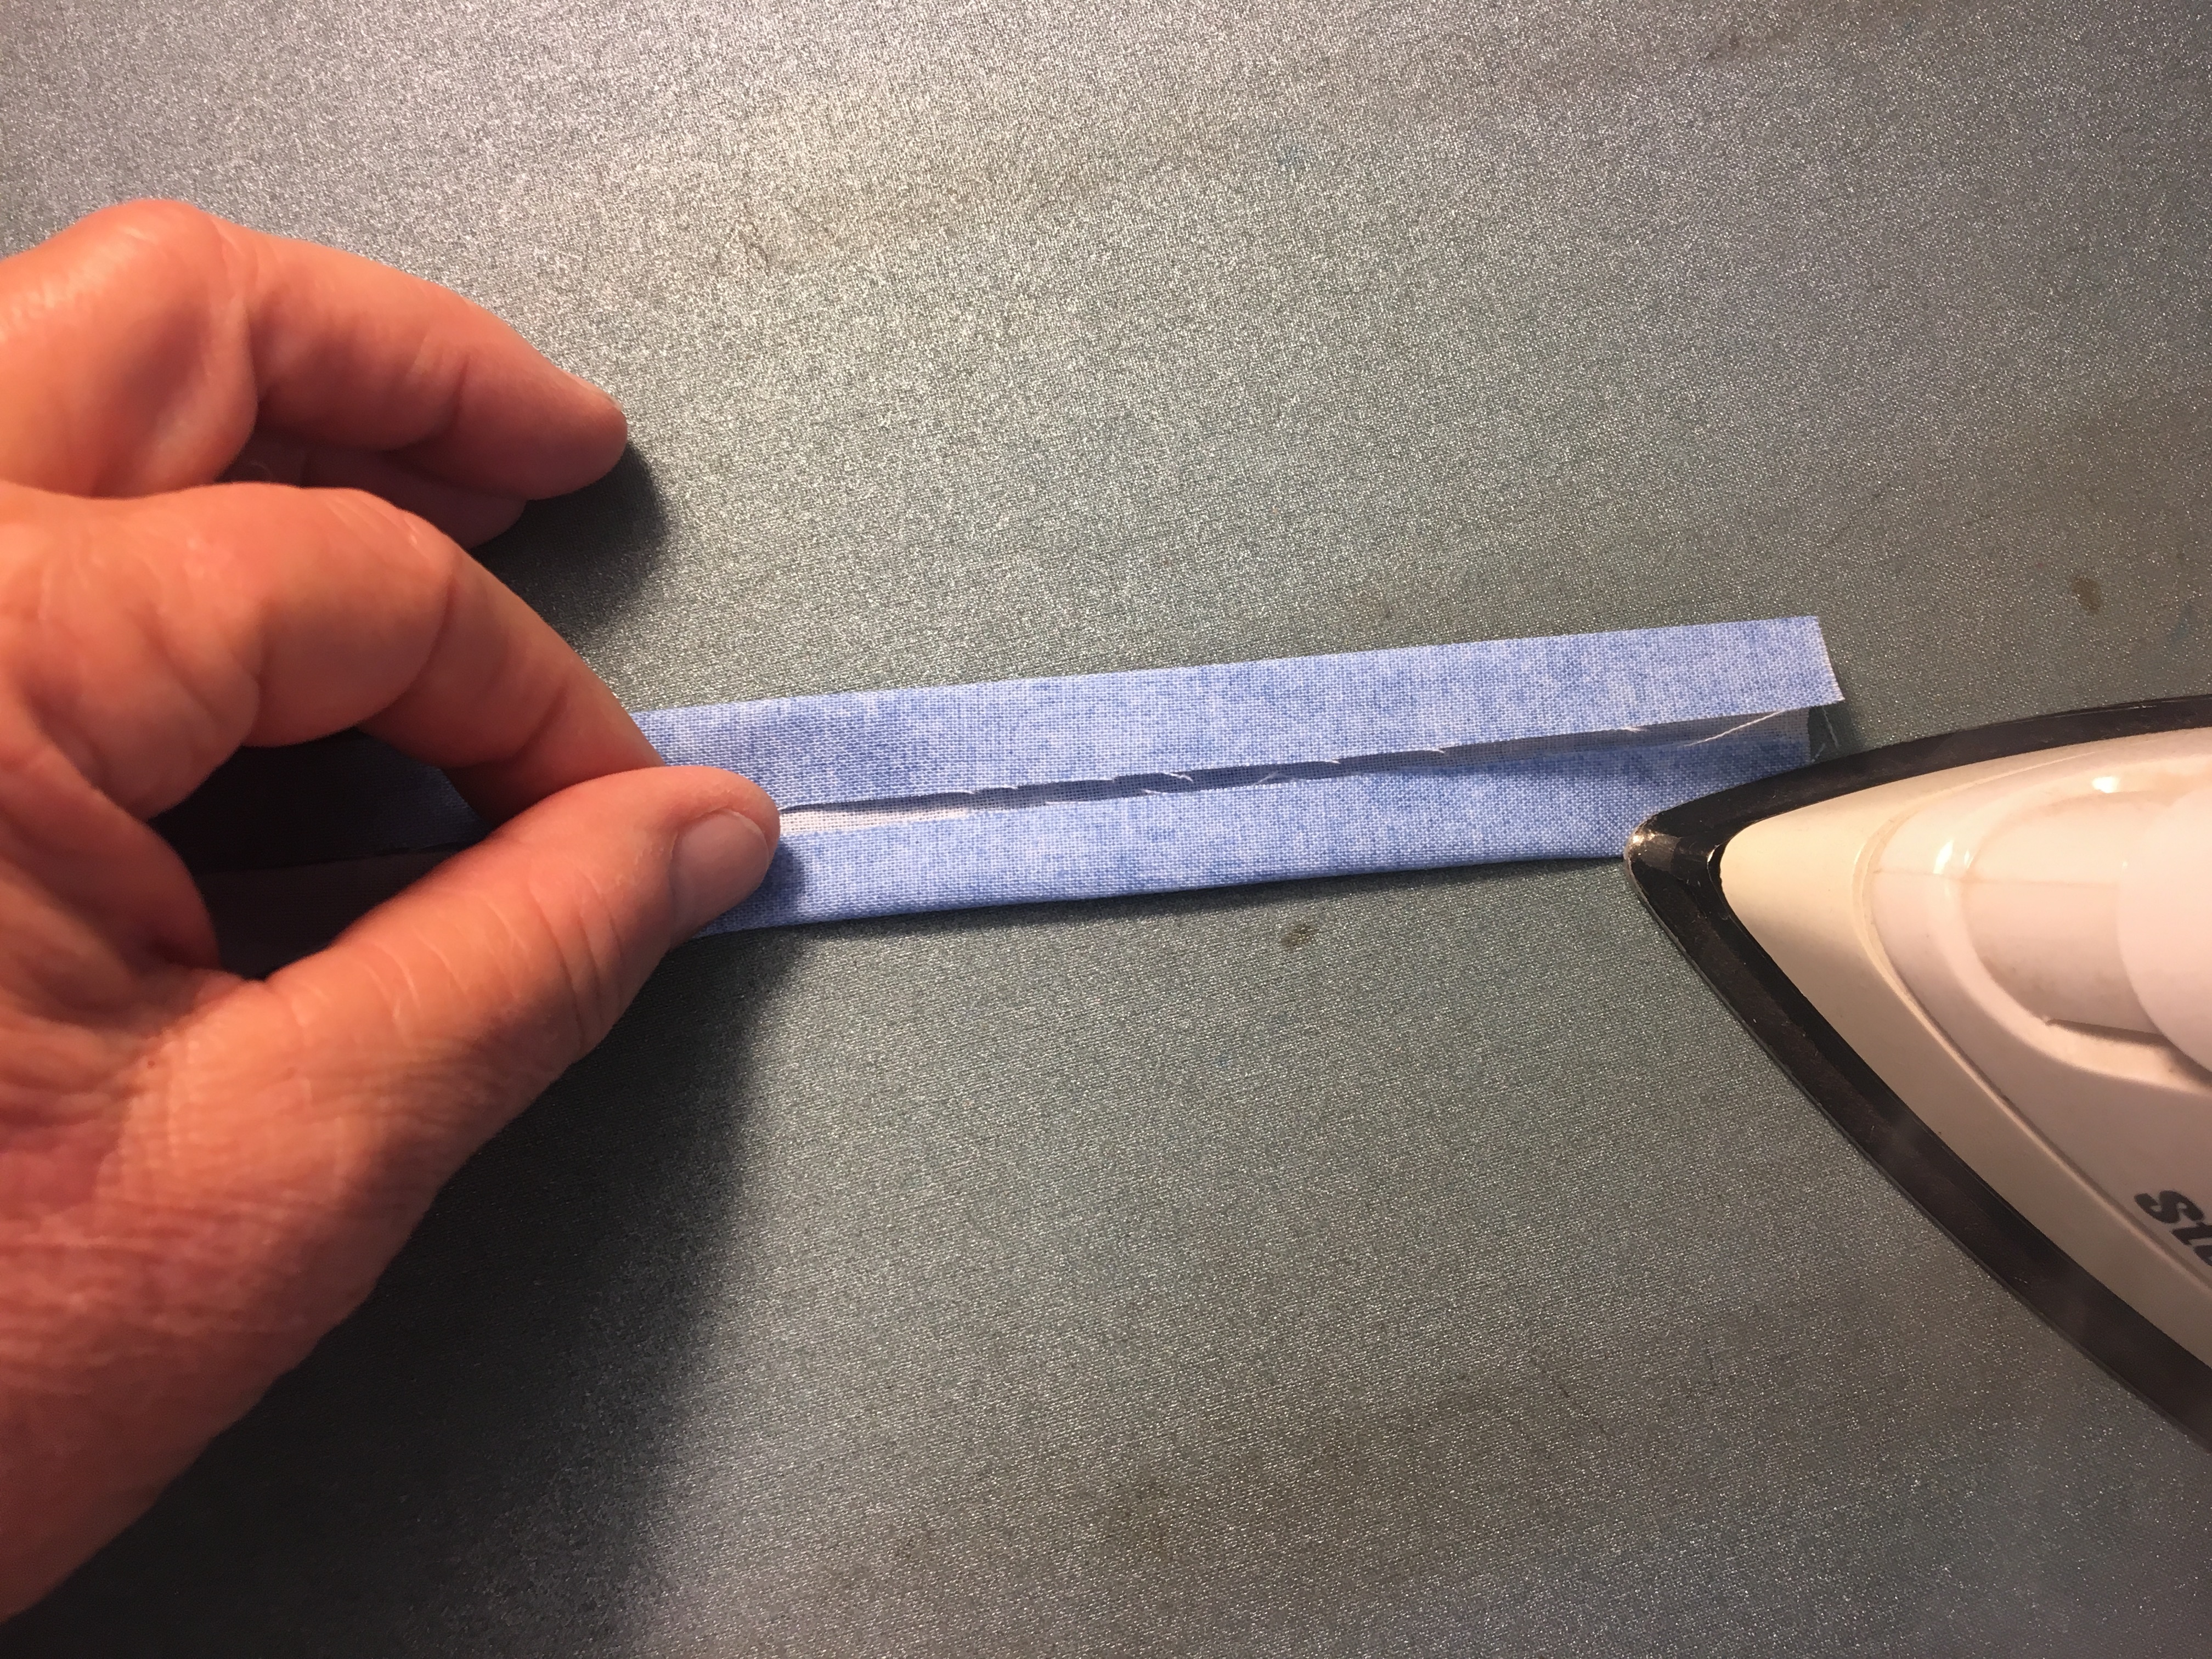
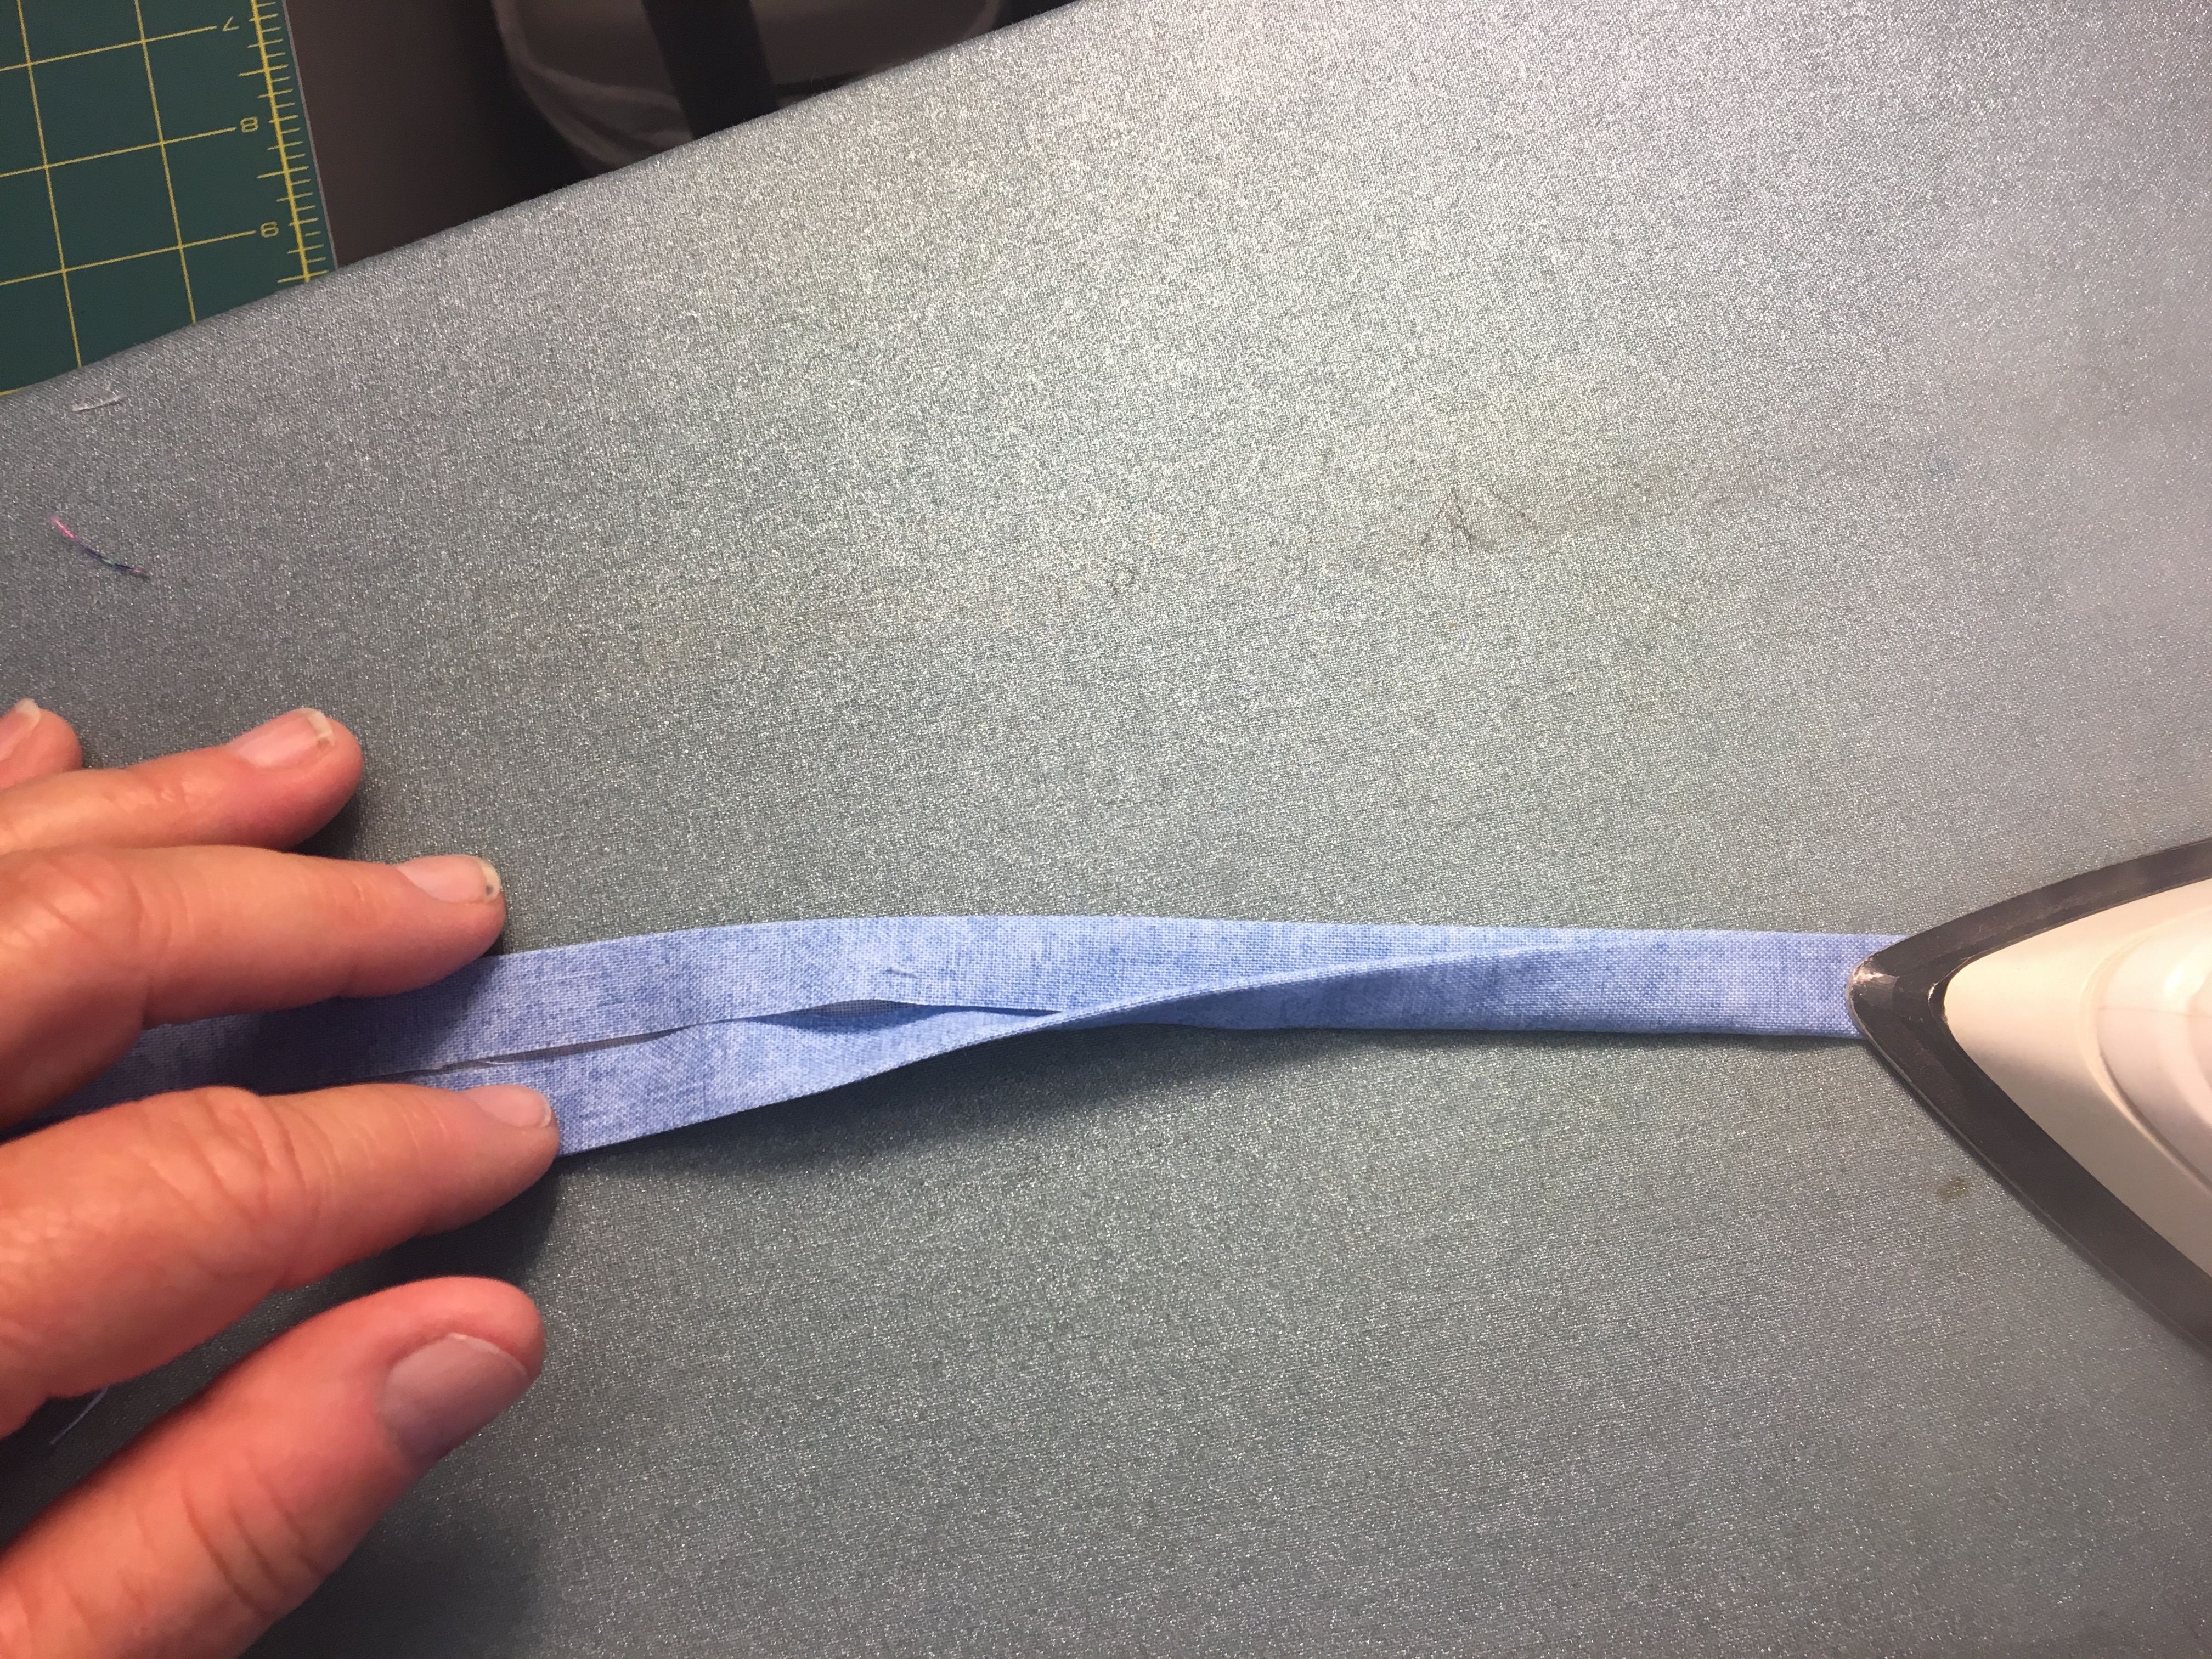
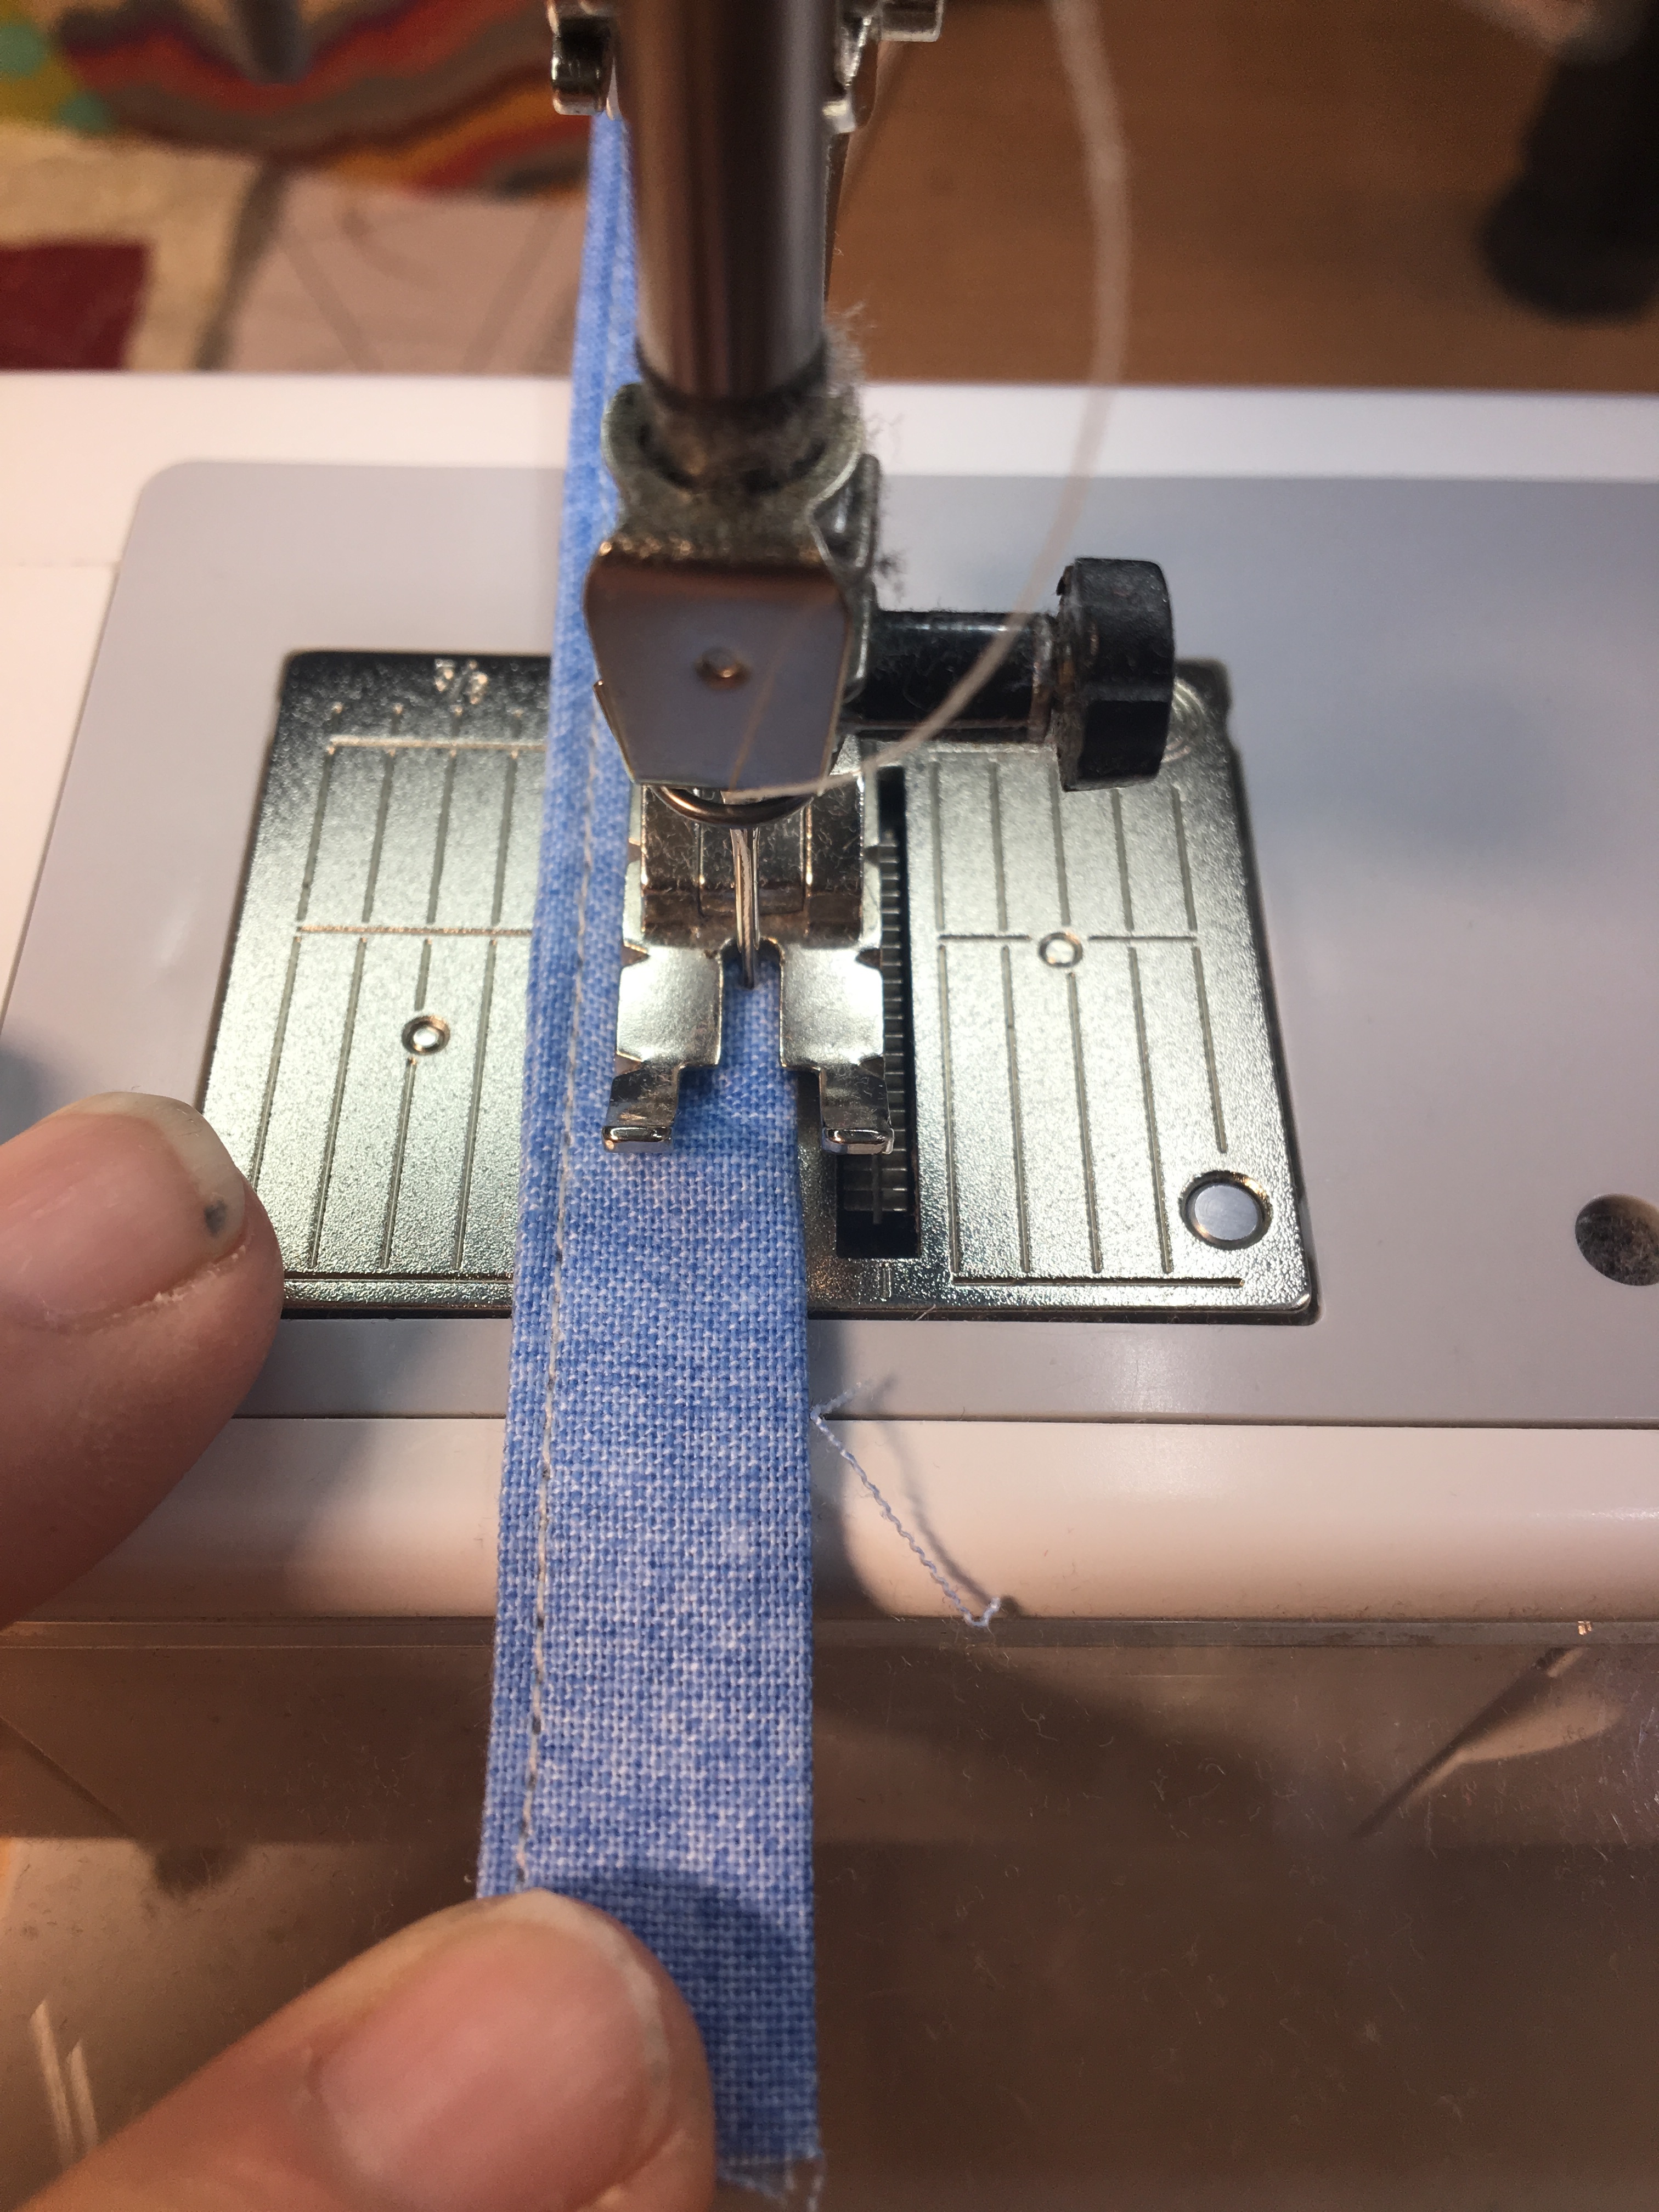
- Handle: Fold in half lengthwise and press. Fold outside edges into center fold, and press again. Fold over, and press into one long strip. Top stitch close to edge on both long edges.
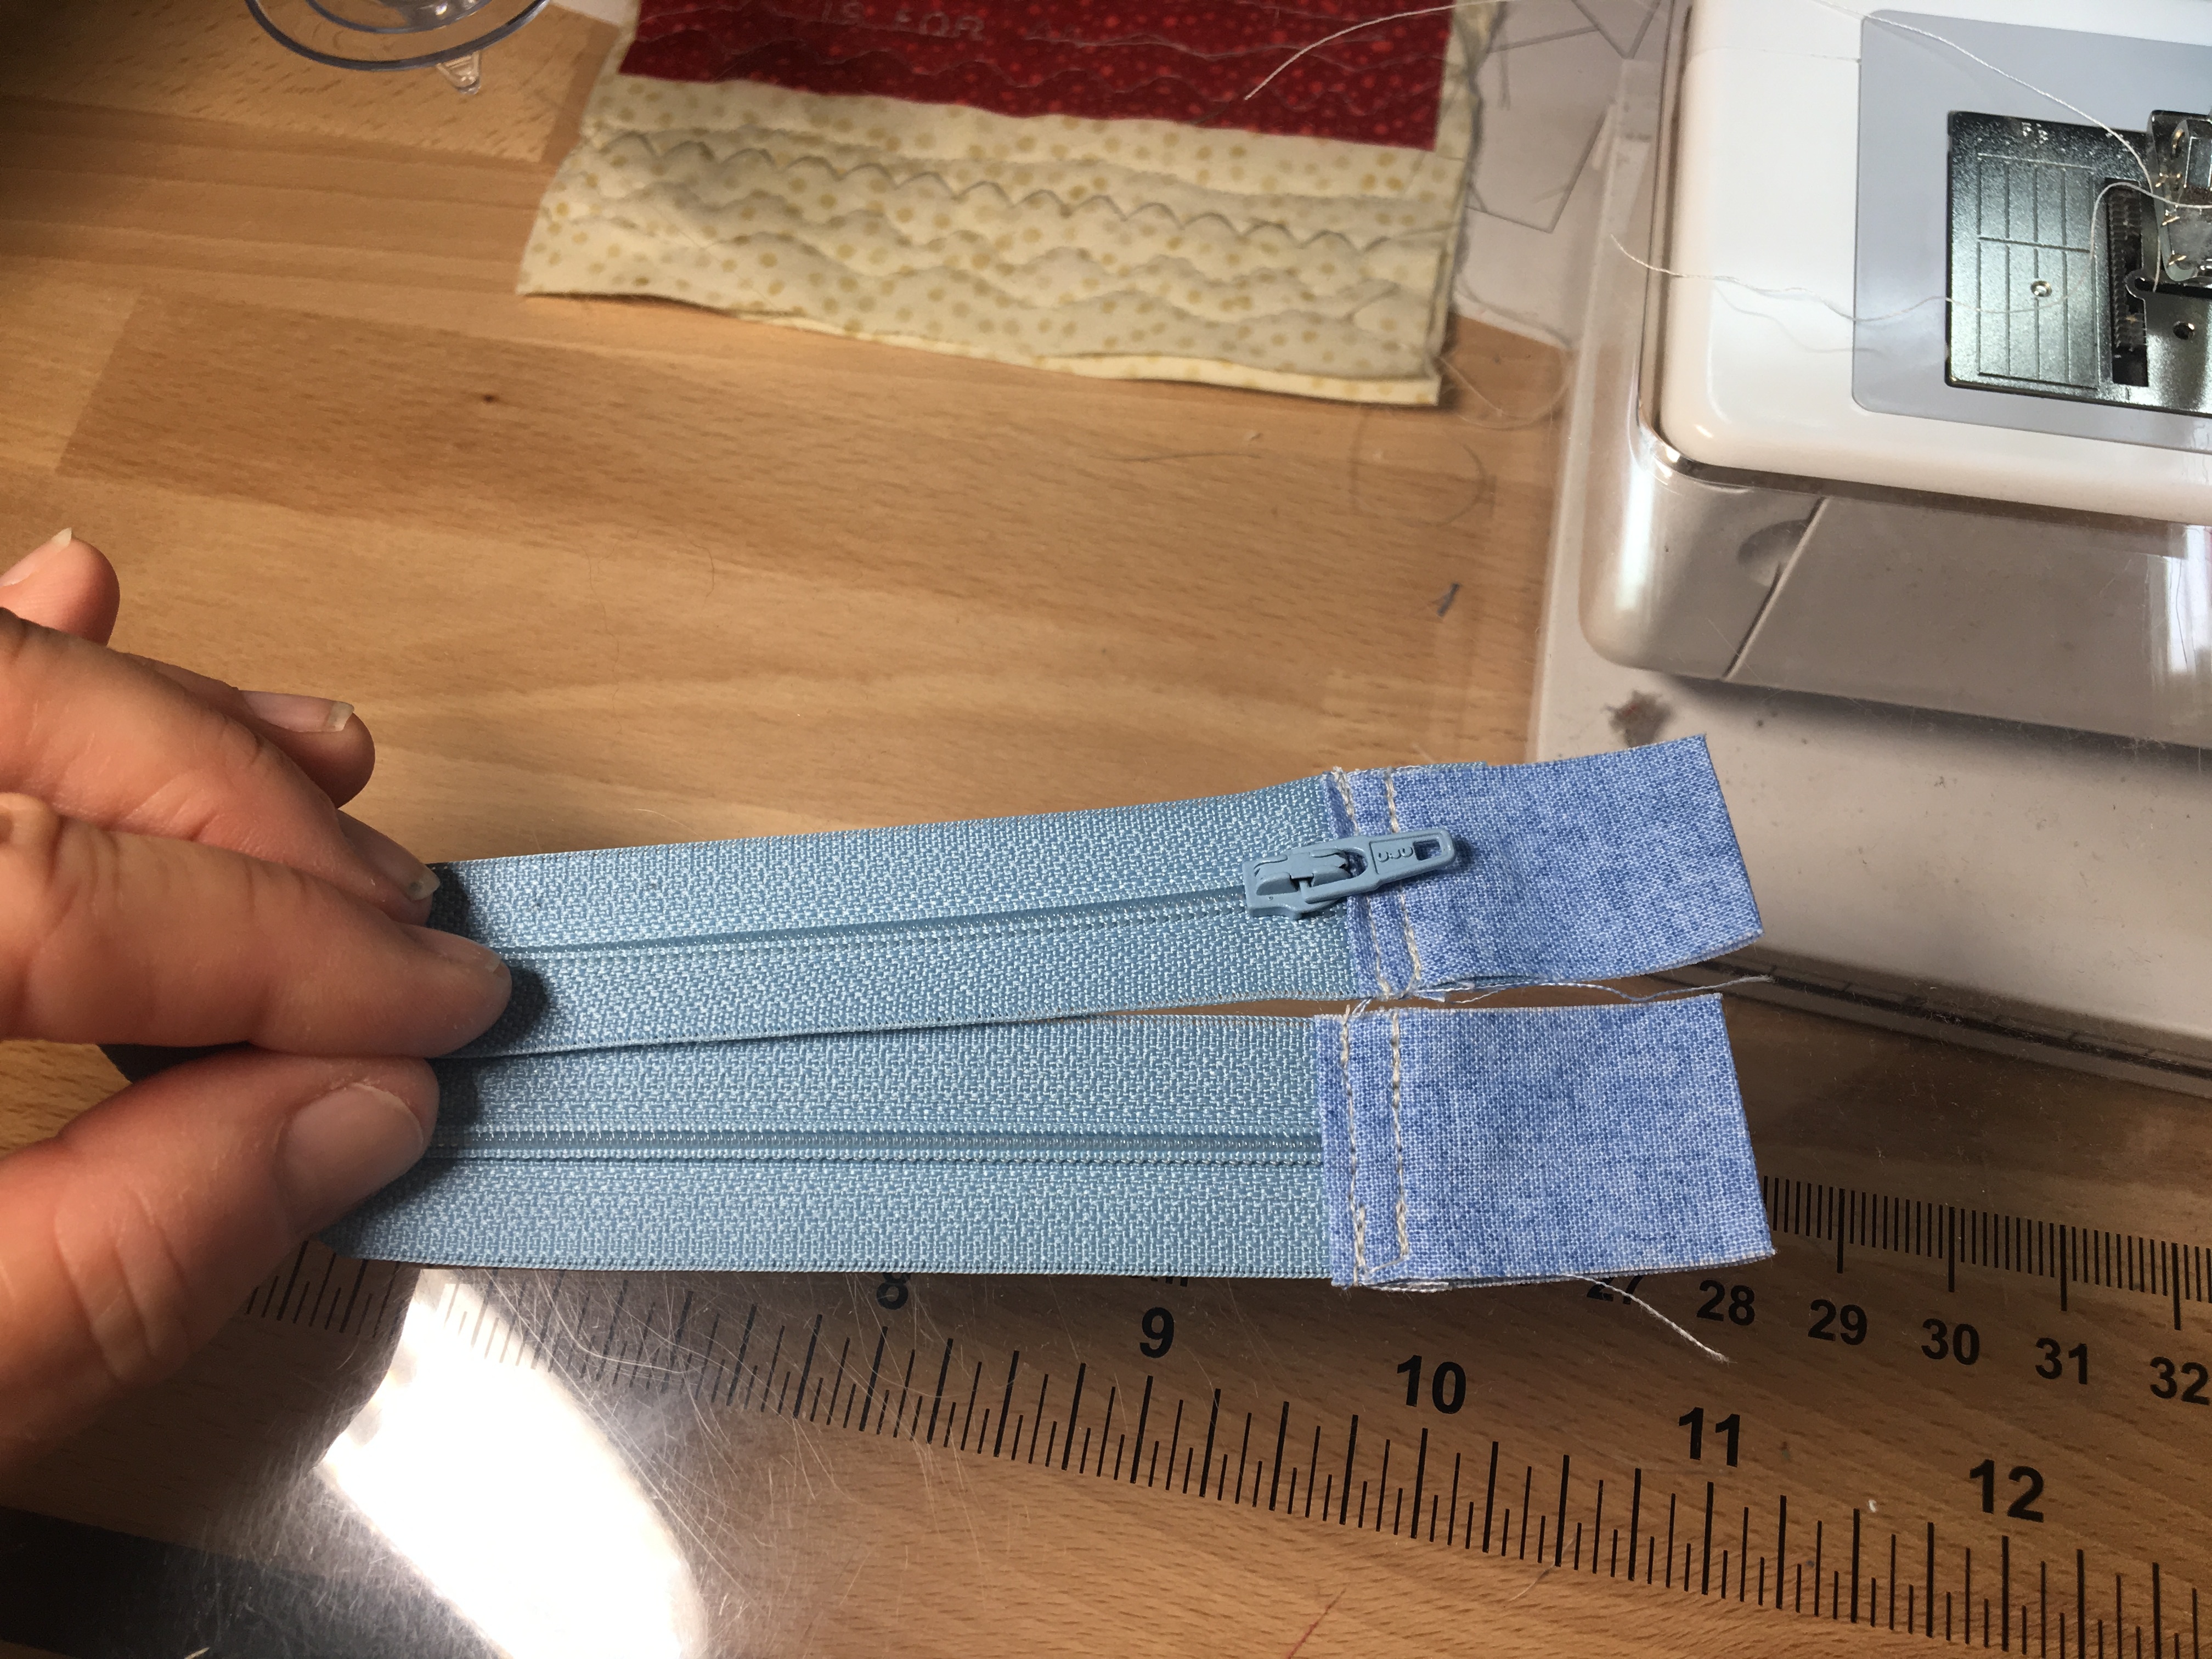
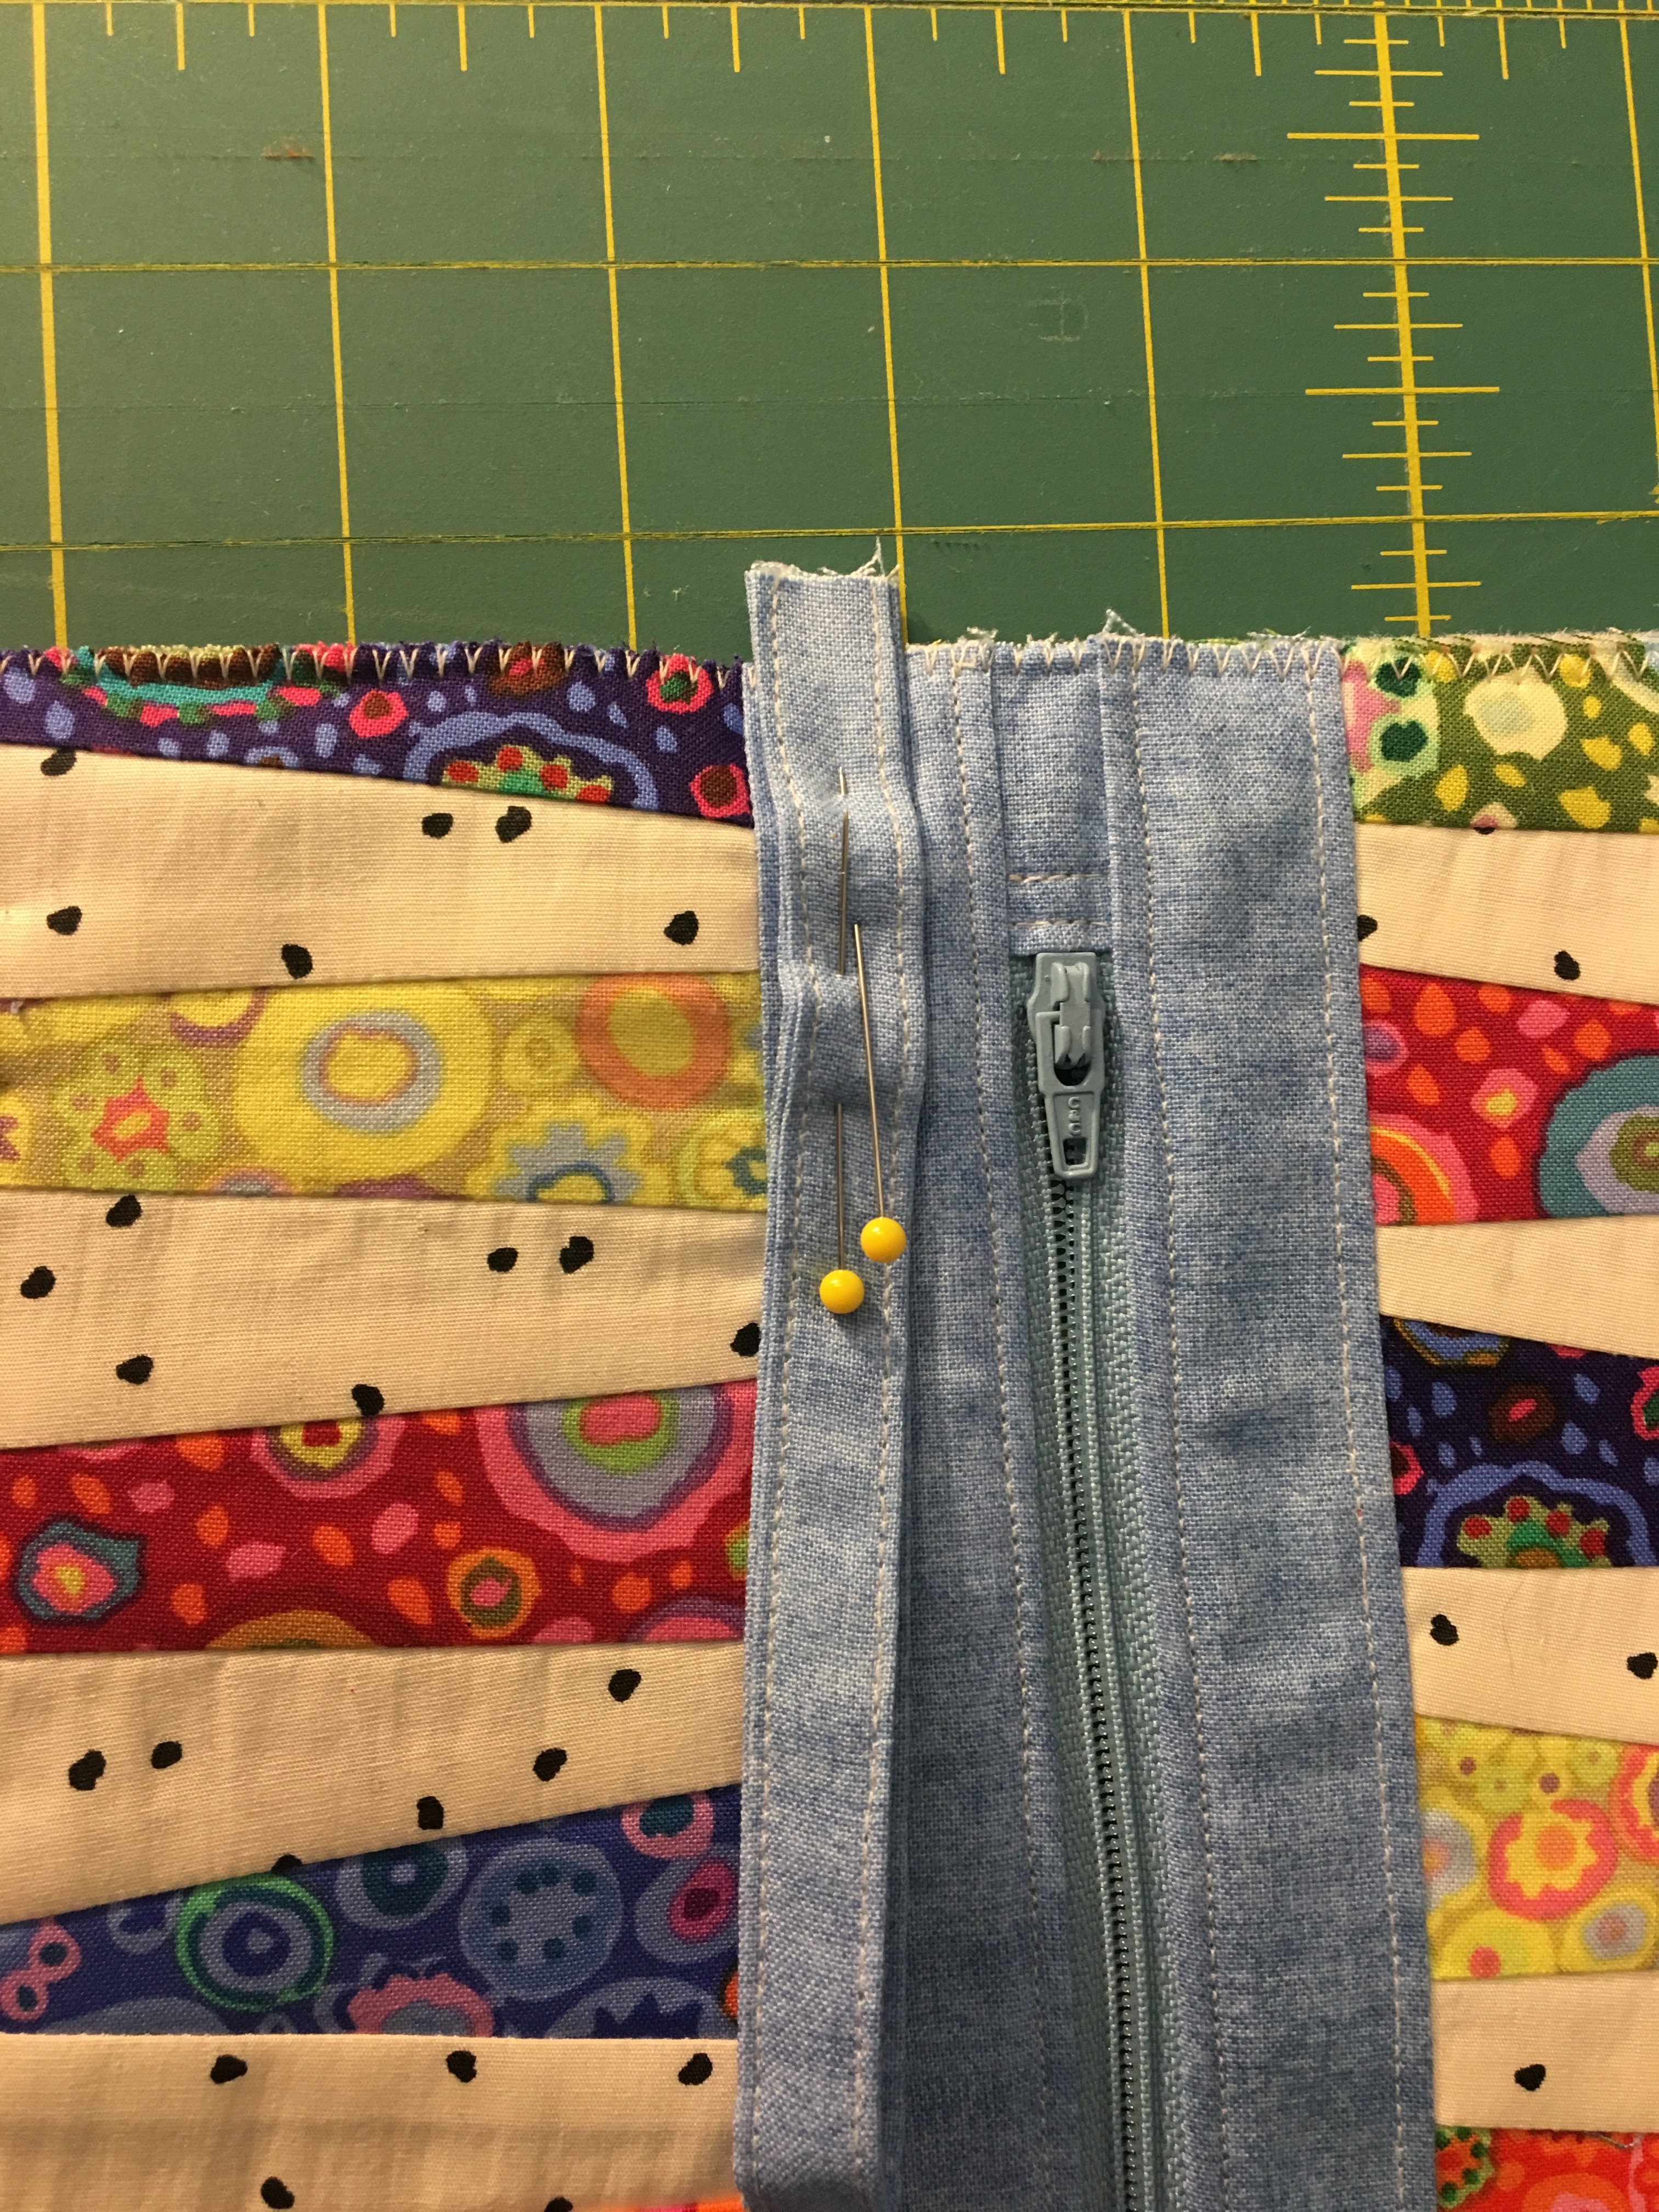
- Prep the zipper: Cut off the closed end of the zipper. Place the zipper on top of the lining along the 12 in width, with the right edge a generous inch in from the right side. Move the zipper tab to be on top of the lining, and cut off the open side of the zipper even with the left side of the lining.
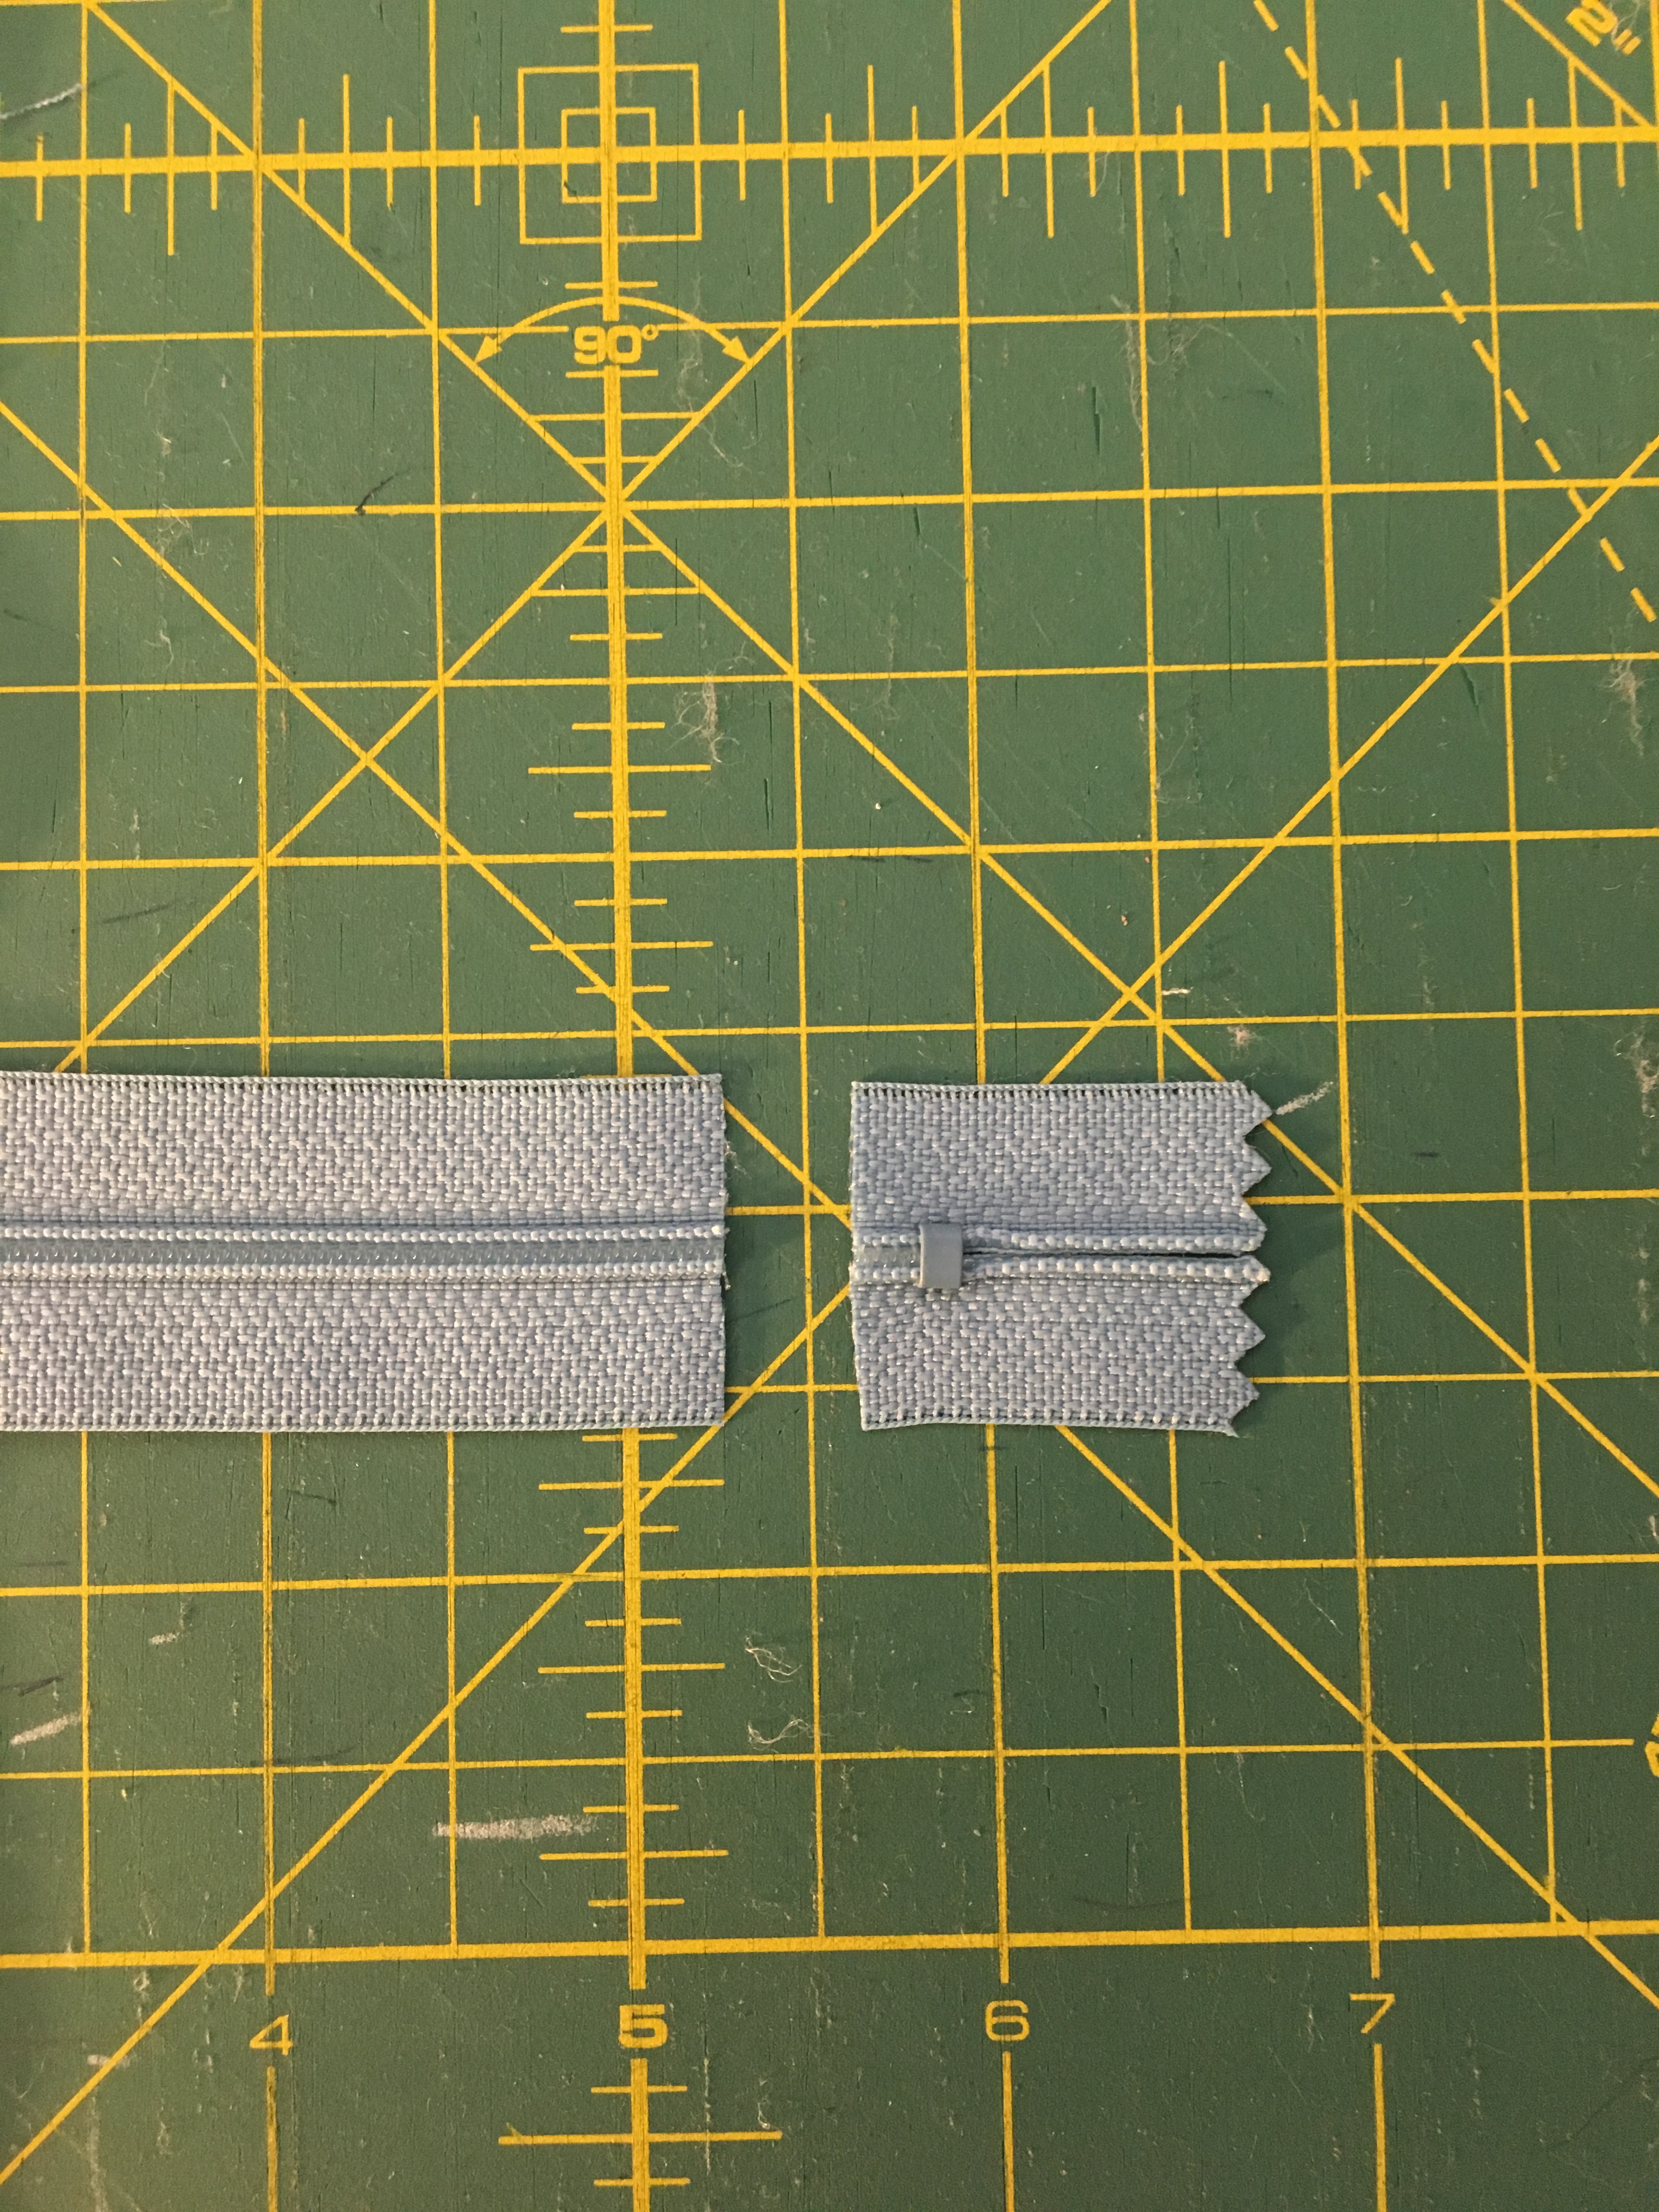
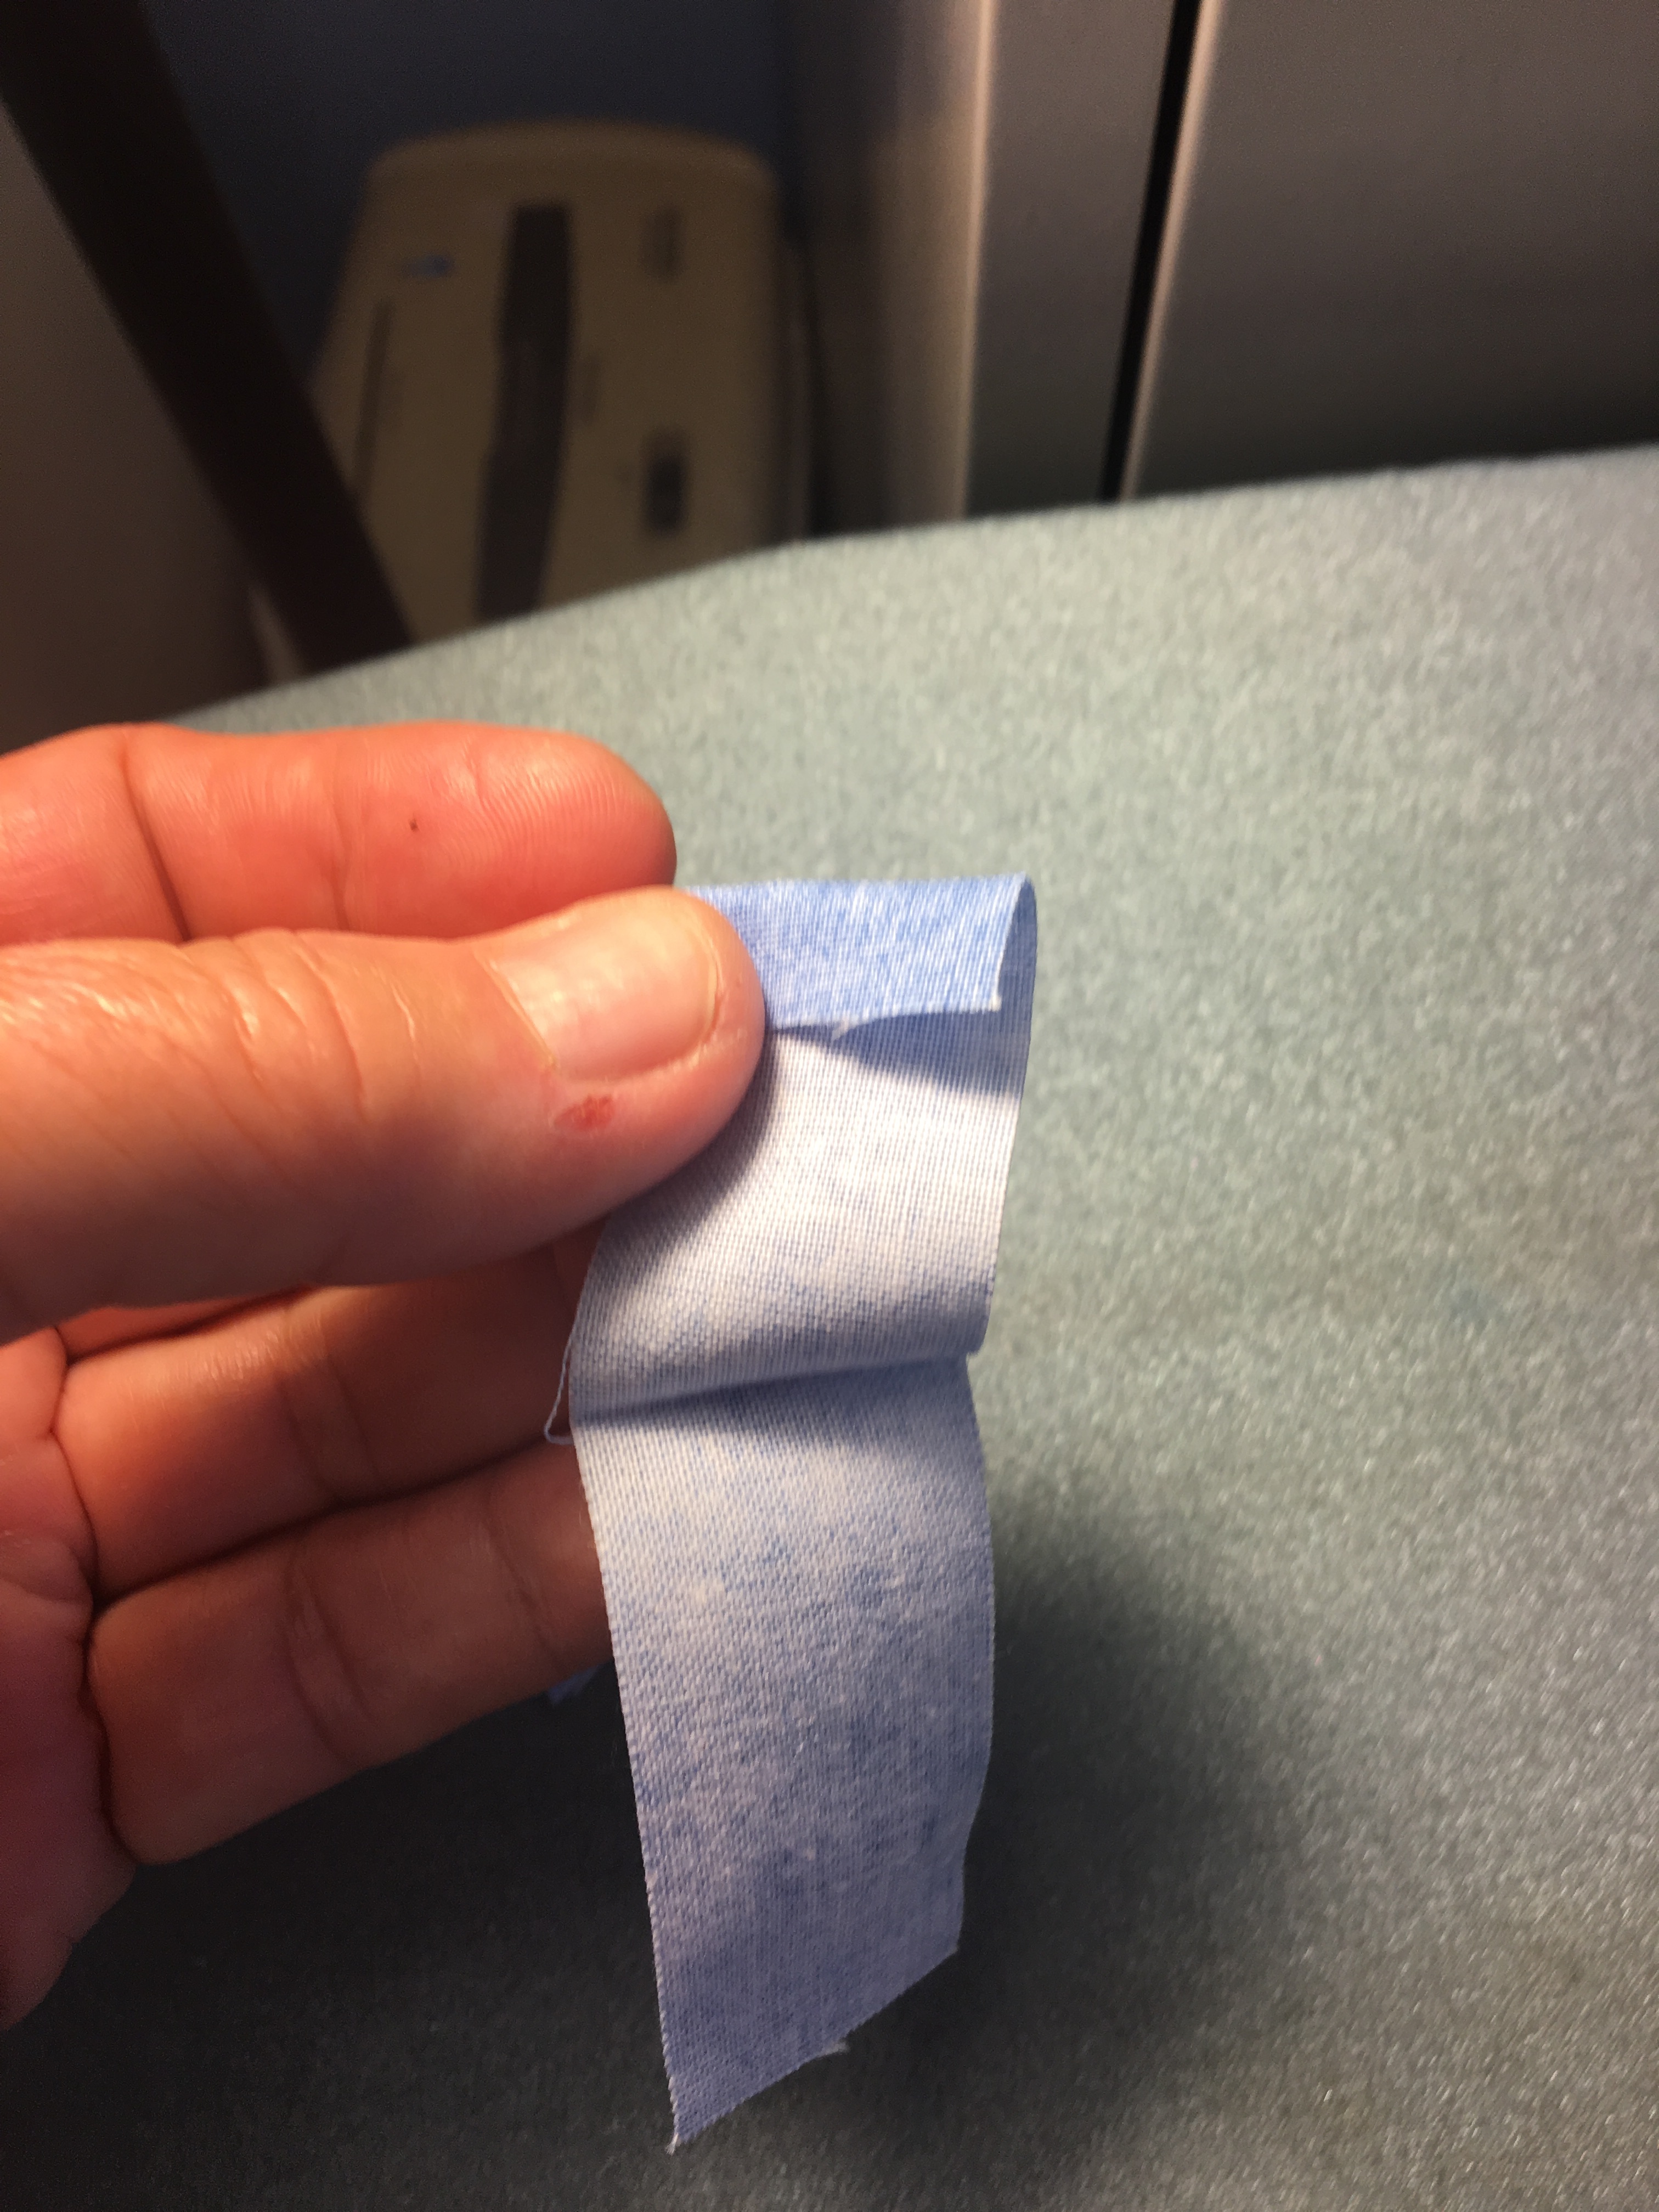
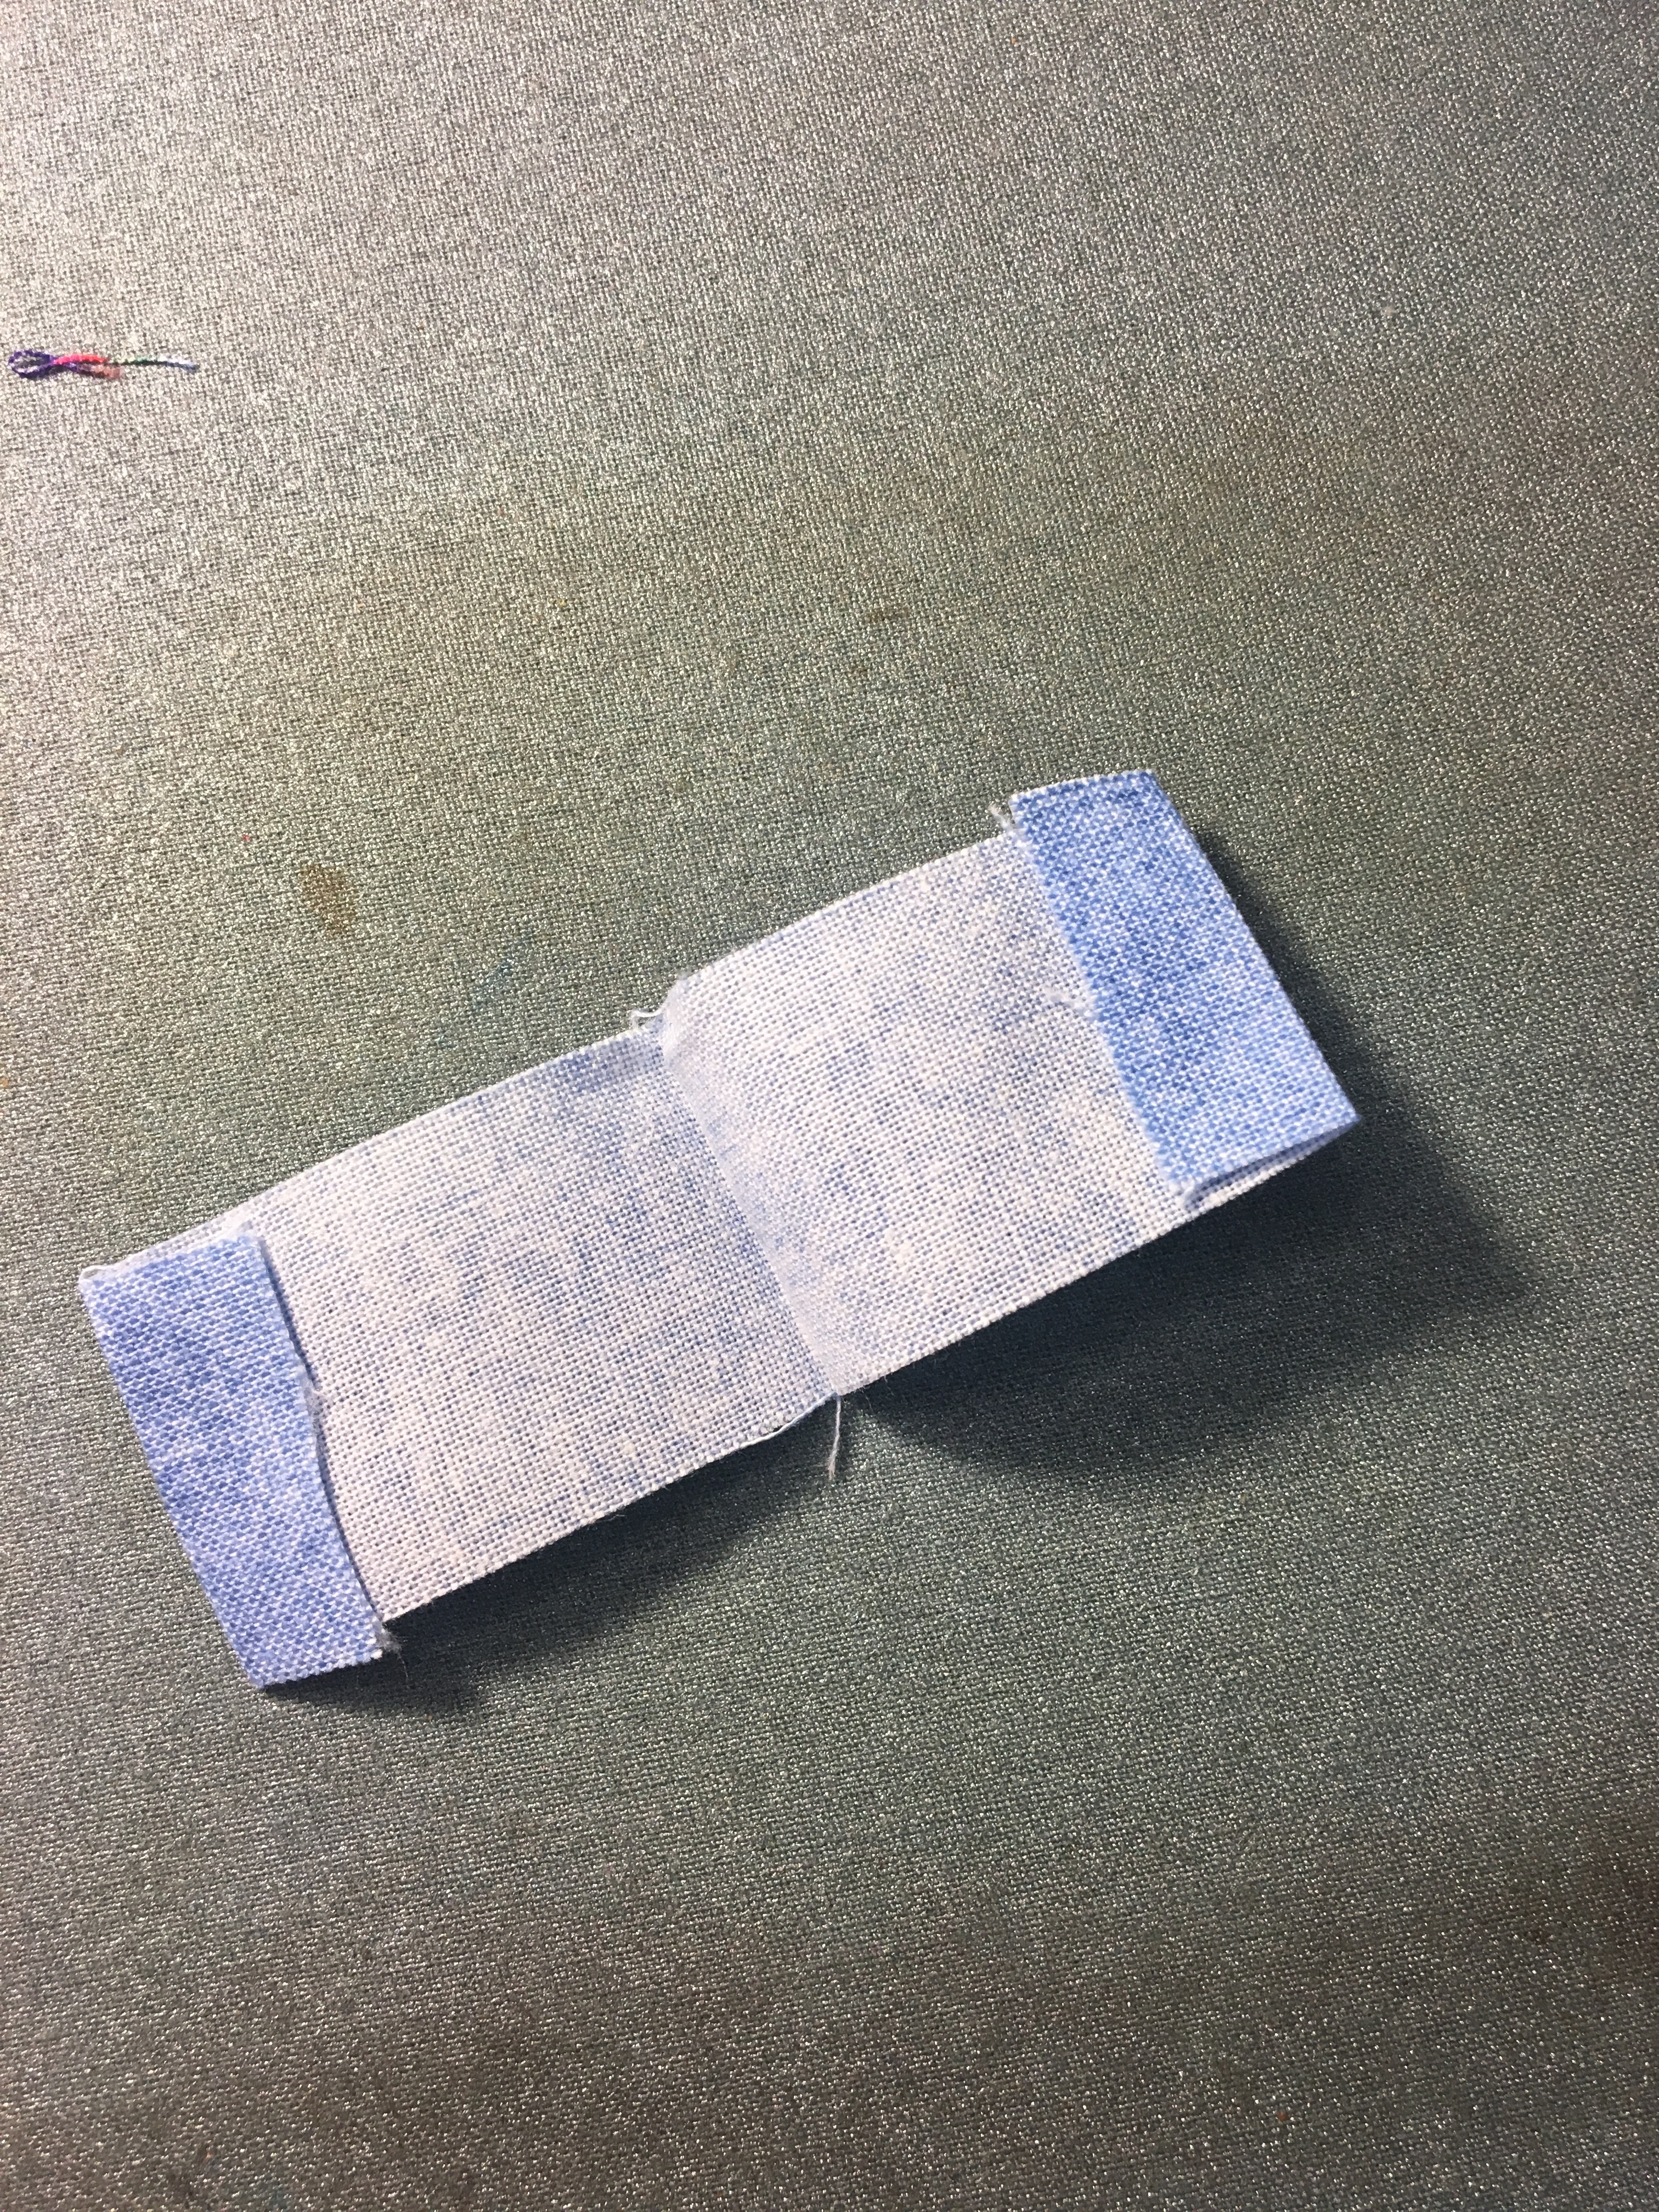
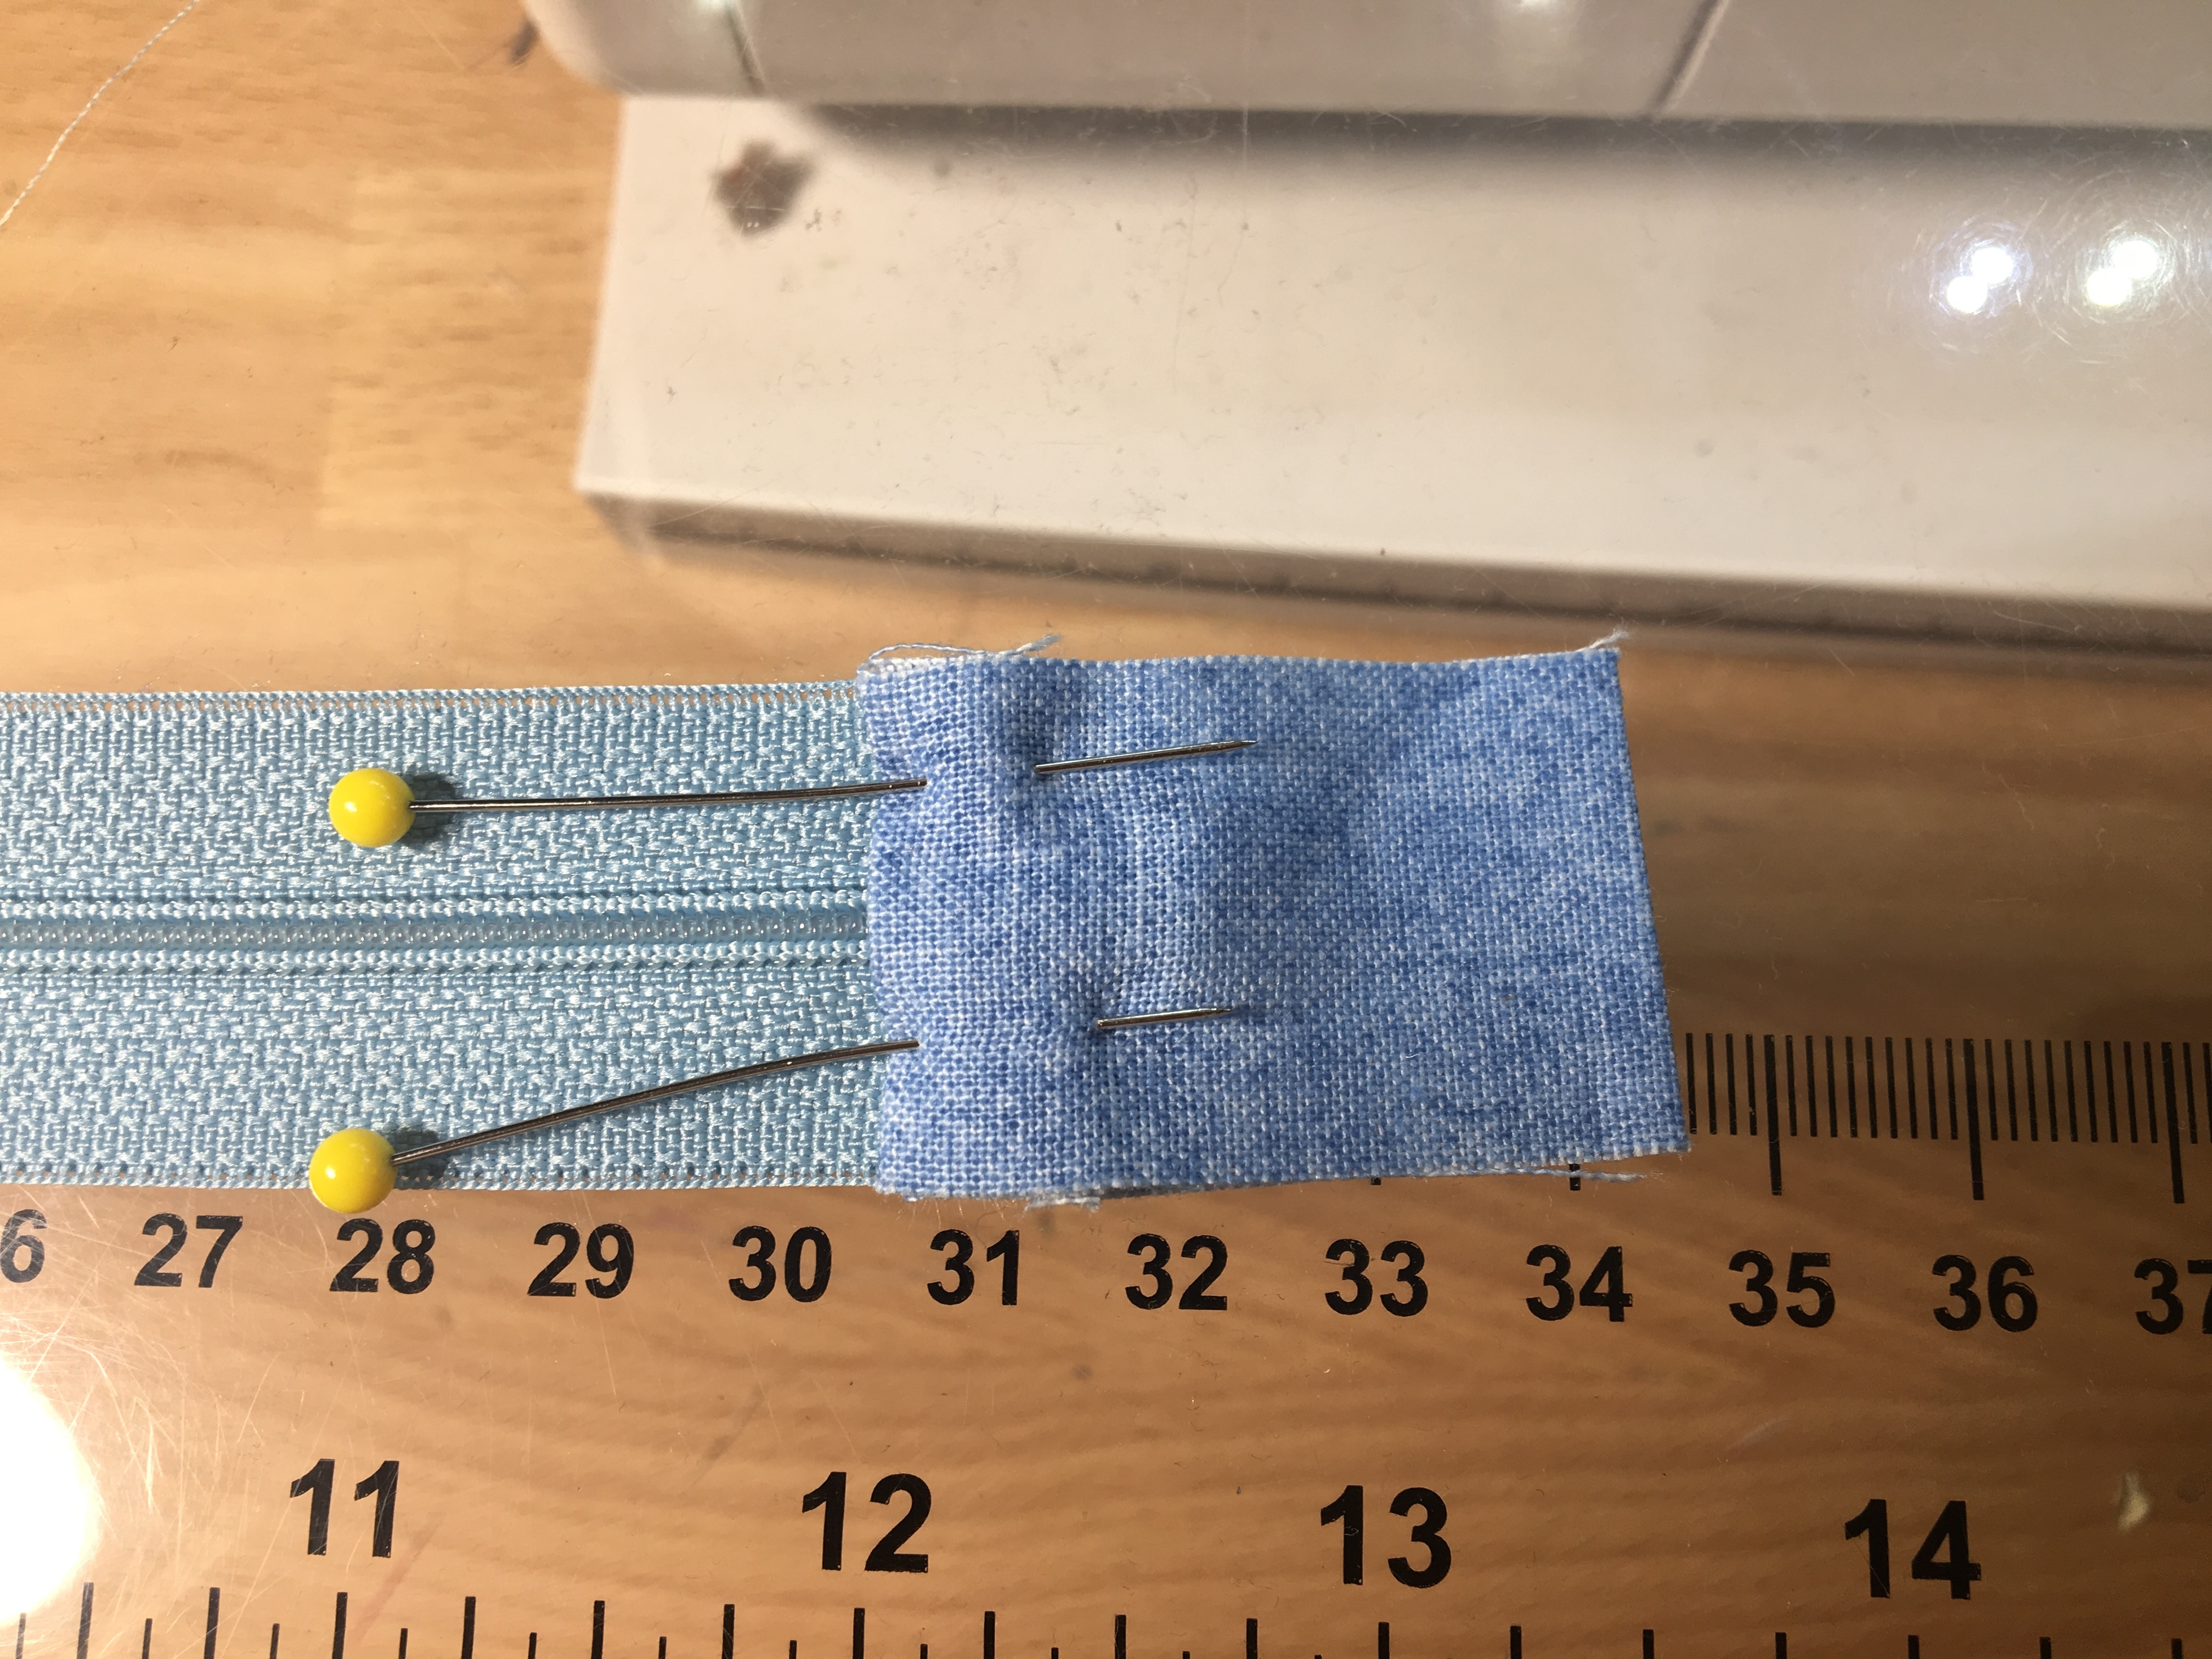
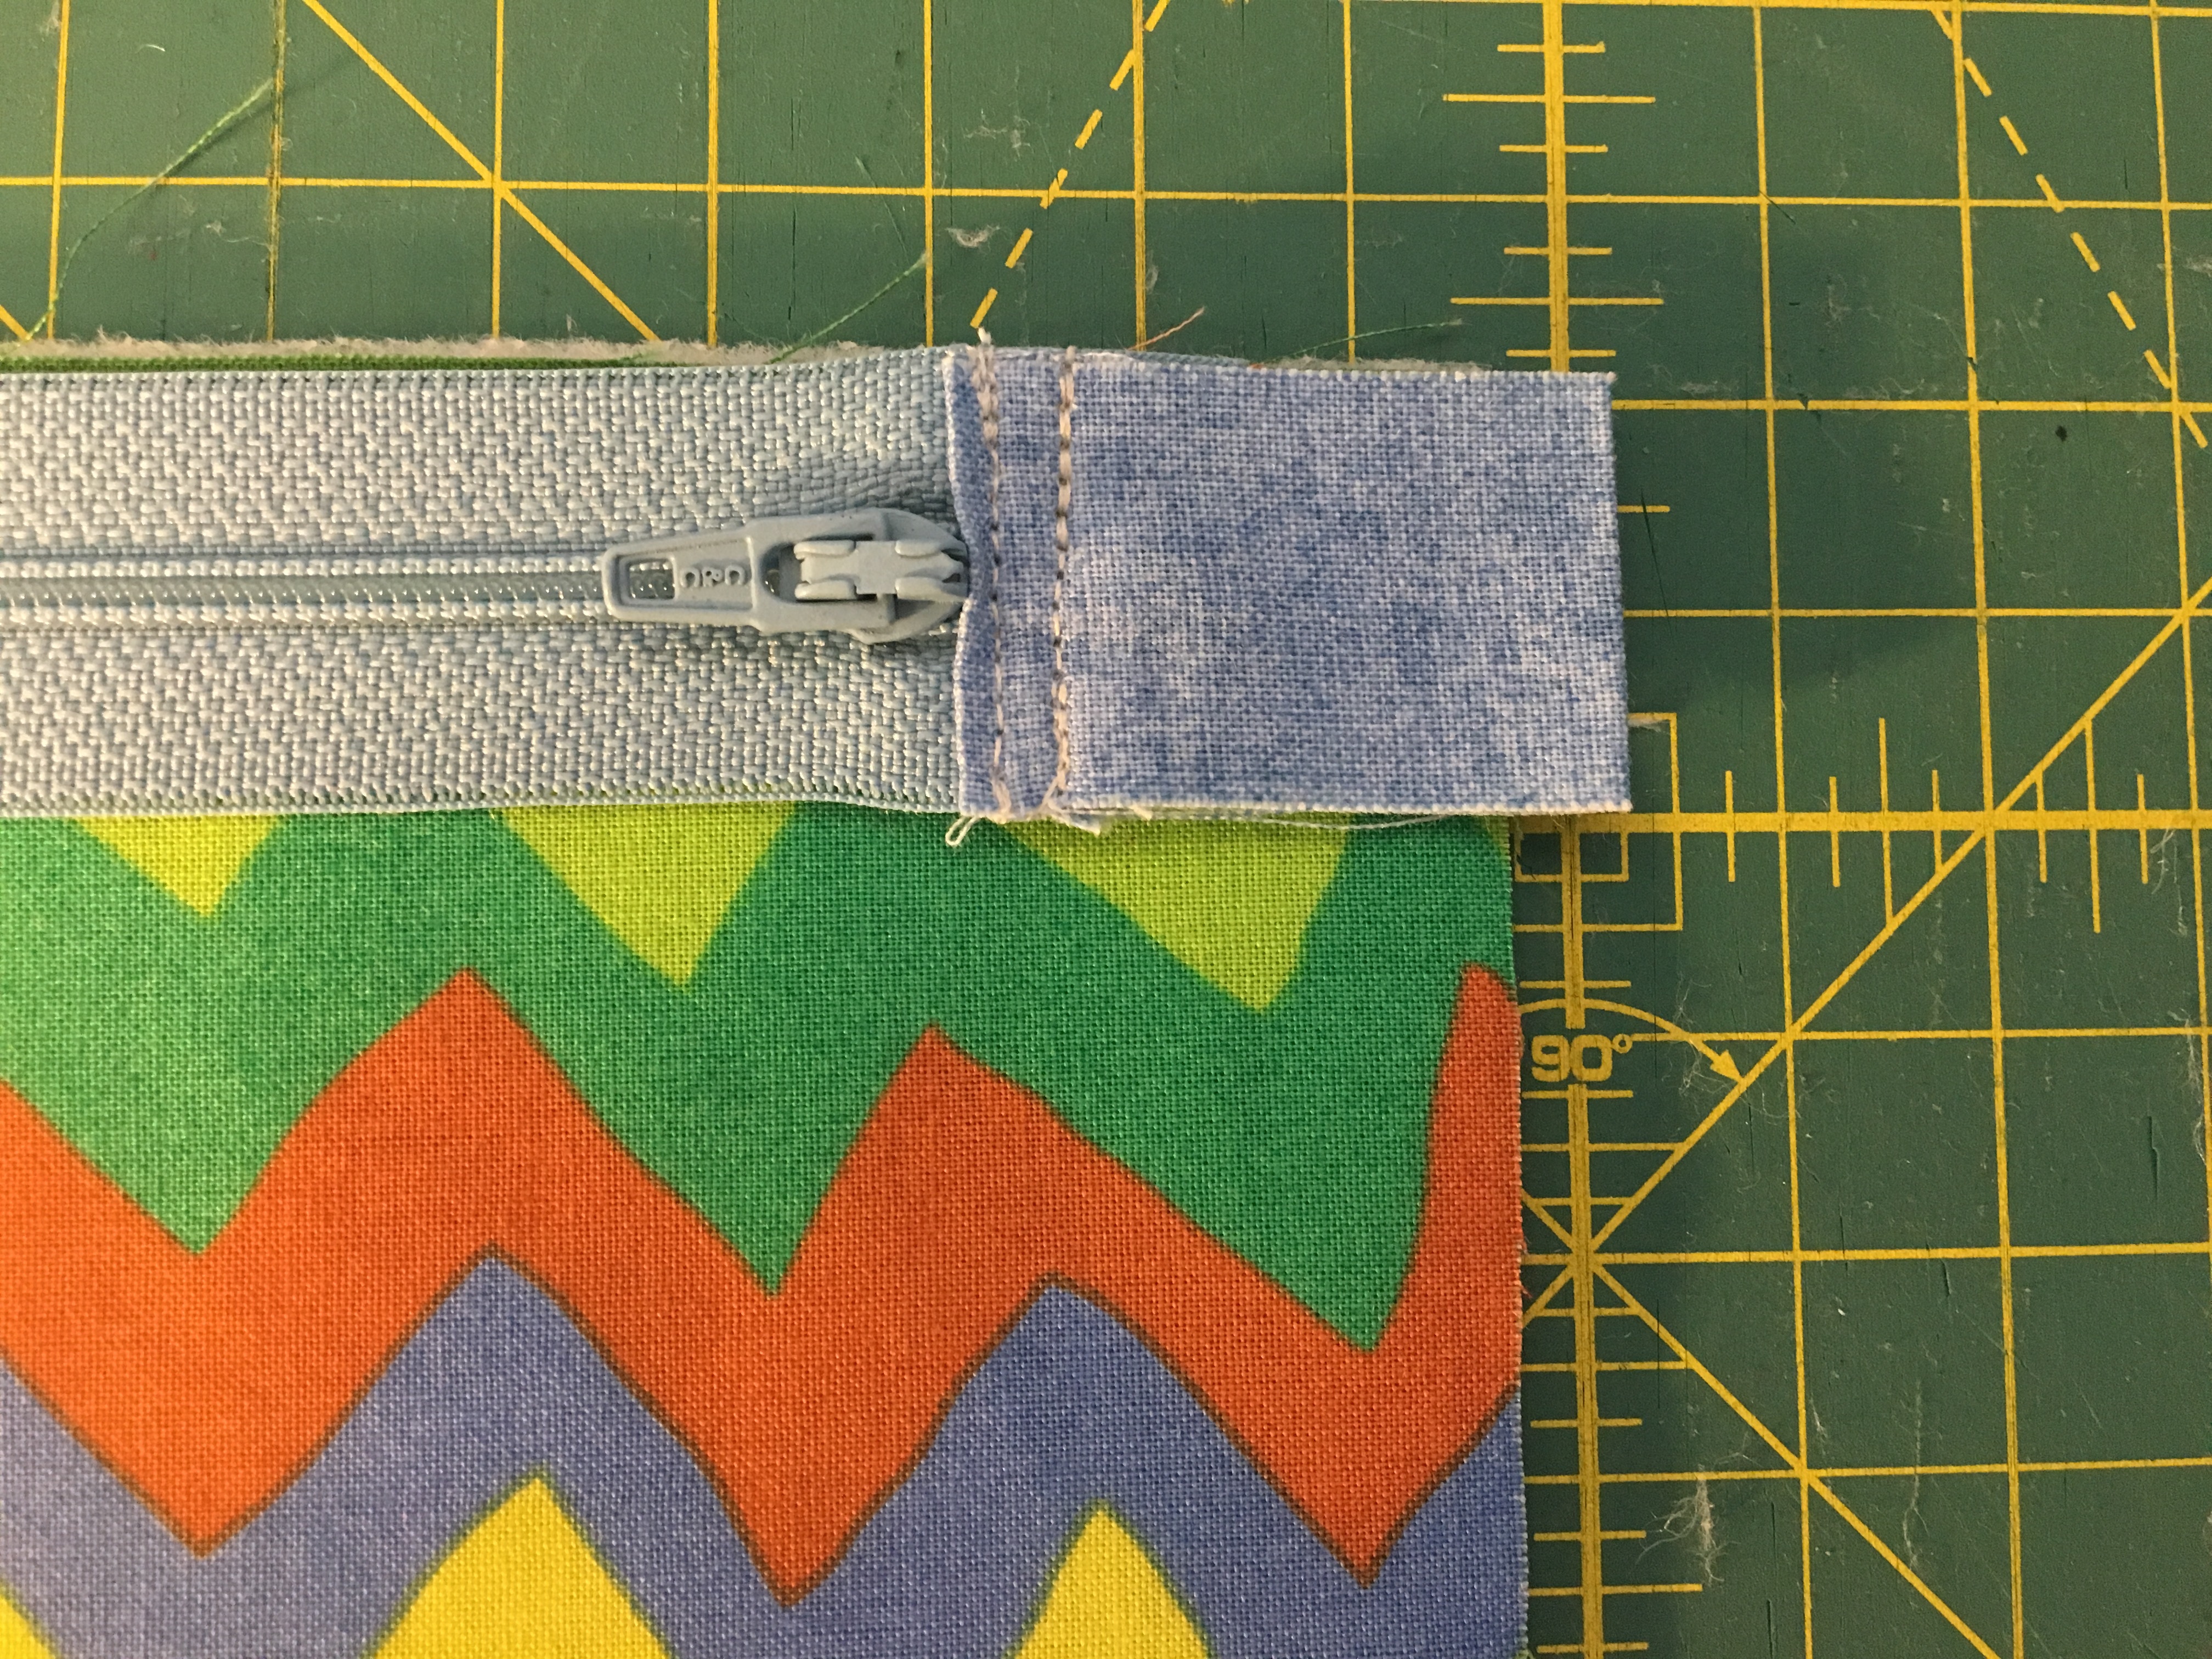
- Zipper tabs: Fold in half, matching short edge to short edge, and press. Fold over about 3/8 inch on each end, and press, making sure that the two folded edges match. Pin these tabs onto the each end of the zipper, with the zipper sandwiched in between each folded end. Make sure about 1/2 inch of the zipper is inside the tab. Top stitch two lines across edge of zipper tabs.

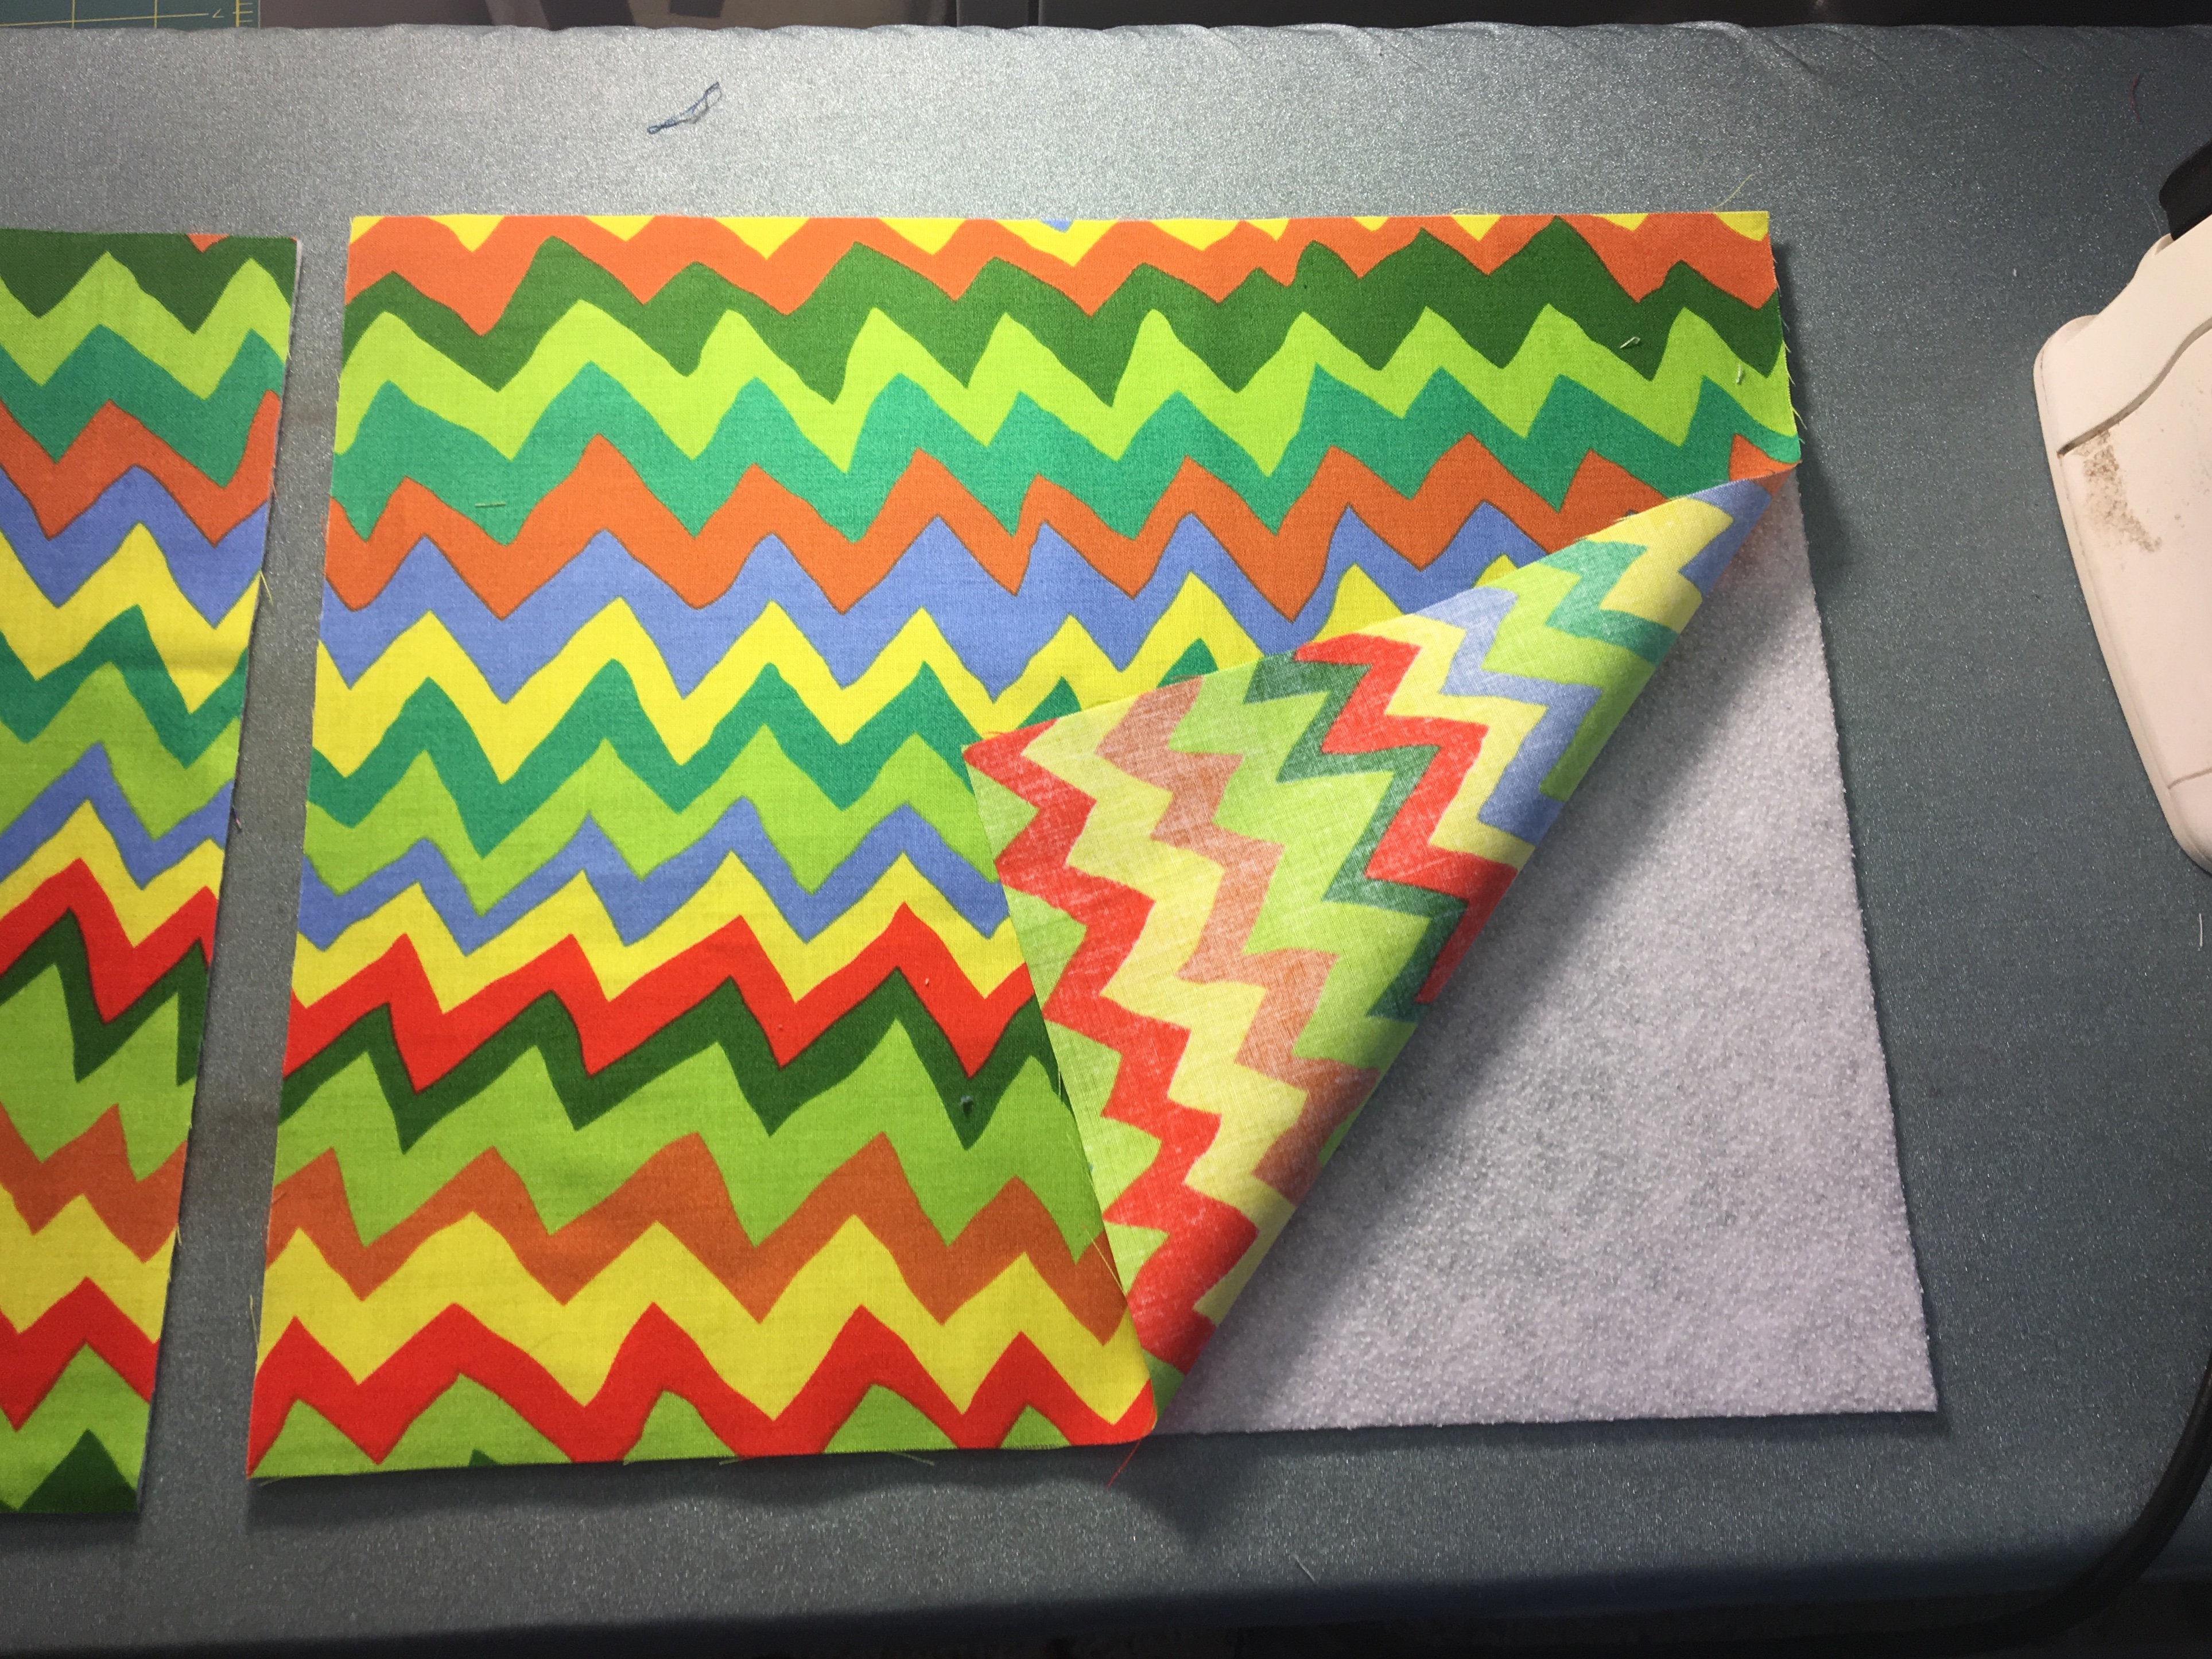
- Lining: Fuse lining fabric pieces, right side up, to fusible batting according to instructions on batting.
Assembling front bag panel:
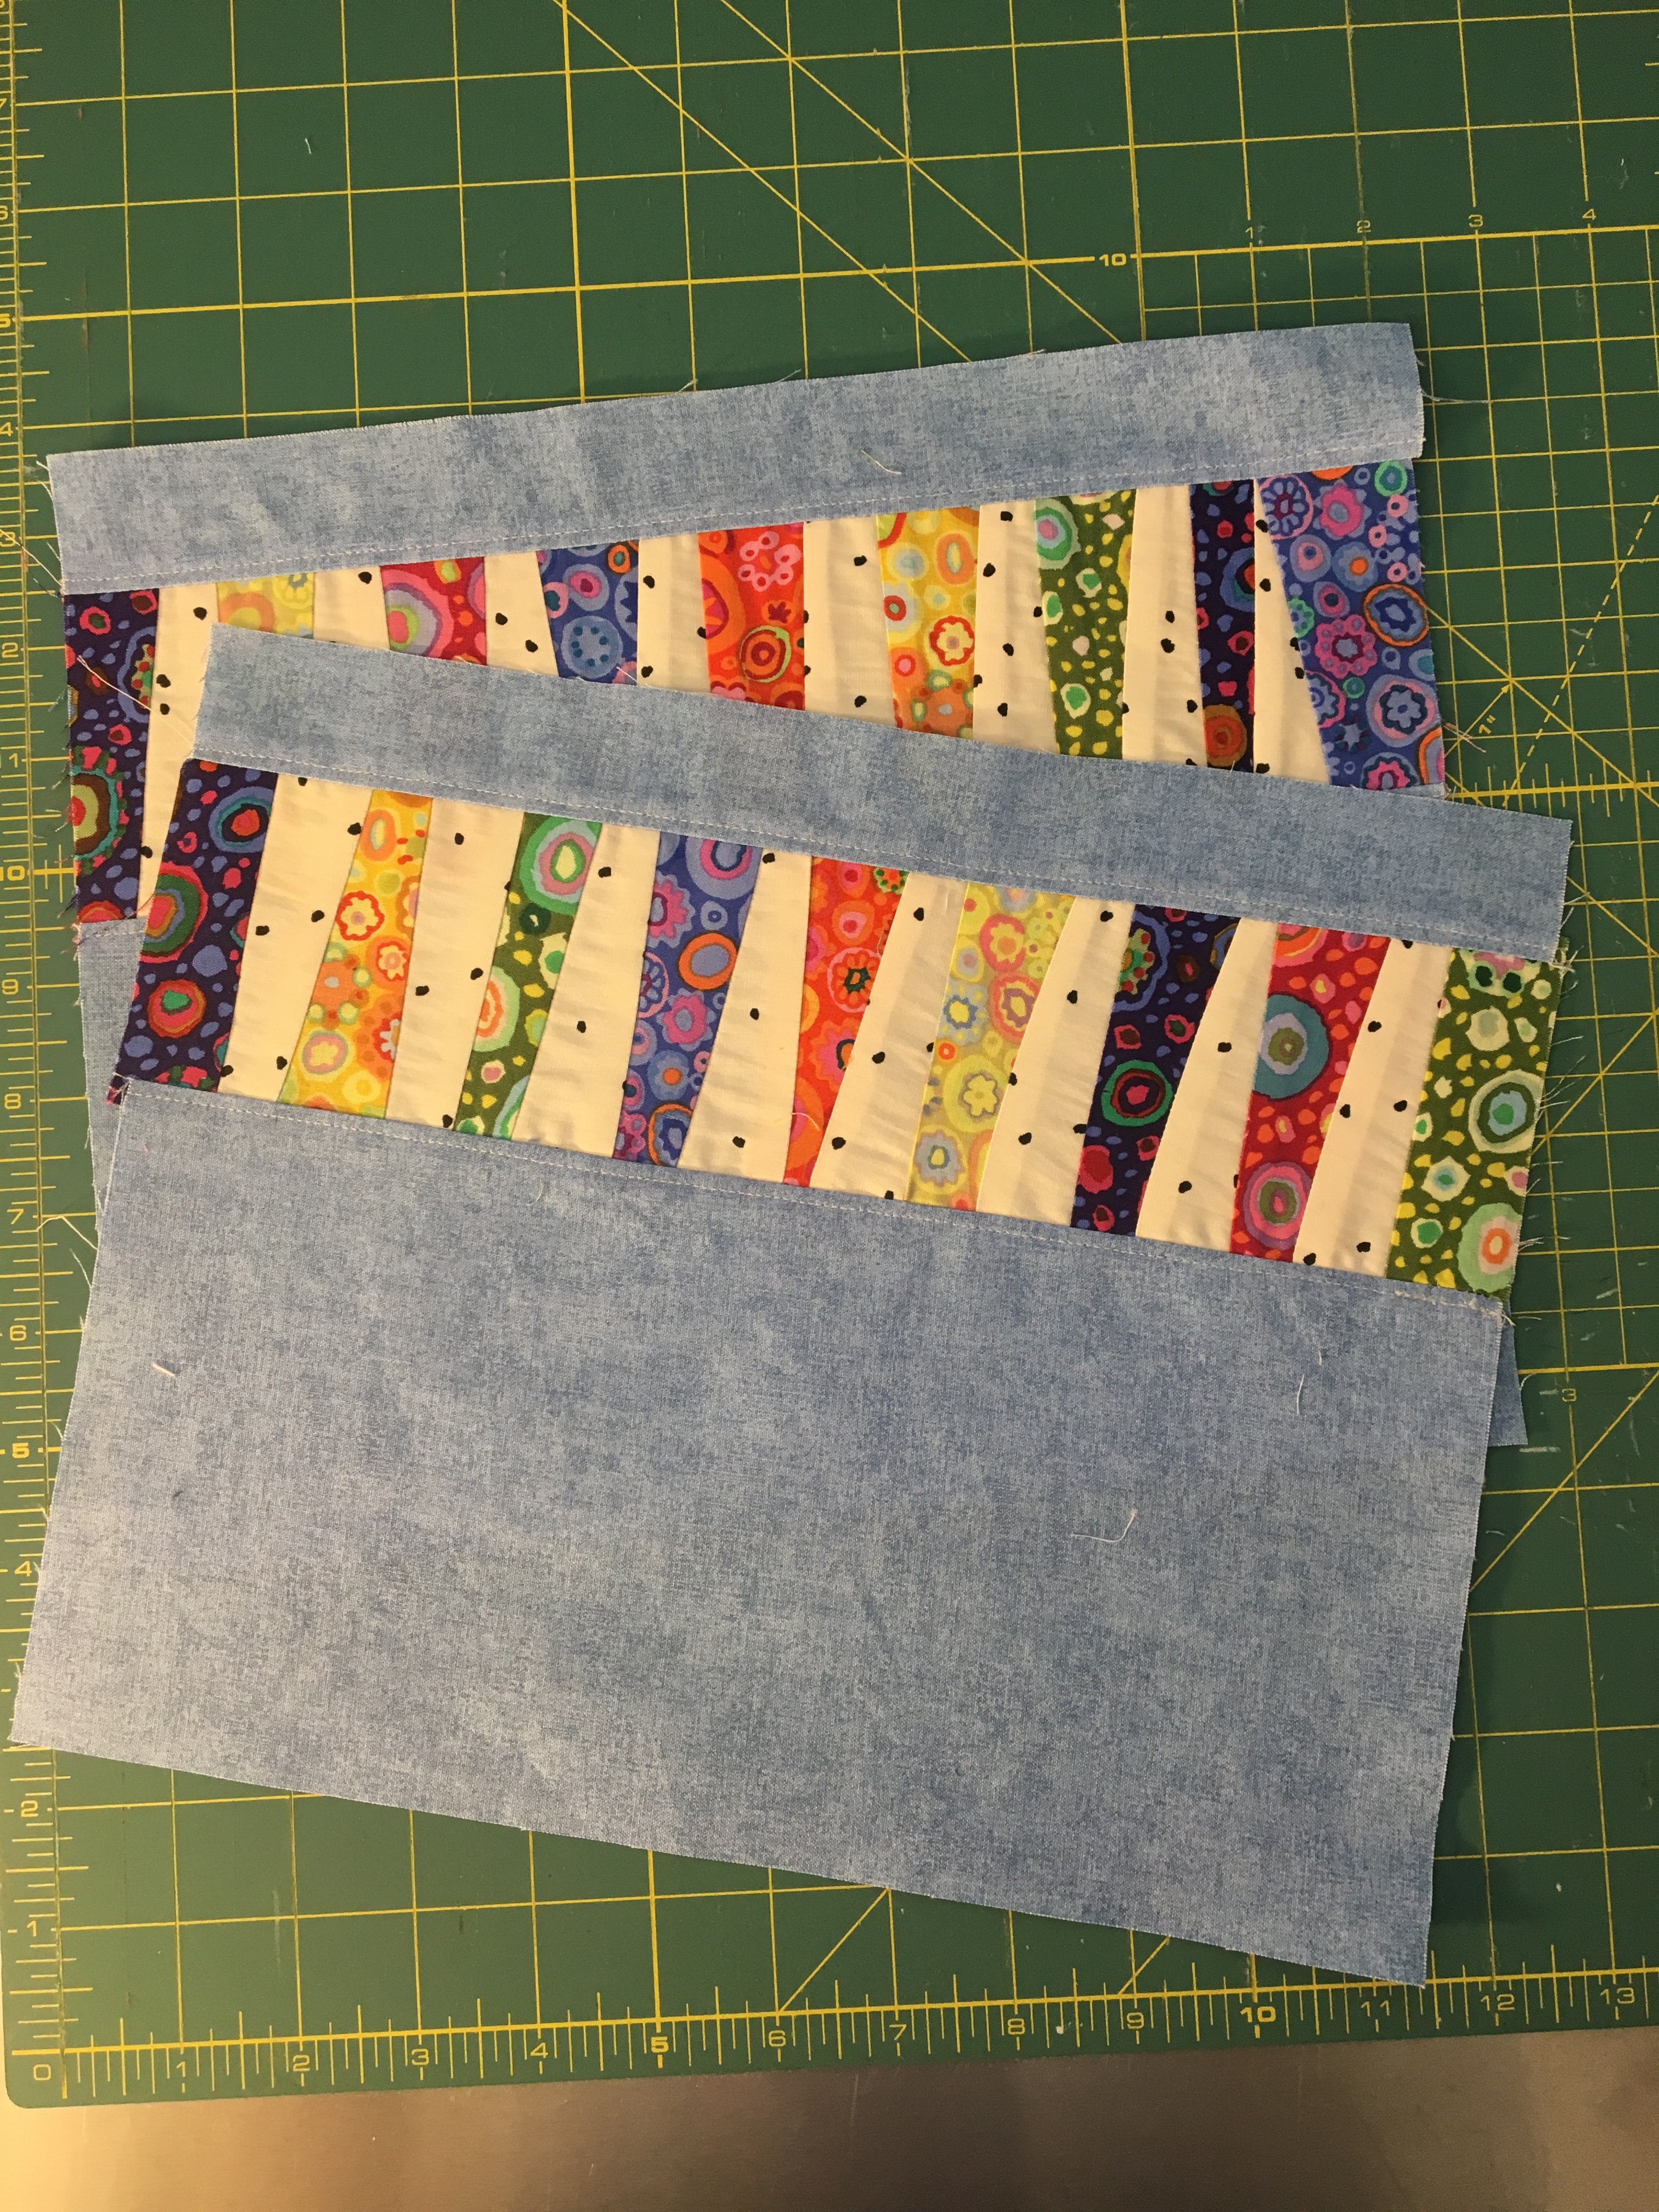
- Sew 1-1/2 inch strip to top of pieced panel. Press seam allowances away from pieced panel. Top stitch along the body fabric.
- Sew bottom panel to bottom of the pieced panel. Press seam allowances away from the pieced panel. Top stitch along the body fabric.
Sewing in Zipper:
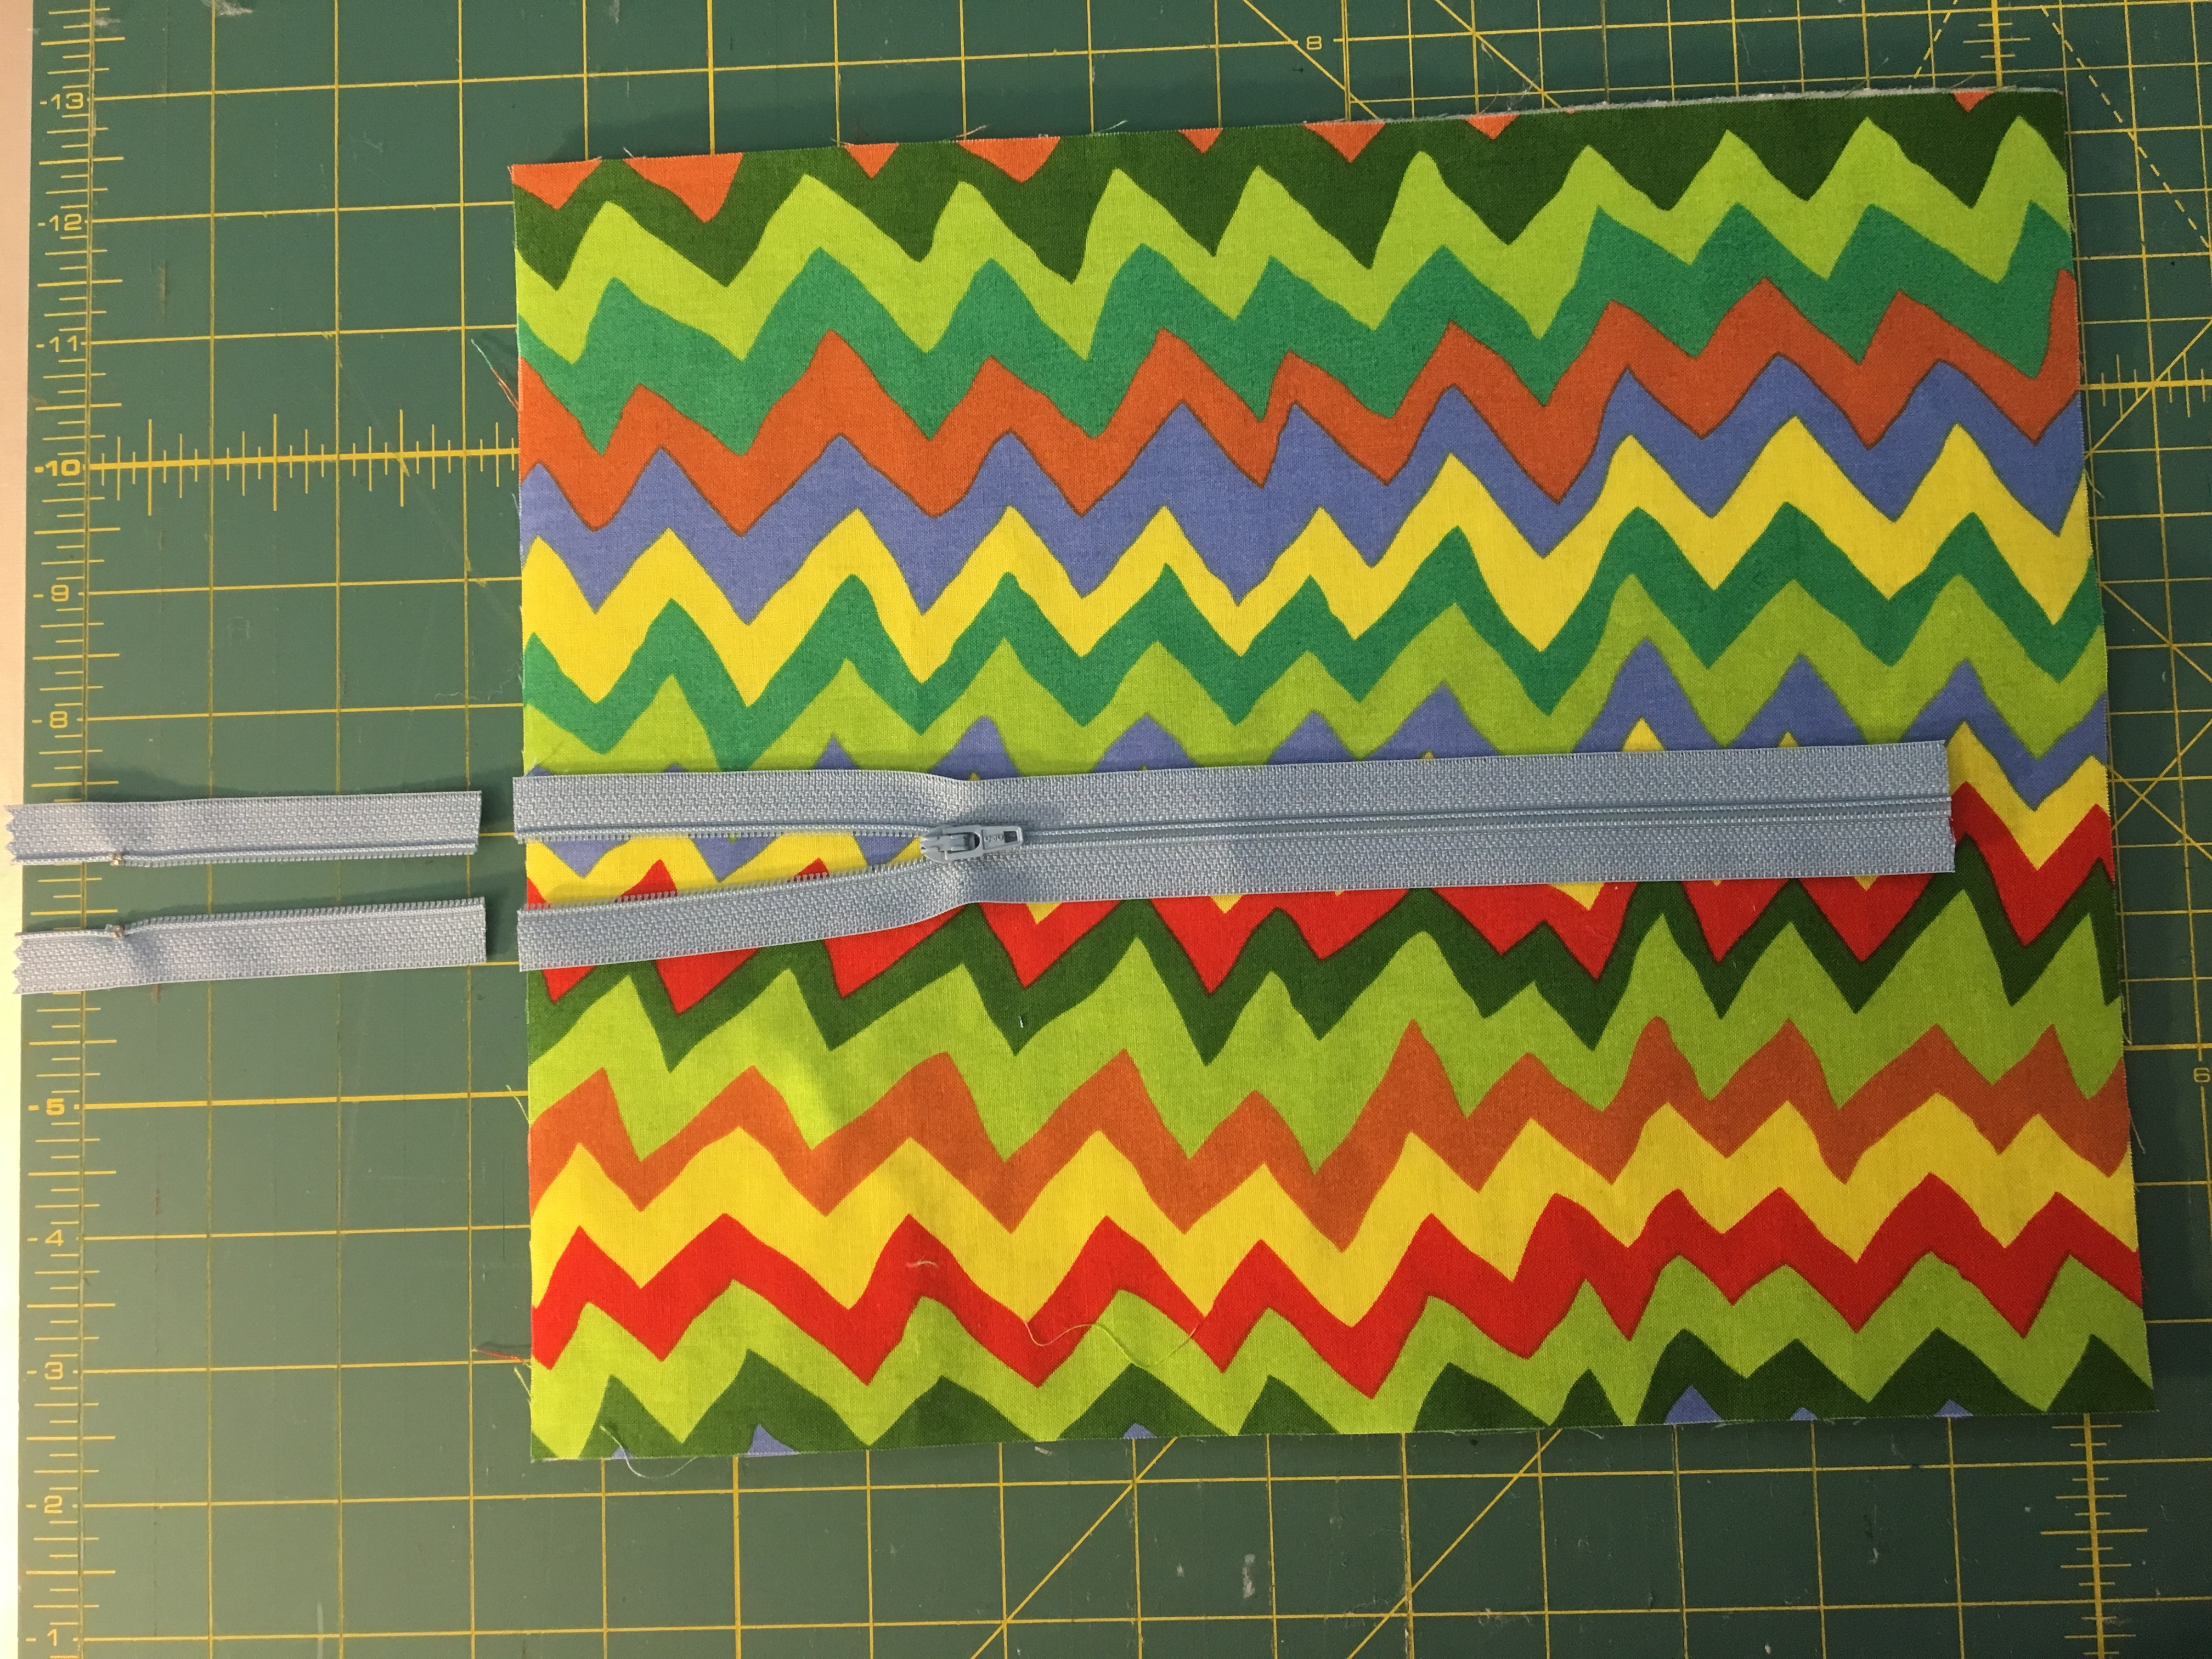
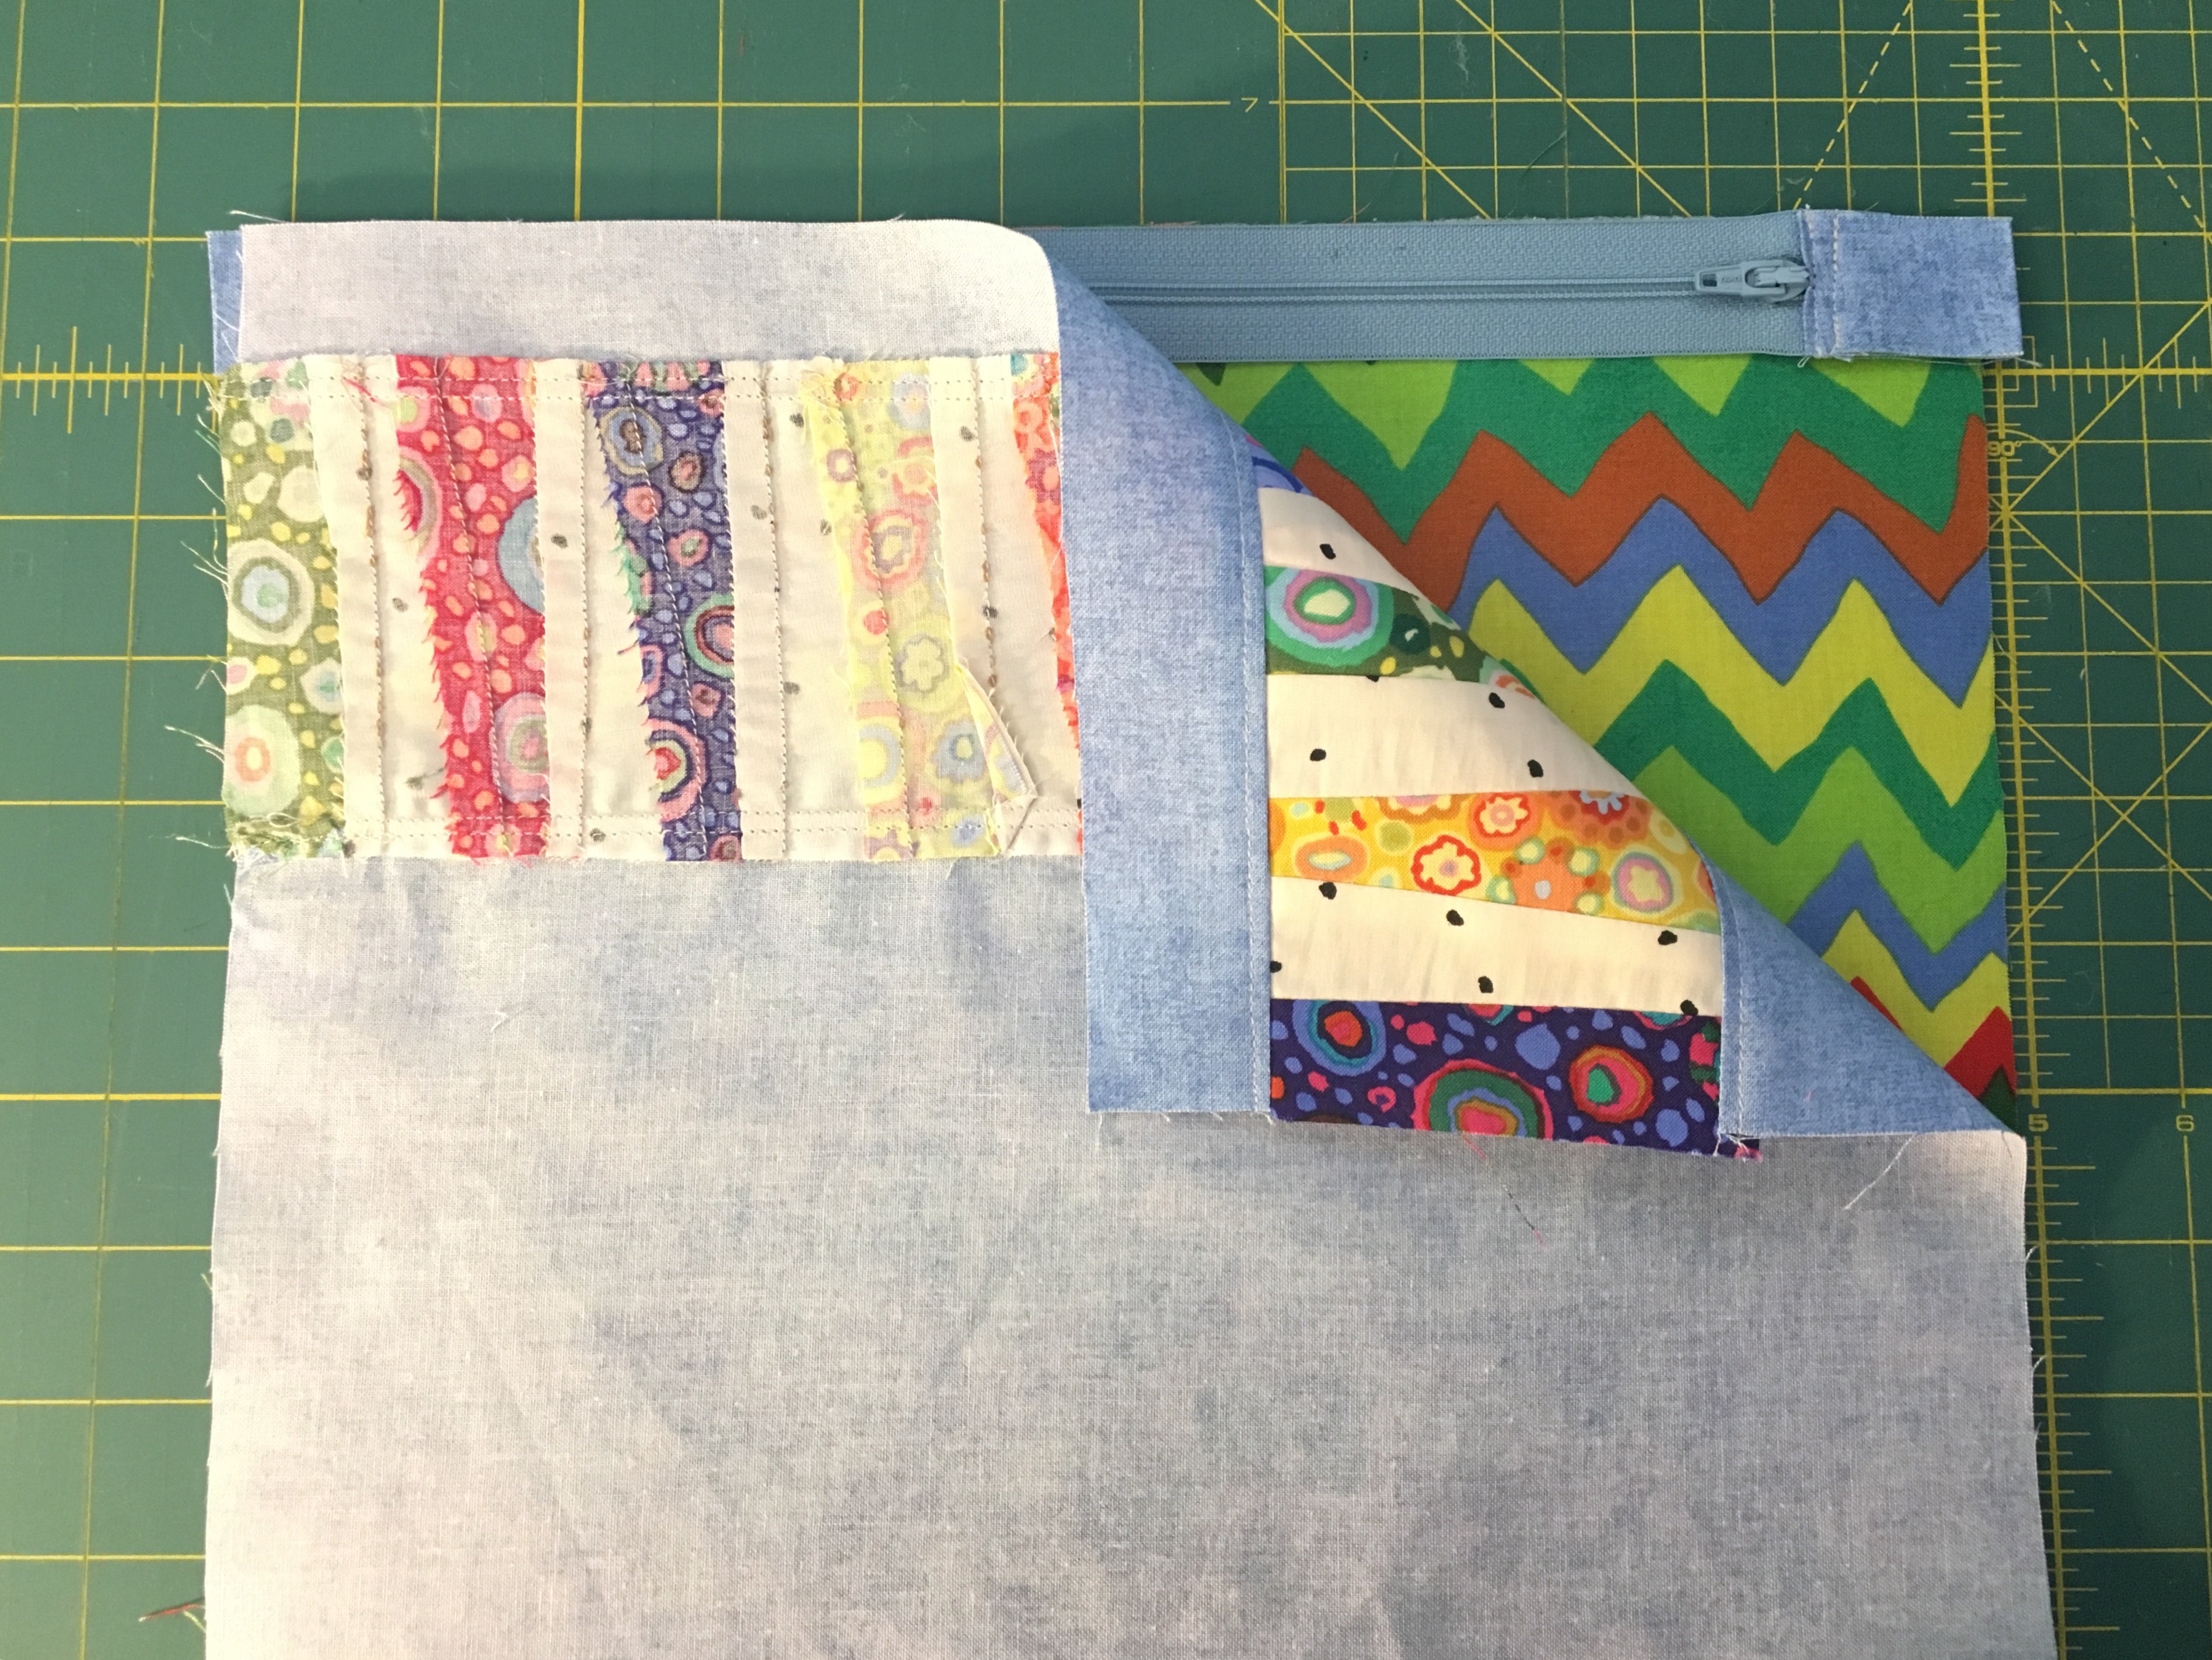
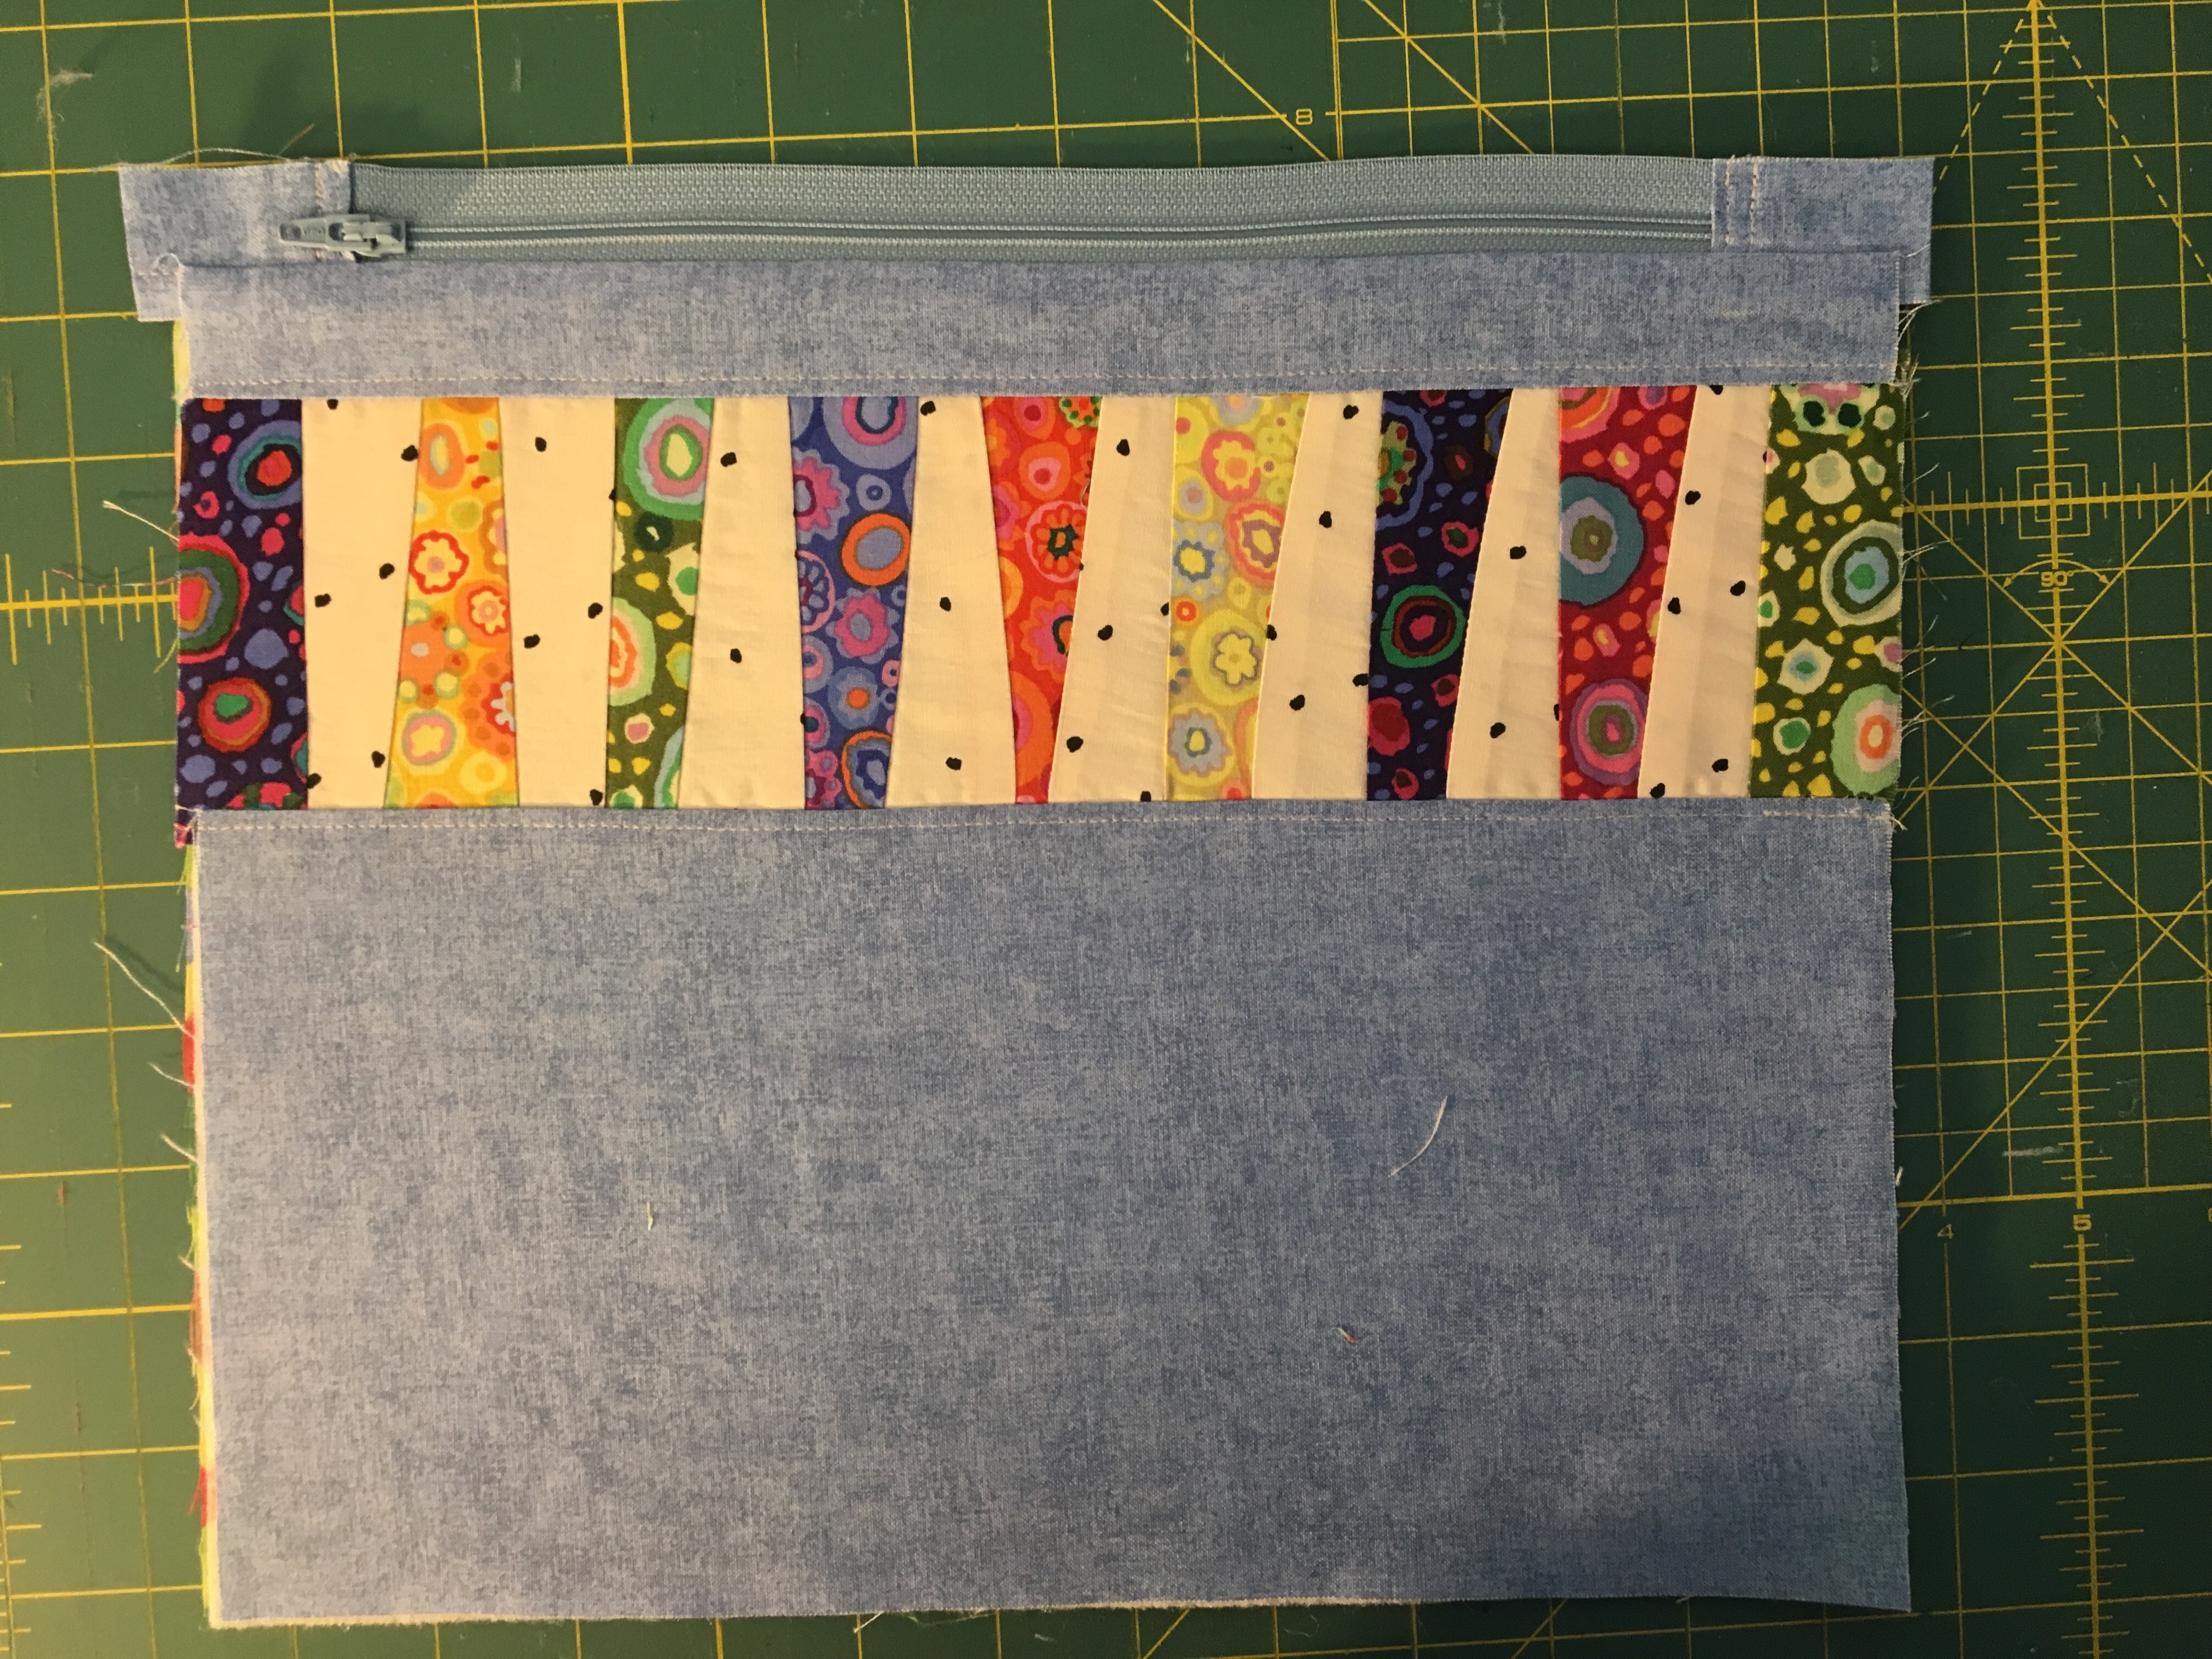
- Place one lining/Pelon piece on table, with lining fabric facing up. Lay the zipper with tabs along top edge and with zipper pull up and to the right. Center the zipper between the two sides. There will be excess zipper tab fabric extending beyond the lining piece on each side.
- Lay one of the bag front panels right side down on top of zipper and lining, making sure to line up the top edges and the sides.
- Carefully pin the zipper between the lining and bag front.
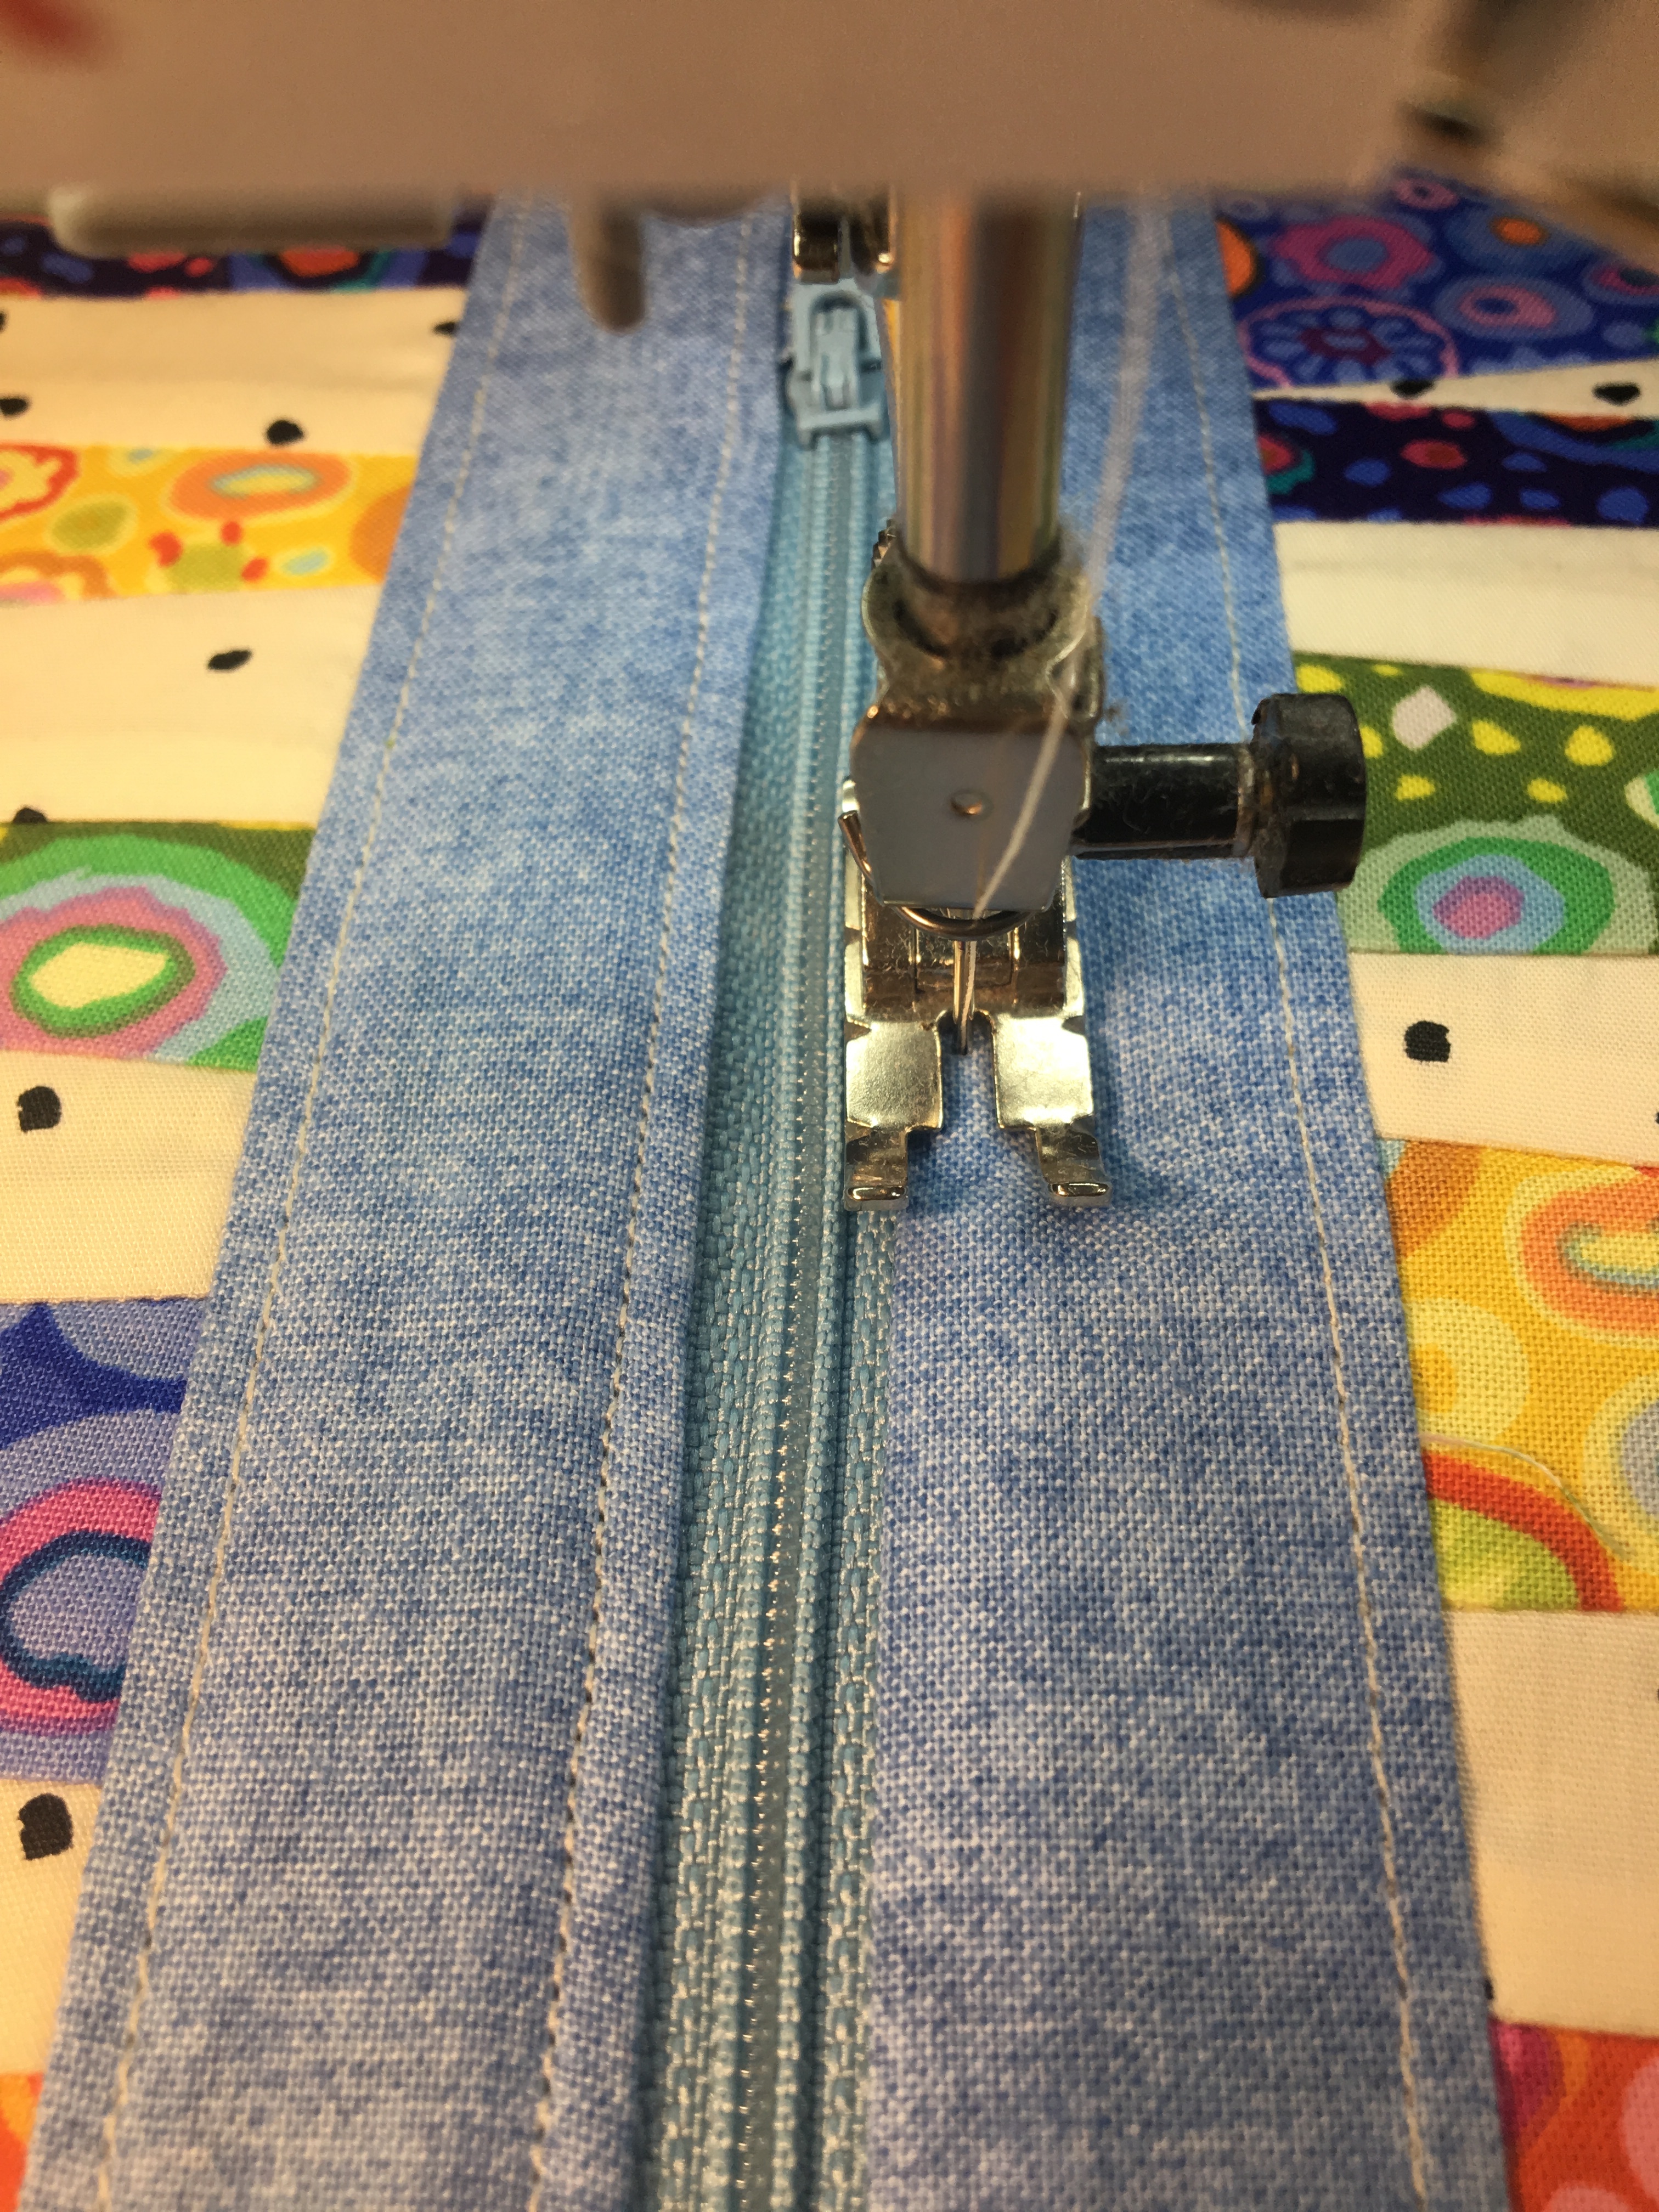
- Using your zipper foot, sew a ¼ inch seam along the top edge of these pieces. When you get within about an inch of the zipper pull, stop and put your needle down, lift the foot, and reach in and slide the zipper pull into the section you’ve already sewn. Lower your foot, and finish this seam.
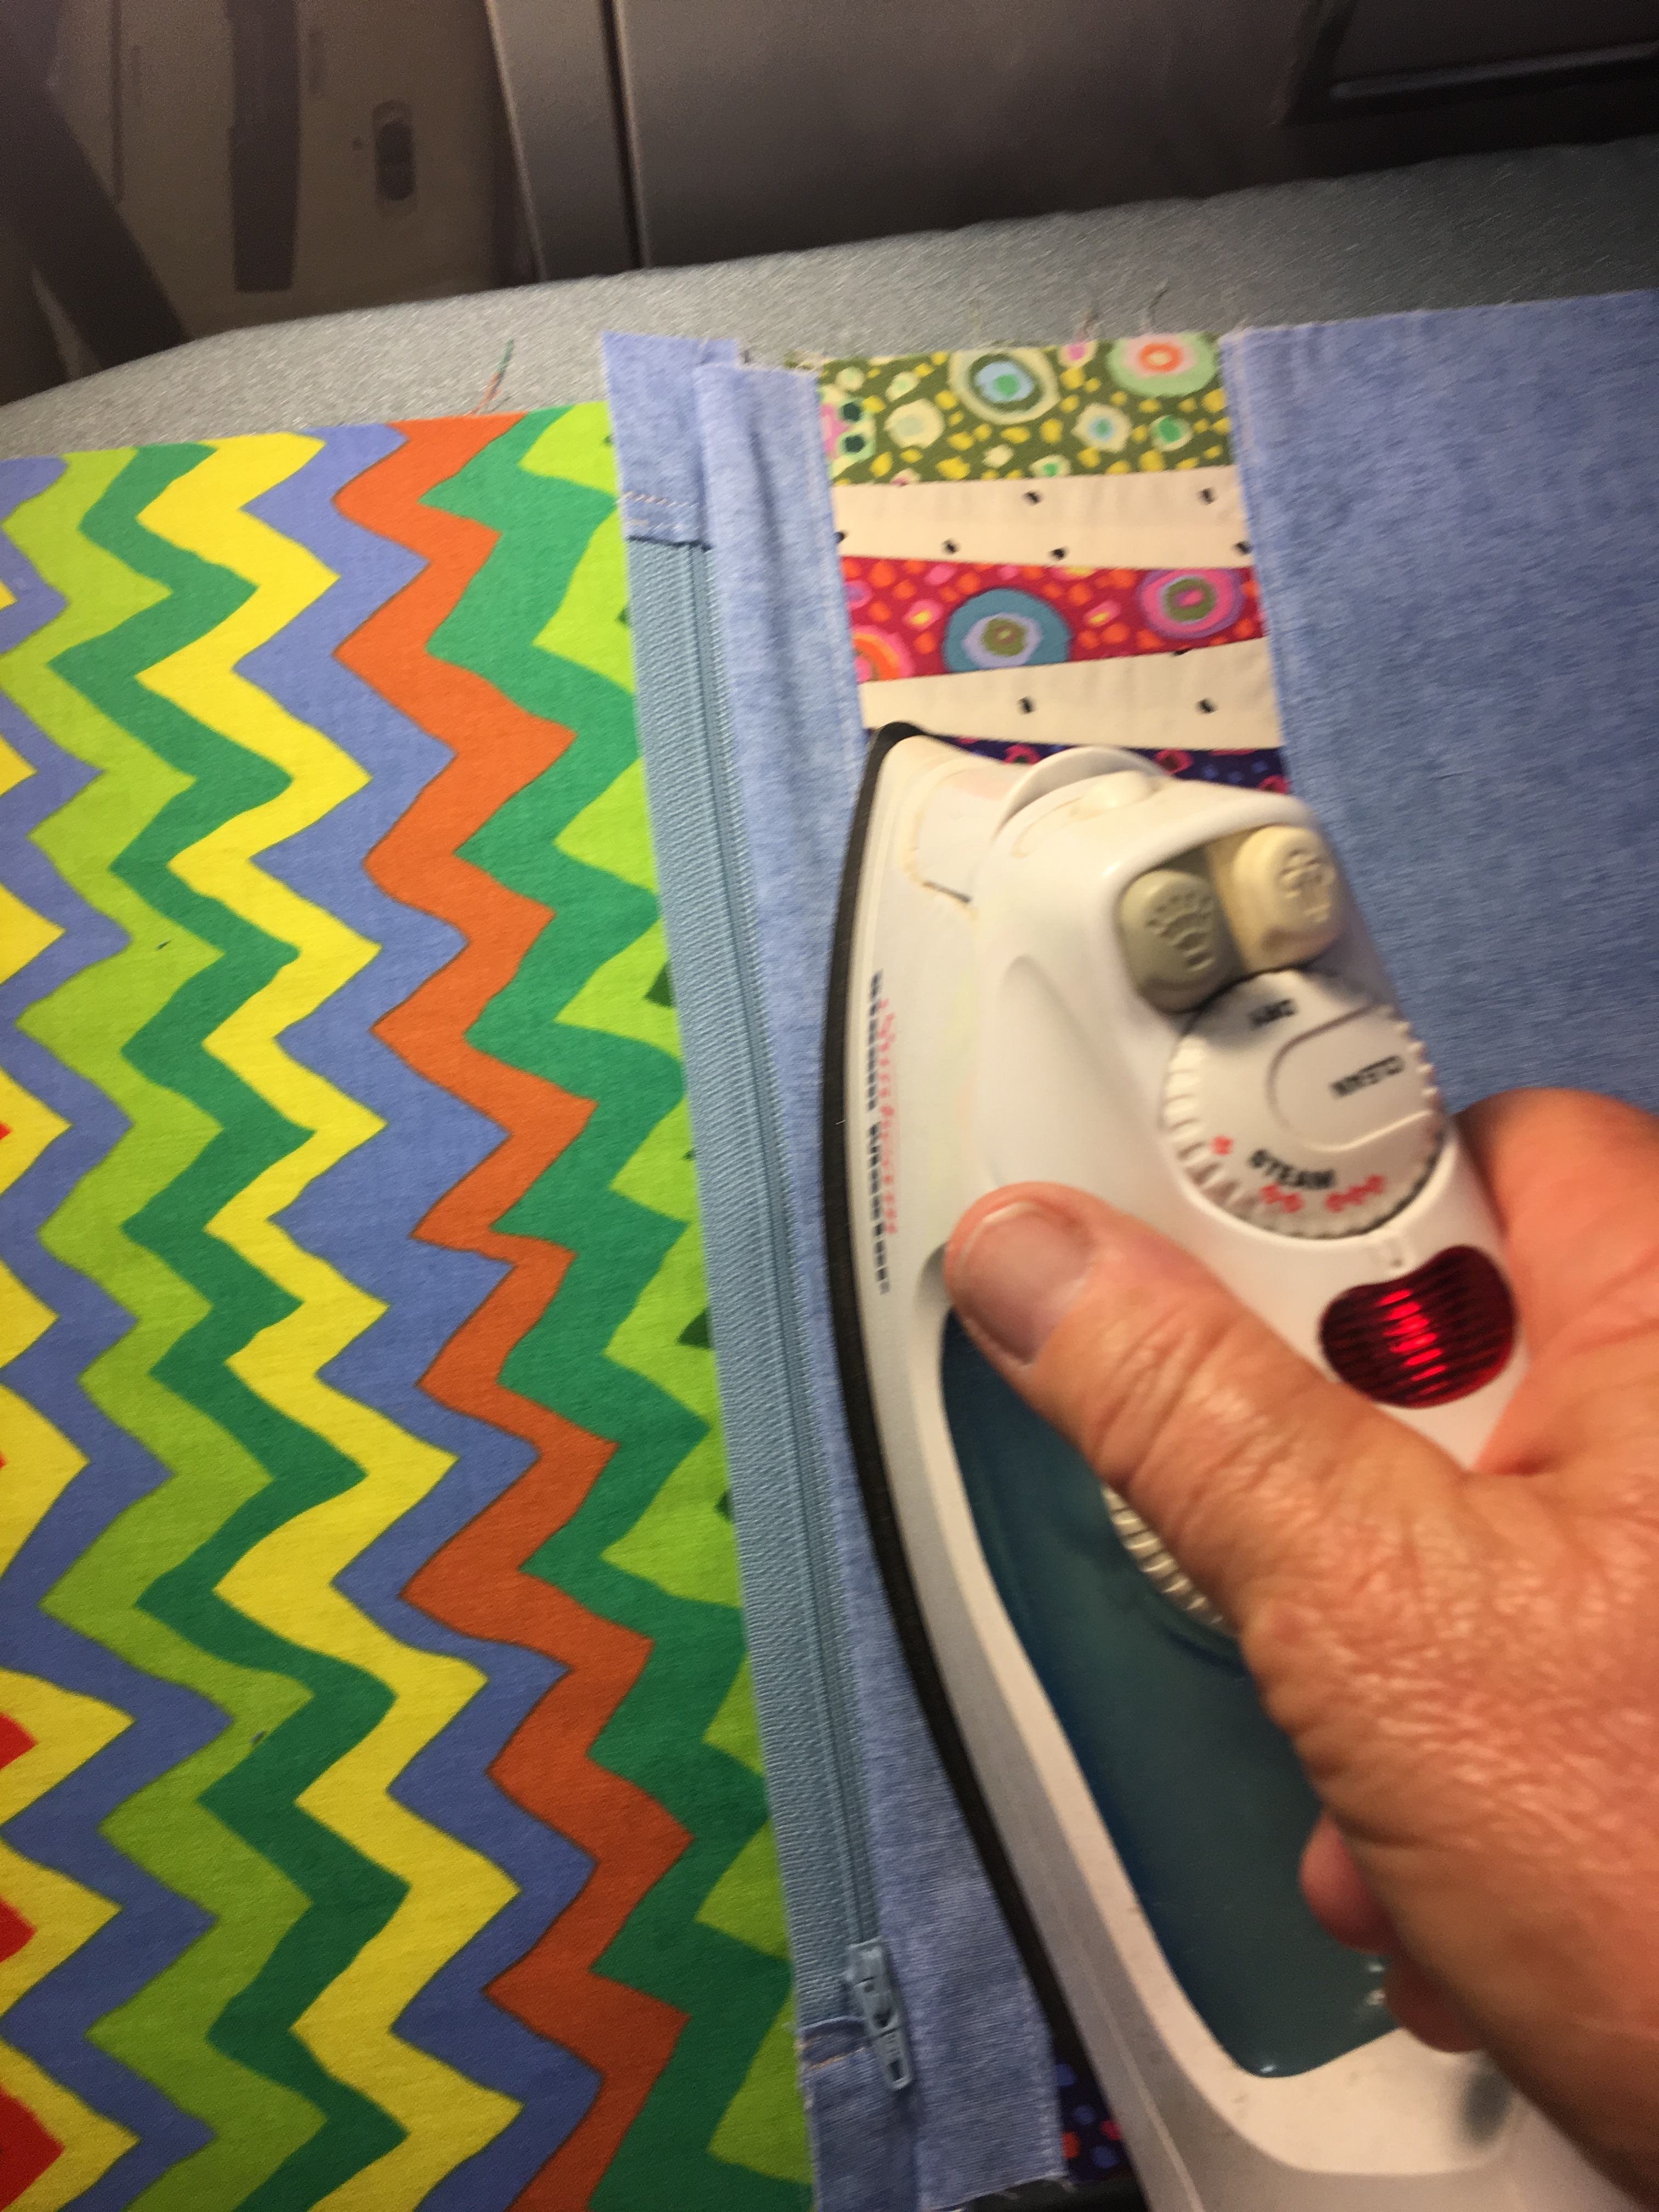
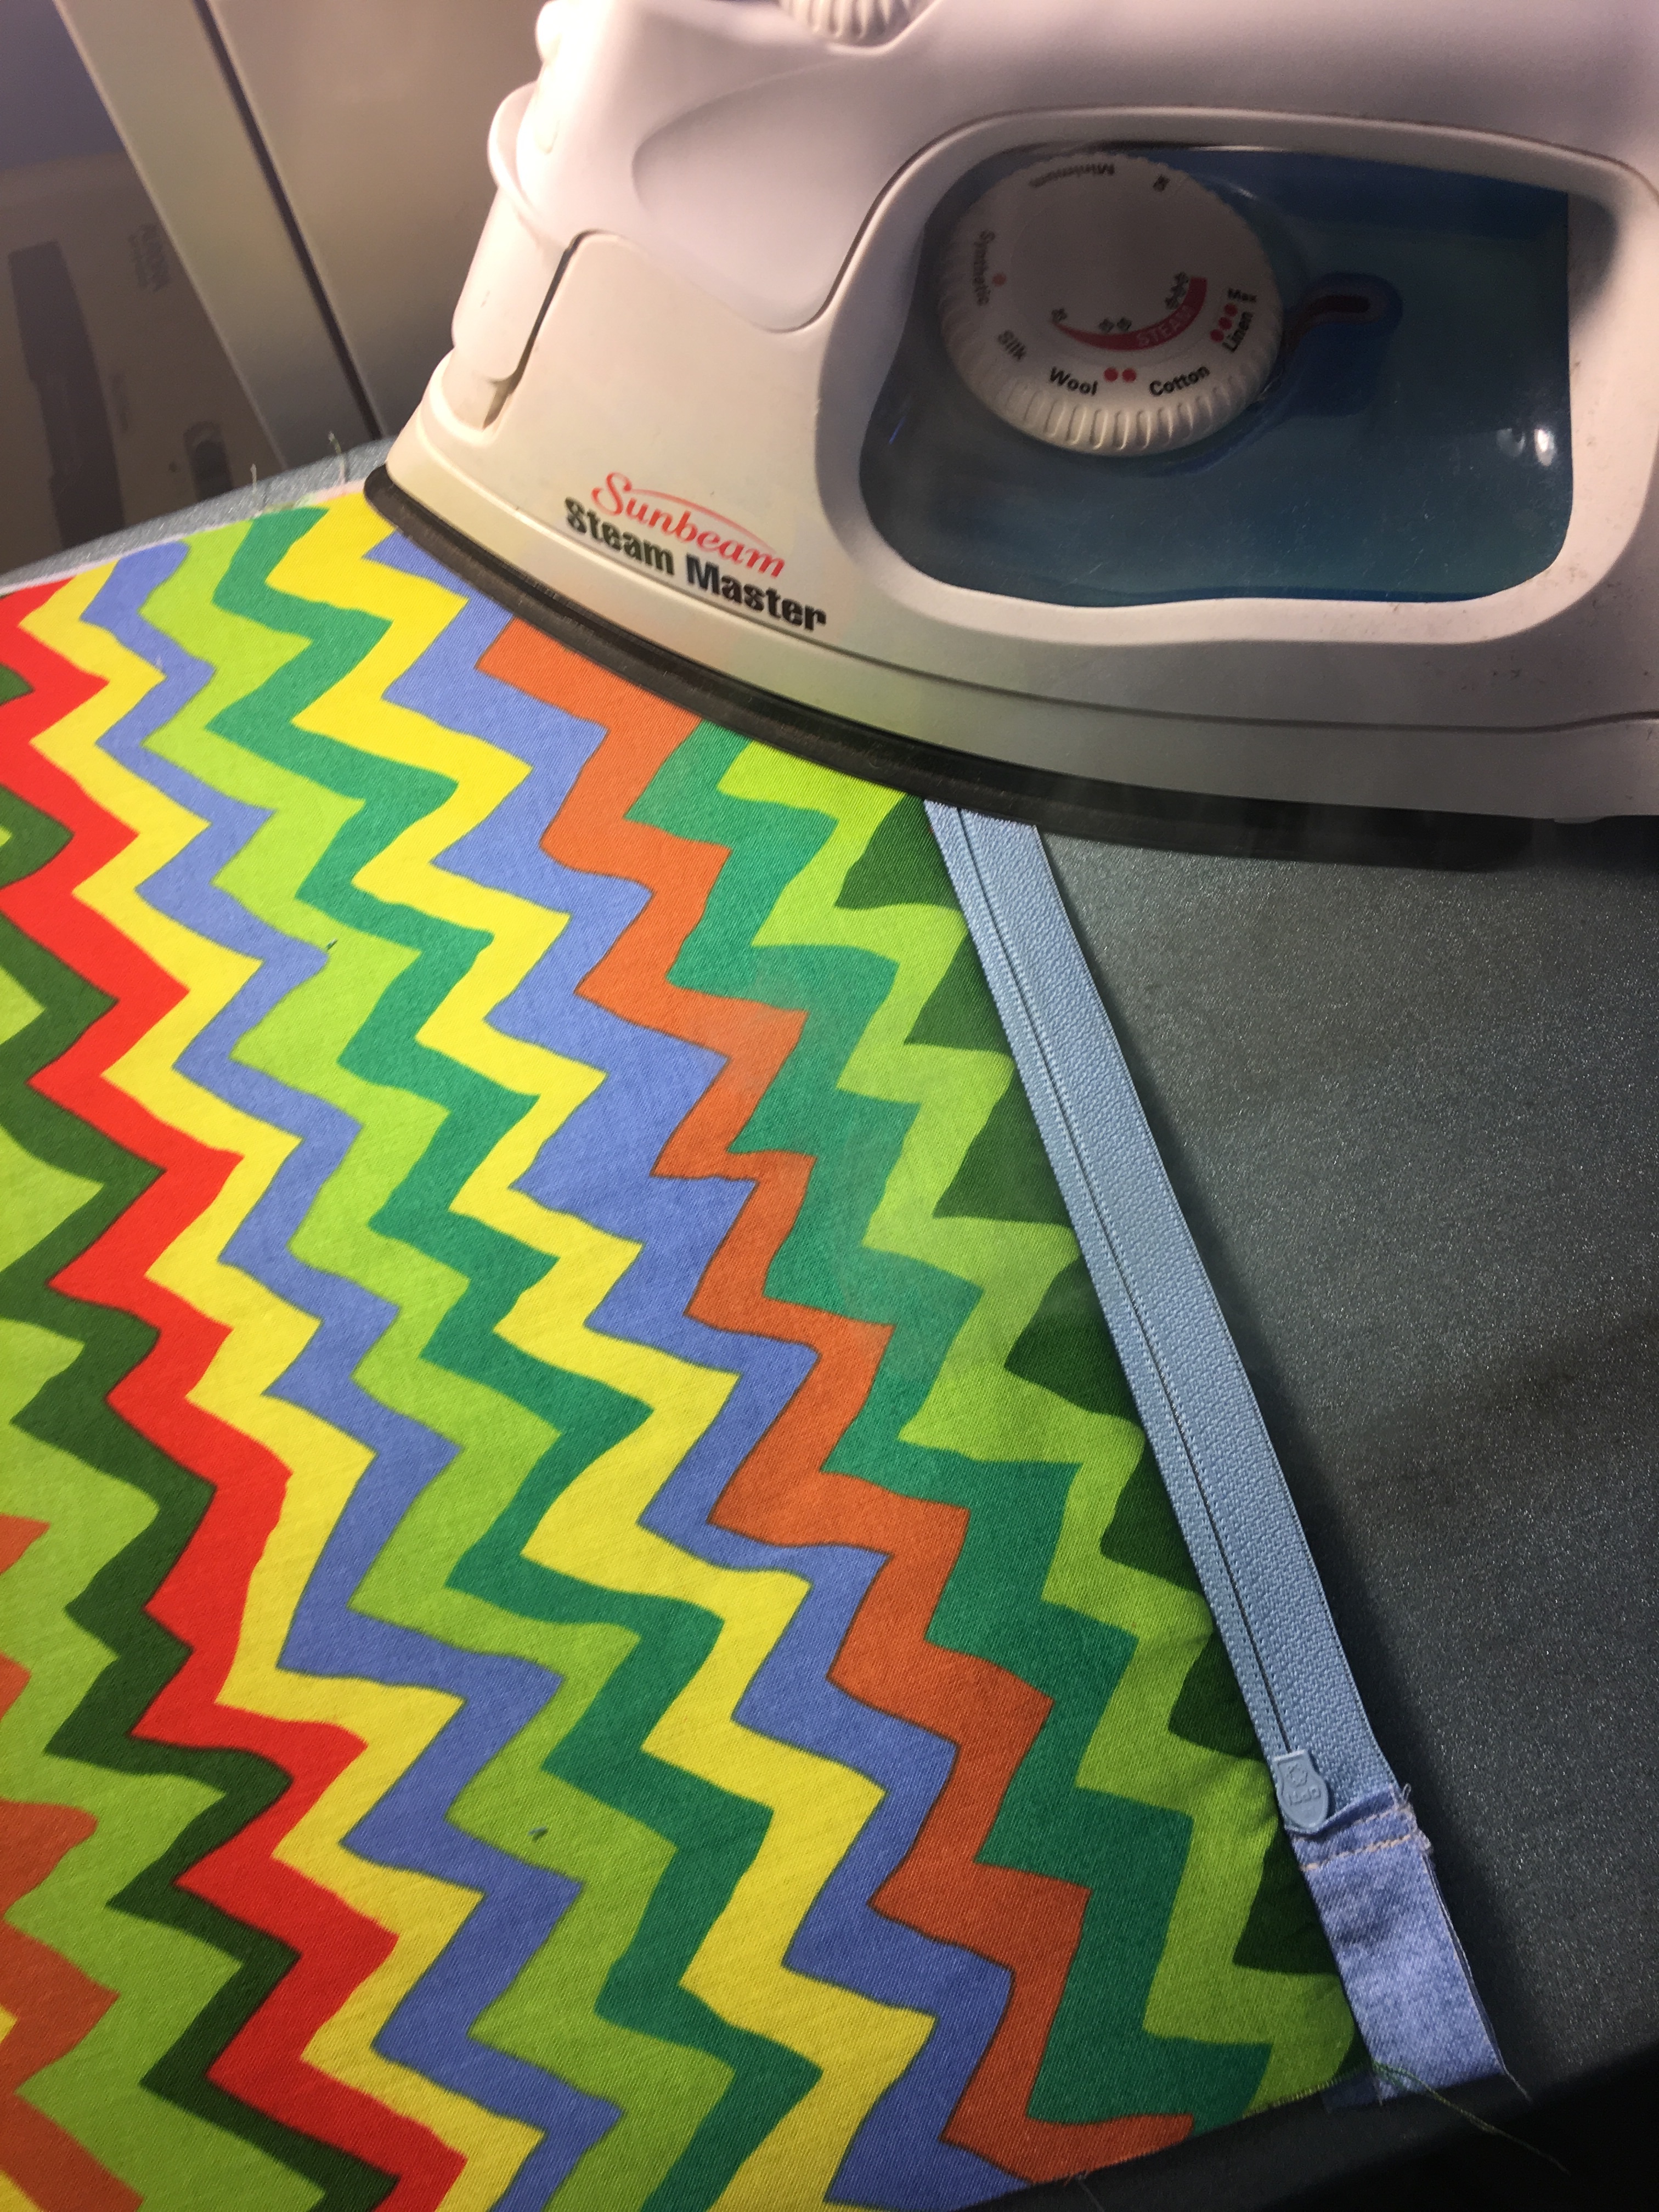
- Press each piece away from the zipper. I press the front first, and the lining second.
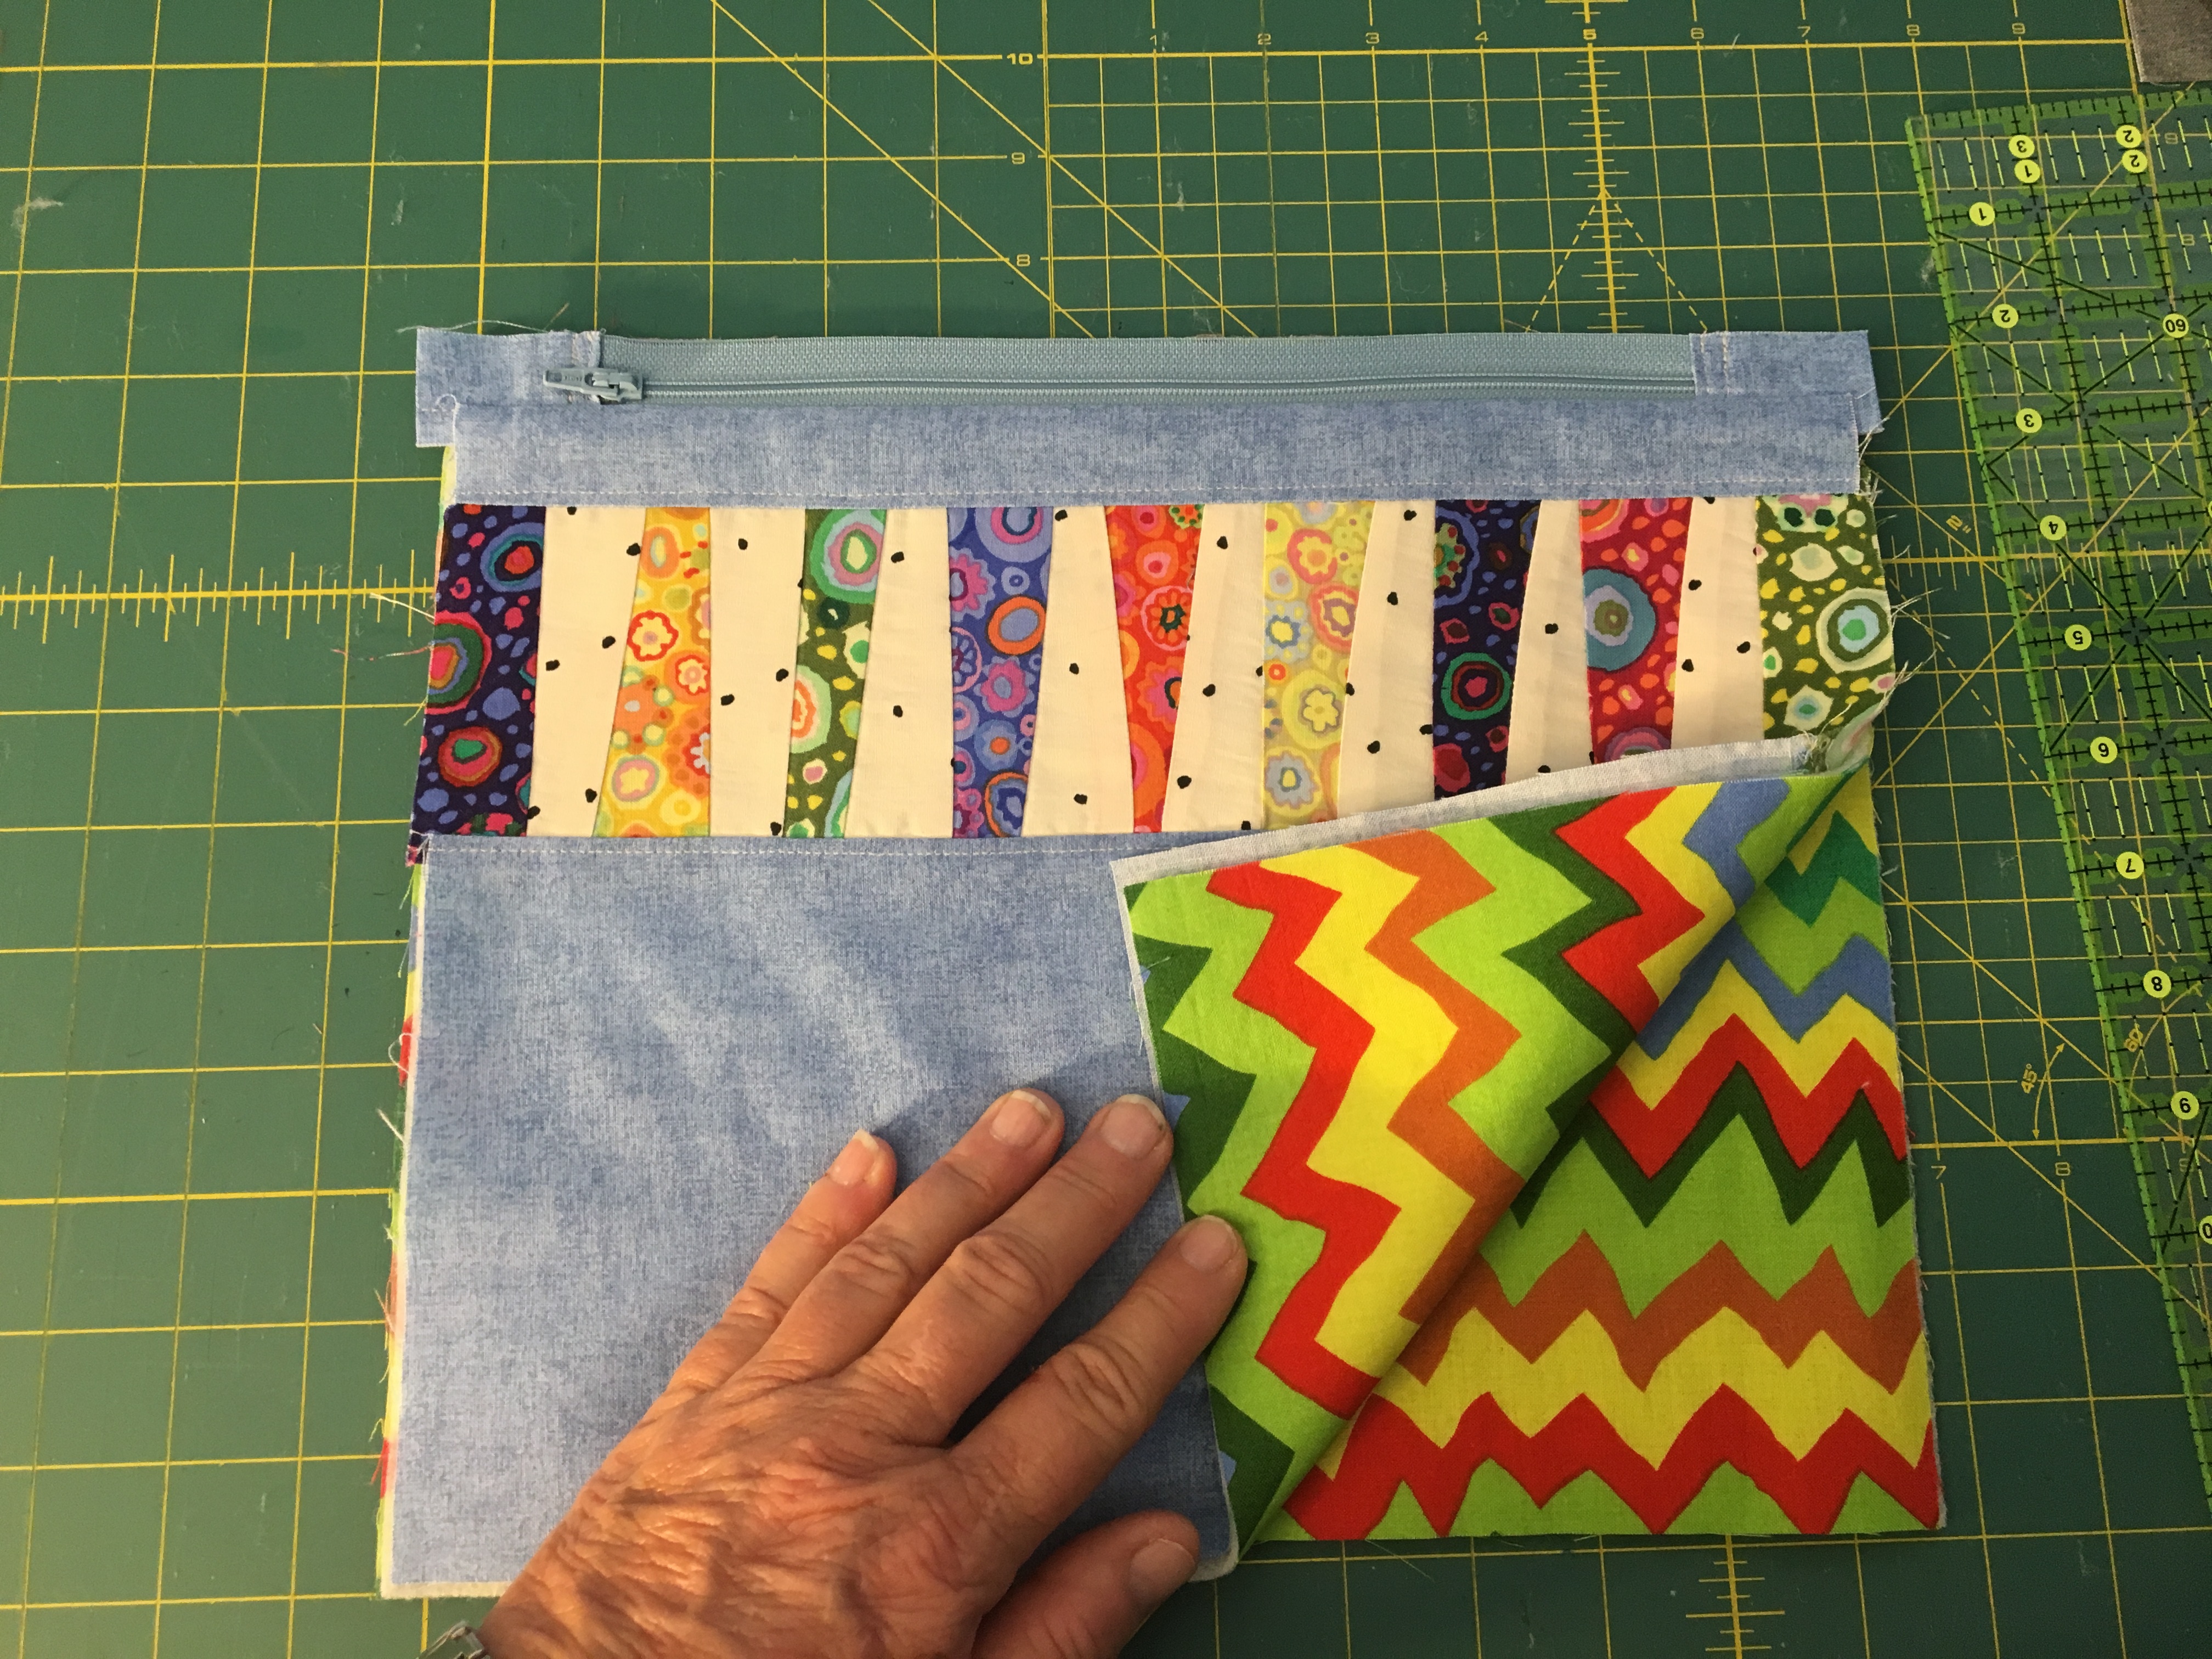
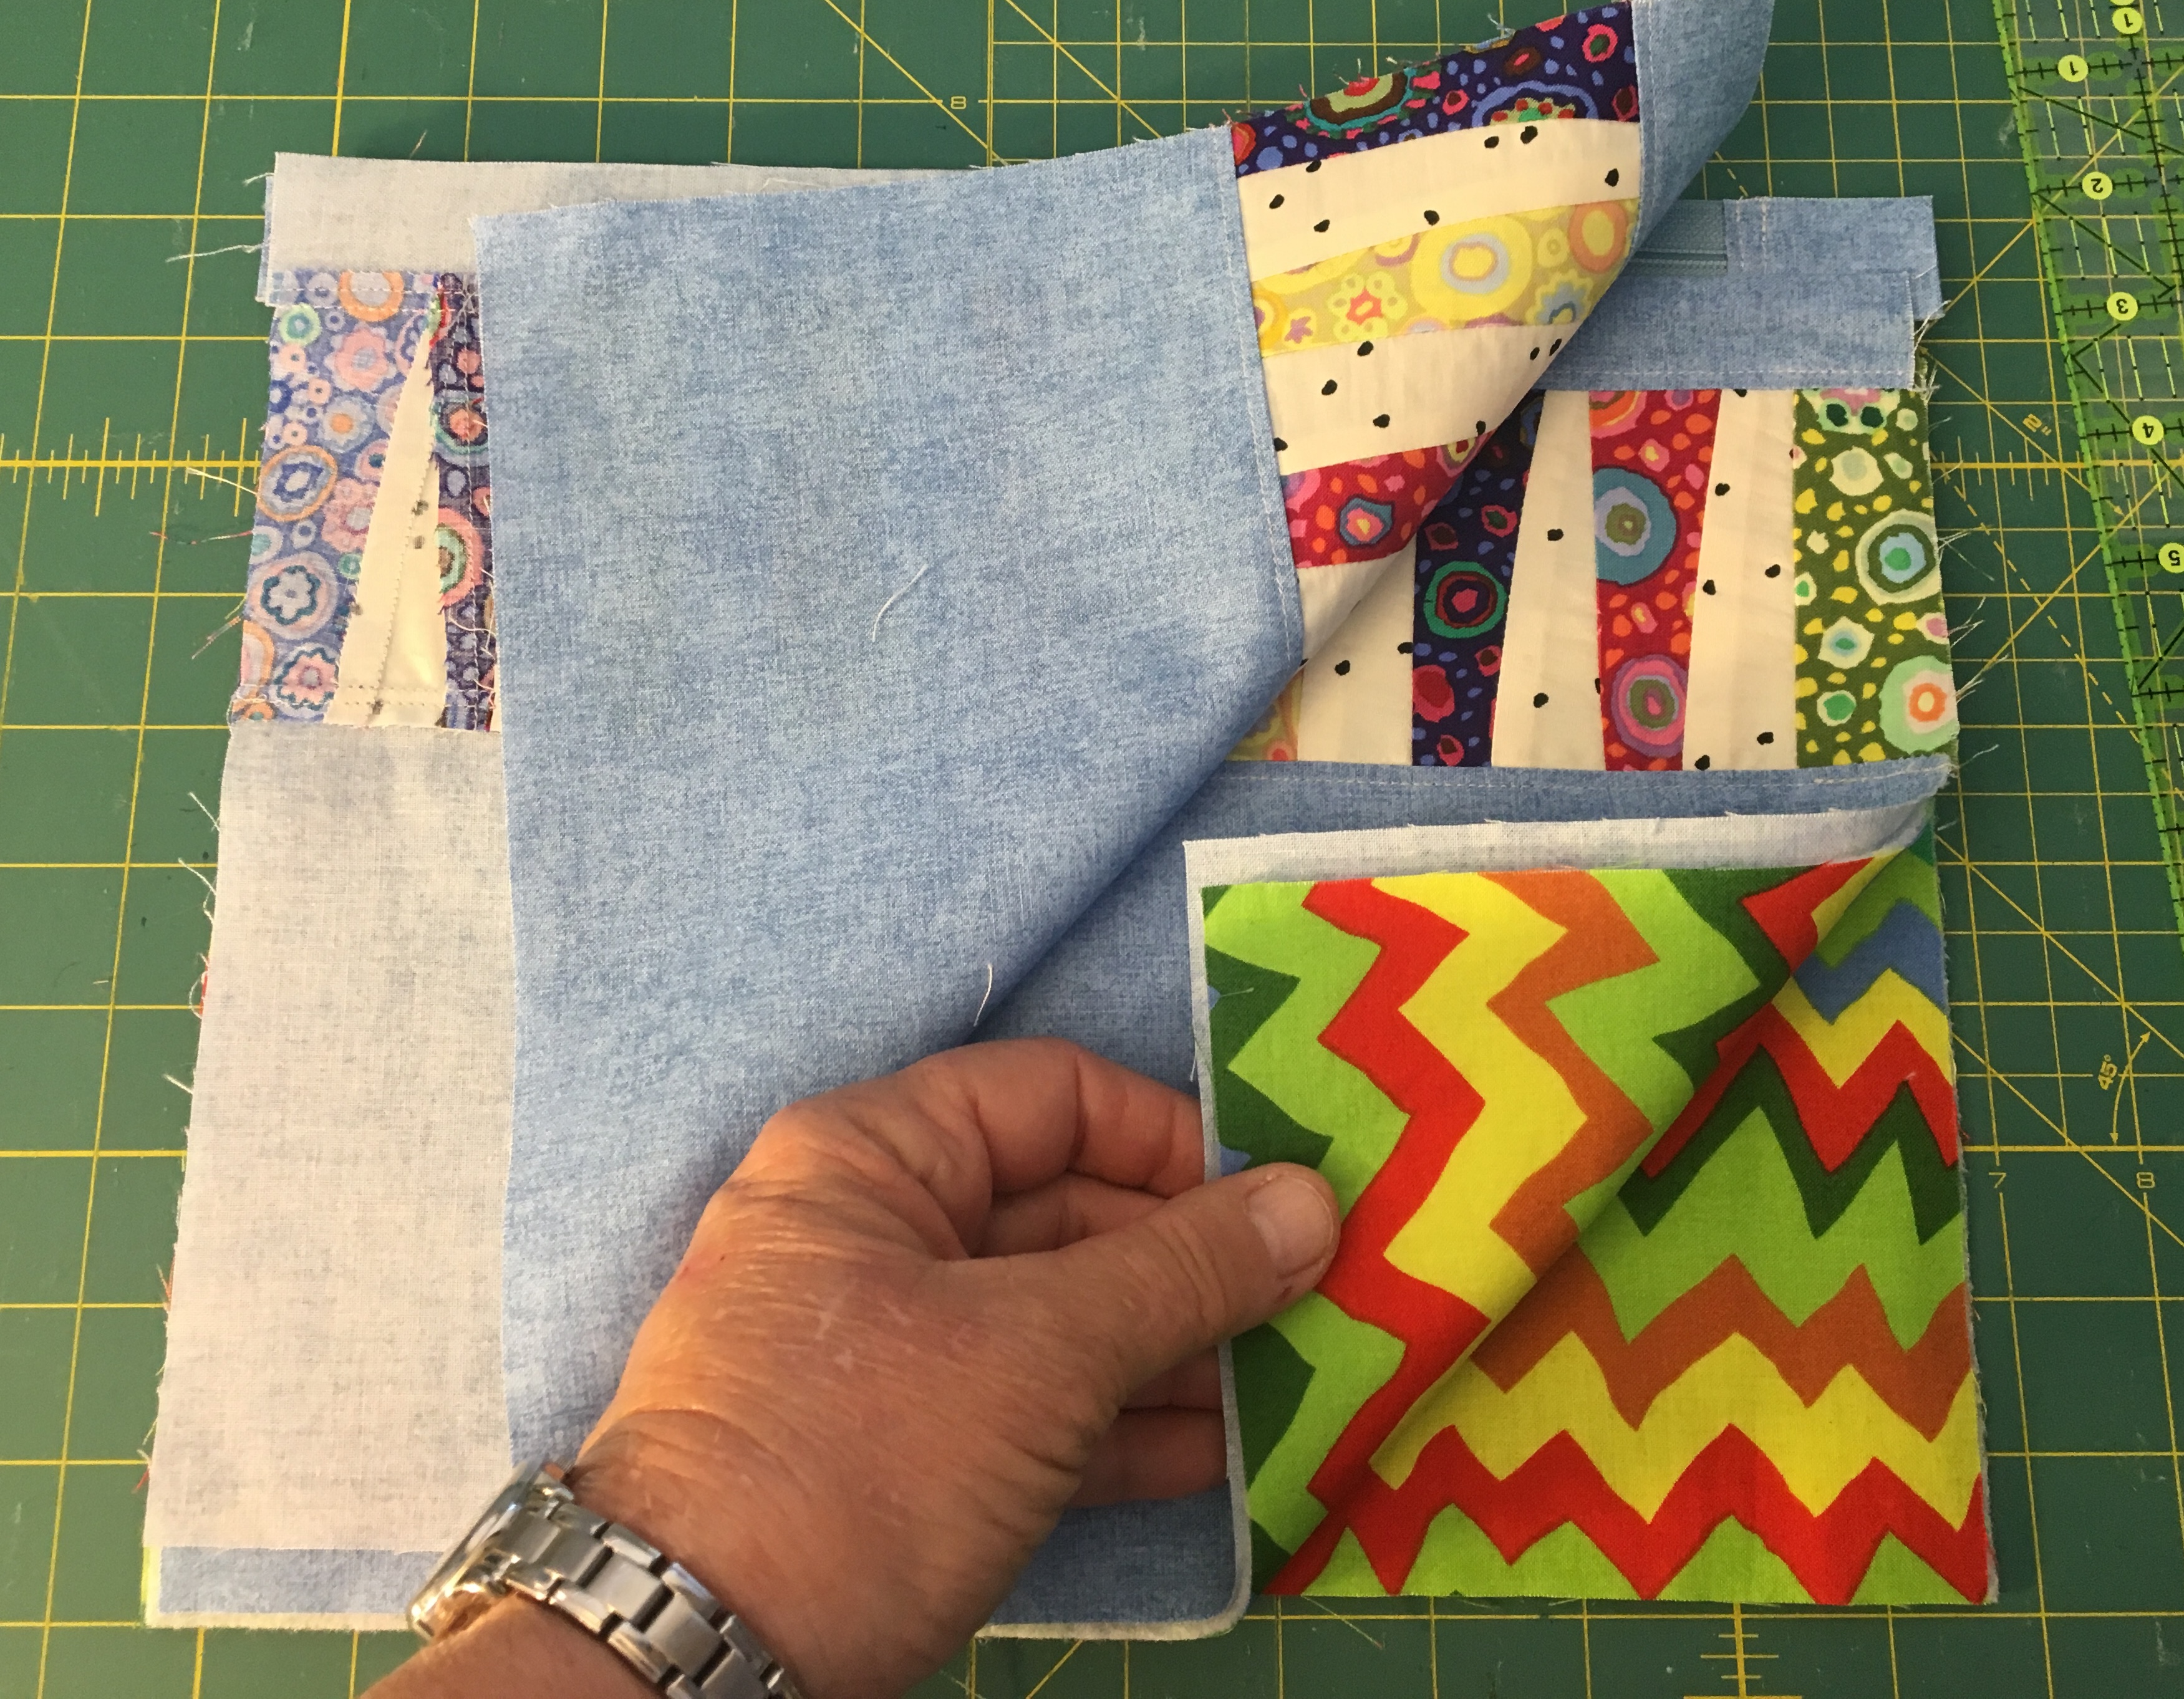
- Lay second piece of lining face up. With zipper closed, lay the piece you just finished on top of the 2nd lining, with pouch front right side facing up. Make sure the top of the 2nd lining and the zipper are lined up. Also line up sides of these pieces. Now open the zipper (I do it this way because when the zipper opens, it will move — but your bag pieces will be in place. You can easily move the zipper back into place as you pin.) Open the zipper now, when everything is lined up place the second pouch front face down on this stack, making sure to line up the top and sides.
- Pin carefully, about every two inches. Using your zipper foot, sew a ¼ seam to secure the zipper. When you get within about two inches of the pull, lift the fabric and slide the pull into the area you’ve already sewn.
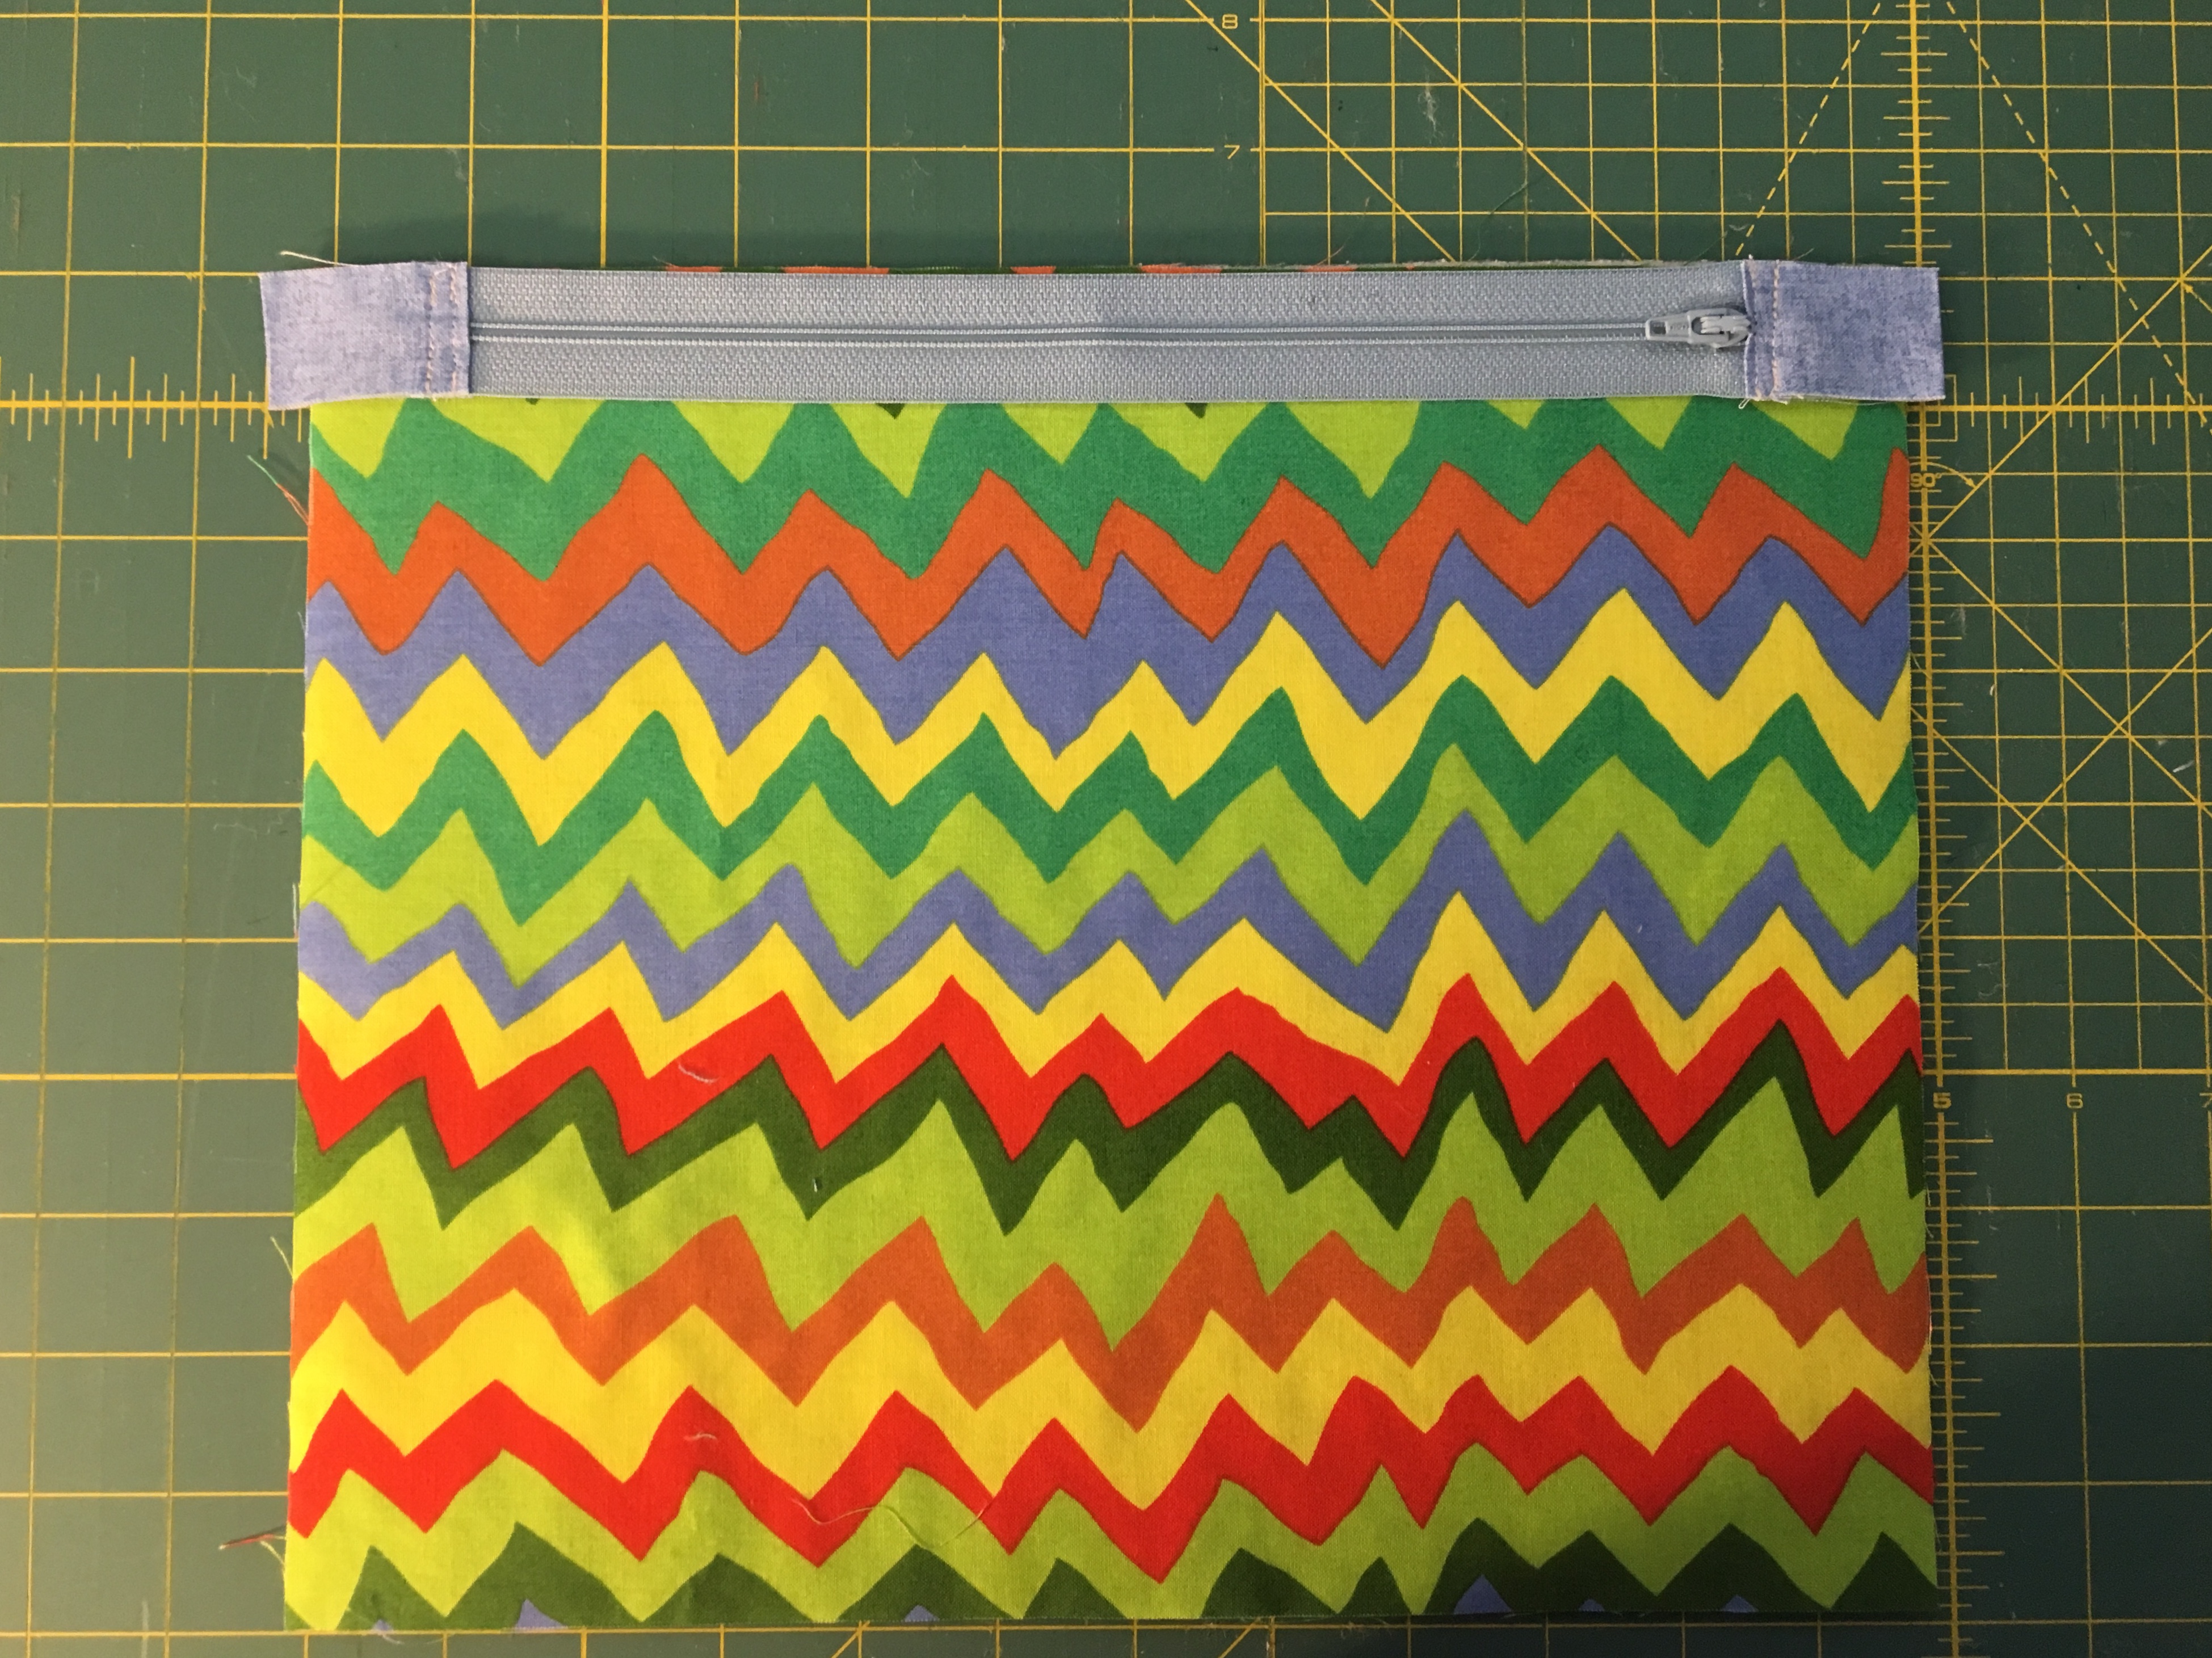
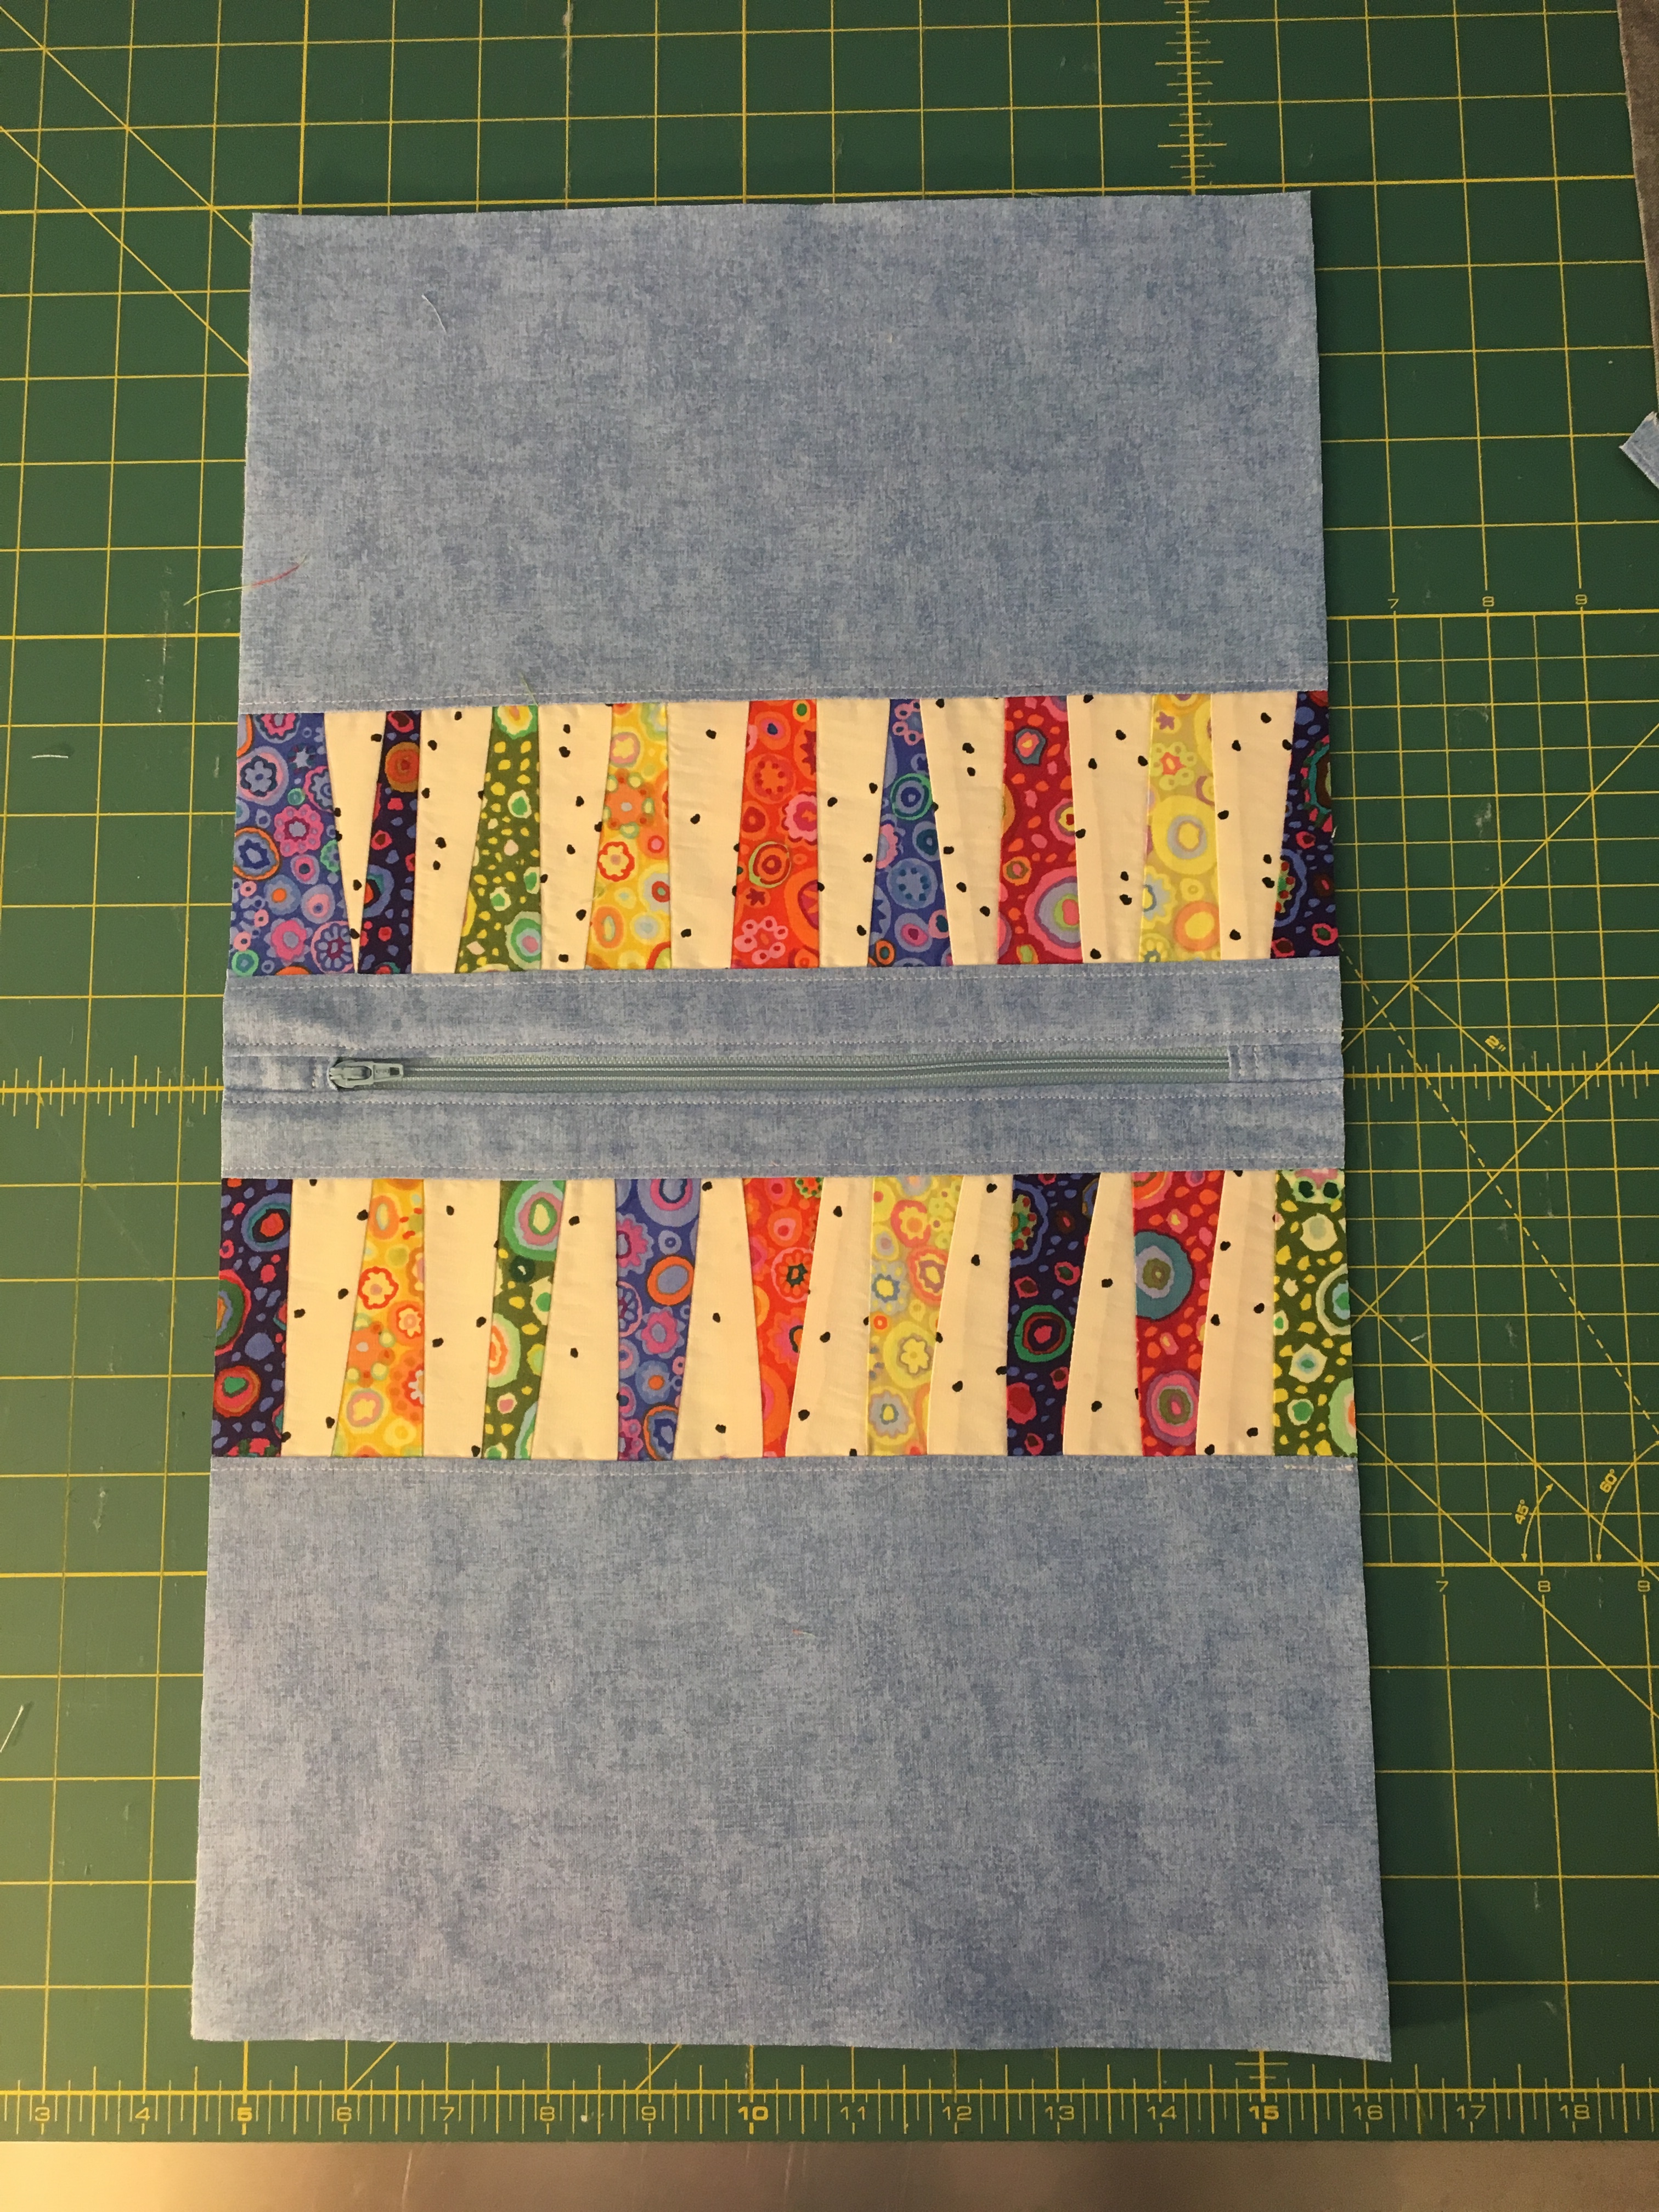
- Press these pieces away from the zipper, starting with the front, then the lining.
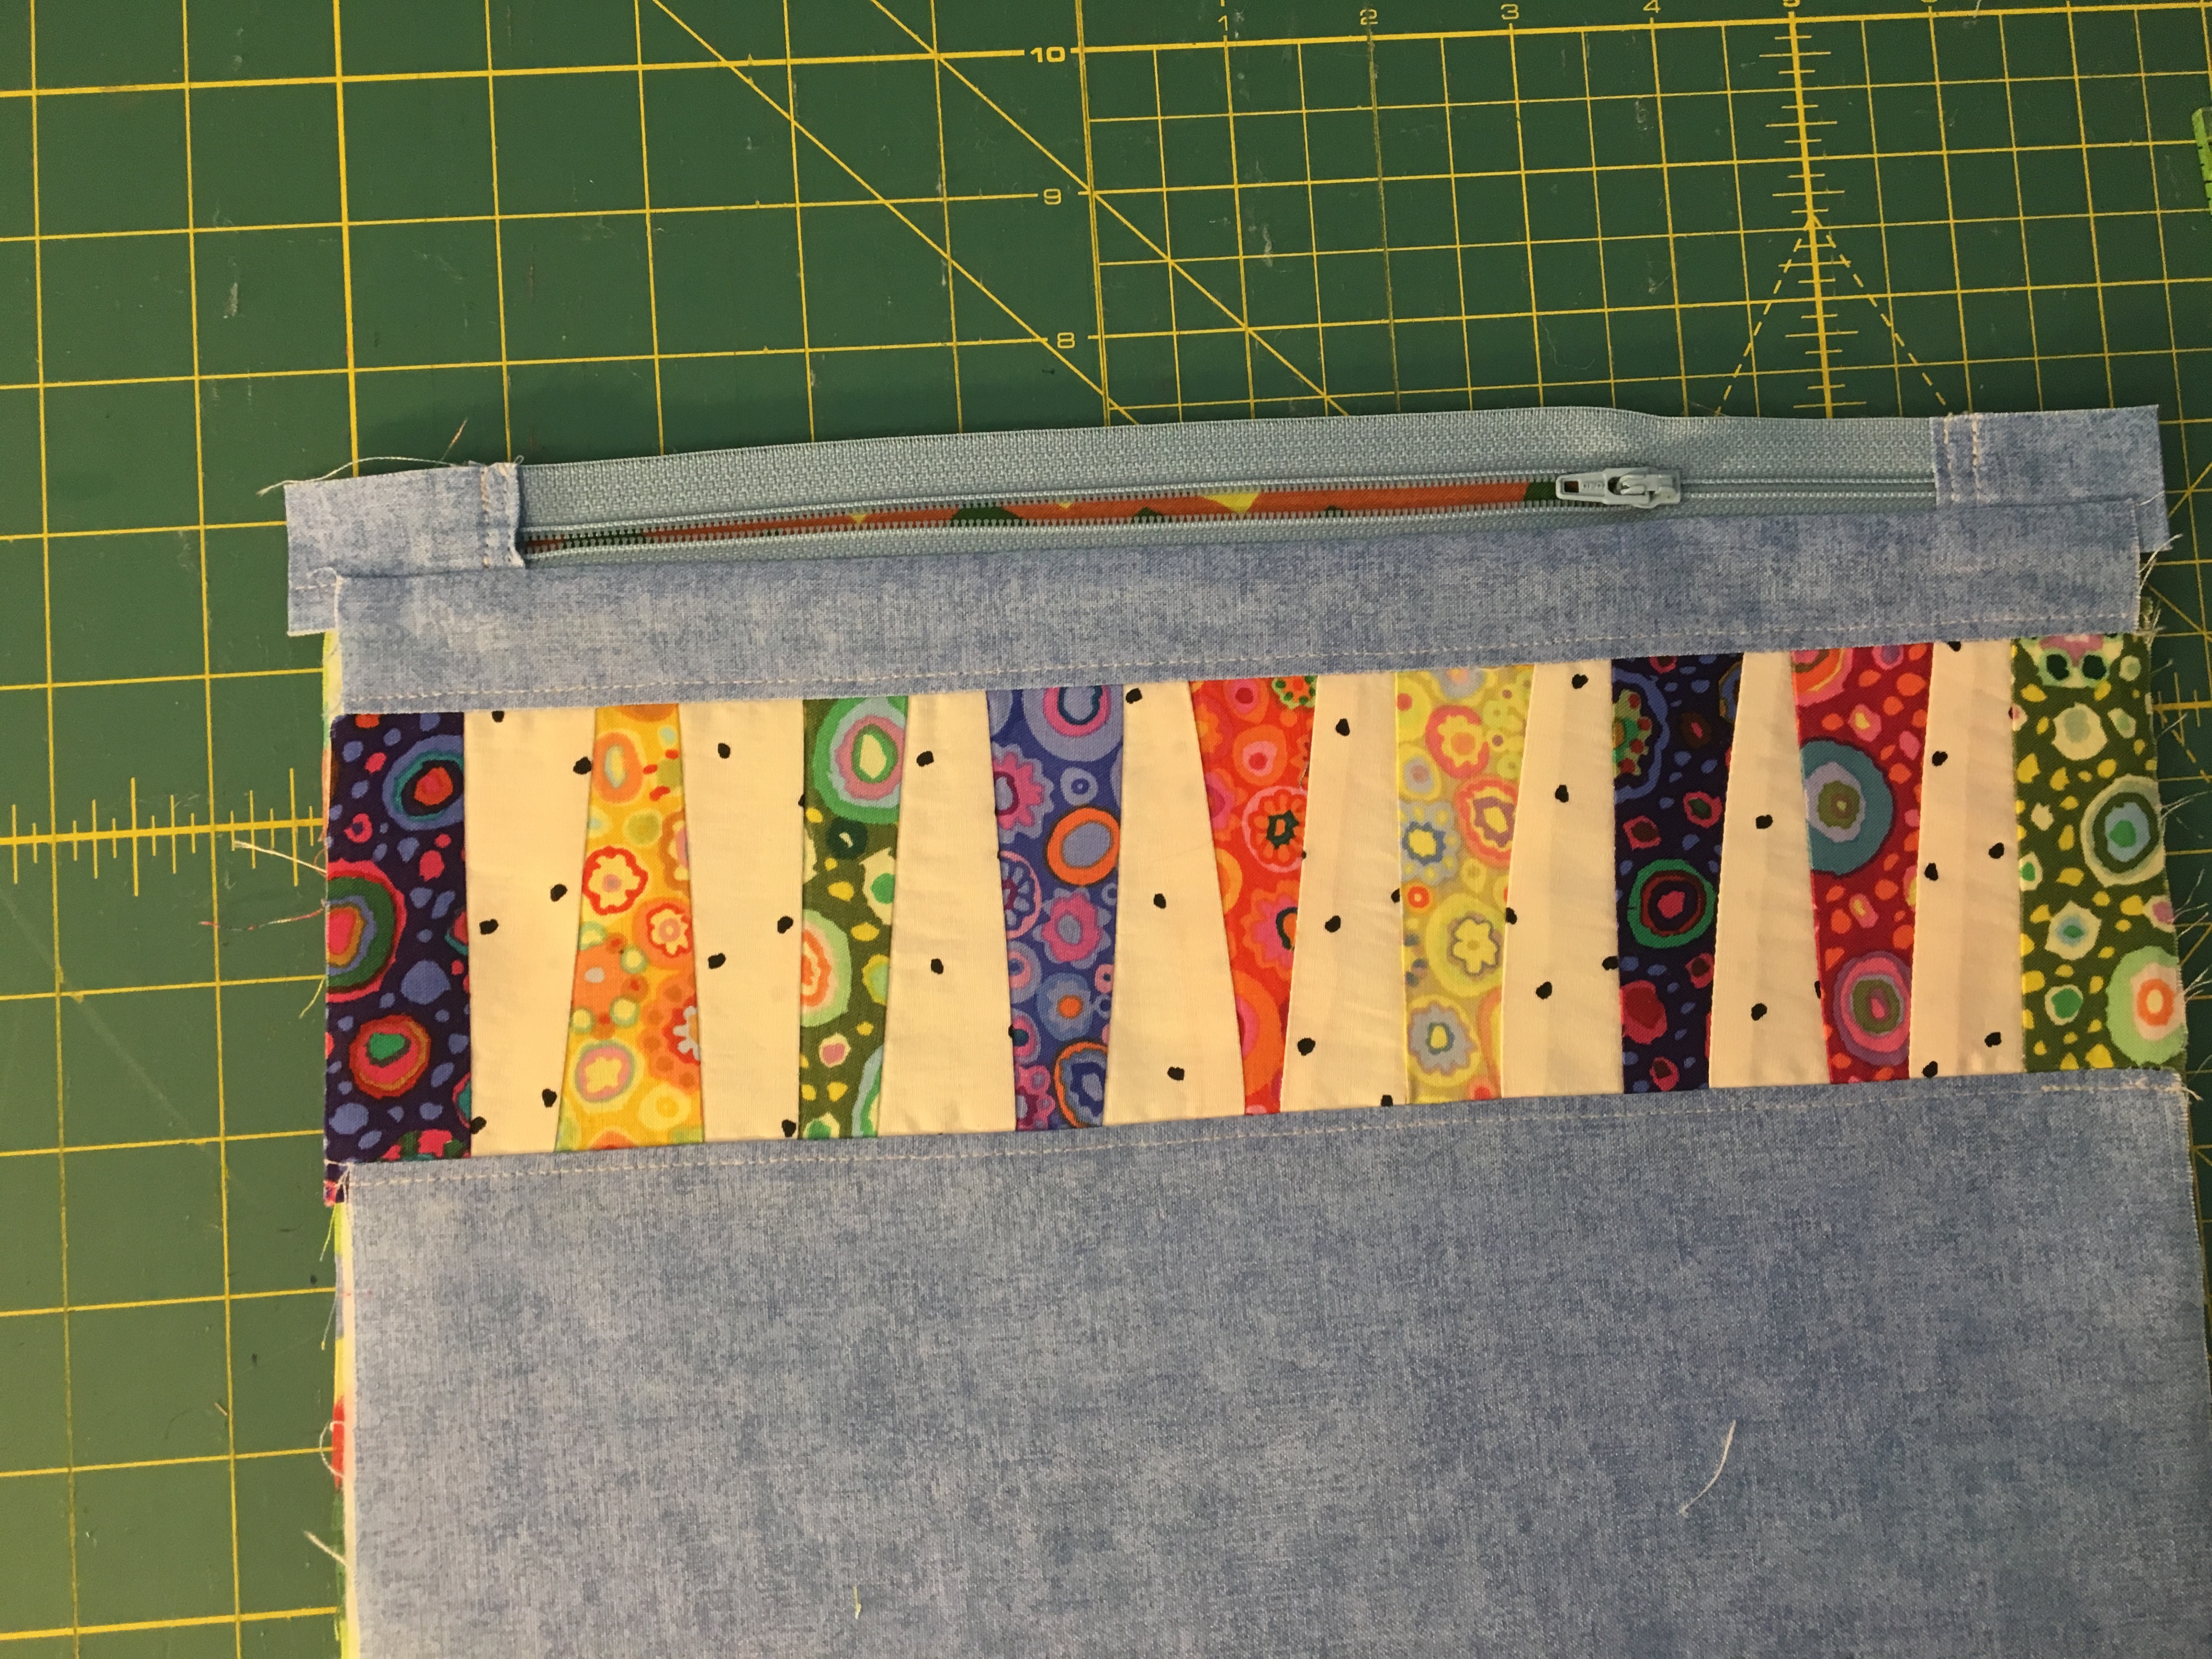
- Top stitch about 1/8 inch away from the zipper on each side of the pouch.
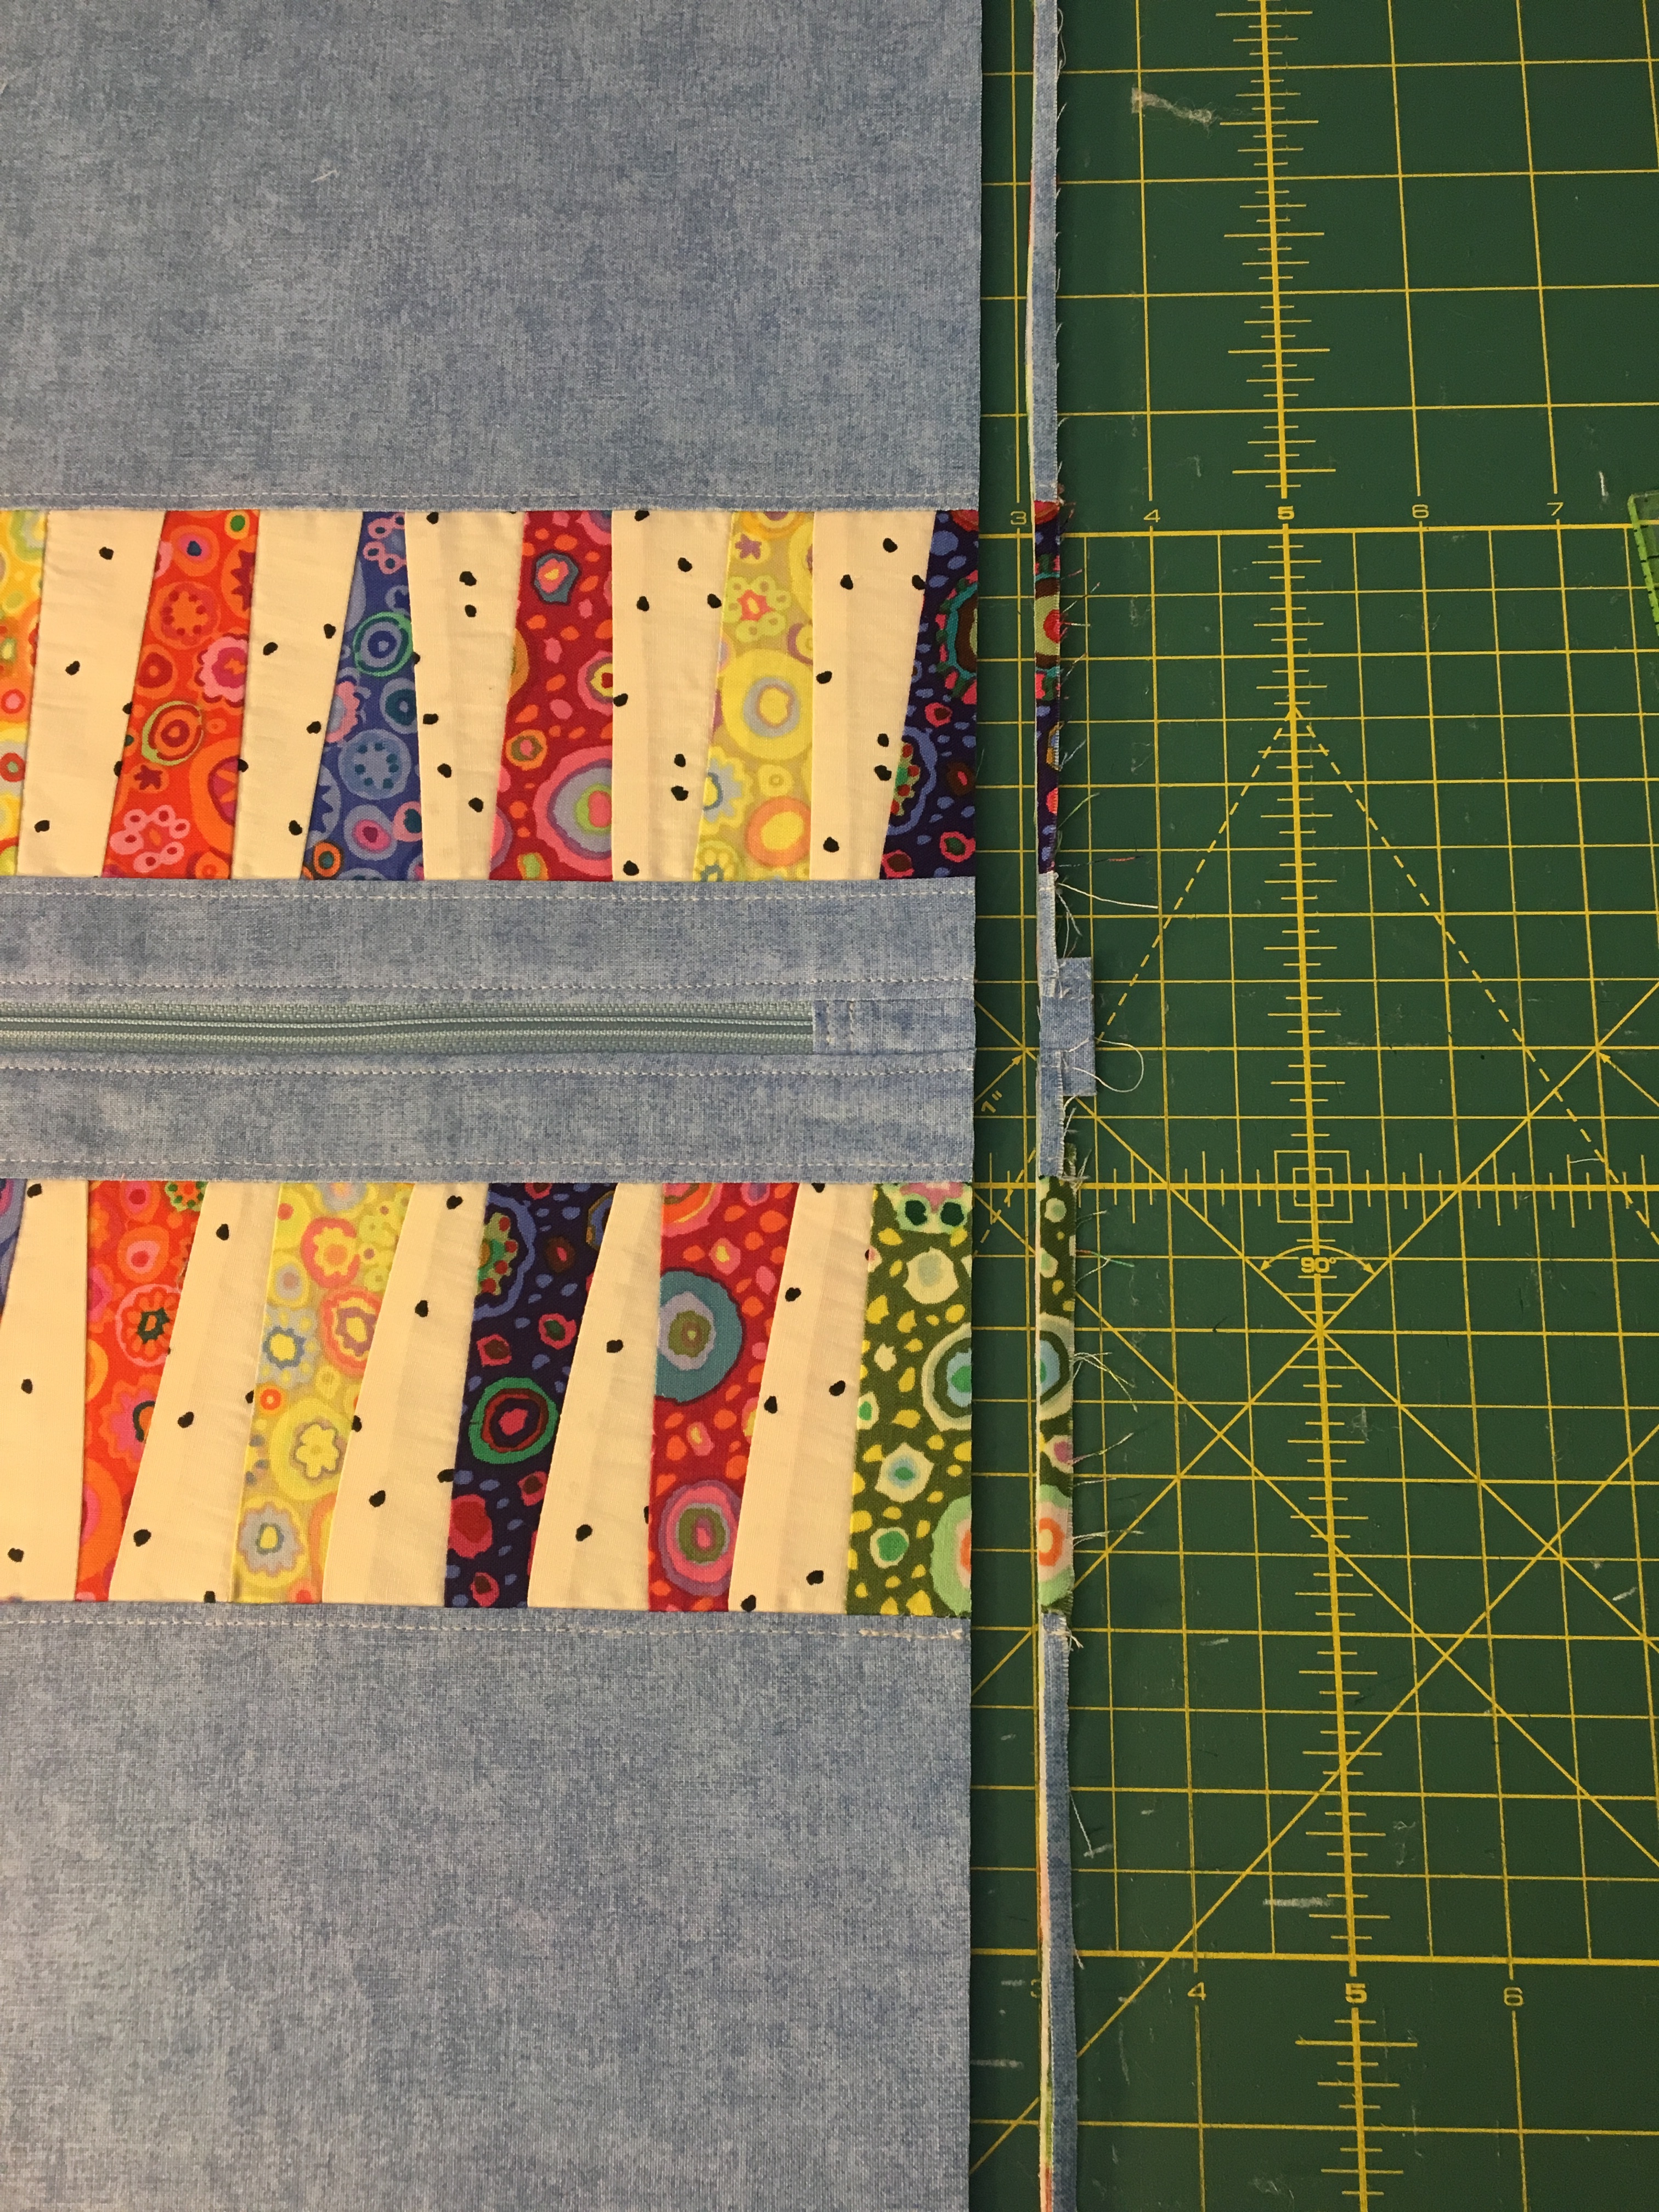
Trimming, and preparing the pouch to be sewn into an envelope:
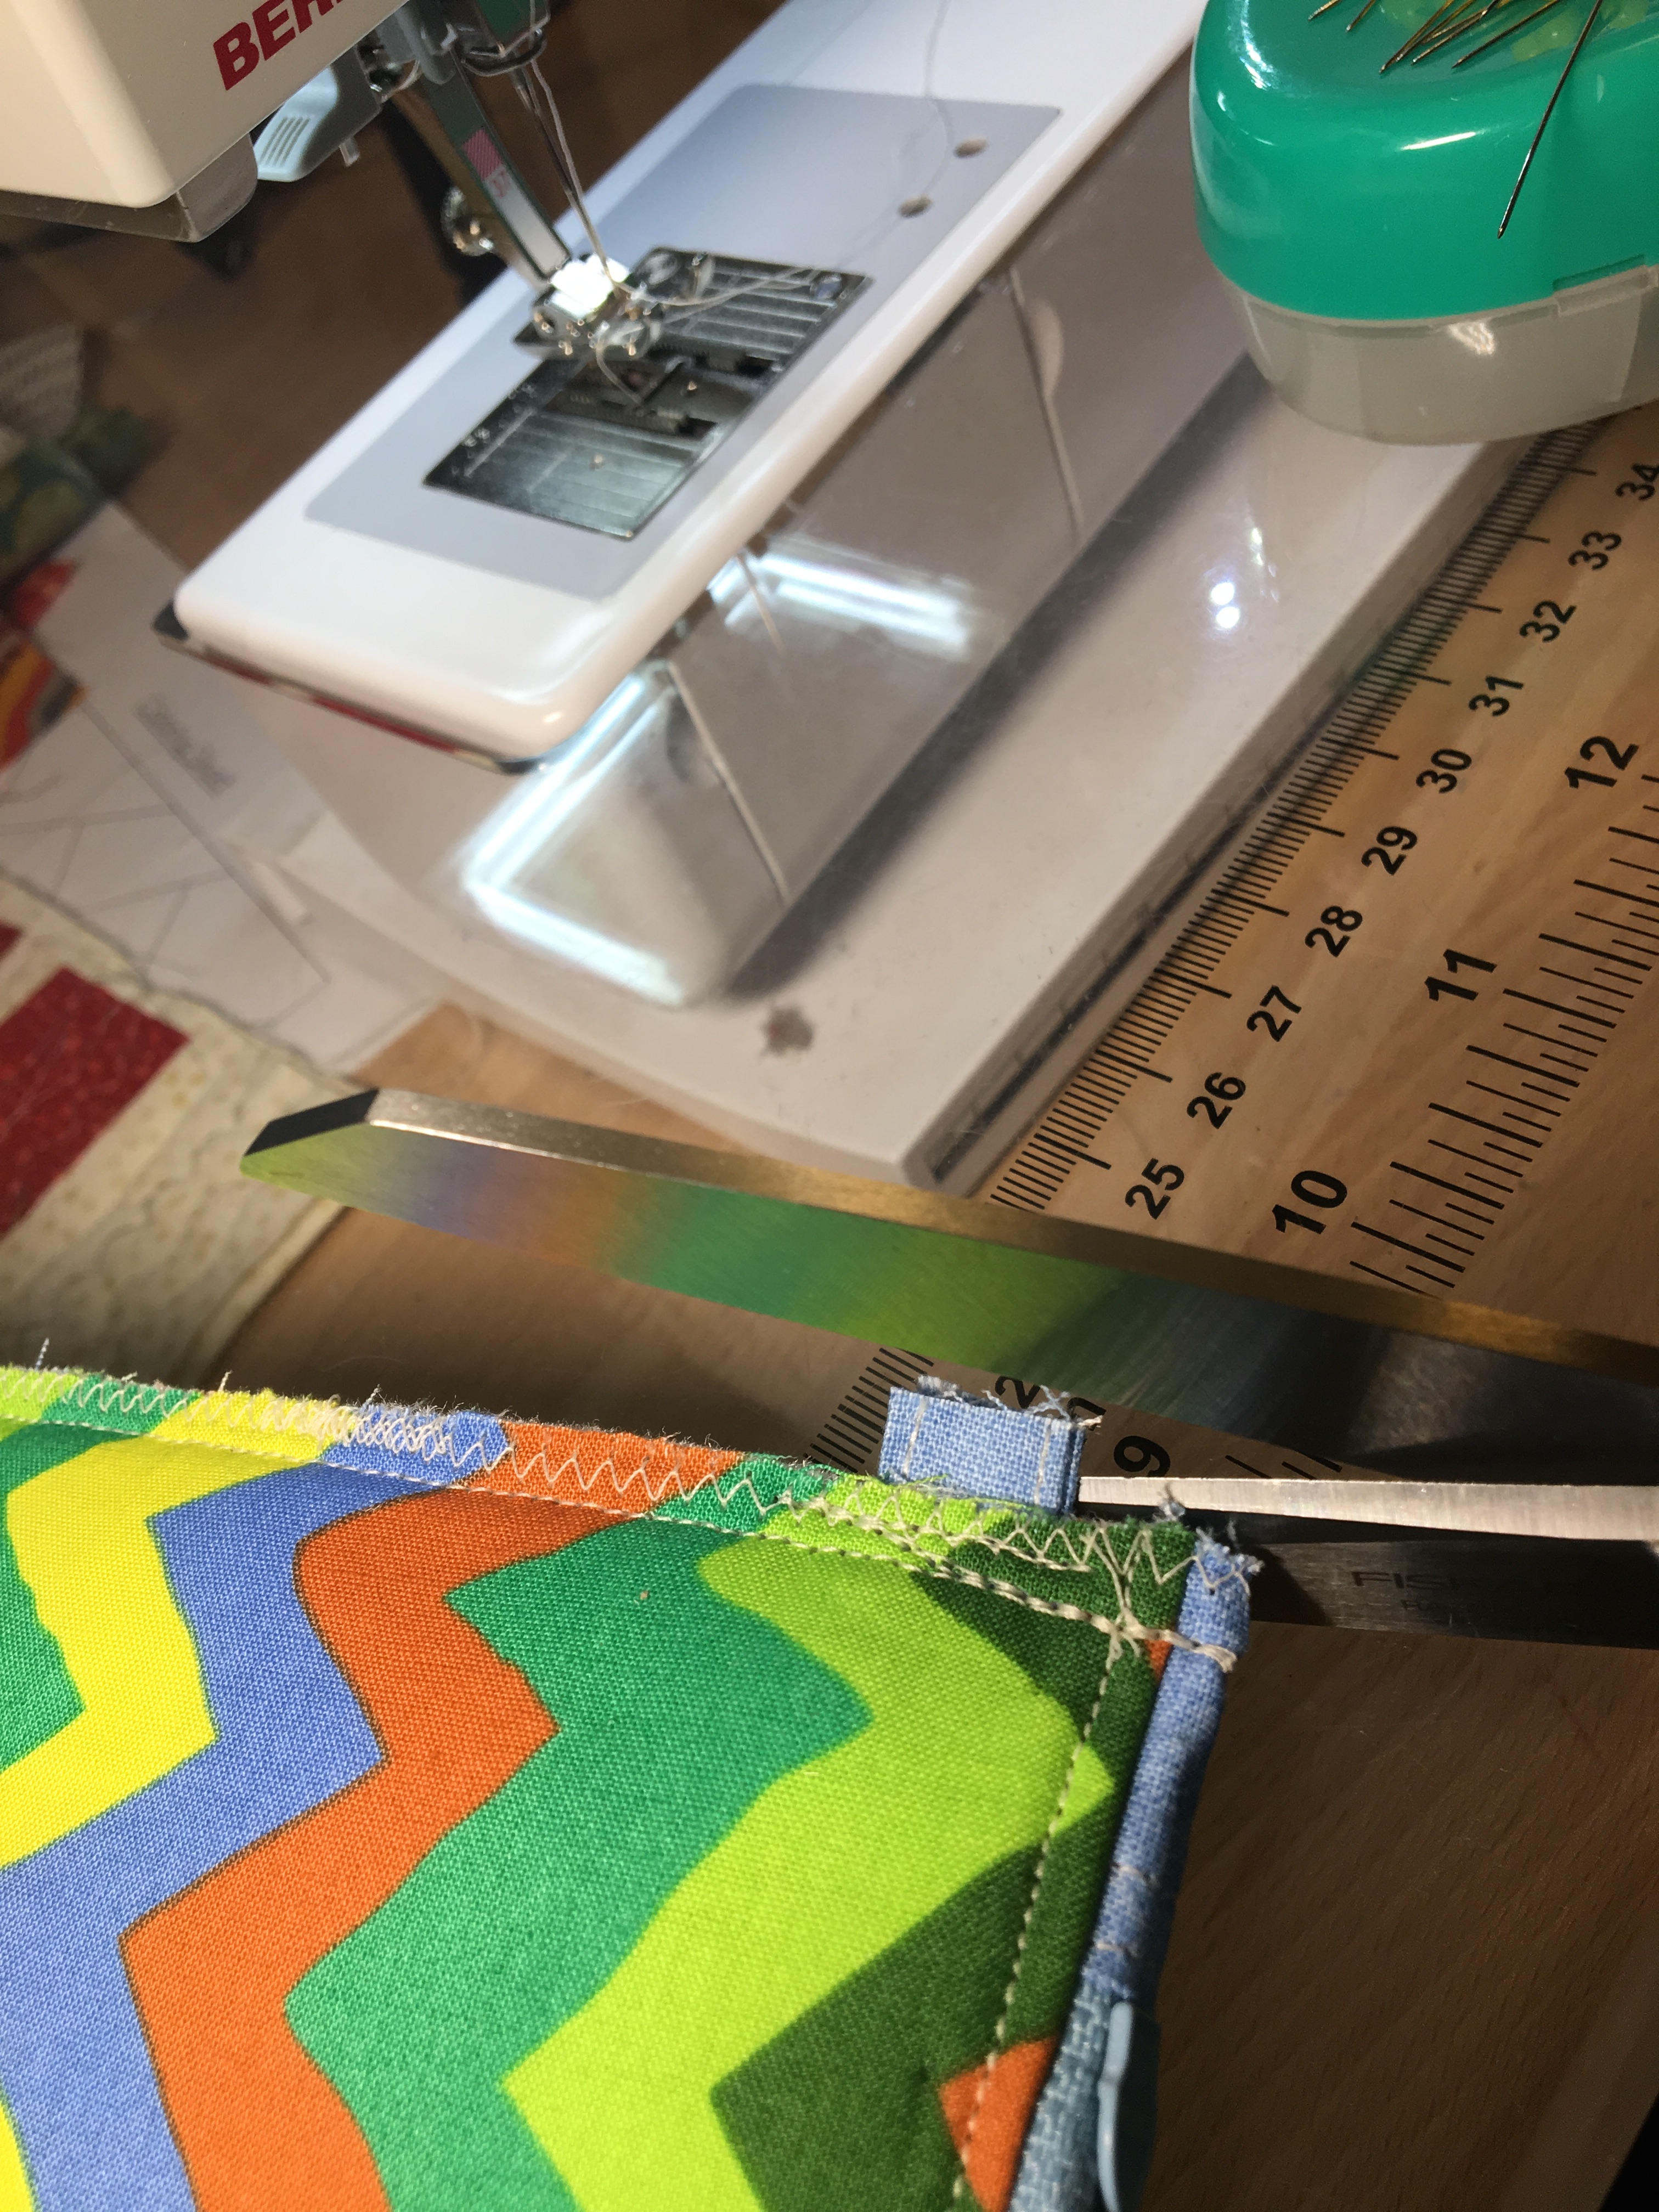
- Lay the flat piece on your cutting table. Flatten it all out with your hands, and trim the side edges and bottom of each side to be even. I typically don’t trim much more than 1/8 or ¼ inch away.
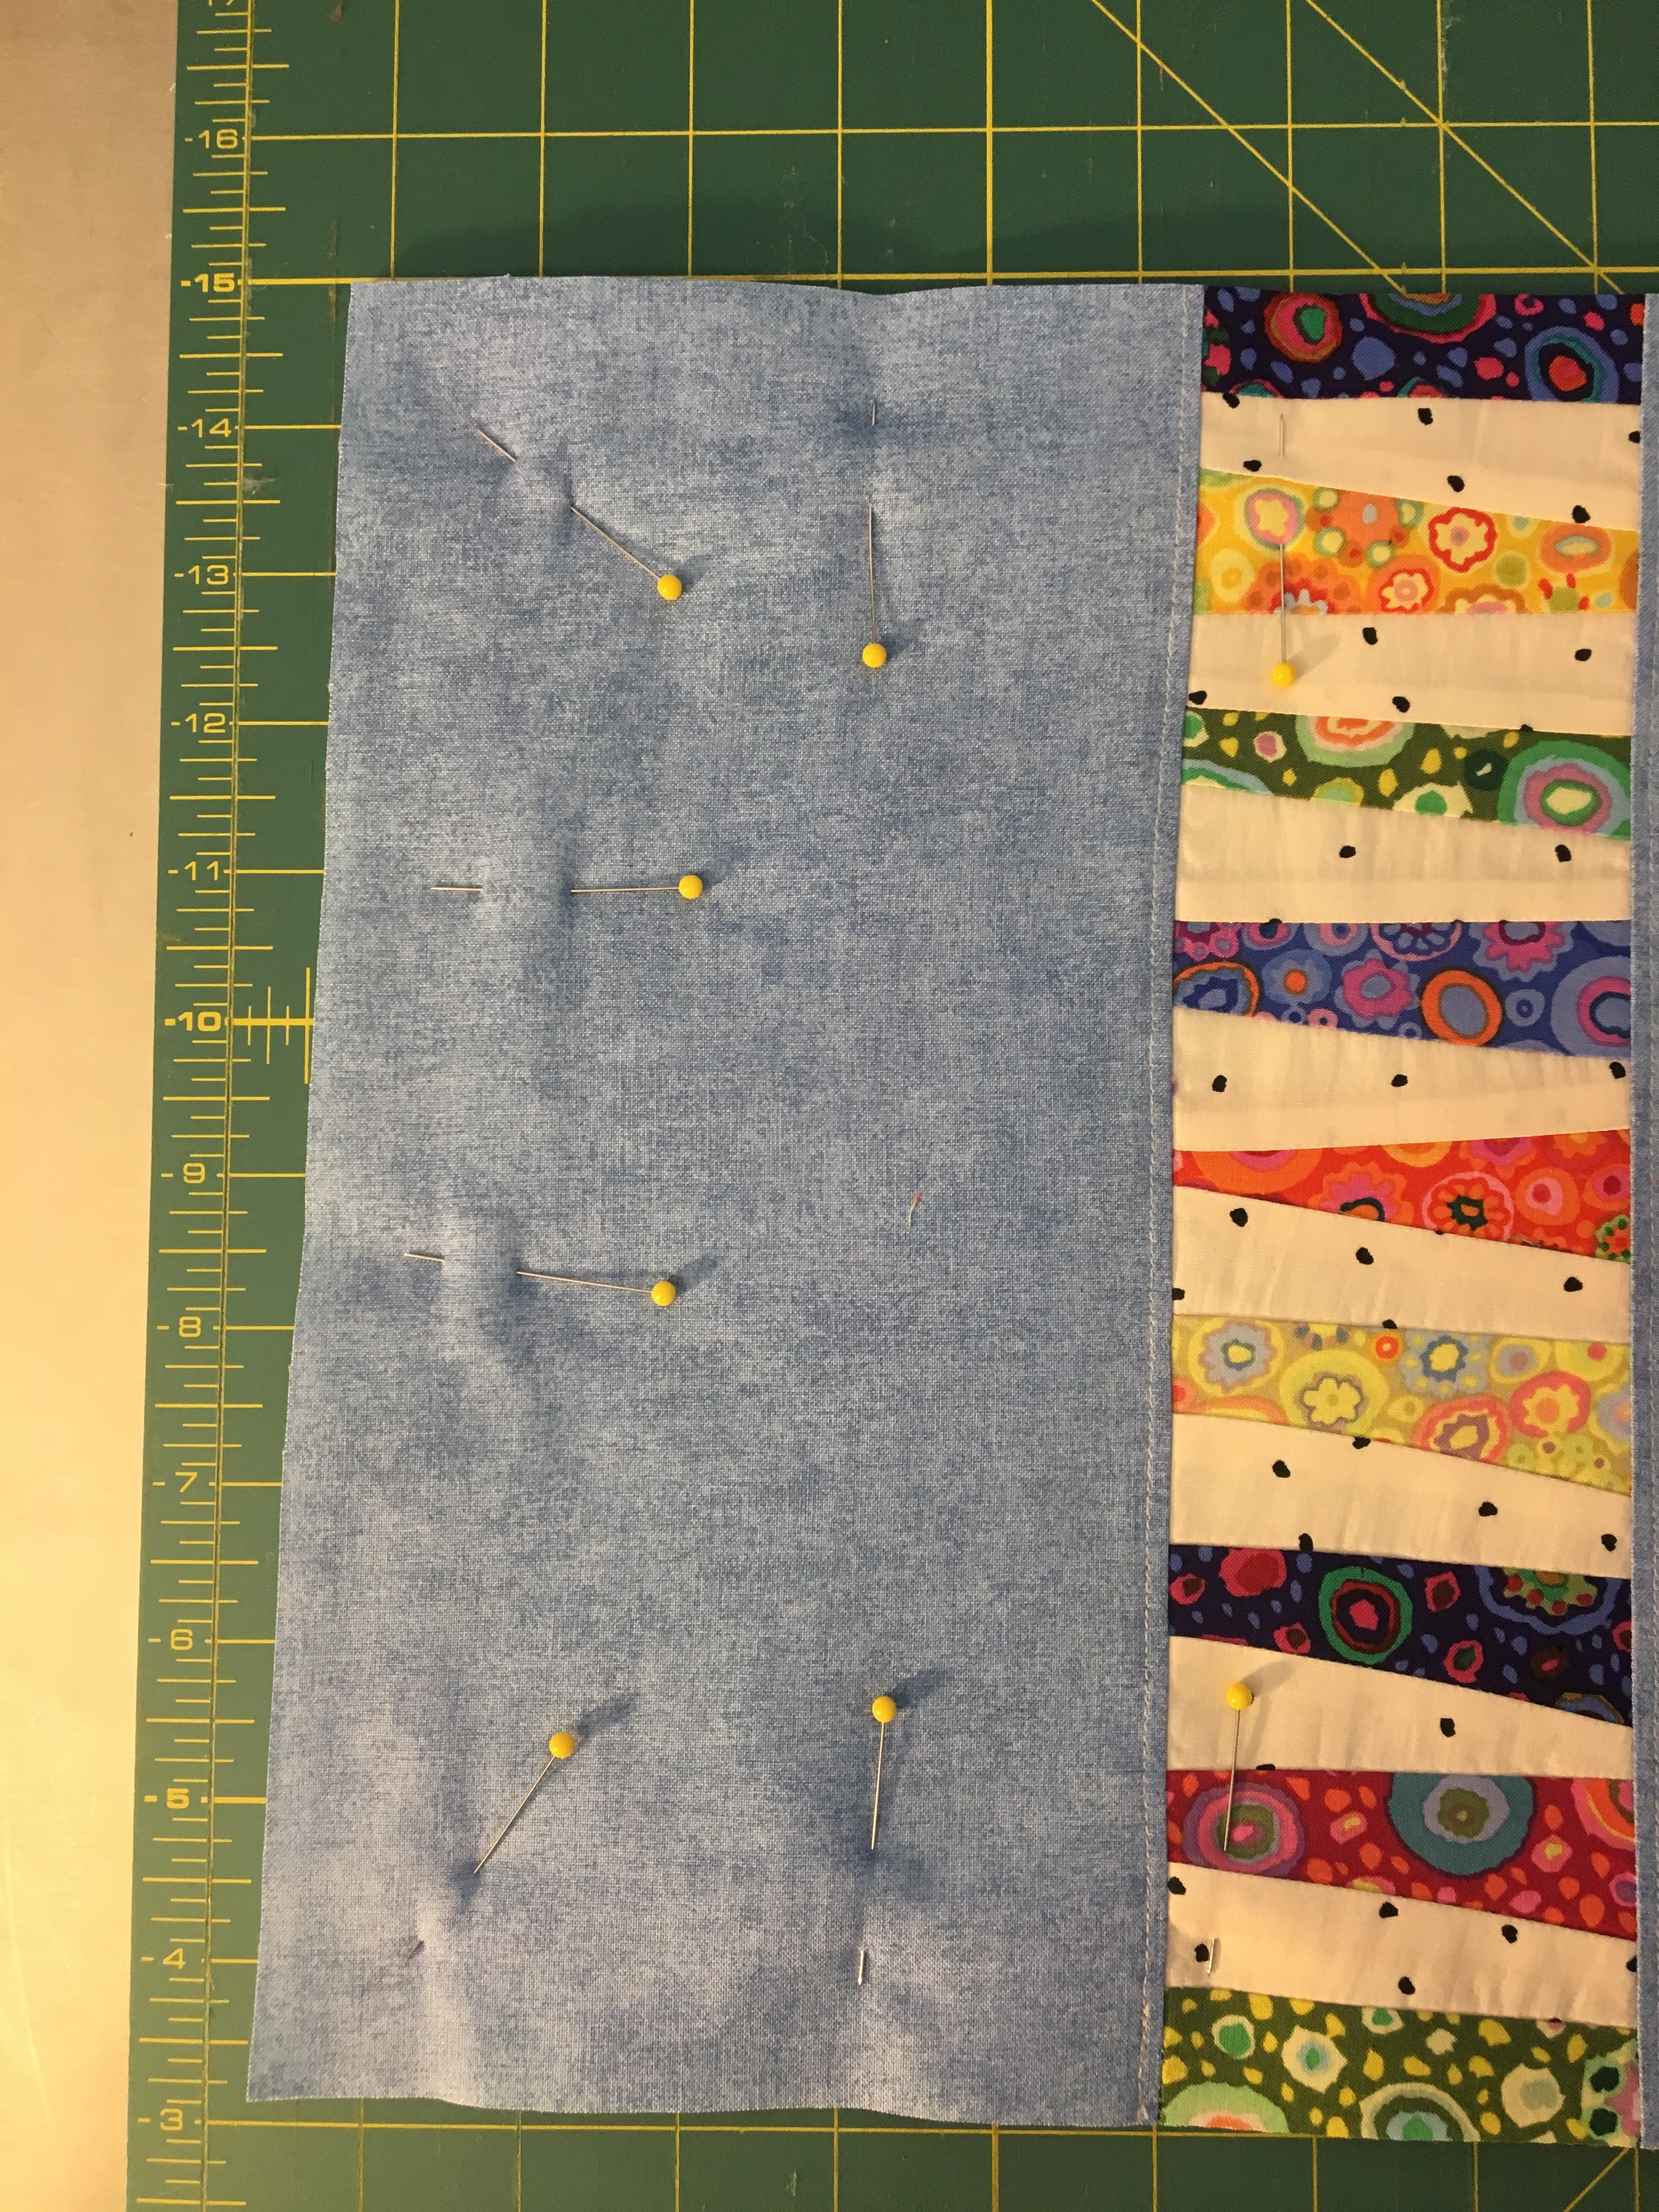
- Pin about every two inches around the edge of the bag. Pin inside of the seam allowance so you can leave your pins in place for the next sewing step.
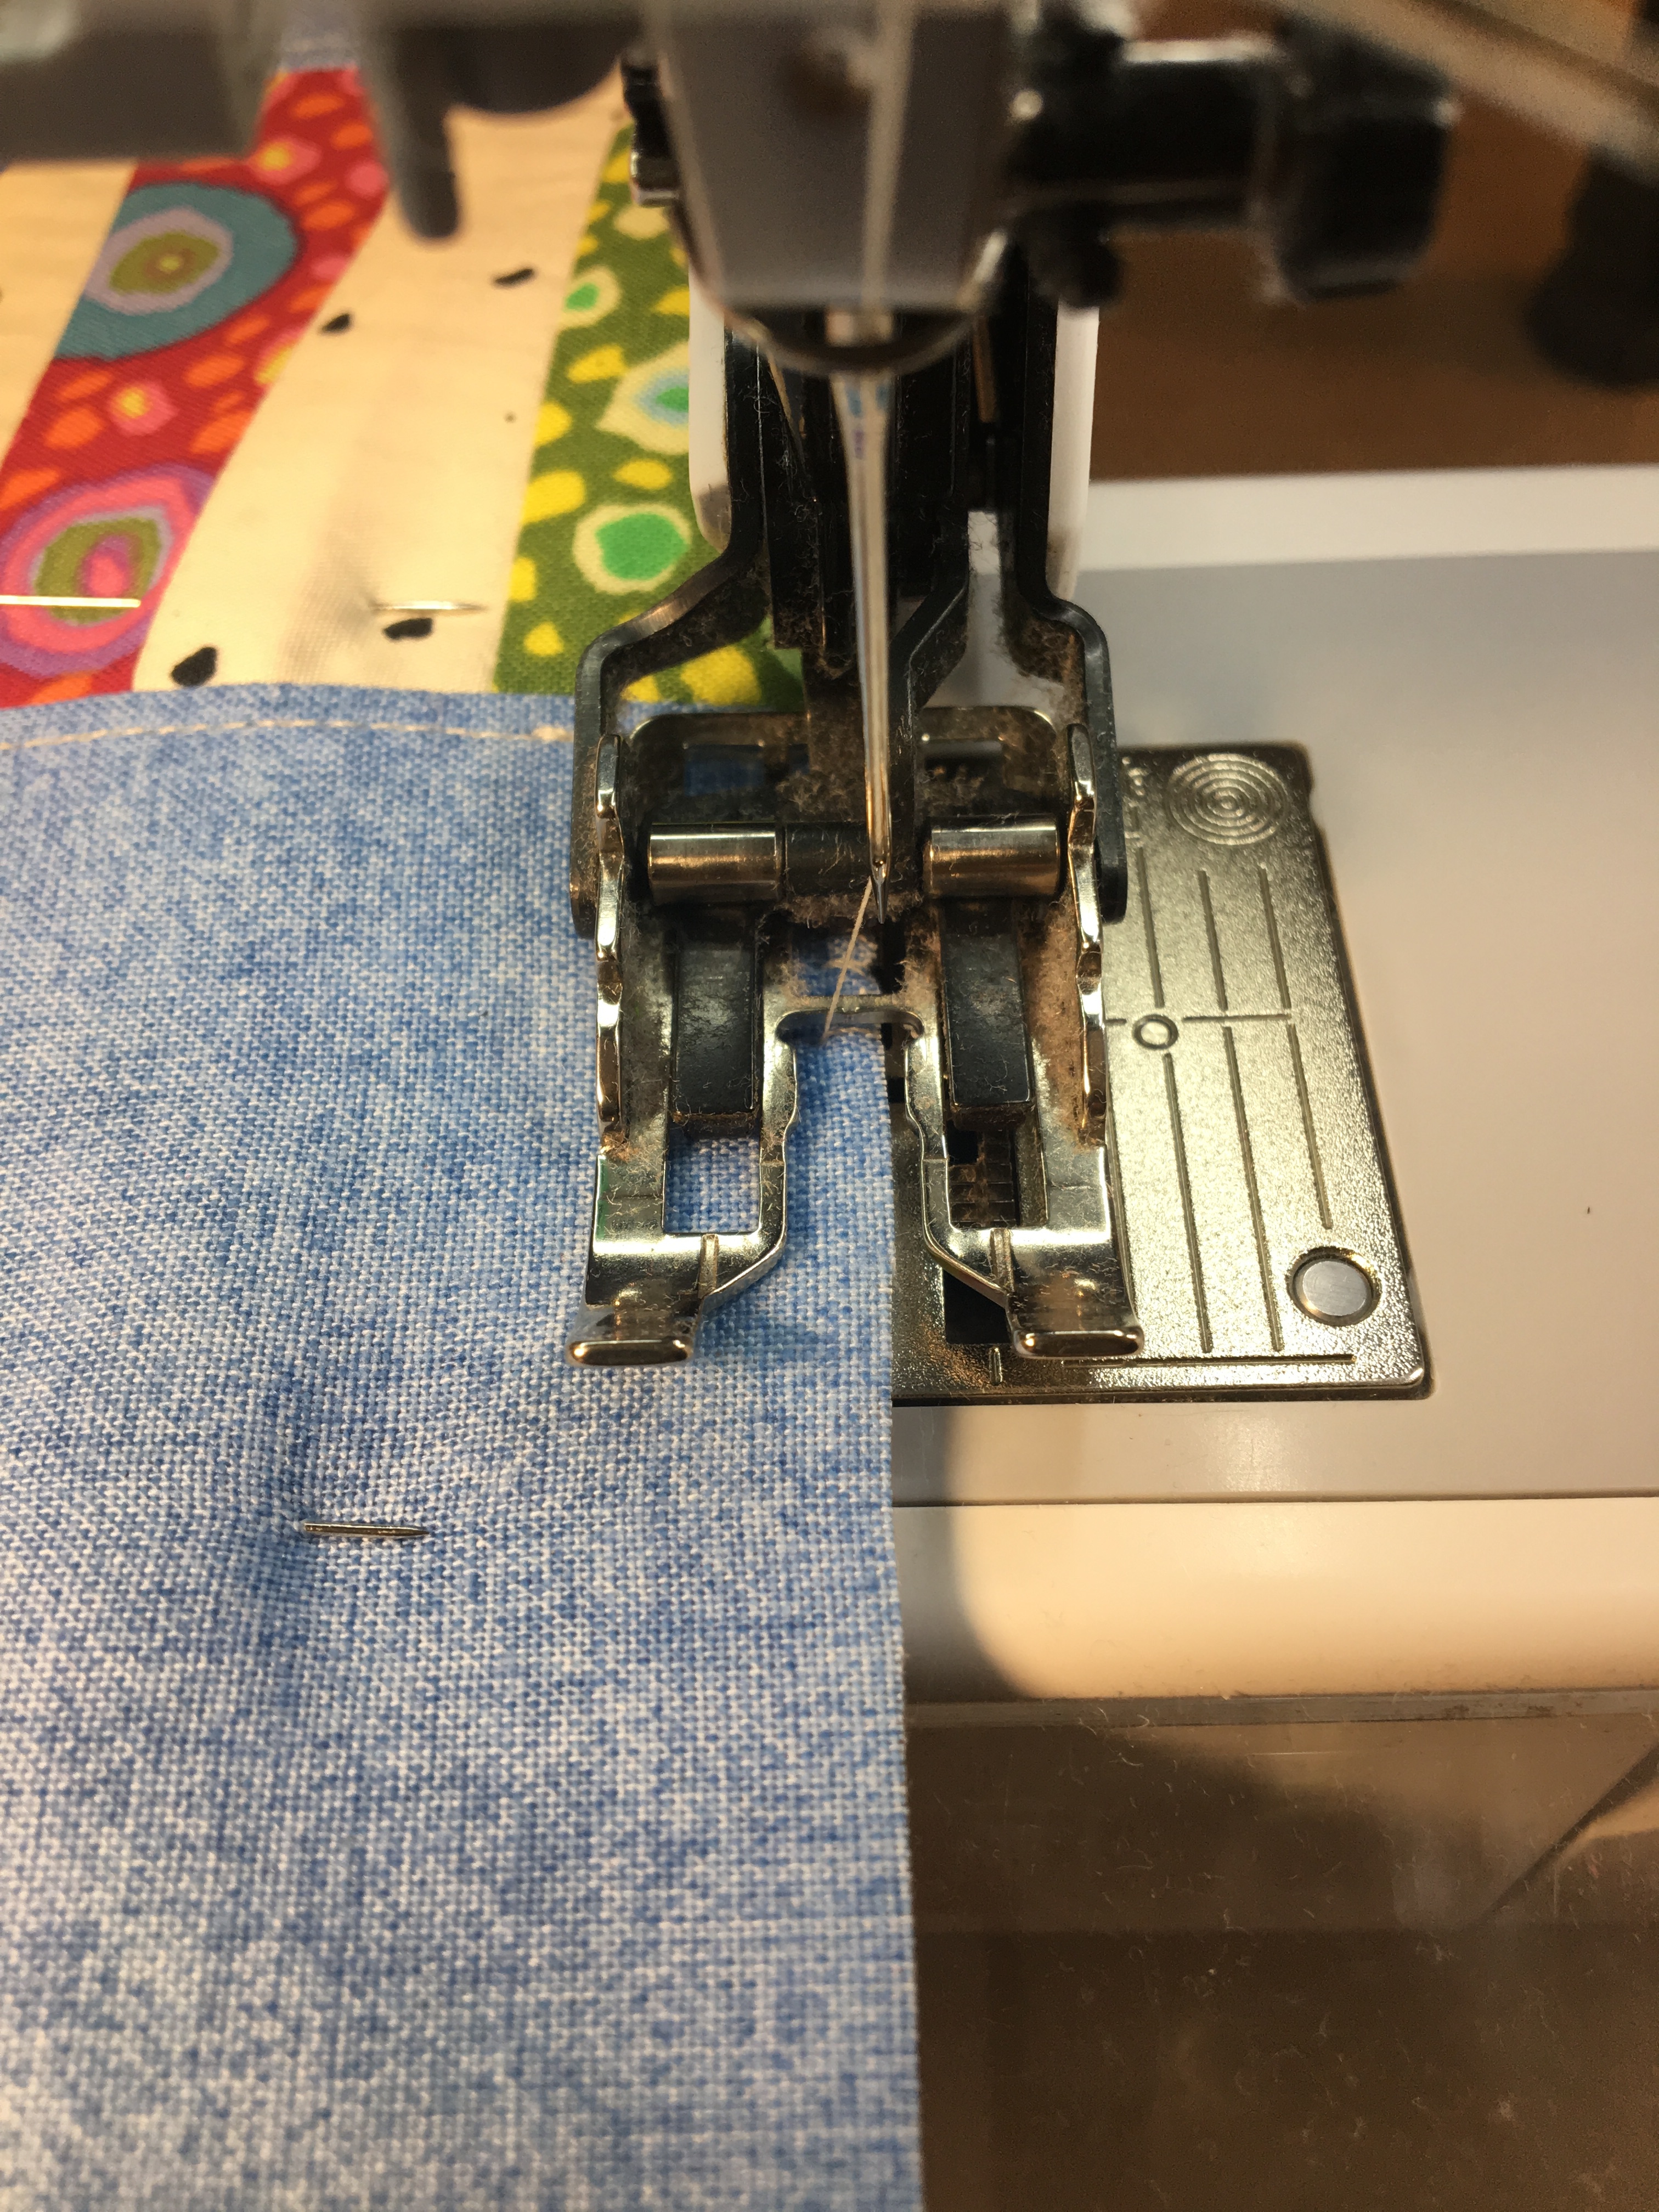
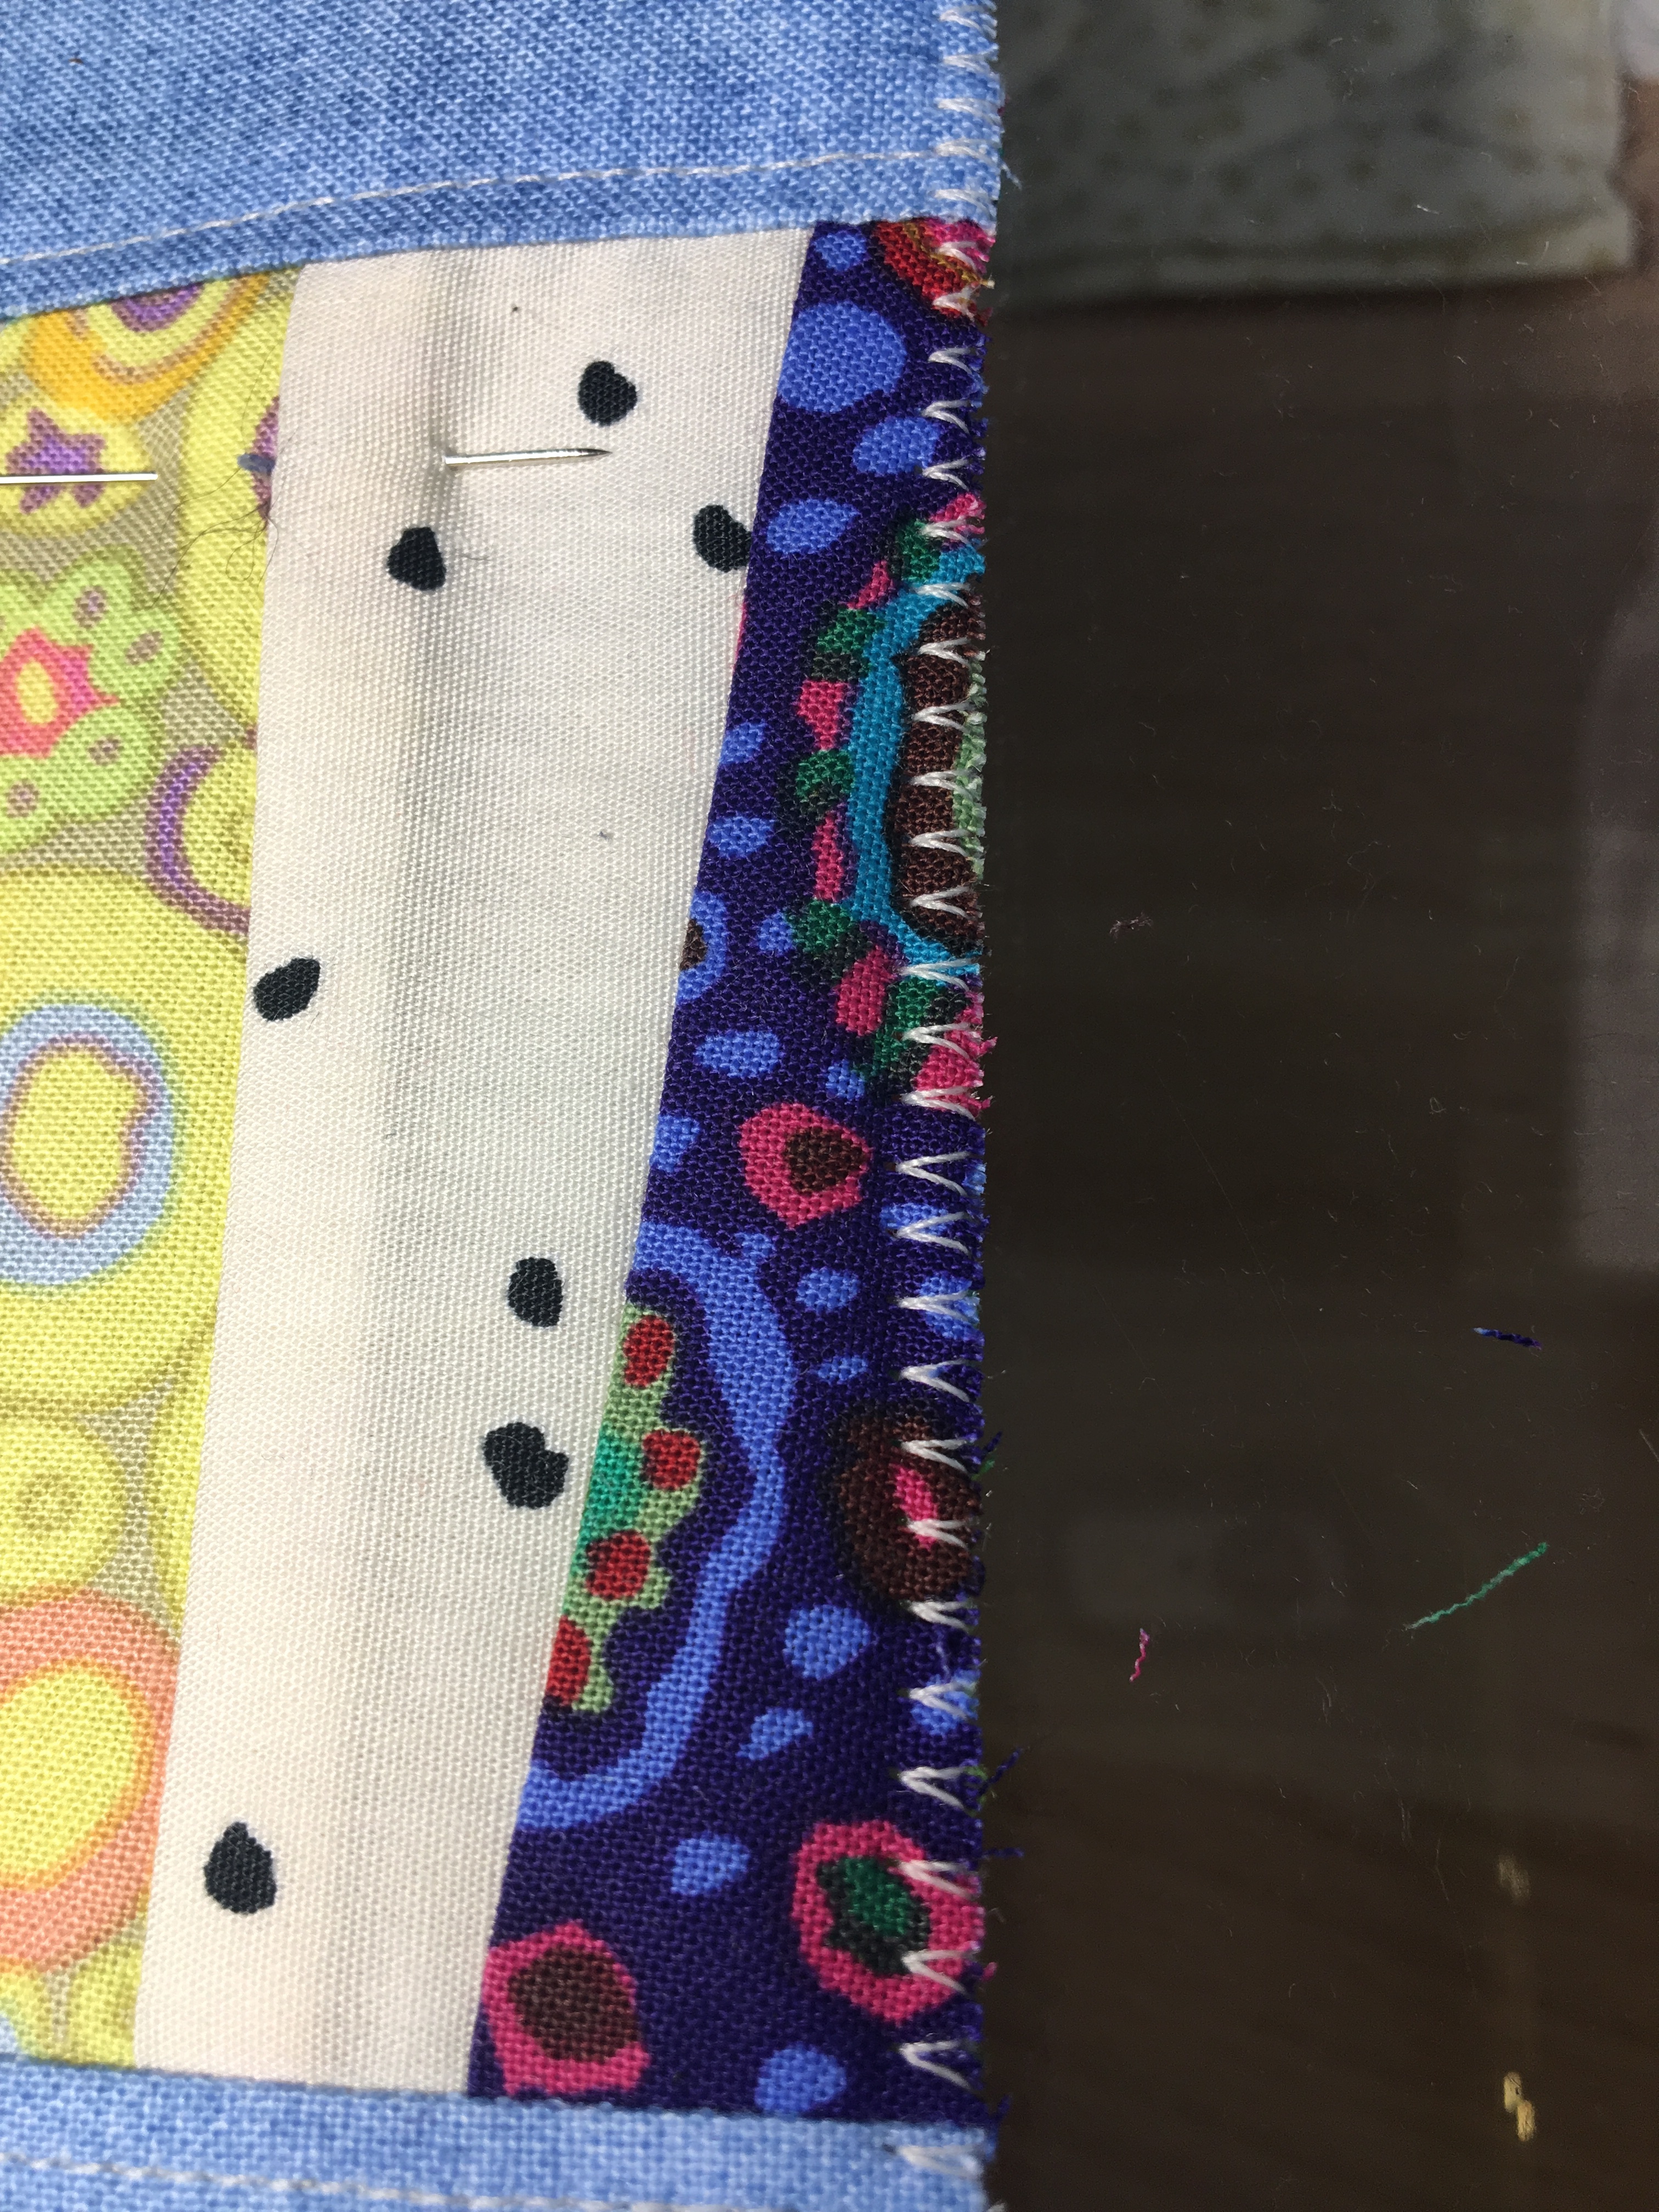
- Using your walking foot, zig zag the edge all the way around the bag, catching all three layers of front, batting, and lining. Make sure that the needle on the left side of the zig zag stitch catches fabric, and on the right side of the stitch the needle falls over the edge and wraps the raw edges. (This edge will be exposed on the inside of the bag, so you want it to be finished nicely.)
Sewing the pouch into an envelope:
- OPEN THE ZIPPER! This is SOOOO important! If you don’t open the zipper, you’ll never get your bag turned right side out!
- Fold the handle in half, matching ends, and place a pin to hold it all together.
- Pin the handle onto one side of the bag in the 1.5 inch section at the top. I pin it on the side where the zipper pull is when zipper is open. Leave about ¼ inch of the handle ends sticking out beyond the edge of the bag pieces.
- Fold over the sides of the bag with right sides together, match up bottom corners and pin.
- Match up edges of zipper at the folded top of the bag, and pin.
- Match up the panels on the sides and pin.
- Pin around the edges of the bag about every two inches, keeping the pins back away from the seam allowance so you don’t have to remove them as you sew.
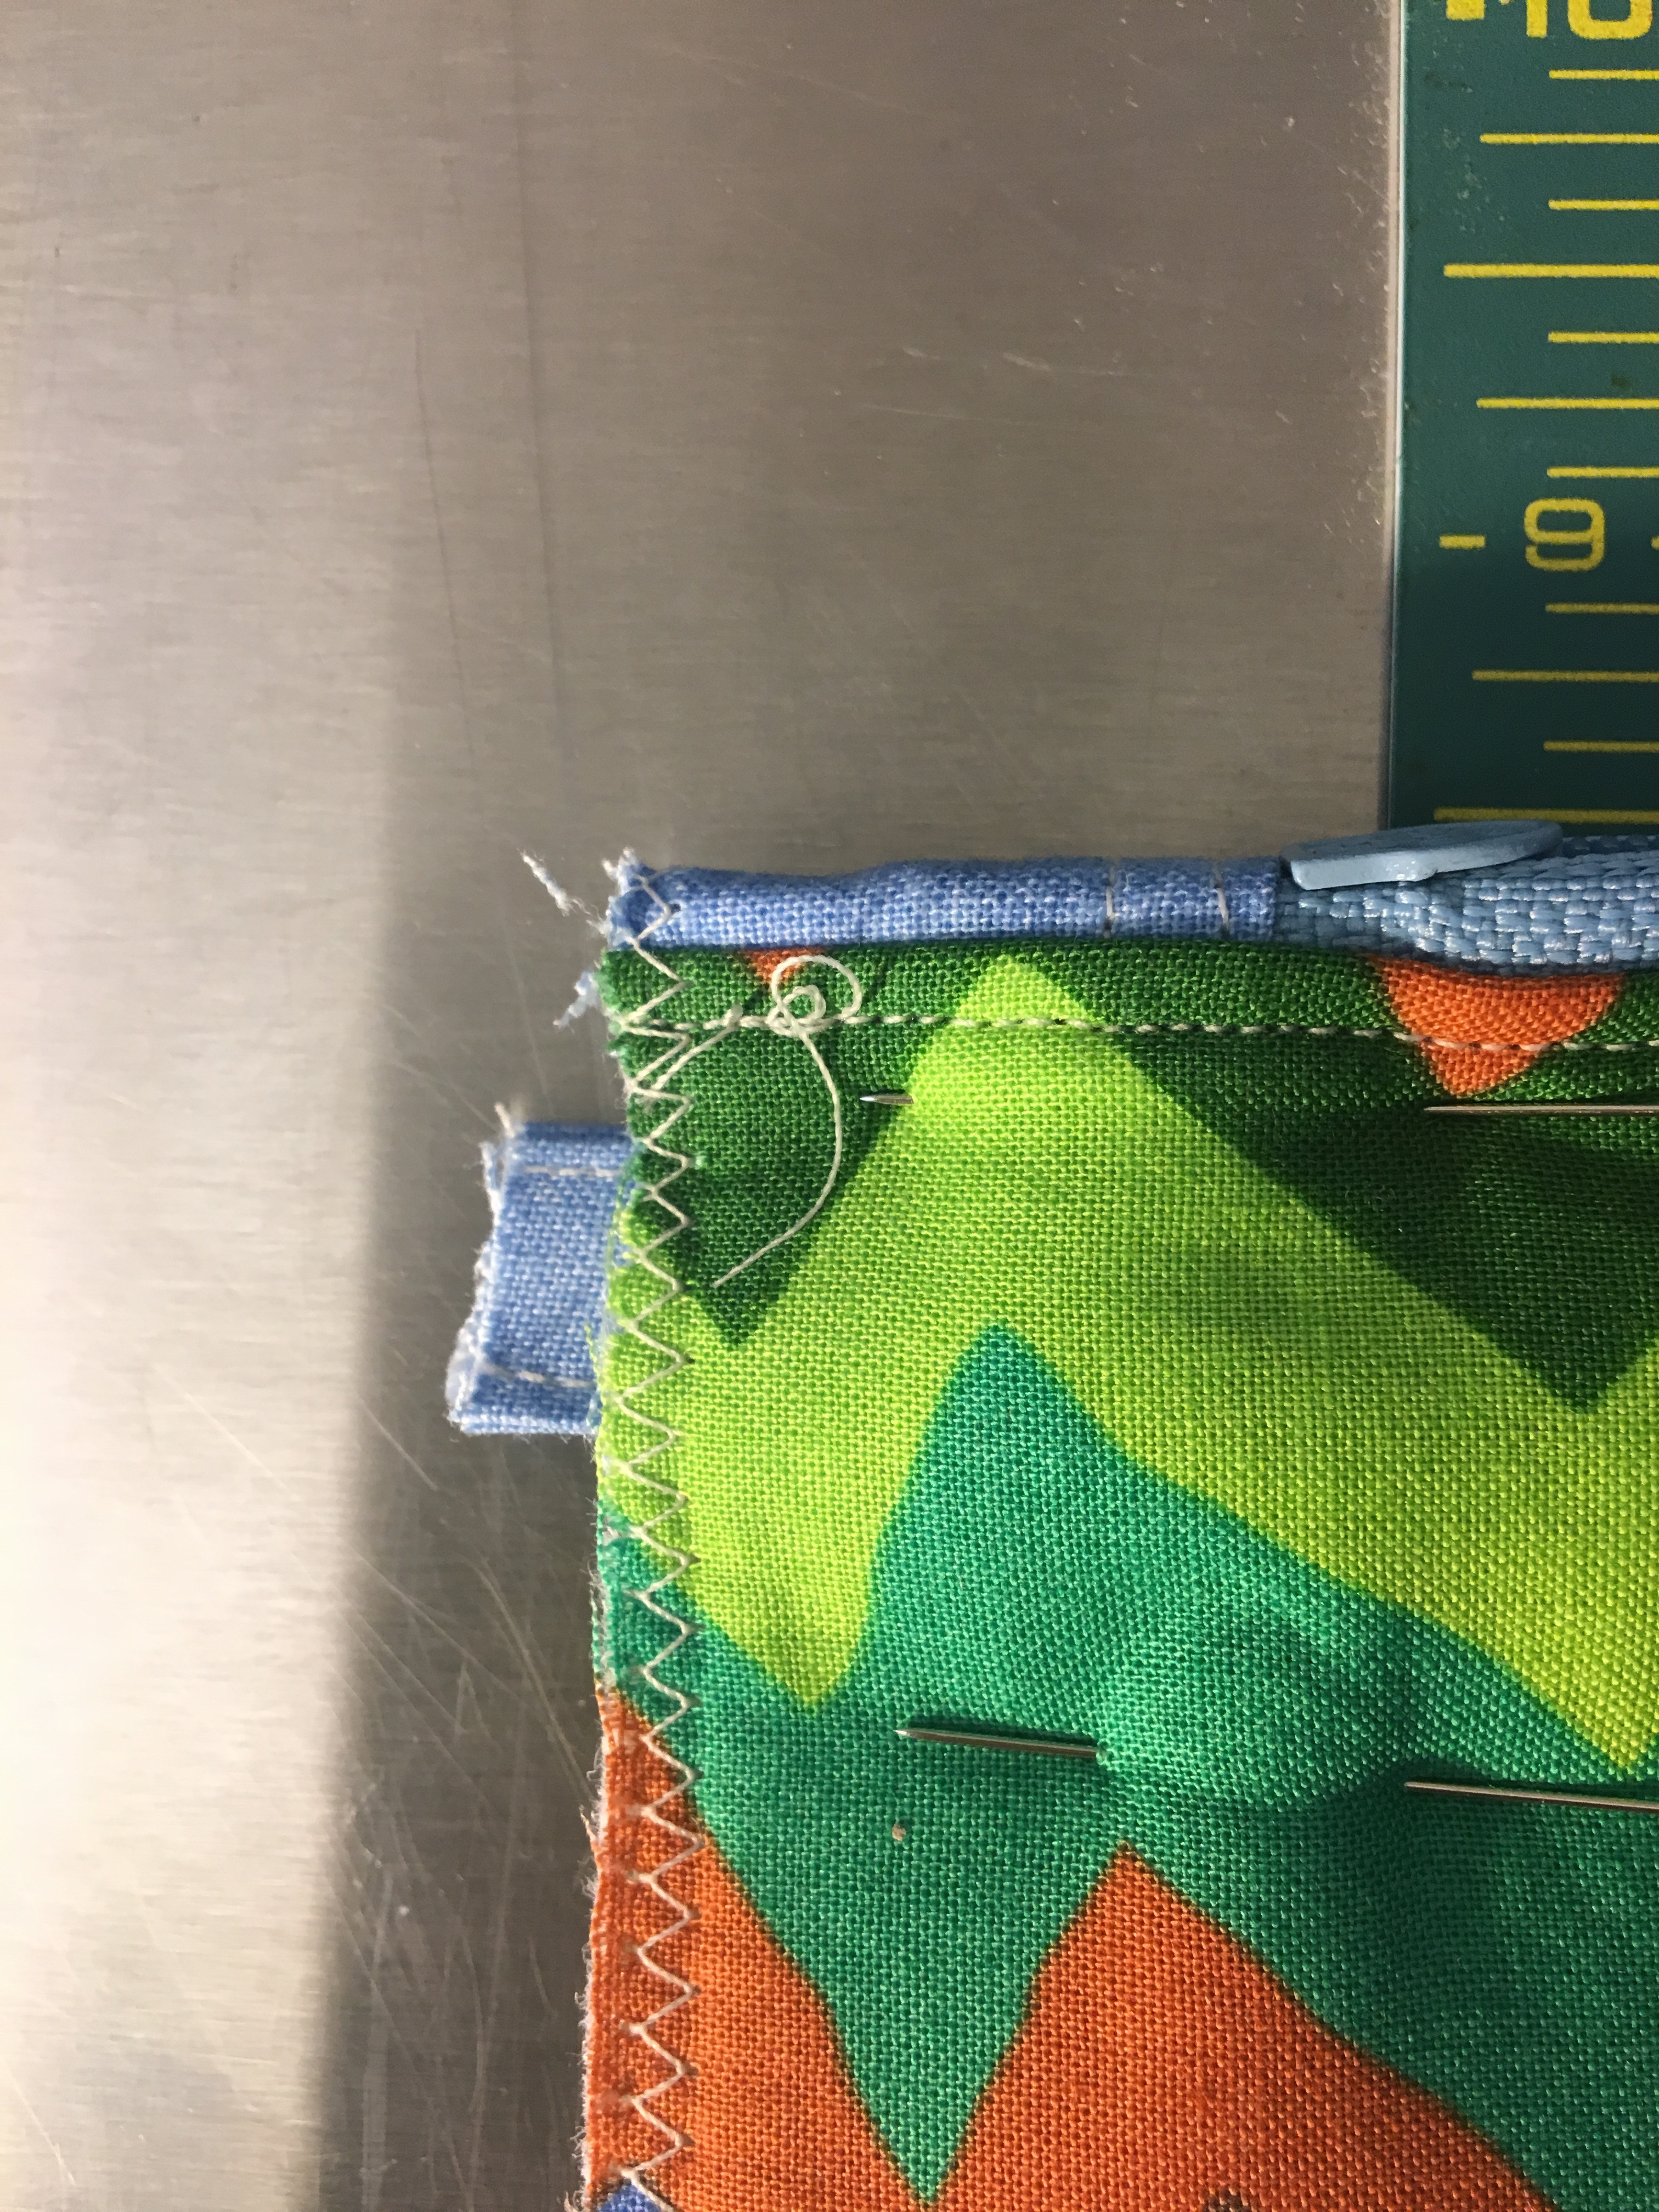
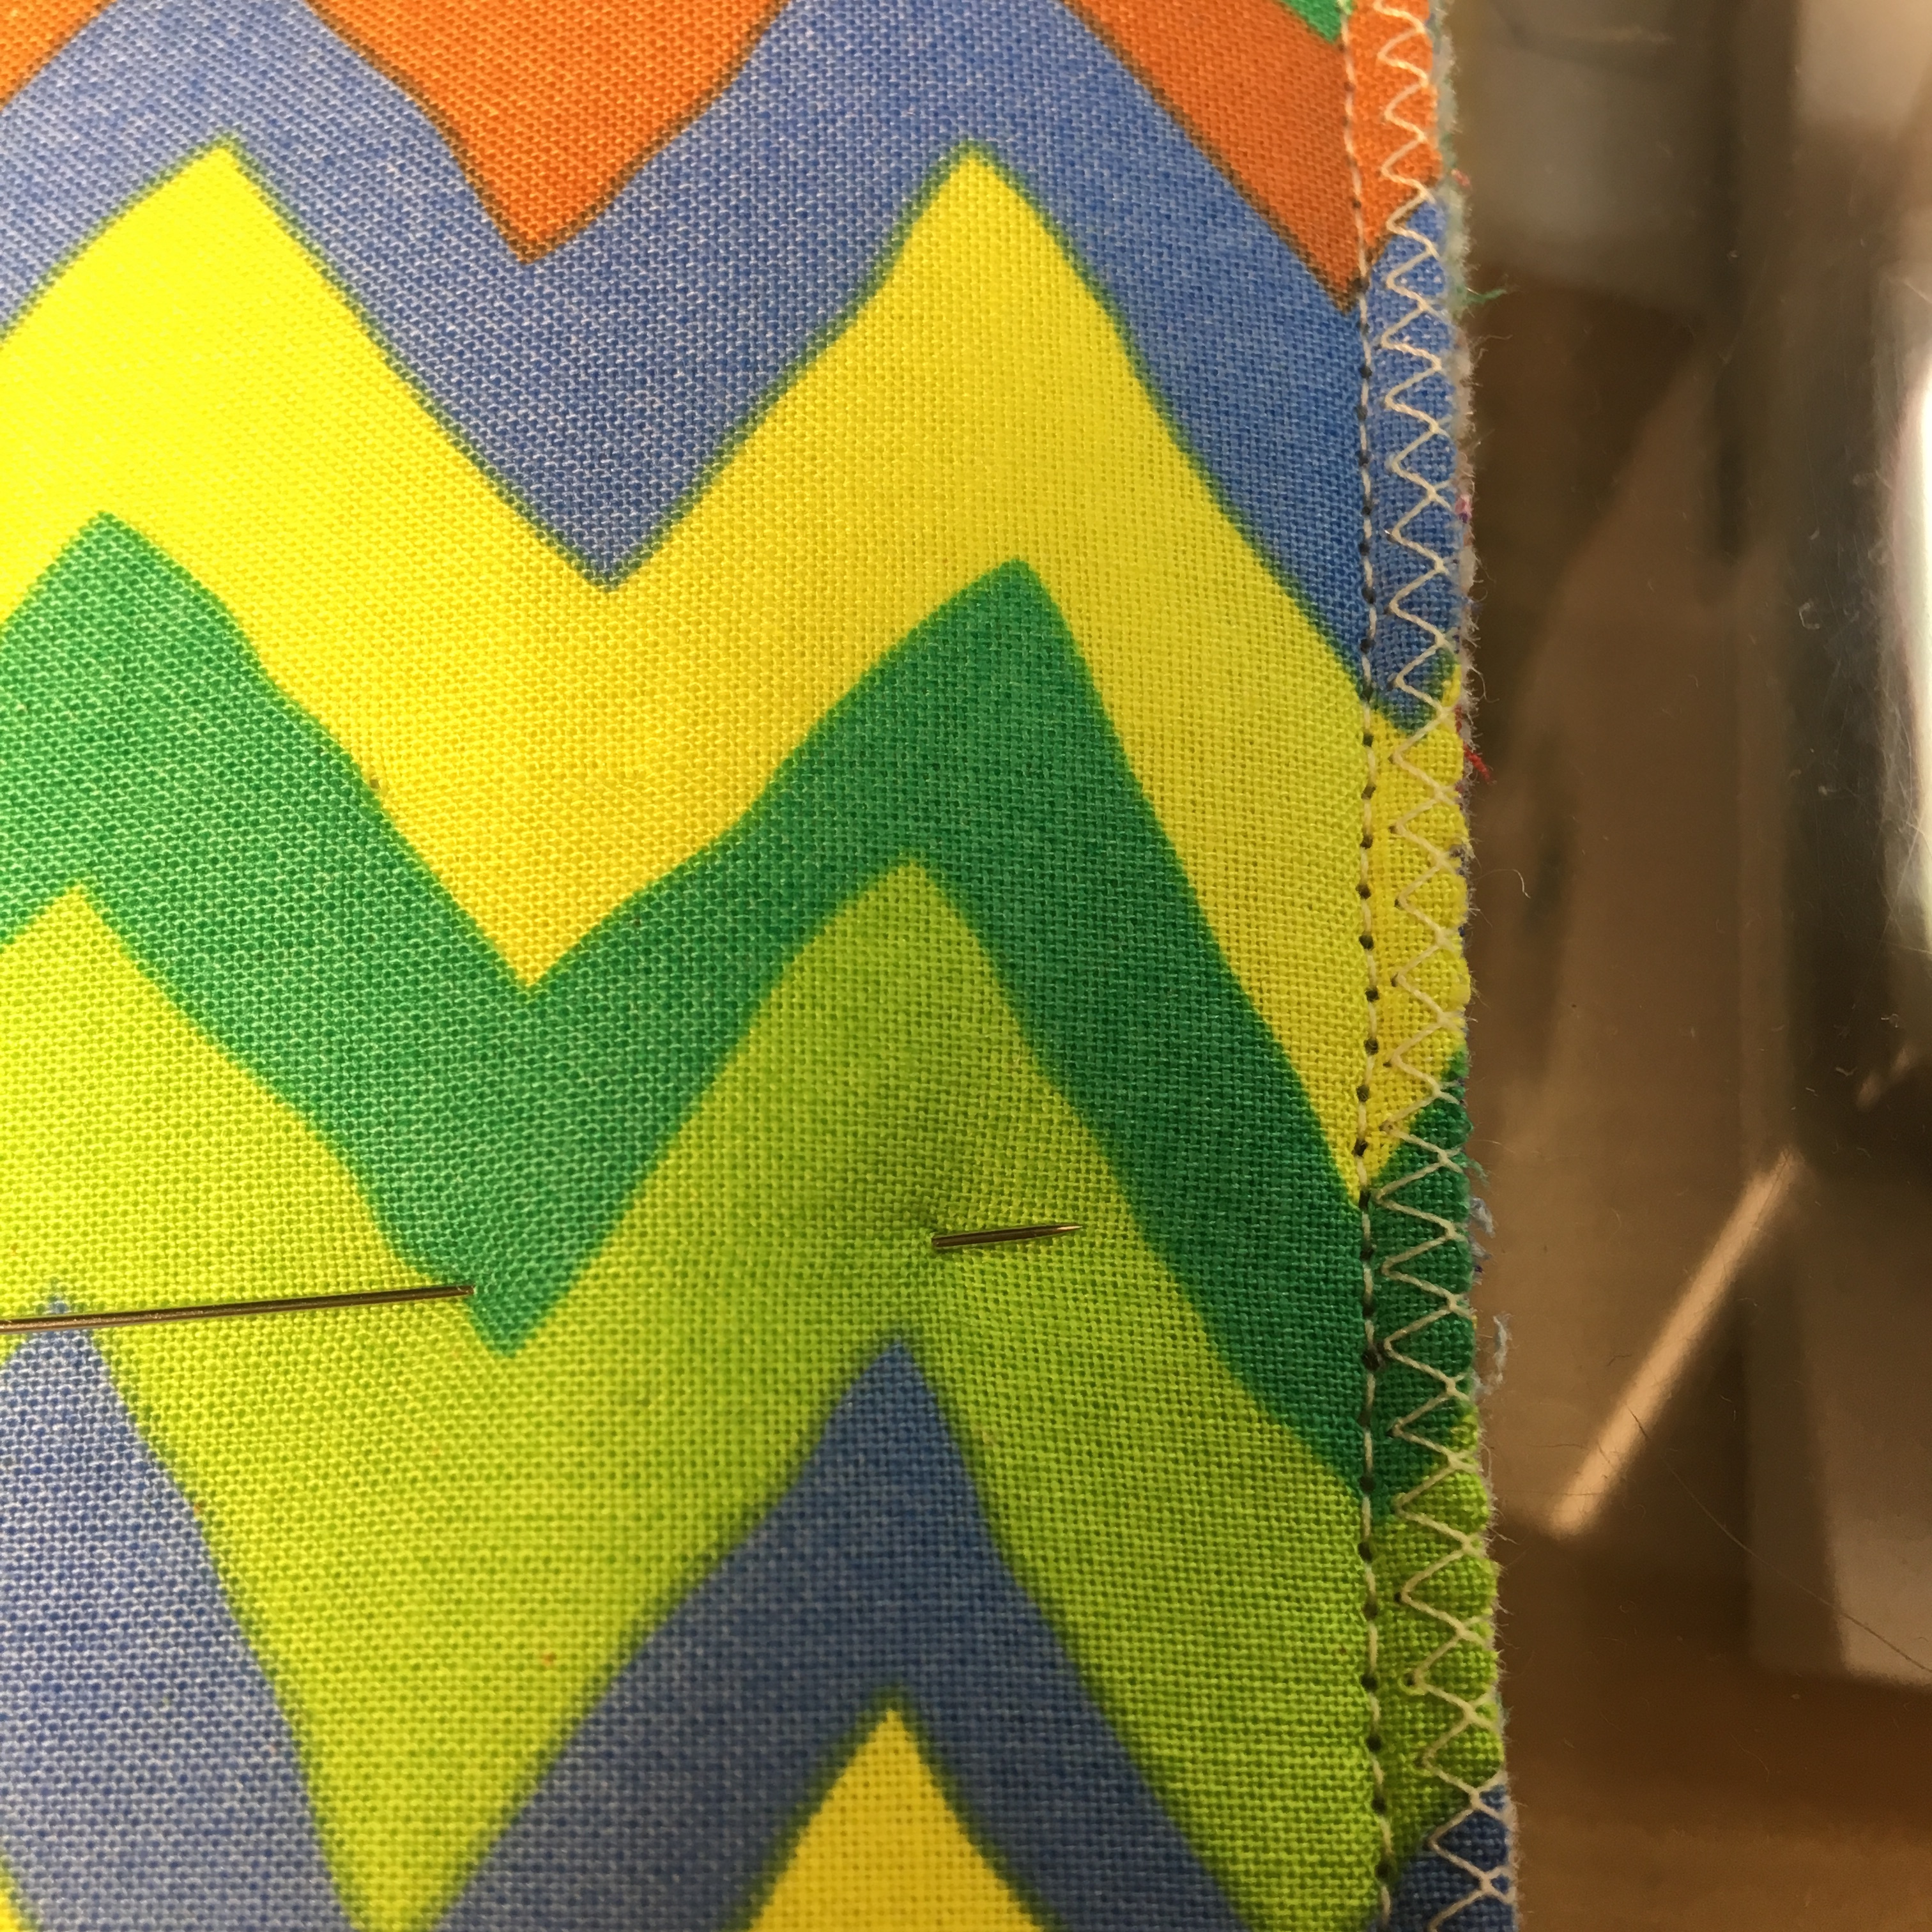
- Starting at the top of one side, sew all the way around the pouch envelope. I back stitch at the top, and over the handle. I try to stitch just inside of the zig zag to keep the seam allowance as small as possible. Leave your needle down and pivot at the corners. In the photo below, you can see how close I stitch to the zigzag.
- Cut off the pieces of the handle sticking out beyond the seam.
Making the gussets:
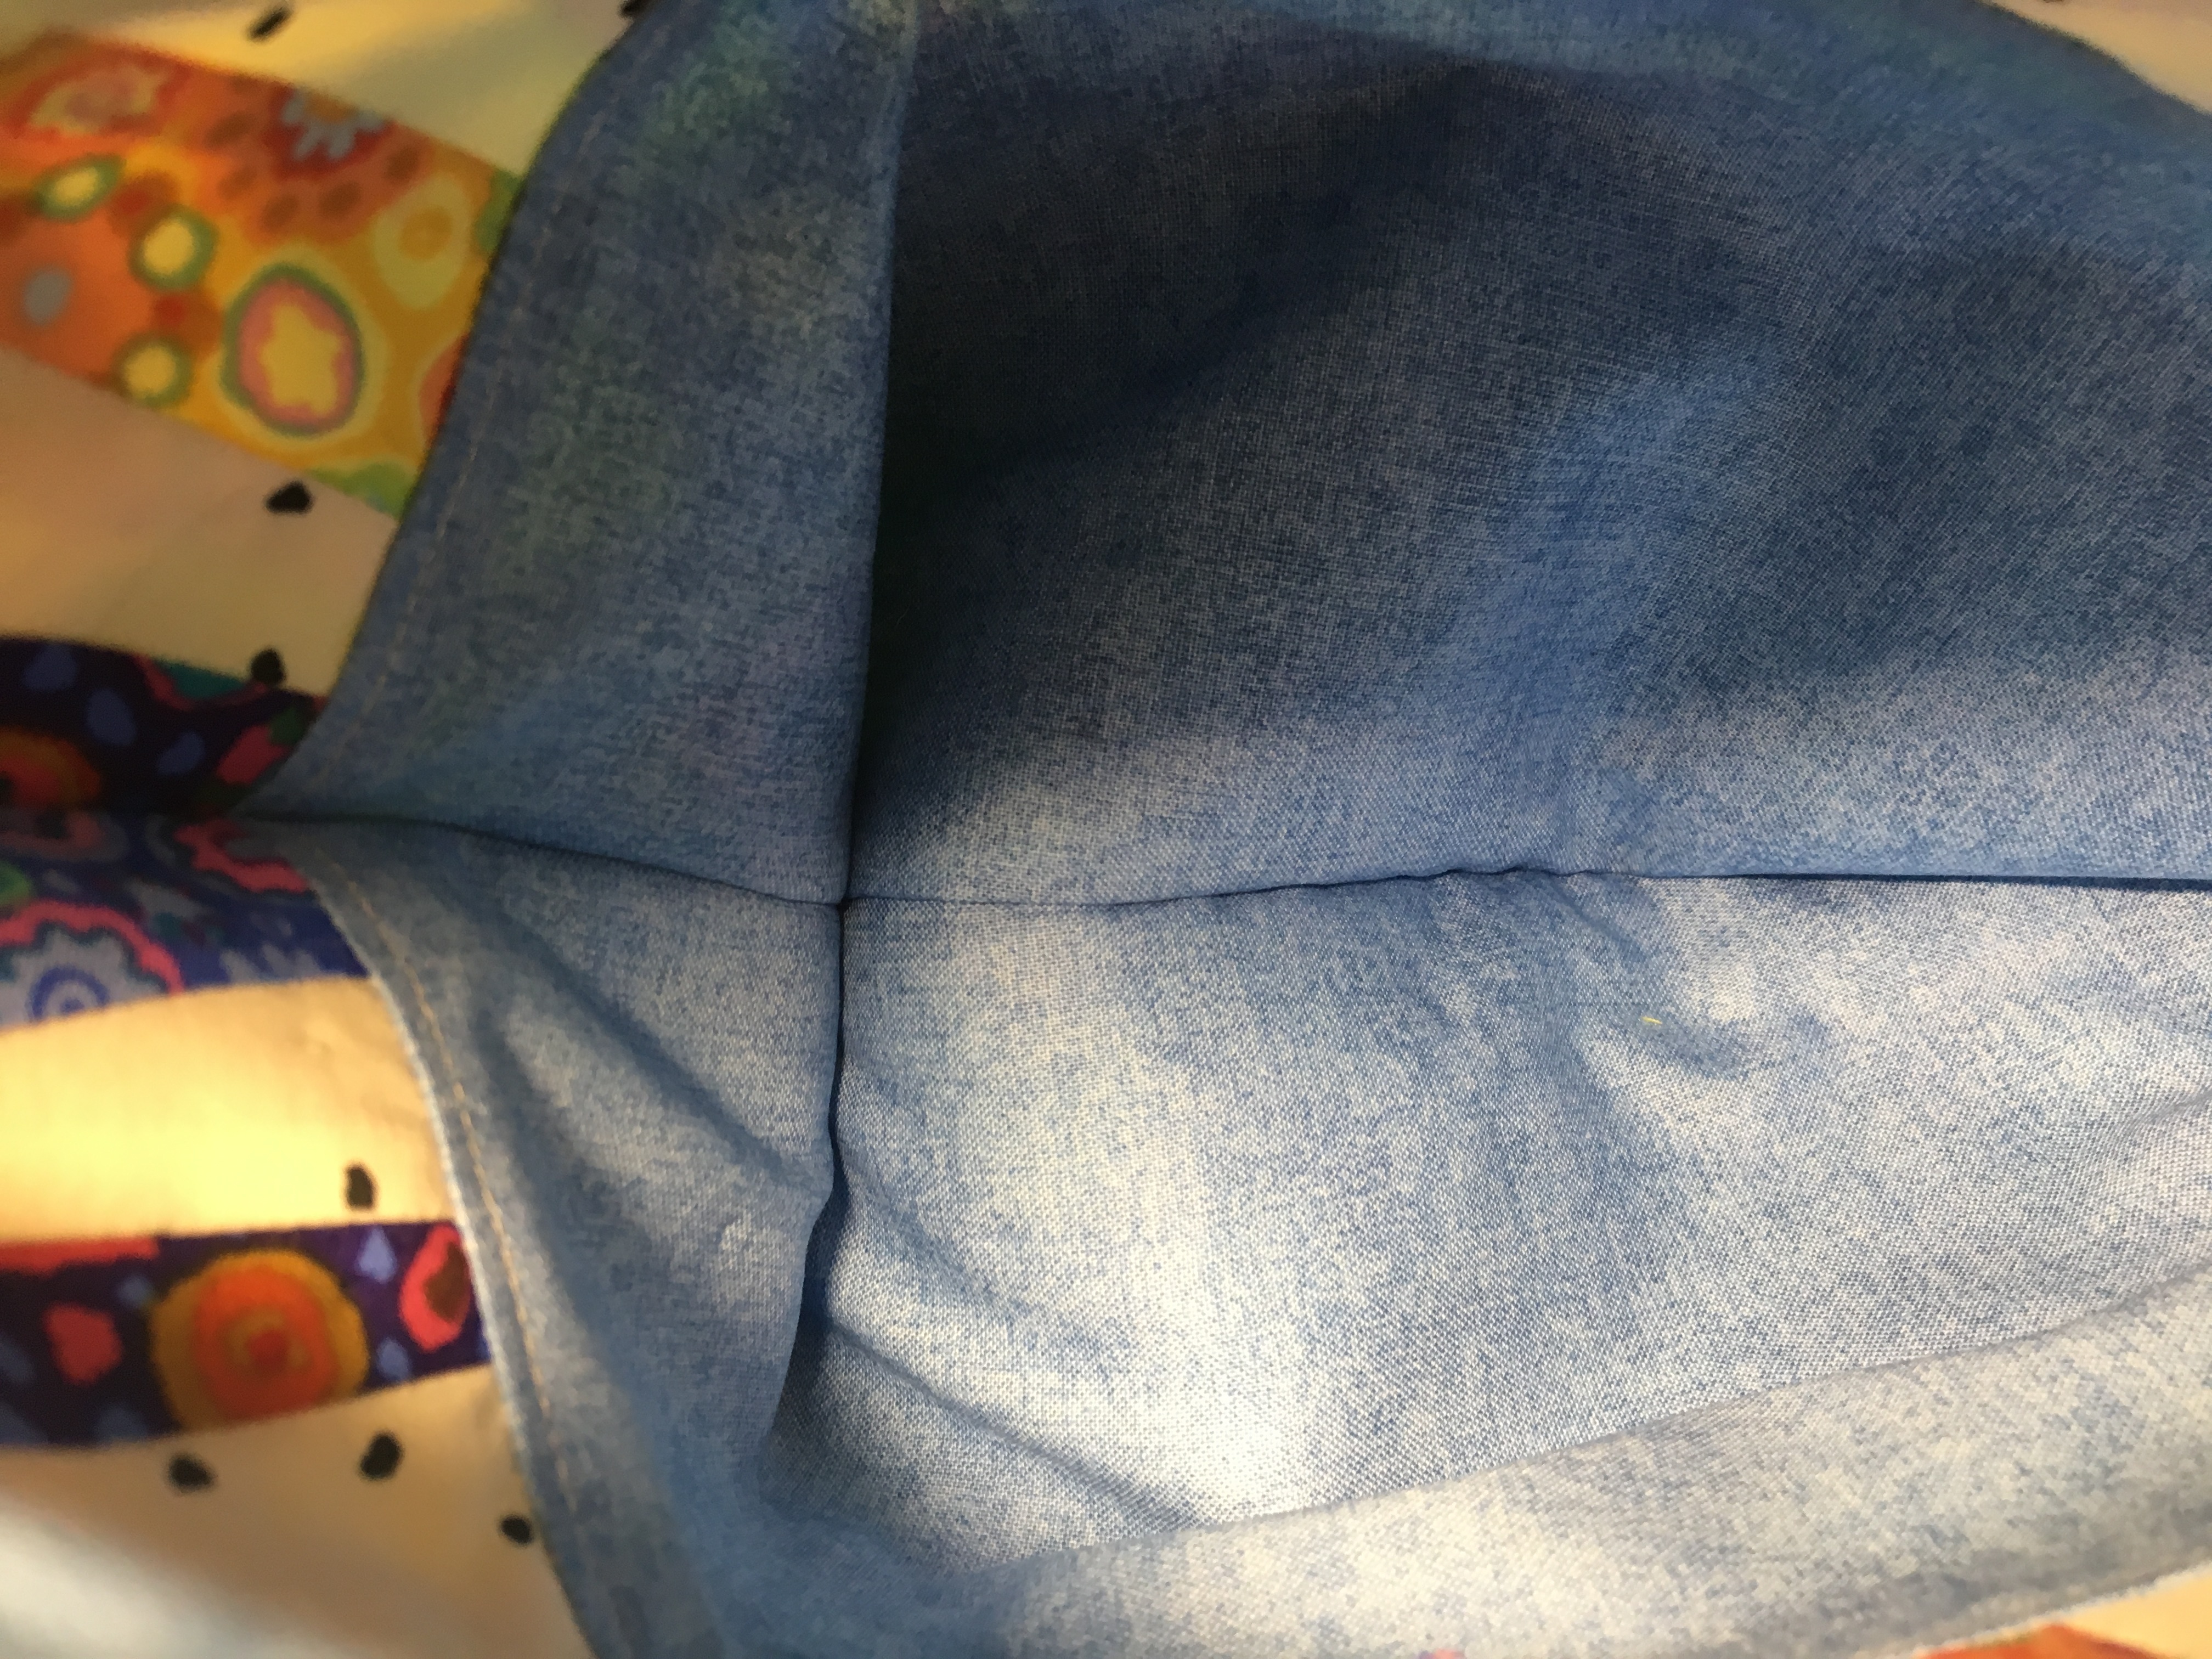
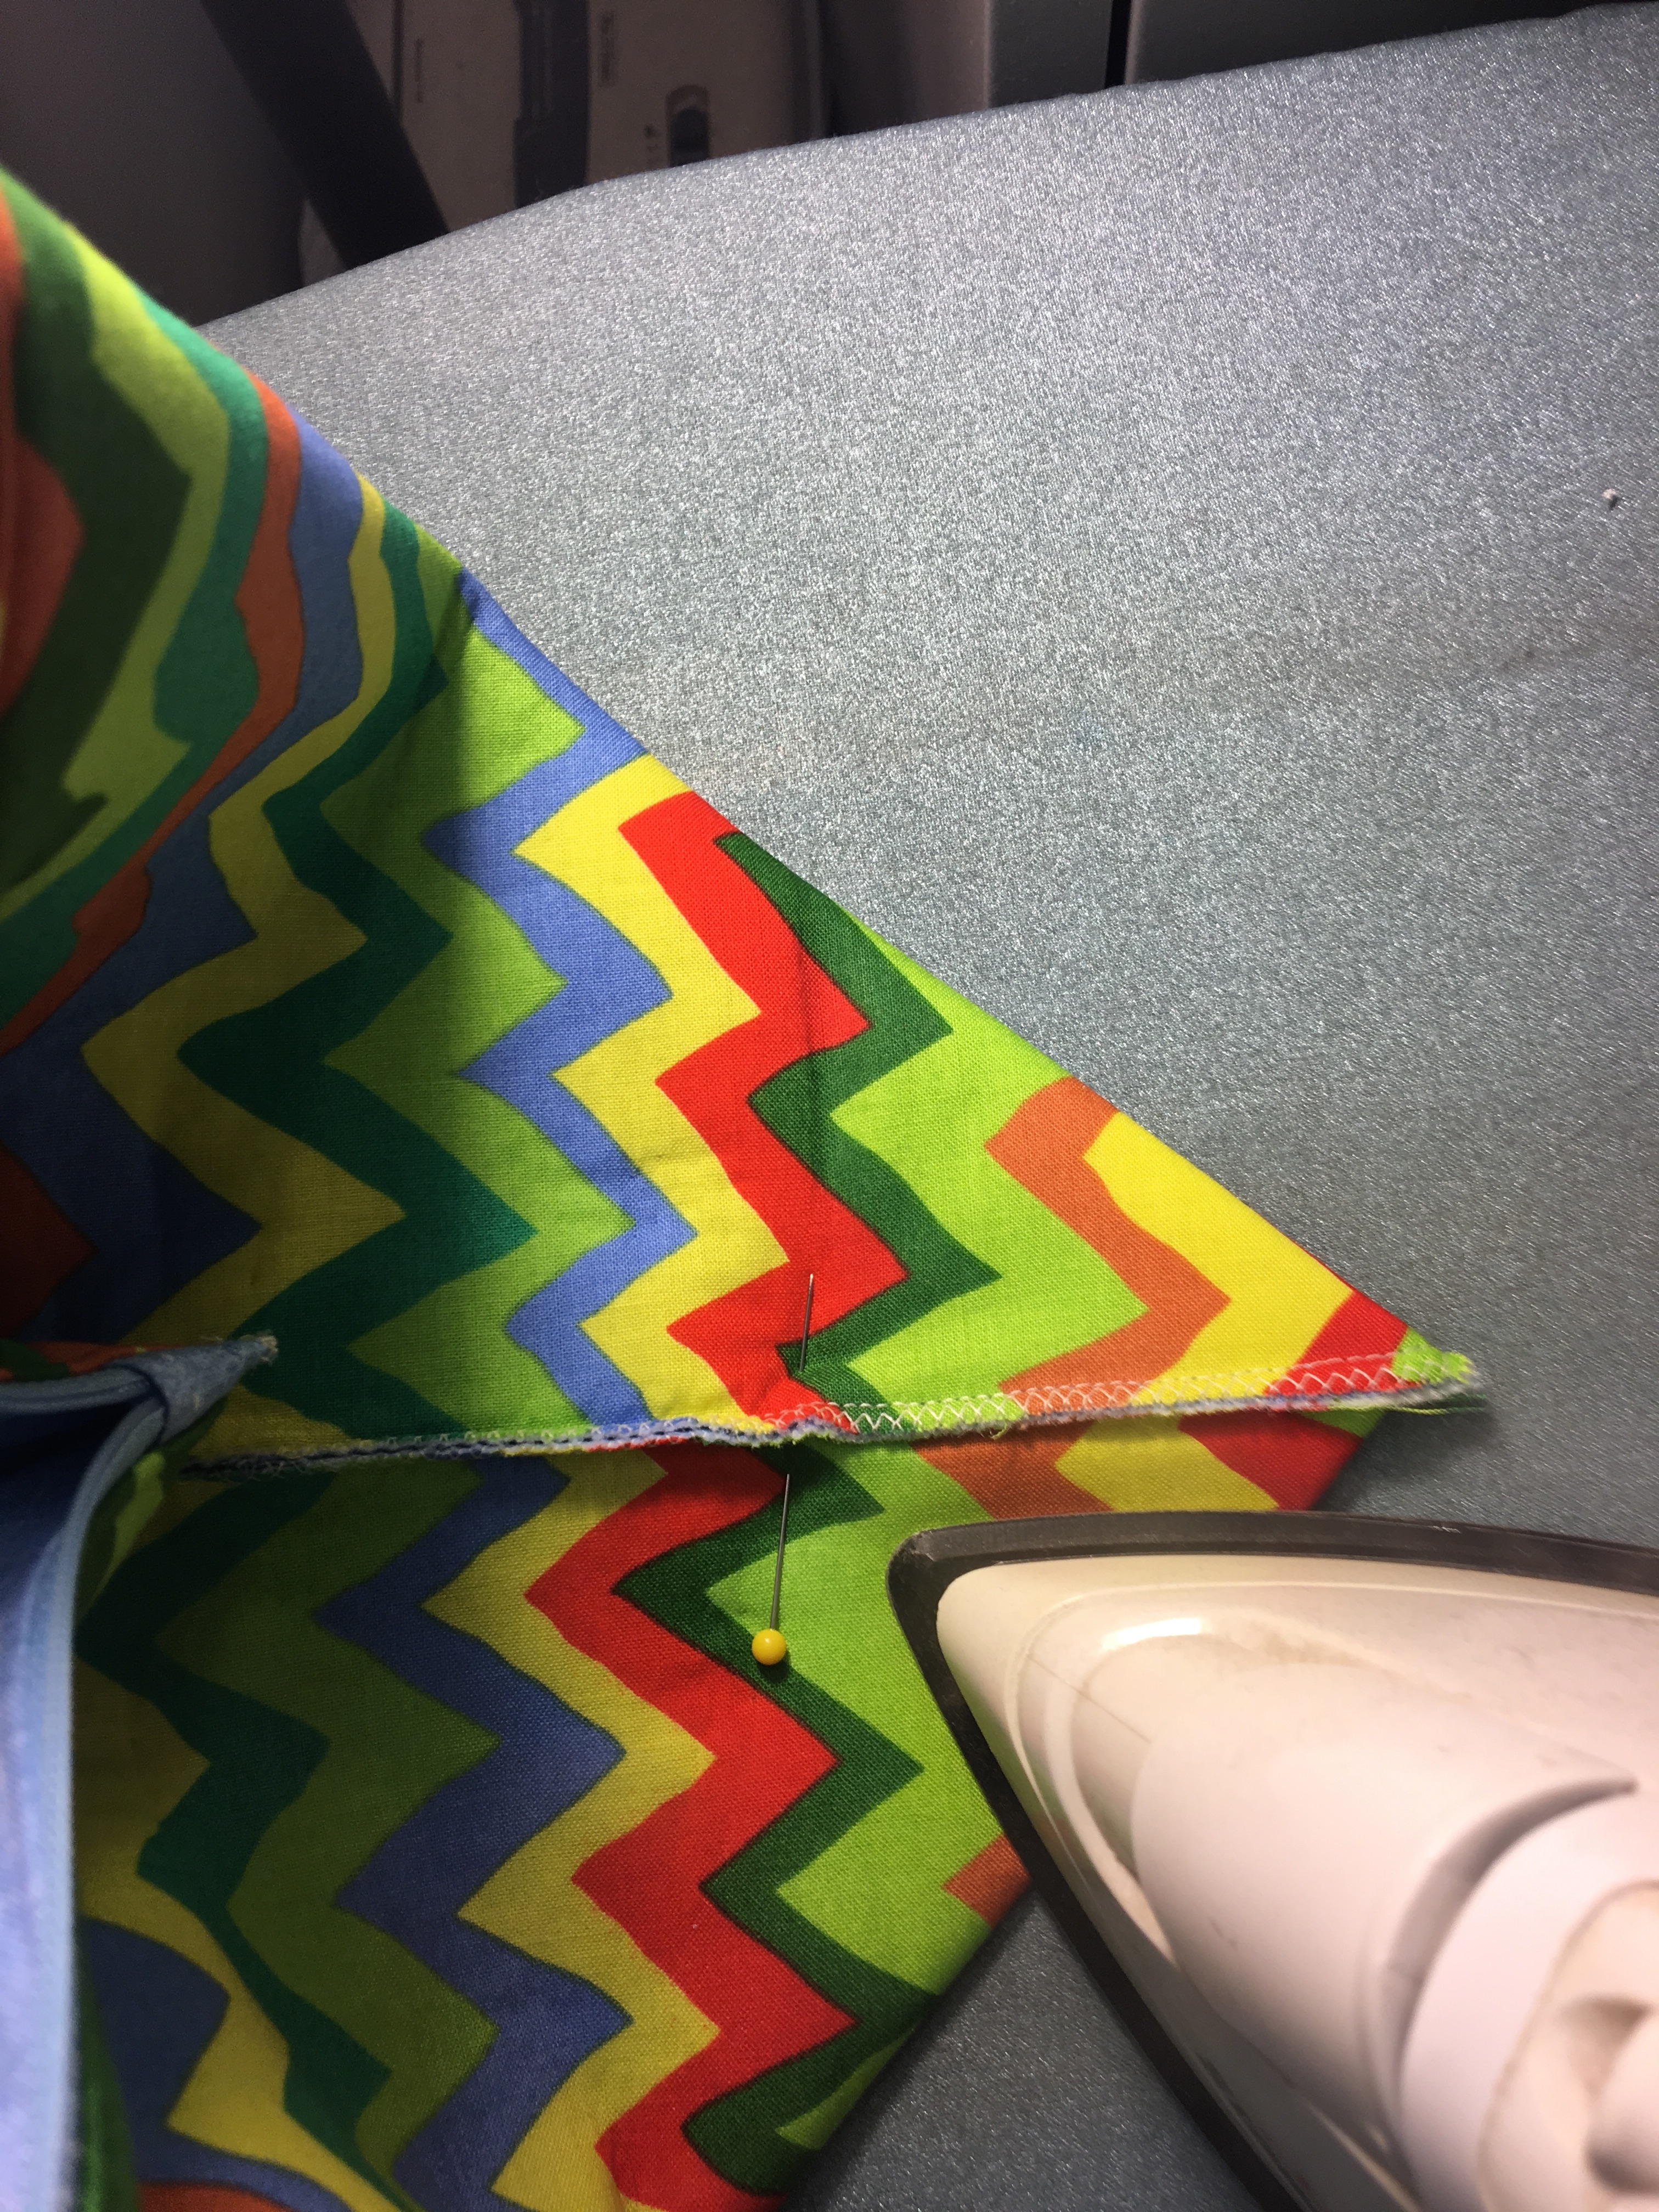
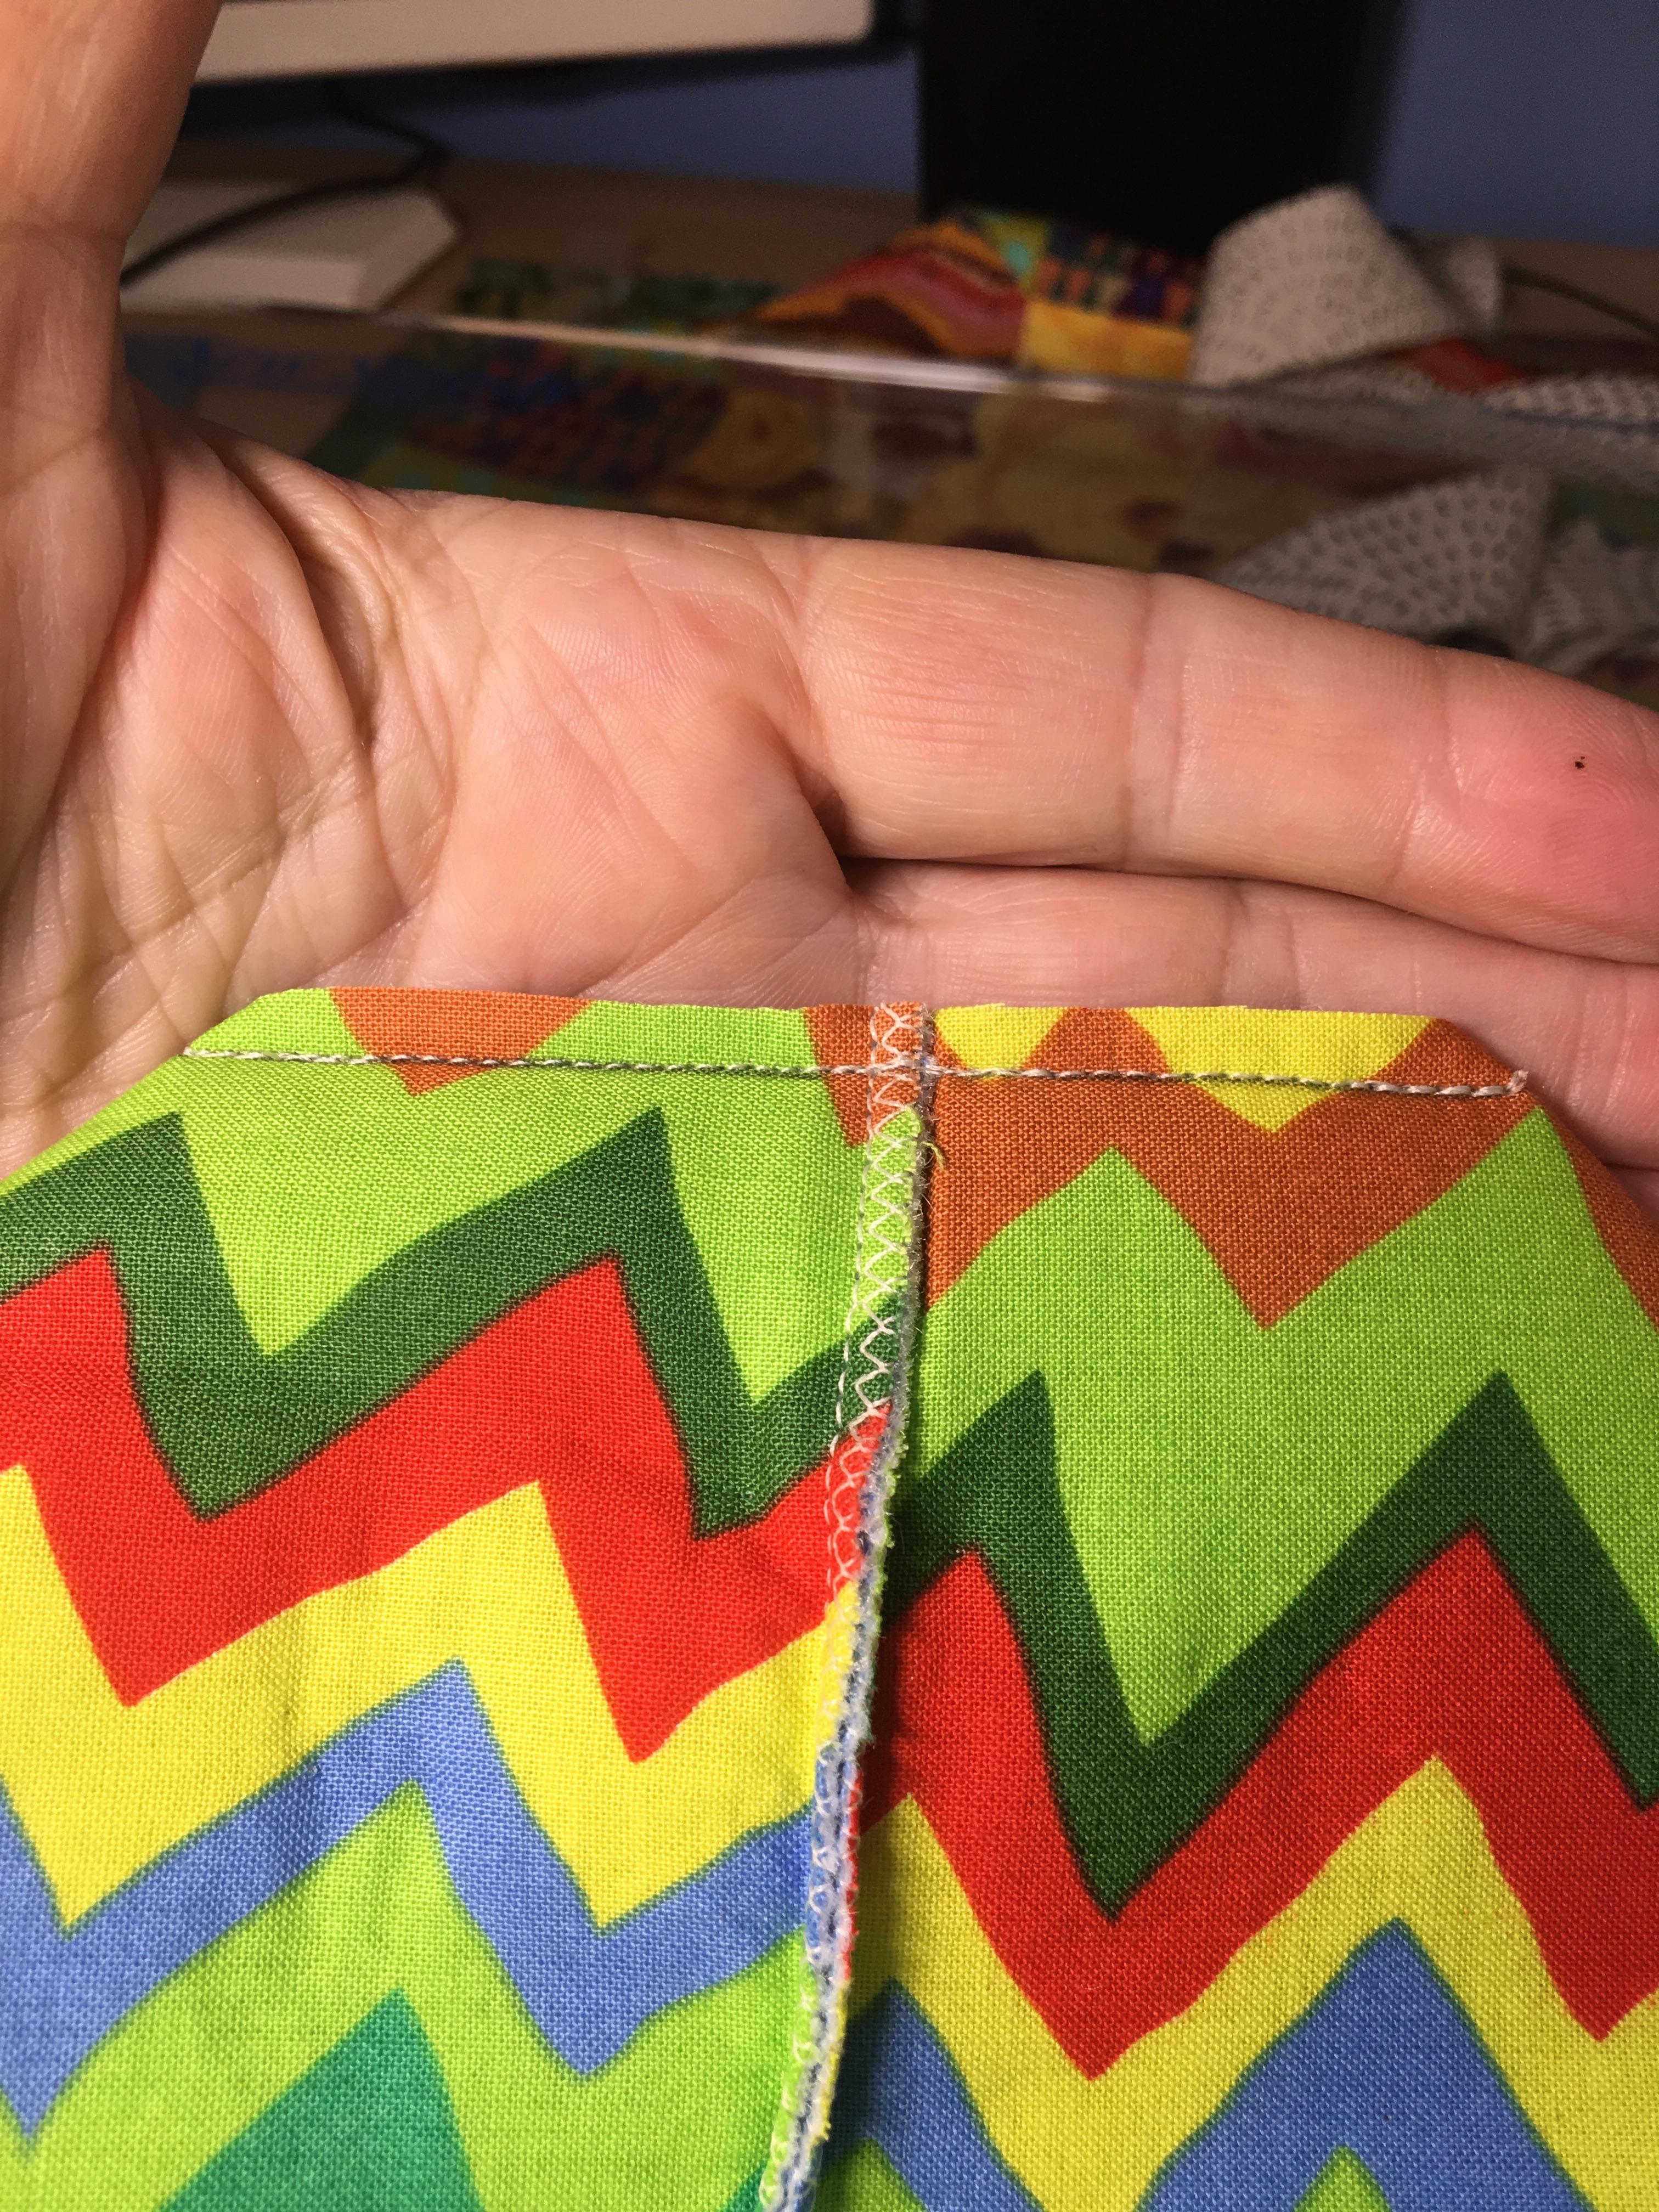
- Put one hand into the envelope you’ve just made and separate the sides of the bag. With your other hand, press the side seam toward the bottom seam. Look inside the bag to make sure the side seam and bottom seam line up. Hold these seems pressed together with one hand and use the other hand to smooth out any folds on the inside of this envelope. Place one pin on the outside along the seam about three inches in from the point to hold this all together. Press the gusset flat.
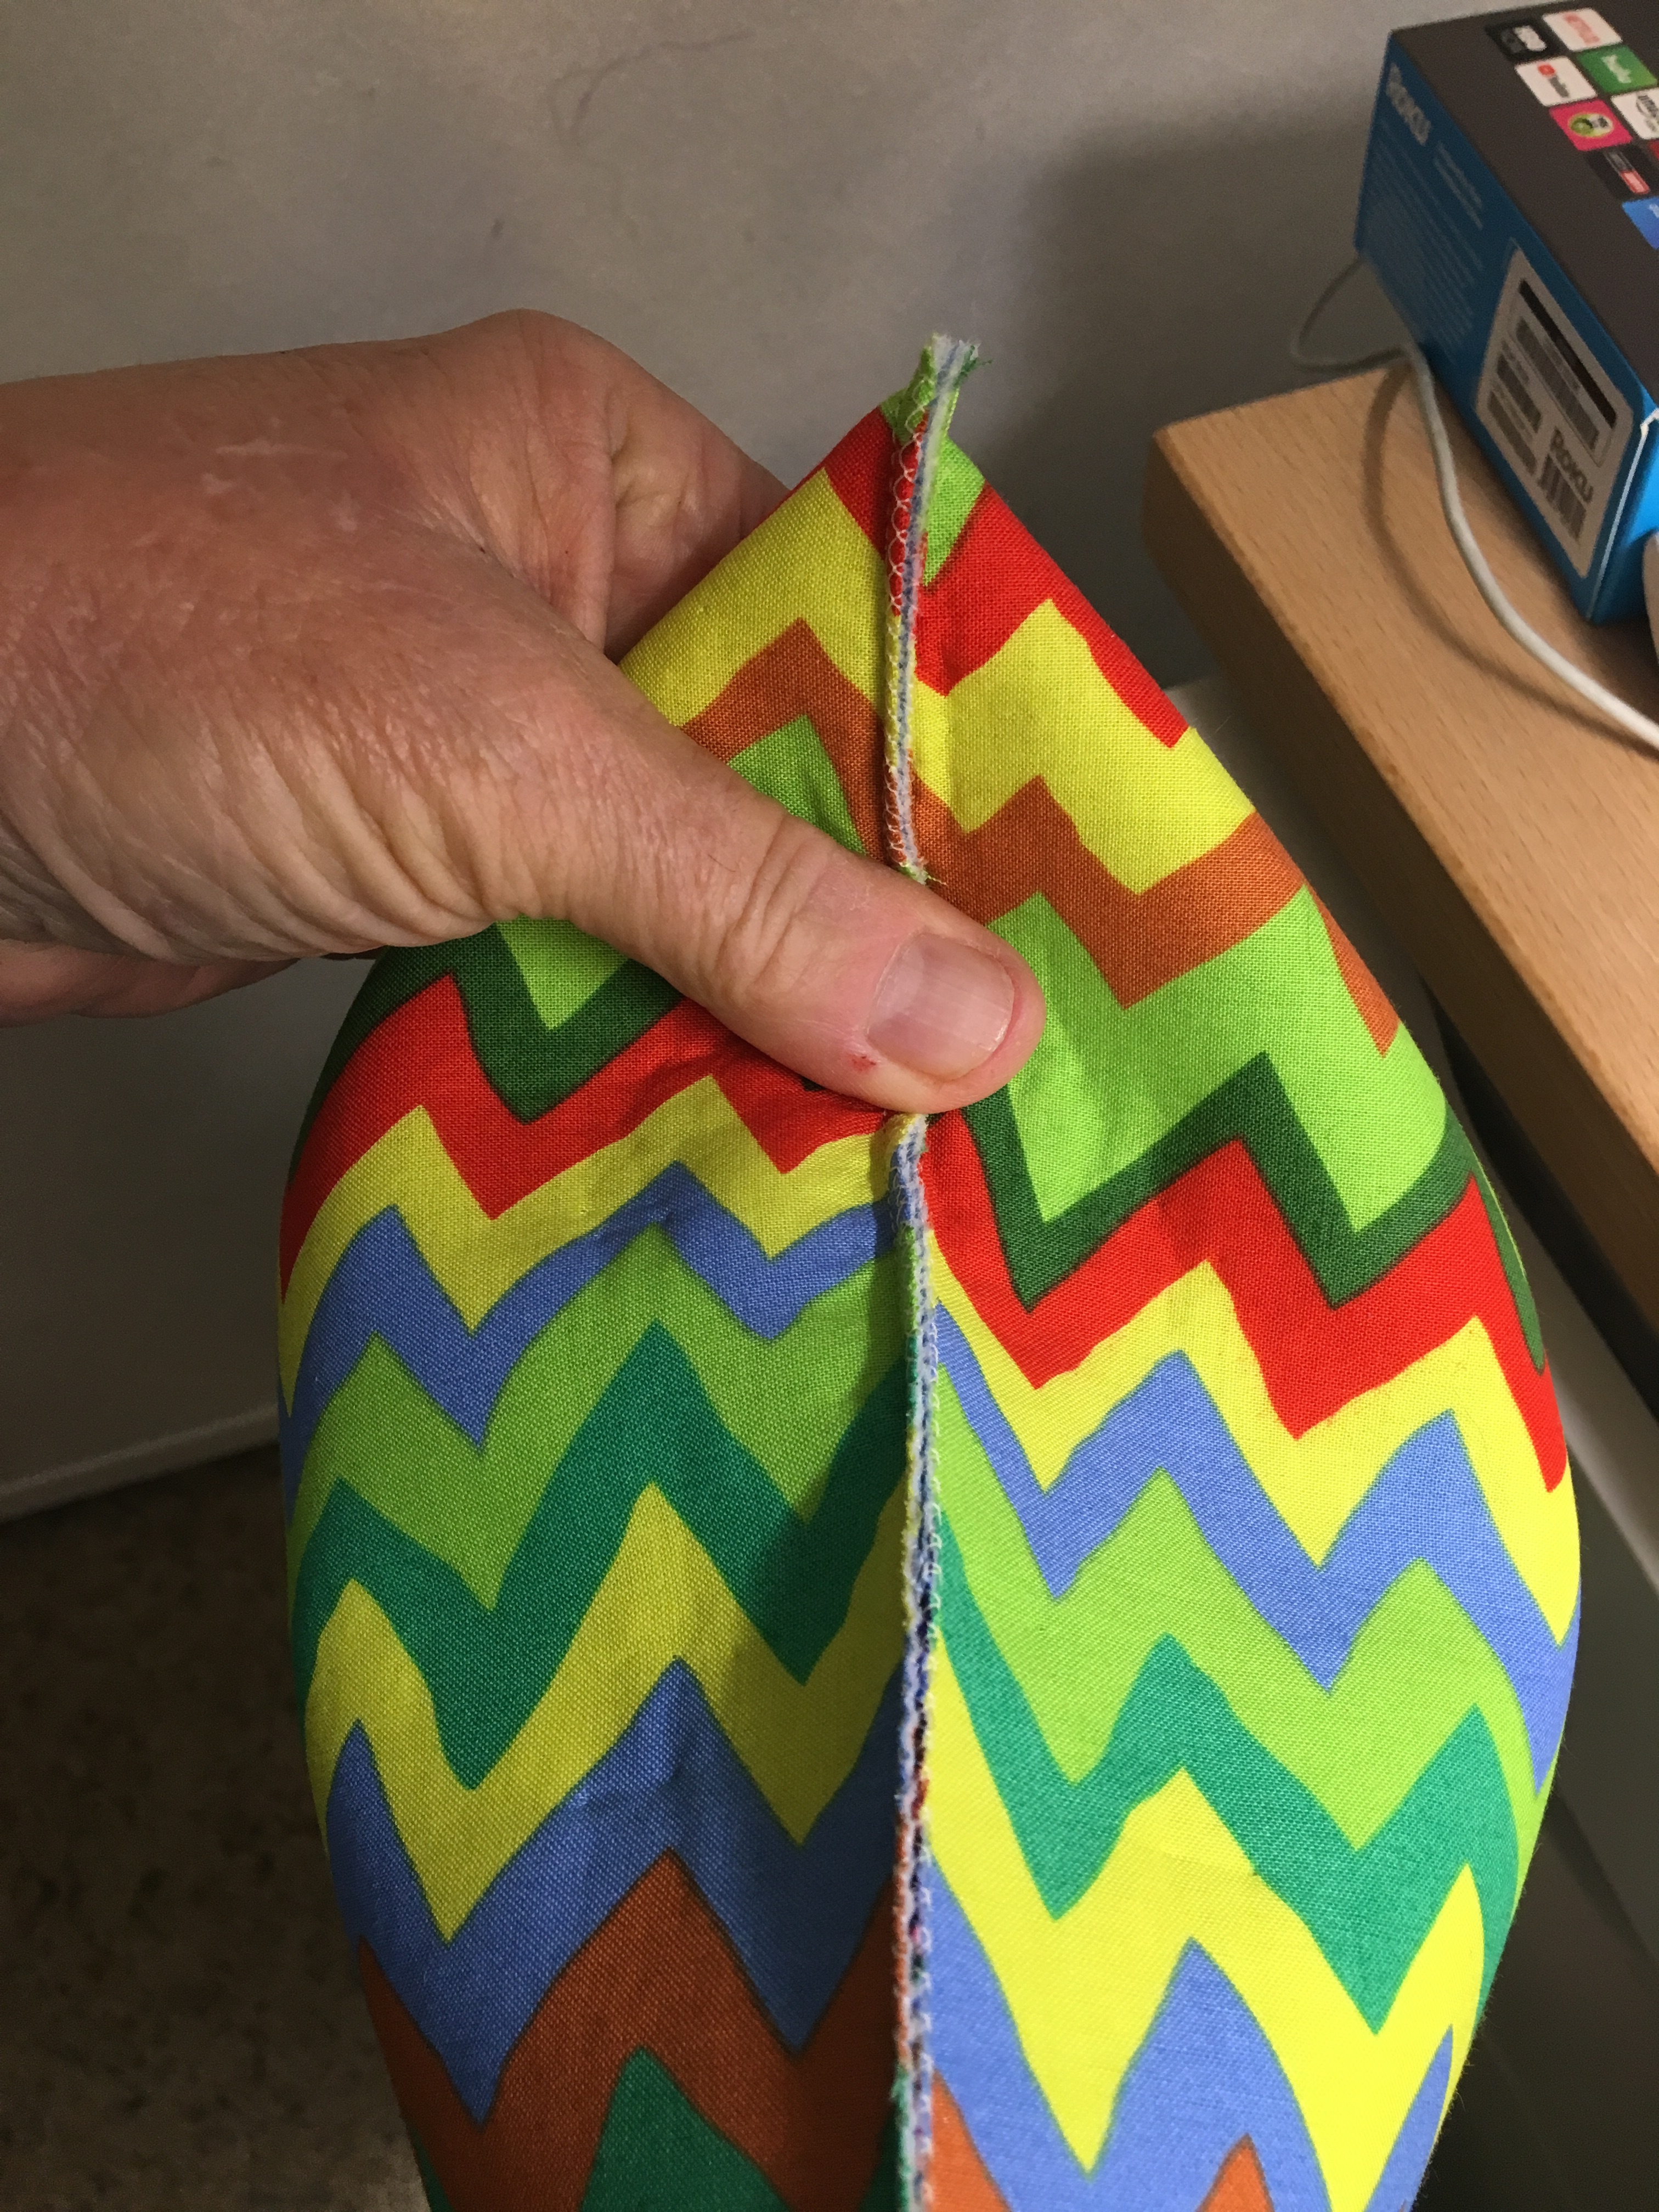
- Side and bottom inside seams lined up:
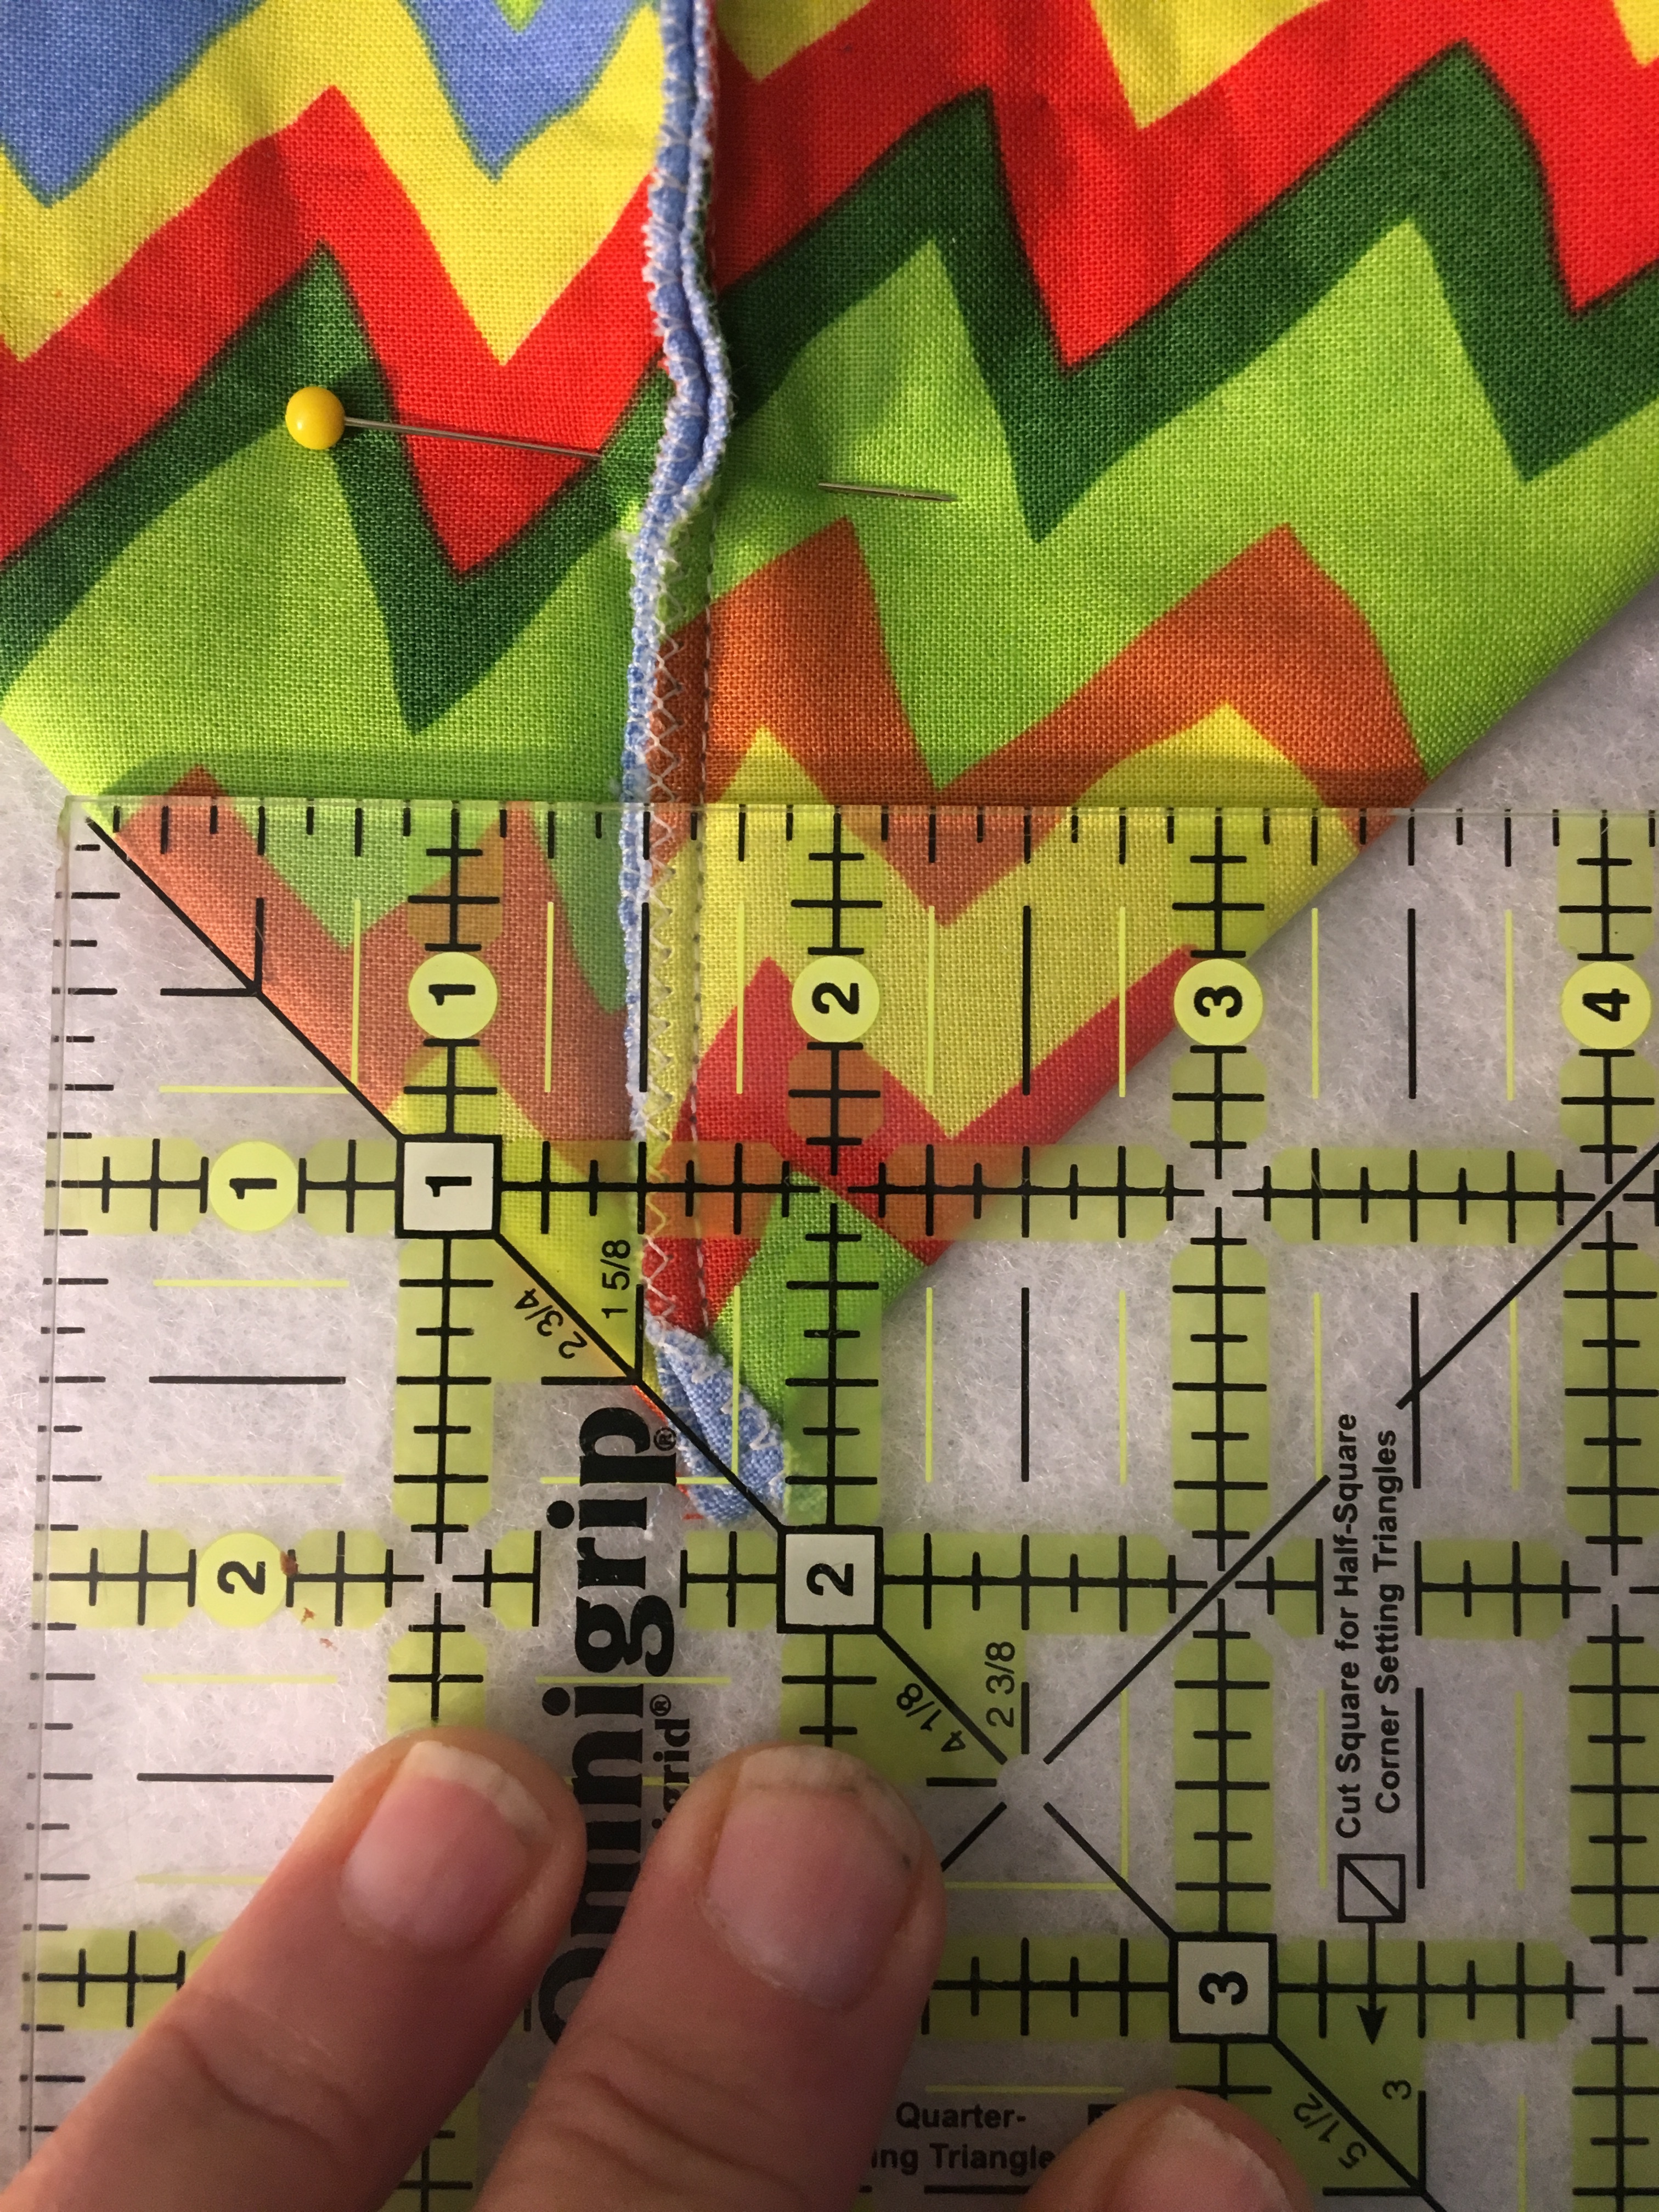
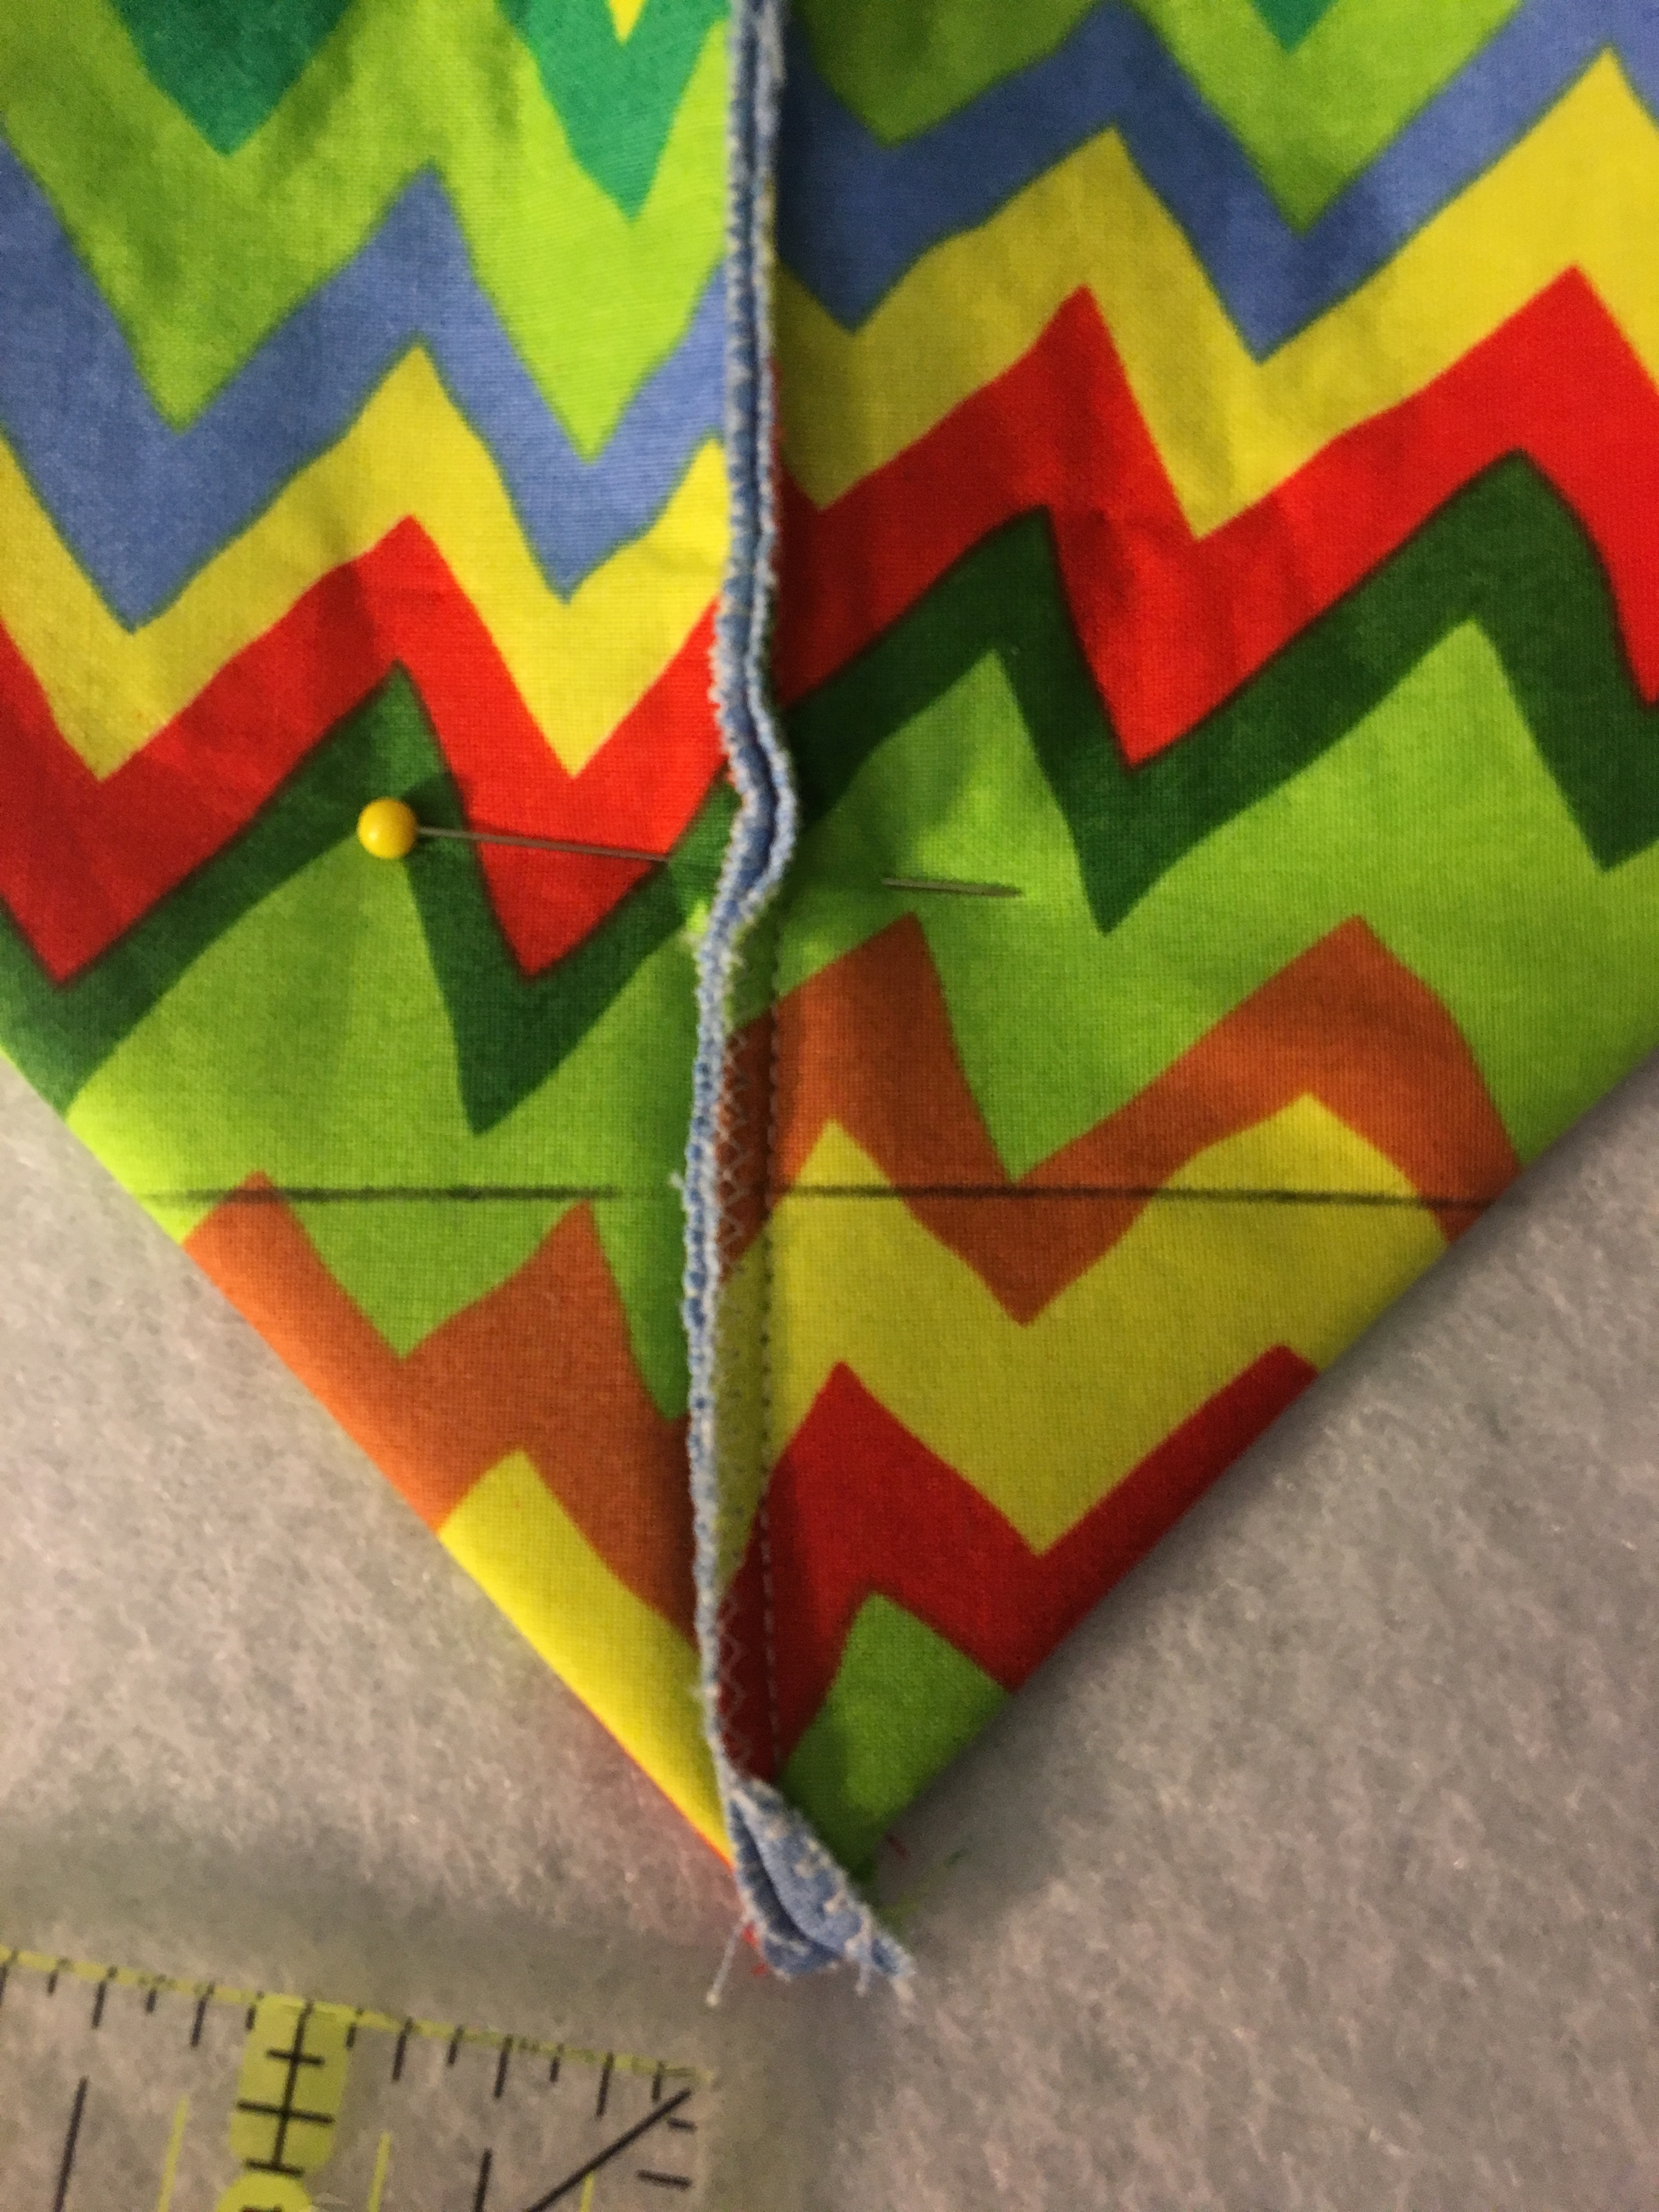
- Using one of your square rulers (I use my 5.5 inch square), mark a 3.5 inch line across the folded corners of the pouch. Use the diagonal line on the ruler to keep the sewing line square and insure that your bag bottom is even. Keep the diagonal line on the ruler lined up on the fold on the left side, and slide the ruler up or down along that diagonal line until the 3 1/2 inch mark hits the fold on the right side. Mark this line with a pencil or quilting marker.
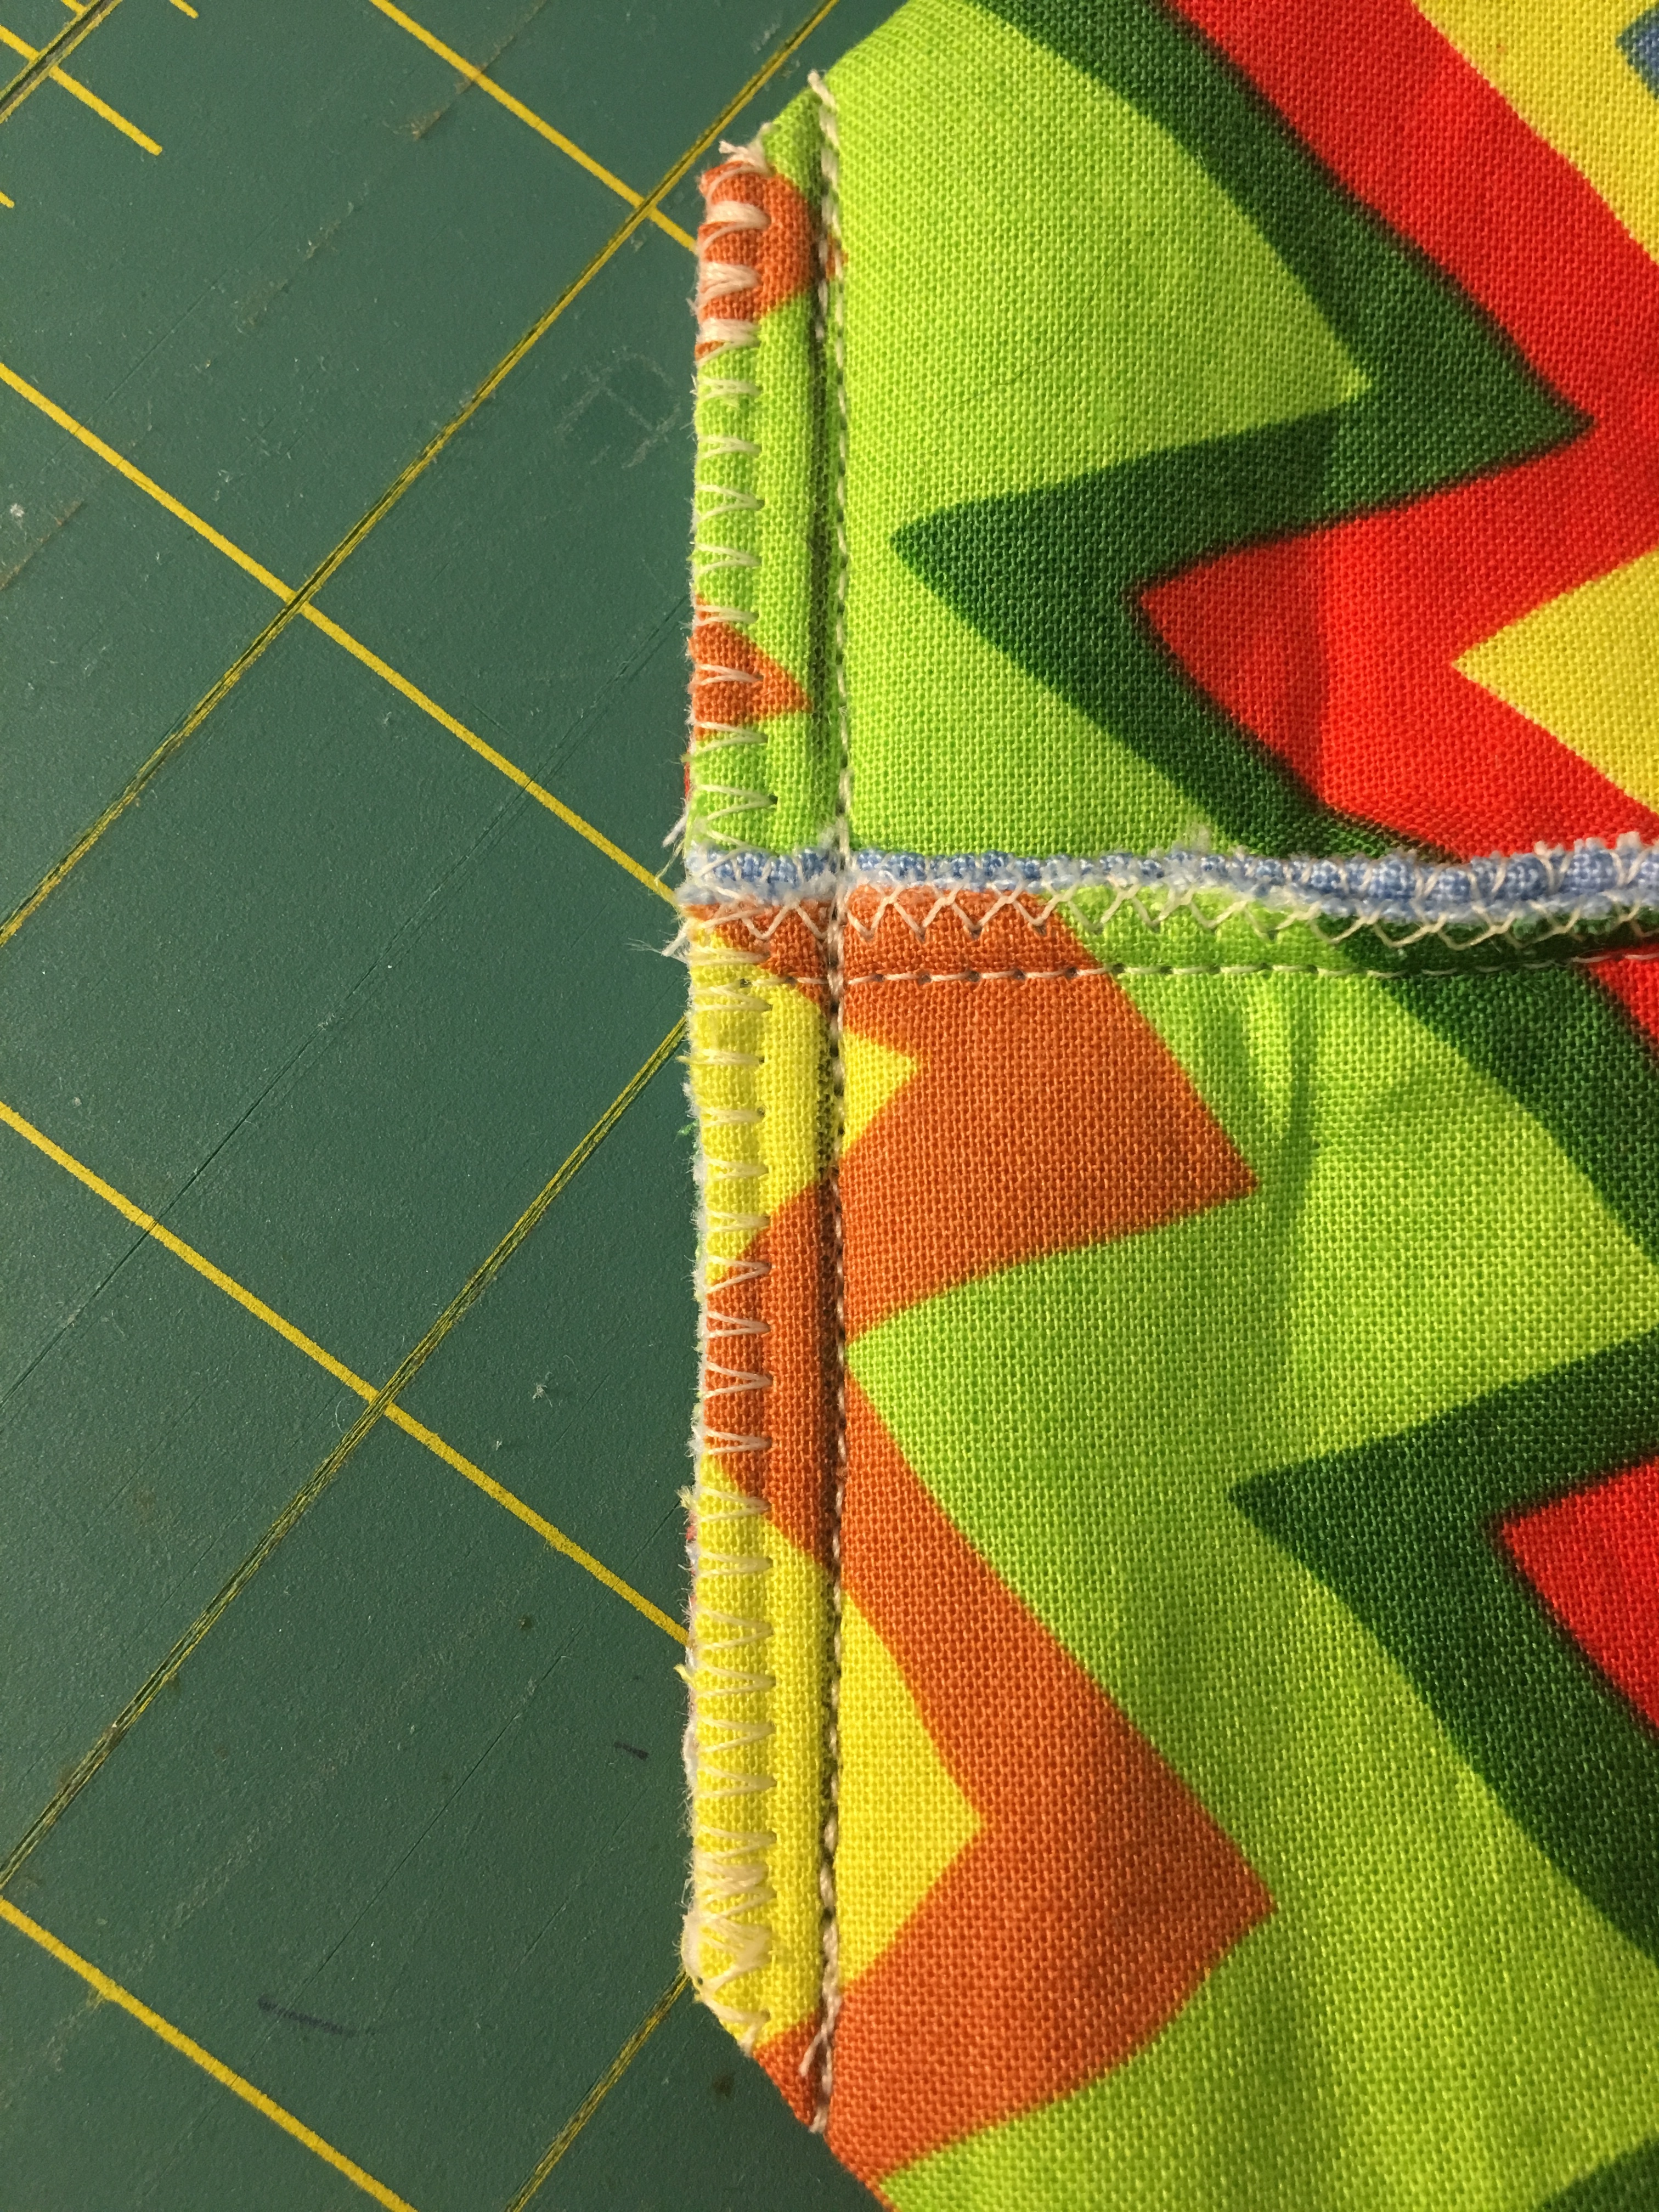
- Sew along this marked line. I backstitch at the start and end of this line of stitching.
- Cut the corner off, leaving a little less than ¼ inch of seam allowance.
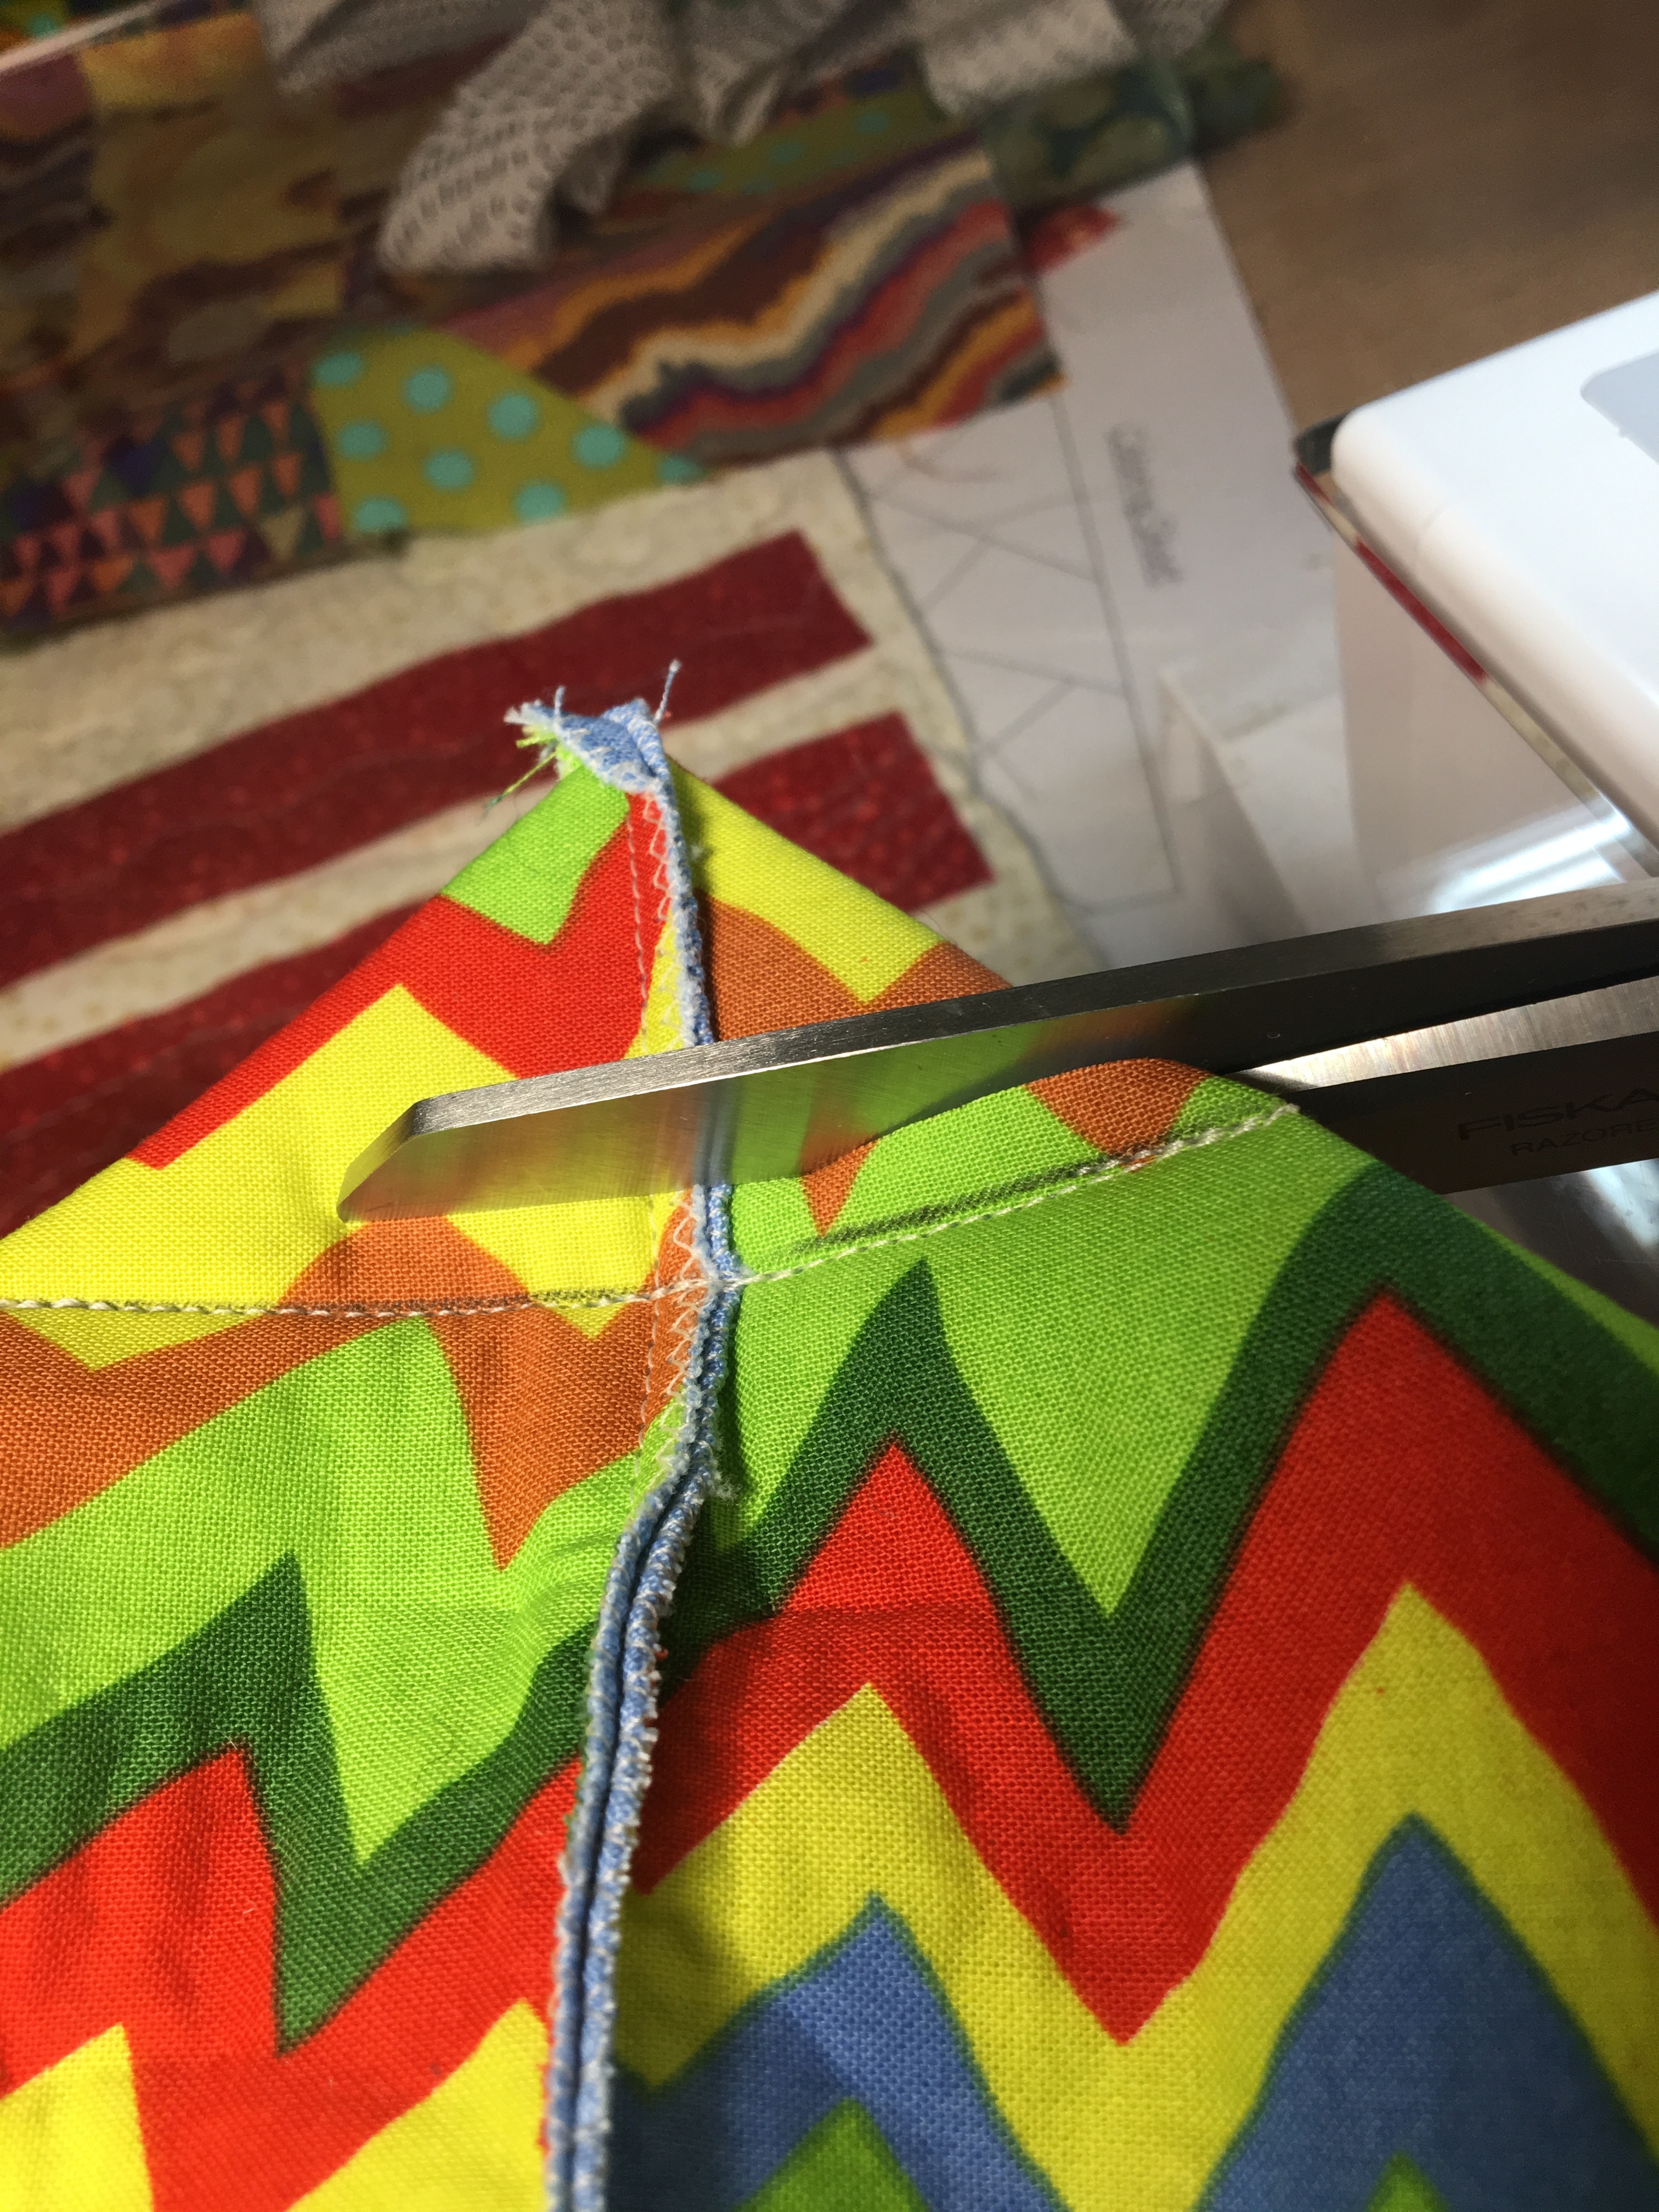
- Zig zag along this cut edge to seal all of the raw edges.
Open the bag and turn it right side out, using your finger to push out the corners of the gusset, and using something with a rounded edge to gently push out the zipper tabs at the top.

LOVE THIS! Thanks for posting!
LikeLike
You’re welcome!
LikeLike
Thanks so much for the detailed directions! I’ve made a few of these and am never quite happy with the results. Will try again – that tab on the zipper is a big improvement.
LikeLike
I love the way these zippers finish! Good luck!
LikeLike
Great tutorial, thanks!!
LikeLike
You’re welcome!
LikeLike
Thank you for sharing. So pretty. I am going to make these!
LikeLike
Thank you! I’d love to see your pouch when it’s done!
LikeLike
Thank you! Good luck and I’d love to see what you make.
LikeLike
thank you! Please share a photo if you make one!
LikeLike
You do such a nice job. Could you show the part where the zipper is inside the bag. I have never cut off the placket on the bottom before, so a good idea. I struggle with a finished edge inside by the zipper. I love the way you do the zipper tag.
LikeLike
I’m not sure what you want me to show with the zipper inside the bag. Do you want to see what the seam looks like? Or how the edge is finished?
LikeLike
Those are incredibly wonderful instructions. Better than my teacher at the zippered pouch class! Thank you for taking the time to enlighten us.
I still have problems with having my zipper tabs looking nice after I sew the pouch into an envelope. They are squished. I will keep practicing. Thank you again.
LikeLike
I’ve found that the secret to a nice zipper install is to make sure you have at least a half inch of fabric beyond the end of the zipper in the pouch. That way you only have the zipper tab fabric in the pouch seam, and not the zipper. It makes a much nicer corner. Thank you so much for your lovely comments!
LikeLike
Thanks so much for sharing! I am going to make one! …or two or three….
LikeLike
I can’t stop making them. I can’t wait to dig in and make a couple more this weekend!
LikeLike
Wonderful, I love what you have done with pieced panels. I need to try this. Thank you.
LikeLike
Thank you! I’m planning on doing some tutorials on the different pieced panels I’m making. I’ve got the photos, just need to sit down and write a description. Look for it in the next wee or so.
LikeLike
Any chance you have done a tutorial on the pieced panels you use? I would love to give them a try.
Thank you for all your inspiration!
LikeLiked by 1 person
I’ve never gotten around to doing tutorials on the panels I make. I should take some time and do that soon. Mine are mostly free-form improv piecing. That’s really where the fun is for me. You can basically adapt any block you like to sew into a pouch.
LikeLike
Thank you! I’m planning on doing some tutorials on the different pieced panels I’m making. I’ve got the photos, just need to sit down and write a description. Look for it in the next wee or so.
LikeLike
Cant wait to make some of these…Thanks!
LikeLiked by 1 person
I hope it all works for you! Let me know if you have any questions about any of this!
LikeLike
I volunteered to make a bunch of these for a ladies luncheon. I wasn’t quite happy with the results of the zipper on the pattern I used. Thank you for your great instructions. This will improve my project a great deal.
LikeLiked by 1 person
Thanks! I hope it works. I love the way the zippers come out.
LikeLike
Appreciate this post. Will try it out.
LikeLike
Anne, I’ve been following you and your love of Fassett fabrics. Thank you for the thrills! QUESTION: what size is the finished bag?.
LikeLiked by 1 person
It starts with a piece of fabric that’s 10x 12, so it finishes at about 11 inches wide and 7.5 inches high… or there abouts.
Anne
LikeLike
Anne, sorry to trouble you again so soon, but I have a problem. I am hoping to make these zipper bags for my daughters, daughters in laws and granddaughters for Christmas. When I sew the tabs on the ends of the zipper, it stops my machine and bends the needle. Your stitching across the tabs looks even. I must be doing something wrong. Any suggestions?
LikeLike
Are you using a nylon zipper or a metal zipper? If it’s a metal zipper, you can’t sew across it.
If you’re using a nylon zipper and can’t so across it, I would guess that the problem is that your machine can’t handle that or that maybe your needle is the wrong needle but I can’t tell you what needle to use. Maybe a thicker needle.
Good luck!
Anne
LikeLike
Related to my earlier text…..I am using All Purpose Polyester zippers from Coats & Clark. Is that significantly different than nylon zippers?
LikeLike
This is what I use:https://www.etsy.com/listing/154909700/zippers-in-bulk-twenty-assorted-7-inch?ga_order=most_relevant&ga_search_type=all&ga_view_type=gallery&ga_search_query=zipit+shop&ref=sc_gallery-1-5&plkey=a41a0b89464890f86a644b2624fb29c9511c8385%3A154909700
I’m guessing they are essentially the same thing. Seems like it should work. Might be your machine or needle.
You could just sew up close to the zipper and backstitch, then start sewing close to the zipper on the other size so you don’t have to run over the zipper.
Anne
LikeLike
Thank you Anne. Regarding the zippers, I
LikeLiked by 1 person