I made a bunch of these ornaments last year and decided to write up a quick tutorial for them. They’re a quick, fun and easy make. They make great gifts, or are even fun tied to the top of a package. It’s great to have some on hand to give to people who visit during the holidays.

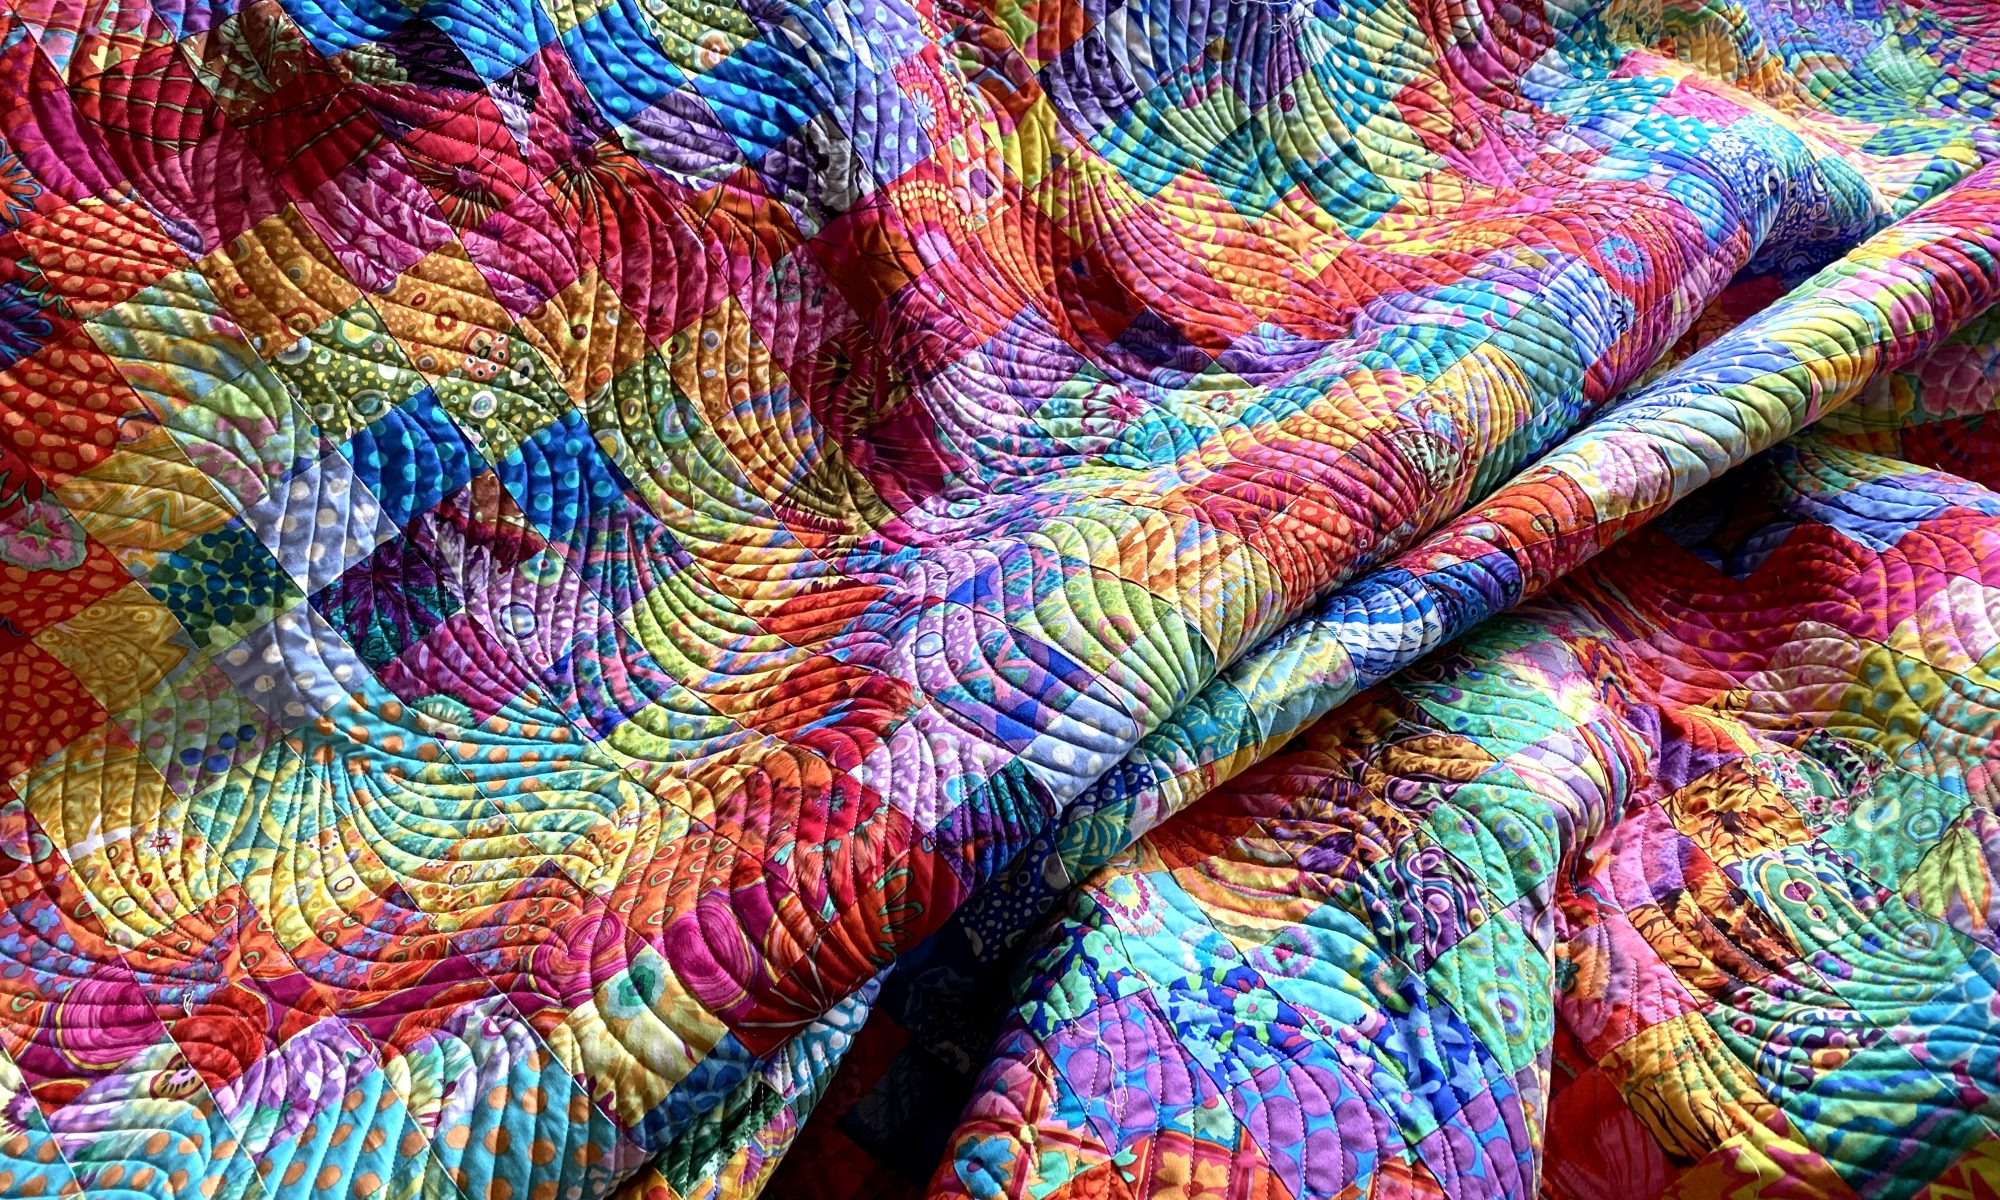
I made these using some of my Kaffe Fassett Collective scraps but you could use any scraps you have on hand. For me, the more colorful and bold the better!
Materials:
- You’ll need two different fabrics for the front. One for the top/sky section and one for the bottom/snow section. (more on the fabrics I used below)
- Some fun fabric scraps for the trees. I used Kaffe Fassett Collective Fabrics. You can go crazy here!
- Some light Heat and Bond, used to adhere the trees to the background.
- Some thin ribbon or cord to hang the ornament by
- Poly-fil stuffing, or other stuffing you like.
I used this polkadot fabric for the top/sky…

And this fabric for the bottom.

I used the same white fabric for the back of the ornament.
You can really use any fabrics you want. You can make it a daytime scene by using a white on white dot, or a light batik dot, or even a snowflake batik or white on white. You could use solid white for the bottom or white with black swirls, or a batik that has different shades to it, or even something with some silver in it.
Here are a couple batik options that would work for the sky.


I wanted to have a night time scene with snow on the ground. I like the fabrics I used because the polka dot makes it look like it’s snowing in the dark. I thought the bottom fabrics made it look like hills, but several people have commented that it looks like animal tracks in the snow.
Cutting and assembling the ornament body:
Cut your top/sky fabric 4.5 inches wide and 3 inches high.
Cut your bottom/snow fabric 4.5 inches wide by 2 – 1/4 inches high.
Sew these two pieces together along the long sides using a 1/4 inch seam allowance and press the seam allowances to the dark fabric.

This piece ends up being 4.5″ wide by 4-3/4″ high. I leave an extra 1/4 inch for the seam allowance at the bottom. The larger 1/2″ seam allowance at the bottom makes it easier to close the opening.
Cut a 4.5″ x 4-3/4″ piece of fabric for the back of the ornament. I used the white fabric.
Making and applying the trees
I fuse heat and bond to the back of my scrap fabric first. Then use this template to cut the three different size trees needed for the ornament (I round the corners a little when I cut them). Download the PDF file and print it at 100%. Make sure that it’s the correct size once printed. I made a 1 inch mark on the template to help you verify it’s printed at the correct size.
From the scraps left over from cutting the trees (with heat and bond on the back), cut three 1/4 inch by about 1 inch pieces for the tree trunks. I cut the trees and trunks from the same fabric. You could use a contrasting or brown fabric if you like.
Peel the Heat and Bond paper from your trees and trunks and arrange your trees on your pieced front piece. Tuck your trunks up under the bottom of each tree leaving about 1/2 inch sticking out at the bottom. Using your iron, carefully fuse the trees and trunks to the front of the ornament according to the Heat and Bond instructions.
Make sure you leave enough room at the bottom for the 1/2 inch seam allowance!
Stitch around the edge of the trees and trunks. I used my regular foot, but you could do this with free motion quilting if you like. This photo shows the stitching well.

Cut a length of thin ribbon or cord 6 or 7 inches long and sew the ends to the right side of the center top of the front of the ornament. Here’s an example.

Finishing the ornament
Next, with right sides together, sew the front and back of the ornament together with a 1/4 inch seam allowance on the top and sides, and a 1/2 inch seam allowance on the bottom, leaving an opening at the bottom. This larger seam allowance makes it easier to close the ornament once it’s stuffed.
Here’s an illustration of how I sew these pieces together. Note the blue lines of stitching. These lines of stitching make closing an opening so much easier! I use this trick on any opening I have to close.

Trim off the corners making sure you don’t cut through the stitching, then turn your ornament right side out. Gently push out the corners and press the piece.
Stuff it with the Poly-fil to the puffiness you like, gently pushing stuffing into the corners. Hand-sew the opening closed with a thread that matches your fabric, and you’re done!
Feel free to share this tutorial with friends.
Tree pattern Templet download is corrupted and wont open l
Could you make directions downloadable?
Hmmm. it opens ok for me.
Anne
It’s corrupted. I’m opening it in Adobe pdf so should work. Thank you.
email me at anne@agilejack1.com and I will try attaching to an email.
Anne
Went back and took a screen shot… It’s attached…
Arlene Householder adhouseholder@msn.com
Sent from Samsung Galaxy smartphone.
Lovely fun project, many thanks for the idea, directions and template 🙂
You’re welcome!
Anne
Lovely fun project, thanks very much for the idea, directions and template (which opens fine for me) 🙂
You’re welcome! I’m glad the pdf opened for you.
Anne
Thanks! This looks fun.
Sent from my iPad
>
You’re welcome.
Anne
Thank you Anne! These look like fun!
You’re welcome. They were fun to make.
Anne
Thank you for sharing. The tree ornaments are very cute. Think I’ll try to make a couple.
Thanks! I hope you do make some!
Anne
Love it…..
Thank you!
Anne
these would be perfect for putting in something nice and smelly inside too.
Oh yes… I’m thinking cinnamon!
Anne
These are so darn cute! Thanks for sharing the pattern and instructions.
Happy Thanksgiving from a Canadian follower.
You’re welcome! Happy Thanksgiving.
Anne
Happy Thanksgiving 🦃
Thank you very much for the fun tutorial 🤗. They look so cute! I will make some! Another reason to keep little scraps ❤️❤️❤️. Hugs to Rico and Bender, will they partake in some Turkey?
the boys will get a little turkey, but not too much! Don’t want them to get sick!
Have fun making ornaments1
Anne
Too, too, too cute, and beautiful ! Thank you so much for taking the time to create the tutorial and for sharing your amazing talent.
Best to you always,
Eileen 😊
you’re welcome! I hope you make some!
Anne
Oh dear Ann – I can’t wait to make some – I will send you pictures. Happy day to you, Eileen
Can’t wait to see what you make!
Anne
Thanks! What a sweet little project.Margaret Skaarup
You’re welcome!
Anne
<
div dir=”ltr”>Thanks so much for the tutorial- wanted to make some earlier, but ran out of time!! Leaving the 1/2”
You’re welcome!
Anne
darling! thanks 🙂
You’re welcome!
Anne
Perfect. Thank you. Can’t wait to get through Thanksgiving so I start making these. Yay. Happy turkey day!
Just thinking? Have you thought about making these 2 sided? Was thinking just in case hanging on the tree you see the edges there wouldn’t be the white edge against black. Then was thinking we’ll I could just piece the back without trees but then I thought I could have 2 different color variations if I did trees on both sides! Hhmmh?
So cute!
Thanks!
Anne
You can do any of that you want! they would be fun with crumb piecing on the back. someone suggested a pocket not the back for candy or a gift card!
Anne
thank you for sharing this – i remember seeing something like this last year – i want to try to get at least a few made this year! thank you again!
I made a bunch of these last year. they were really fun!
Anne
Really cute! Thanks for sharing the tutorial. Happy Thanksgiving!
Your’e welcome! Happy thanksgiving!
Anne
These are so sweet! Not only do they look great on a wreath or tree, but I’m thinking I’d hang some on doorknobs in the house. A small pocket or flap could be added to the back to make a gift card holder too! Thanks for the design!
that pocket is such a great idea! I will add that idea to the tutorial!
Anne
You had something similar last year. I made them but added a pocket so I could slip in a Ghiradelli wrapped candy. Thanks for reposting this idea. I think I’ll make it a tradition!
Happy Thanksgiving. Enjoy your family time.
that’s such a great idea! You could put all kinds of goodies in the pocket!
Anne
Thank you for sharing such a cute idea! Now I don’t want to cook turkey, but instead play with these! Happy Thanksgiving!
Go for it!!! They’re quick!
Anne
That is the BEST idea. I am going to start right after the NewYear and get ready for next year!!
You’ll be all ready for next year!
Anne
Thanks for the ornament tutorial. These are really cute.!
Happy Thanksgiving!
YOu’re welcome! Happy thanksgiving!
Anne
Happy Season of Happy Sewing! Thank you. I have a few pieces of good sky fabric saved from last year and never got around to ’em. Doing better this year.
Get busy and make some!!! Happy holidays!
Anne
Hi Annie,
Thank you for sharing the ornament tutorial with us. That is extremely generous. Hope you had a joyful Thanksgiving.
You’re welcome!
Anne
thanks so much!!! I admired them last year. Will make some this year.
Susan
>
Great! Dig in!
Anne
Hello,
Thank you for the ornament tutorial and love all the great dog photos, they’re my favorite breed.
I wanted to comment on the spray you use for ironing fabric. My quilting friends use: 1/2 c. Vodka 1 1/2 c. Water in a spray bottle
It may help your respiration. They swear by it. Just a thought. Janice
Sent from my iPad
>
Do they use the spray to stabilize and firm the fabrics, or just for pressing?
Anne
I will check and let you know. Janice
Sent from my iPad
>
Love this idea. Thank you so much for sharing.
You’re welcome!
Anne
Quick question…The front measures 4.5 x 4.75 inches complete, yet the back measurement is 4.5 x 3.75. Is there supposed to be an inch difference between front and back?
Answered via email.
Anne
I have the same question as my back is smaller than the front or else I’ve done something wrong. Maybe I am not reading it right but the back seems too small to fit the front. Help please as they are as cute as they can be. Used some hand dyed fabric scraps along with Kaffe and they are stinkin cute. Thanks Anne
Extra seam allowance is allowed for the front bottom edge seam – easier to turn it inside for the handstitching to close the opening. See the page in the tutorial – it’s page 5 of what I printed out. I just happened to have my gathered materials for making these at hand.
Got it, thanks Anne for your quick response. They are so cute! Can’t wait to finish them.
Here’s info from my blog post. It seems clear to me. I’m not understanding where your confusion is coming from:
**********************
This piece ends up being 4.5″ wide by 4-3/4″ high. I leave an extra 1/4 inch for the seam allowance at the bottom. The larger 1/2″ seam allowance at the bottom makes it easier to close the opening.
Cut a 4.5″ x 4-3/4″ piece of fabric for the back of the ornament. I used the white fabric.
Anne
Actually, front and back pieces should be the same size. but the seam allowance on the bottom is 1/2 inch rather than 1/4 inch.
From my blog right now:
***************
This piece ends up being 4.5″ wide by 4-3/4″ high. I leave an extra 1/4 inch for the seam allowance at the bottom. The larger 1/2″ seam allowance at the bottom makes it easier to close the opening.
Cut a 4.5″ x 4-3/4″ piece of fabric for the back of the ornament. I used the white fabric.
Anne
Are you using a printed copy of my tutorial? I made a correction after I initially published it. Here’s the instructions for finishing the front (measurements) and cutting the back from my blog right now:
***************
This (front) piece ends up being 4.5″ wide by 4-3/4″ high. I leave an extra 1/4 inch for the seam allowance at the bottom. The larger 1/2″ seam allowance at the bottom makes it easier to close the opening.
Cut a 4.5″ x 4-3/4″ piece of fabric for the back of the ornament. I used the white fabric.
Anne
Thank you so much for these instructions! Your photos and text are always so clear and comprehensive. I’m a huge fan – your color sense, creativity and prodigious energy are an inspiration. I’m especially looking forward to watching your woven stripes and shot cotton take shape – so gorgeous
Thank you so much! I need to get moving on that striped quilt! Probably this weekend after some outdoor and people activities!
Anne
Just made a dozen for gifts – and for me! Thanks!
Cool! I’ve had a blast seeing what other are posting on Facebook. Some really creative folks out here!
Anne
Just finished 35 little tree ornaments for meals on wheels recipients.
Will start earlier next year. They were fun to make and the 1/2″ seam allowance was brilliant.
what a great idea! It makes me feel really good that you’ve used my tutorial to do something nice for so many others!
Merry Christmas!
Anne