I’ve tried at least six different mask patterns — pleated masks, fitted masks, drawstring masks. And I’ve landed on my favorite. It’s really easy and quick to make up, and it fits really well. It has a nice amount of space between your mouth and nose and the front of the mask, so it’s really comfortable and doesn’t get too hot and stifling. I’ve worn this mask several times in public and am really happy with how it works.


A friend of mine is a dog groomer in southern Washington, right across the Columbia River from Portland, and her county was getting ready to start opening back up. She needed a dozen masks to get her through a week of work.
I had made her a couple different style of masks, and neither one worked well for her. Then she got one from someone she knows and she said she loved it. She took a picture for me and I looked through mask patterns online and didn’t have any luck in finding it.
So she loaned me one of hers, and I traced it, added the seam allowance, and made up my first prototype. It was really close. After a few minor adjustments I ended up with a pattern that works really well. I’ve also created a larger version. Both patterns are available below.
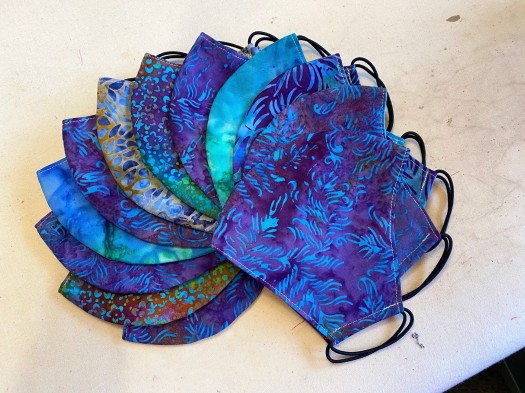
Occasionally I have a friend ask me if I’m making masks, so it’s nice to have some on hand to give away. I’ve also made some for family and for people at work. I currently have 27 that I’m making production line style. All I have to do is finish the top stitching and add the ear elastics.
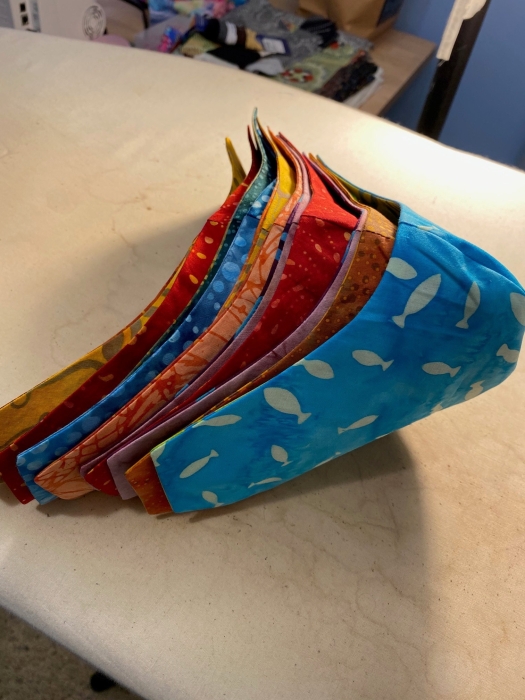
I’ve made all my masks out of batiks as they have a higher thread count and offer a little better protection. I also use a light weight non-woven fusible interfacing, which is getting harder and harder to obtain. It’s supposed to add another layer of protection. I’m expecting more in the mail at the end of this week. We’ll see if it shows up.
Here are two PDFs of the pattern:
Anne’s Mask Regular Size Pattern. This would fit most women.
Anne’s Mask Large This would fit most men and women who want a little more room.
I would love to know whose pattern it is so I can give them credit.
It can be tedious cutting out pattern pieces, so I cut two of these patterns out of freezer paper and was then able to press the pattern right onto the fabric. The wax on the freezer paper makes it stick to the fabric, so cutting it out with a rotary cutter is really easy and accurate. And then the pattern peels off easily and leaves no wax behind. I’ve even had luck cutting four layers of fabric with these freezer paper patterns. You have to be careful as you rotate your fabric for cutting so it all stays lined up. You could easily put one pin in the center of the pattern to keep it all together.
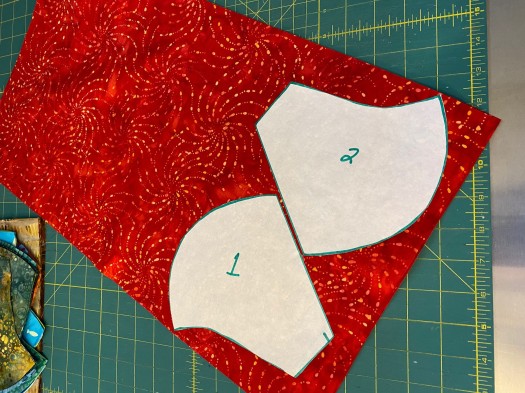
I made two of the freezer paper patterns so I could fit them more efficiently on my fabric, and produce less waste.
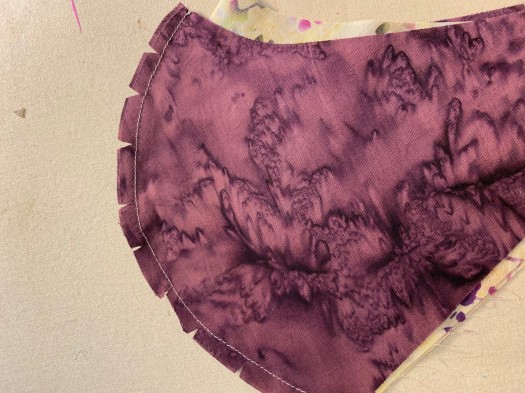
The assembly is really easy. Simply sew the curved center seam of the mask front and lining, clip along that curved seam, and then do a little pressing. I actually don’t open and press the lining, because it will fit inside the mask as it is prior to pressing.
Then nest the outer mask part inside the lining, pin it all together, and sew around the edges with a 1/4 inch seam allowance, leaving an opening on one of the straight edges to turn it right side out.
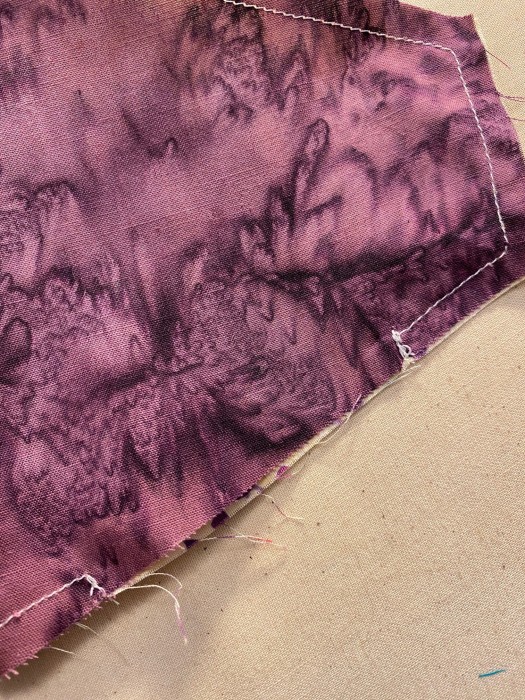
One of the many mask tutorials I watched (can’t remember which one it was) had a really great tip for making the opening easier to close. You simply sew a line from the end of the seam out across the seam allowance on each side of the opening. This makes it really slick to line up the fabrics along the opening and press them in preparation for top stitching. From now on I’m going to use this little trick every time I need to leave an opening in a lining.
Then clip the corners, turn it right side out, finger press all the edges in place, and then press with an iron. Then I run a line of top stitching all the way around the edges of the mask, making sure to catch both sides of fabric where you left the opening.

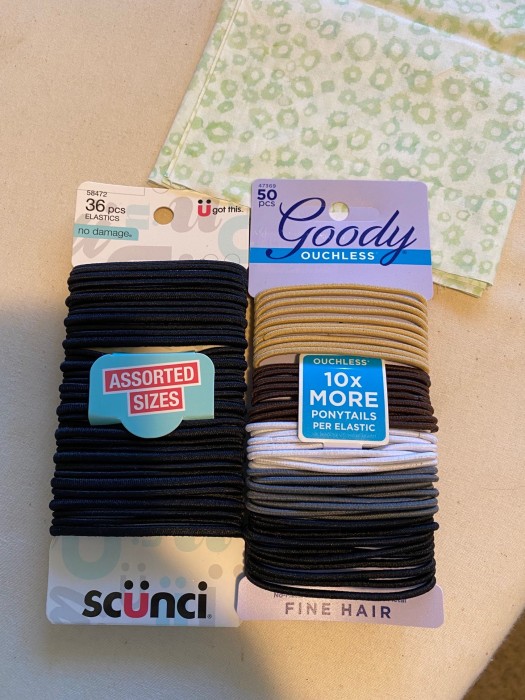
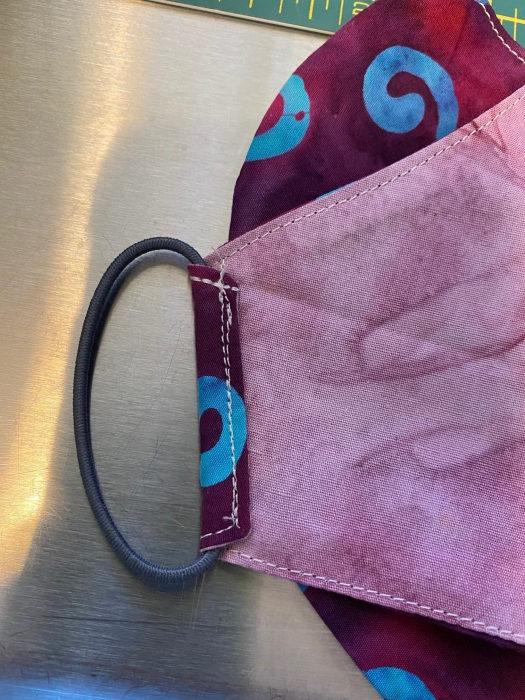
I’m using thin pony tail bands instead of elastic. The sides of the mask go back toward the ears far enough that these bands are really comfortable. Here’s the bands that I’ve found on Amazon. I have purchased enough to make over 100 masks. I anticipate that I’ll be making a lot of masks over the next number of months and am thinking that they will become hard to get.
To add the elastic, turn under about 3/8 of an inch on each end and press. Lay the elastic on the fold line and fold the fabric over. I use a zipper foot to sew the seam to secure this as my regular foot kept getting caught on the band and I made a couple of messes. I back tack at the beginning and end of this line of stitches to secure it.
If the elastic fails, it would be easy to pick out this line of stitches and sew in a new set.
I haven’t had much motivation for sewing the last few weeks. Work has calmed down but is still pretty crazy. I did take a couple days off two weekends ago and then got another long weekend last week. The days off were really wonderful!
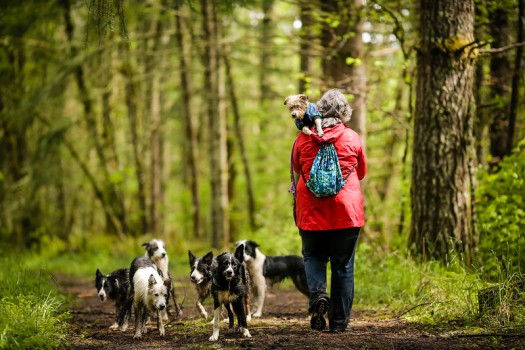
May 23 was Forrest’s birthday. Can’t tell you how much I miss that dog. He’s been gone now for 2.5 years… so amazing that much time has passed. I will never love another dog the way I loved Forrest. All future dogs will be compared to him and none will measure up.
Look at how magnificent he was!
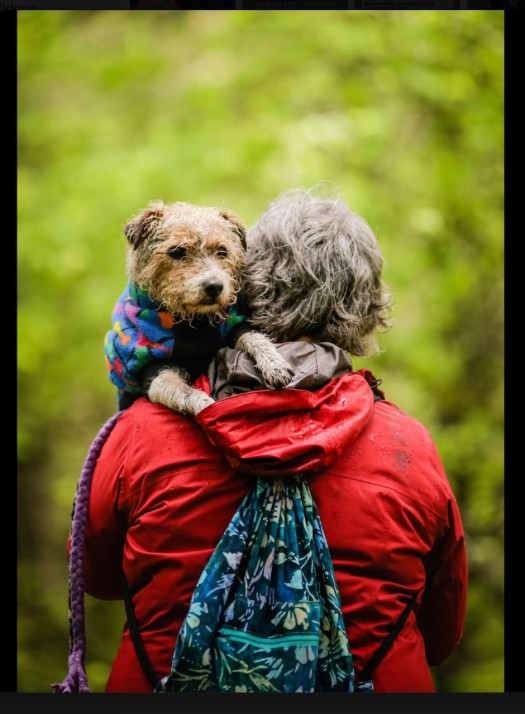
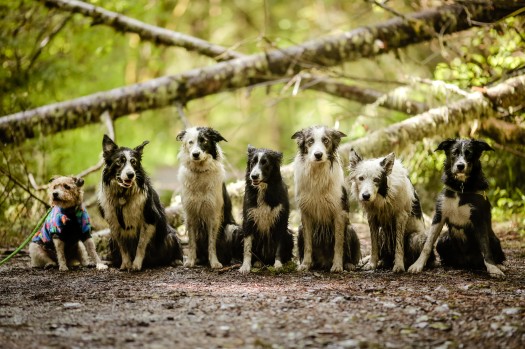
This picture was taken by my friend Heather Christenson on a cold rainy May hike three years ago. I wasn’t going to take Forrest with me because he was old and it was cold and rainy. He absolutely refused to let me leave the house without him, so I grabbed his little blue coat with the dog bones on it, and brought him along… knowing that I would have to carry him for a good portion of the hike. I am so glad I took him along. He had such a wonderful time with all those border collies!
Heather is an amazing photographer. You can see her photos here photos on Flickr.
So funny that I never realized that Rico’s ear hadn’t gone up full time yet when this photo was taken. He would have been about 7 months old here.