I’m participating in a conference this week that has people attending in person and also includes people participating virtually. I’m one of the virtual folks. The actual conference is happening on the east coast so I have 6 am start times tomorrow and Thursday.
Since I need to be up and at ’em at a ridiculous hour — 6 am! (Have I told you that I stay up way too late?), I’ve already taken some Advil pm at 9 pm so I can get to bed at a reasonable hour. So not much time in my sewing room tonight.
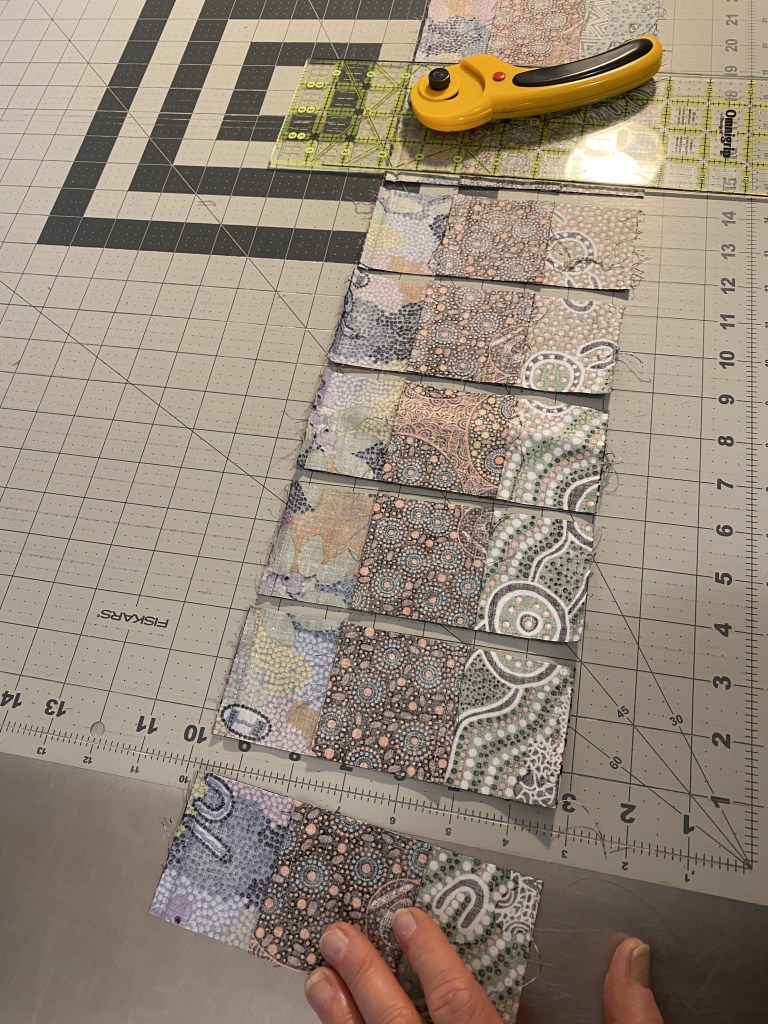
I decided I wanted to do two things. First, I wanted to make that one block that I needed for my sunburst quilt top. Second, I wanted to cut some crap fabric to test my measurements of the setting triangles.
I ran across a video tutorial today that is a really good explanation of how to cut setting triangles. It’s sort of extra-mathy. Math is not my strong suit. But it has really good explanation of how to calculate, cut and handle your fabric to make sure you’re not putting your bias edges in the wrong place. That’s pretty important
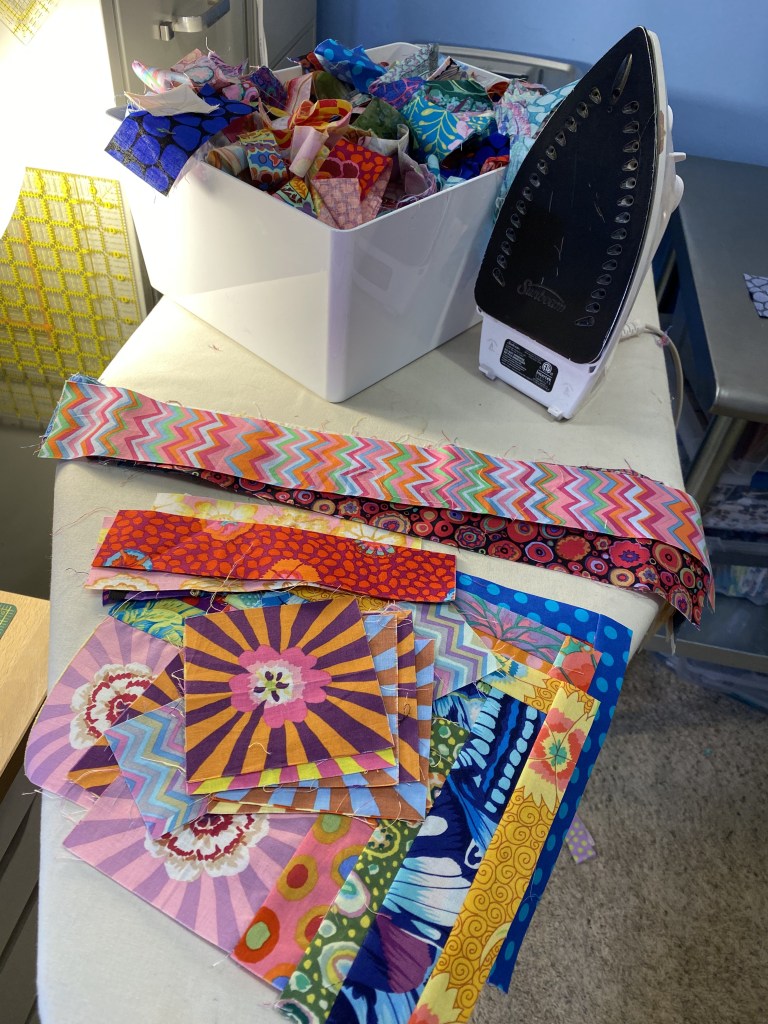
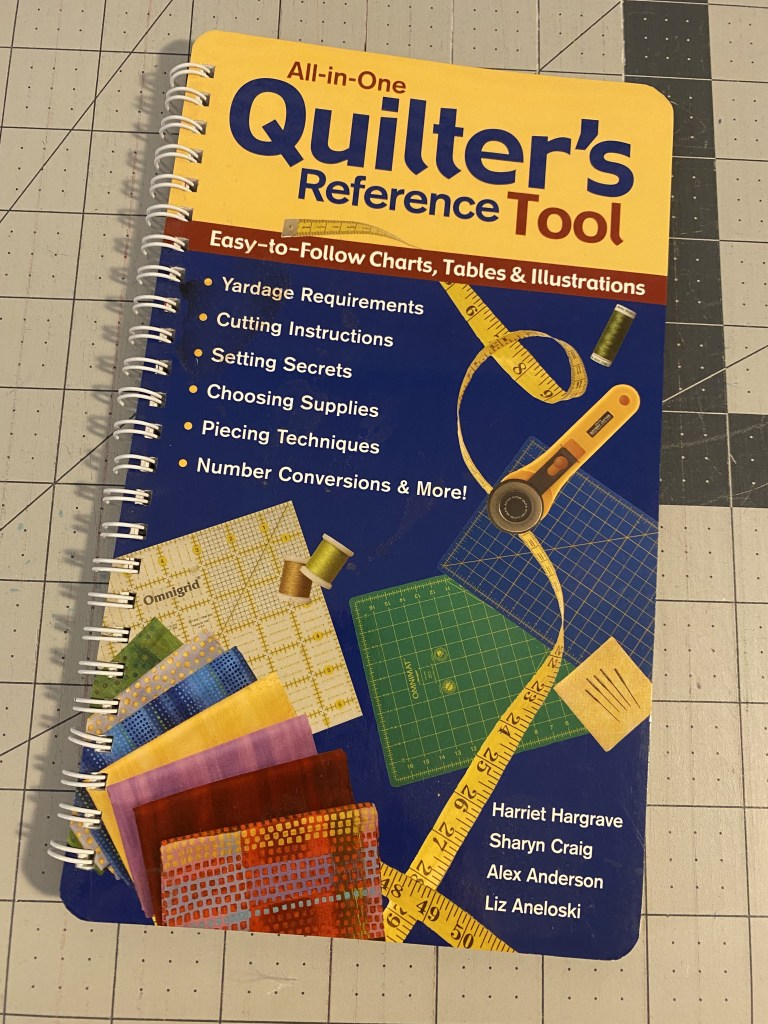
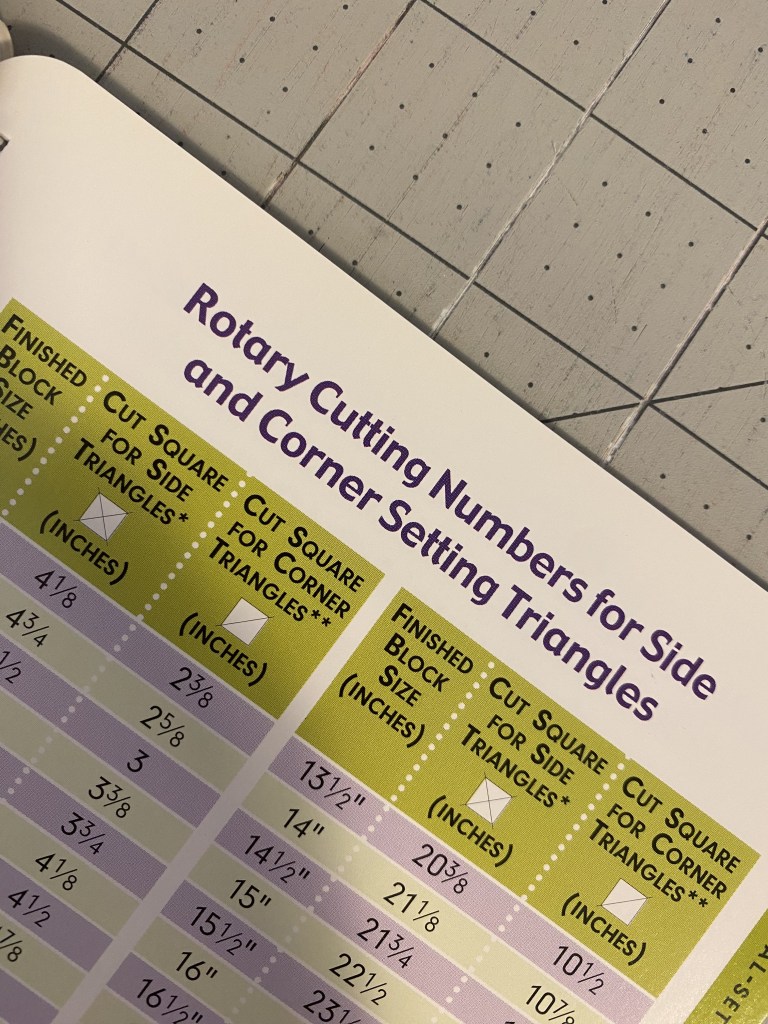
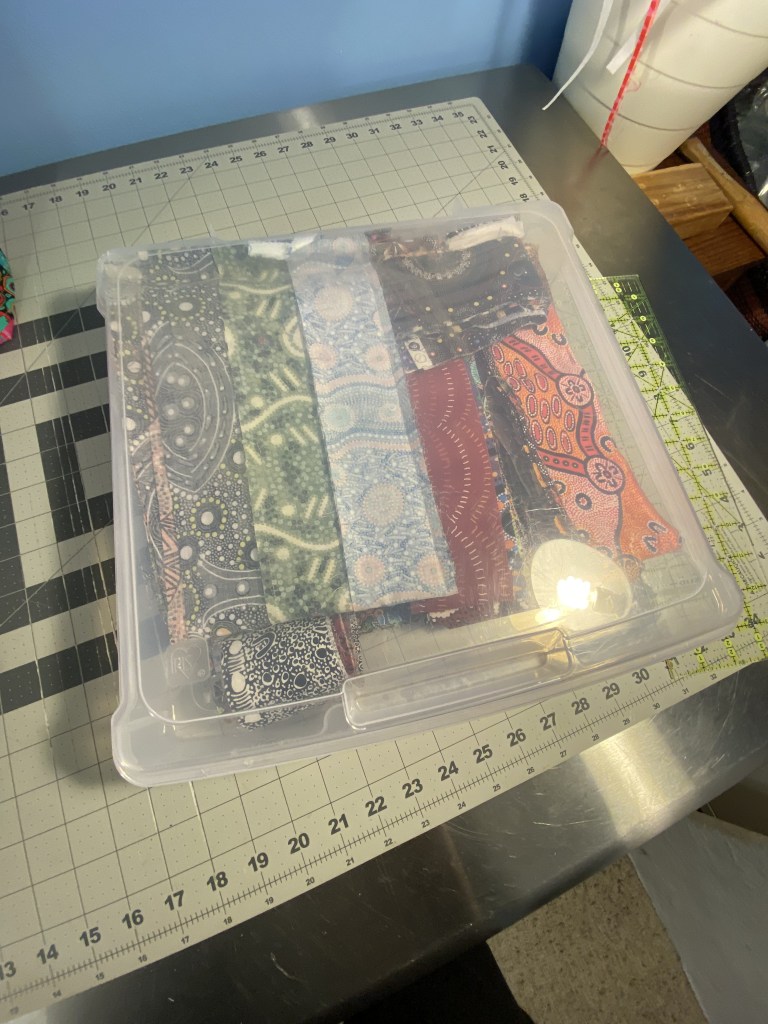
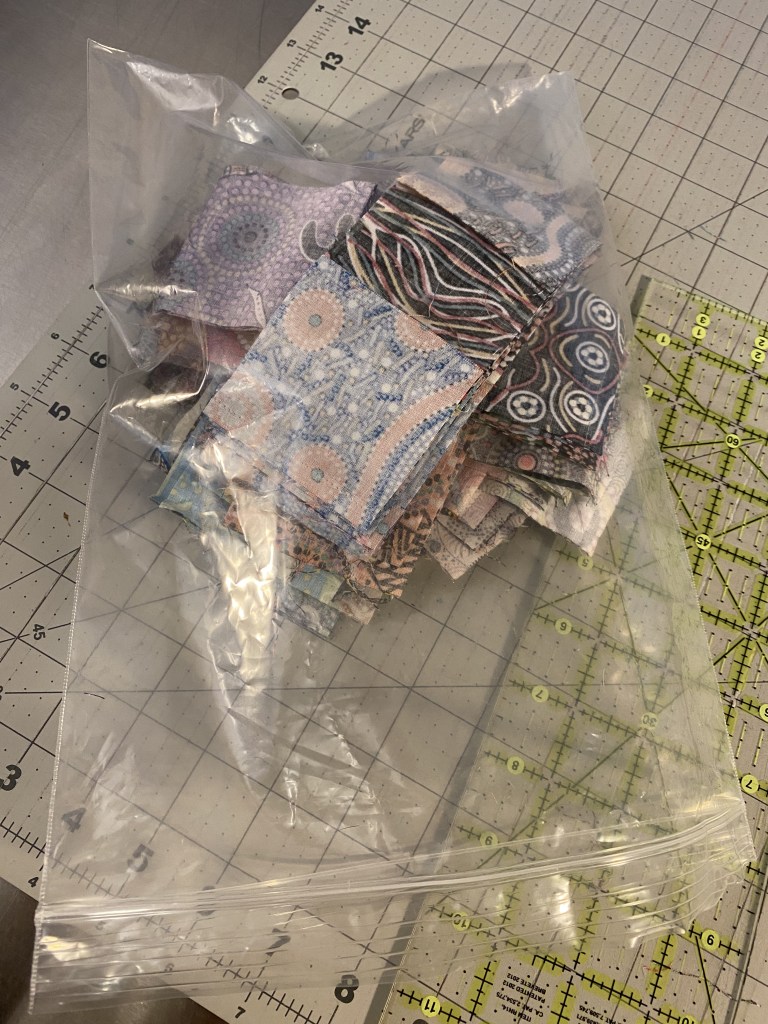
This is a great video but a little more than I felt prepared to wrap my head around this evening. So I grabbed my Quilters Reference Guide and pulled some fabric out of a box I’ve been filling for Good Will. I selected the right measurements for my triangles based on my finished block size. Then got to cutting.
First I cut one large block, then sub cut it diagonally. This method insures that you don’t have your bias edge along the outside edge of the quilt top. Both bias edges will be sewn to the quilt blocks.

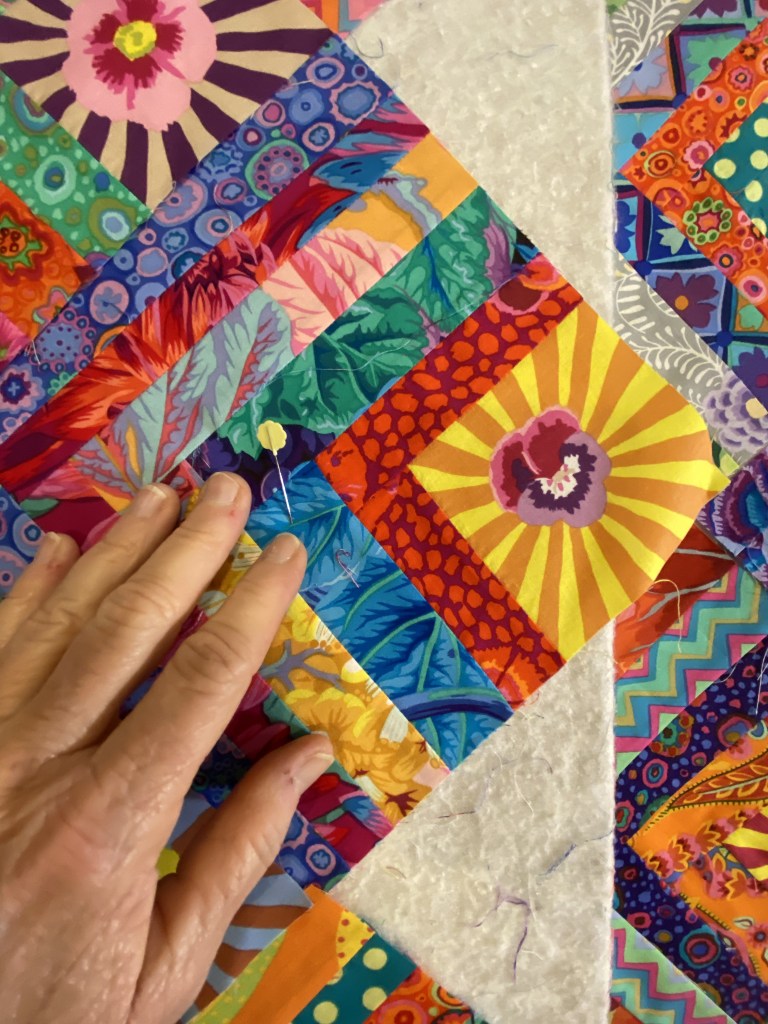
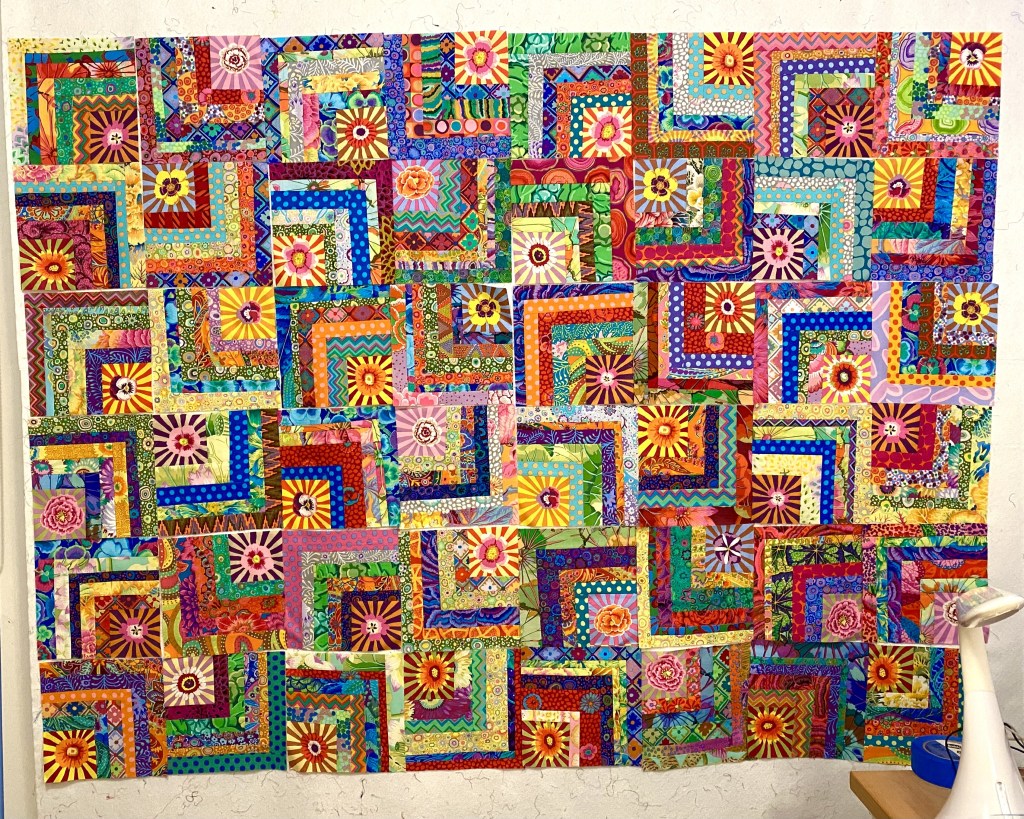
Then I tried one of those triangles with my quilt blocks, and it’s pretty much perfect!

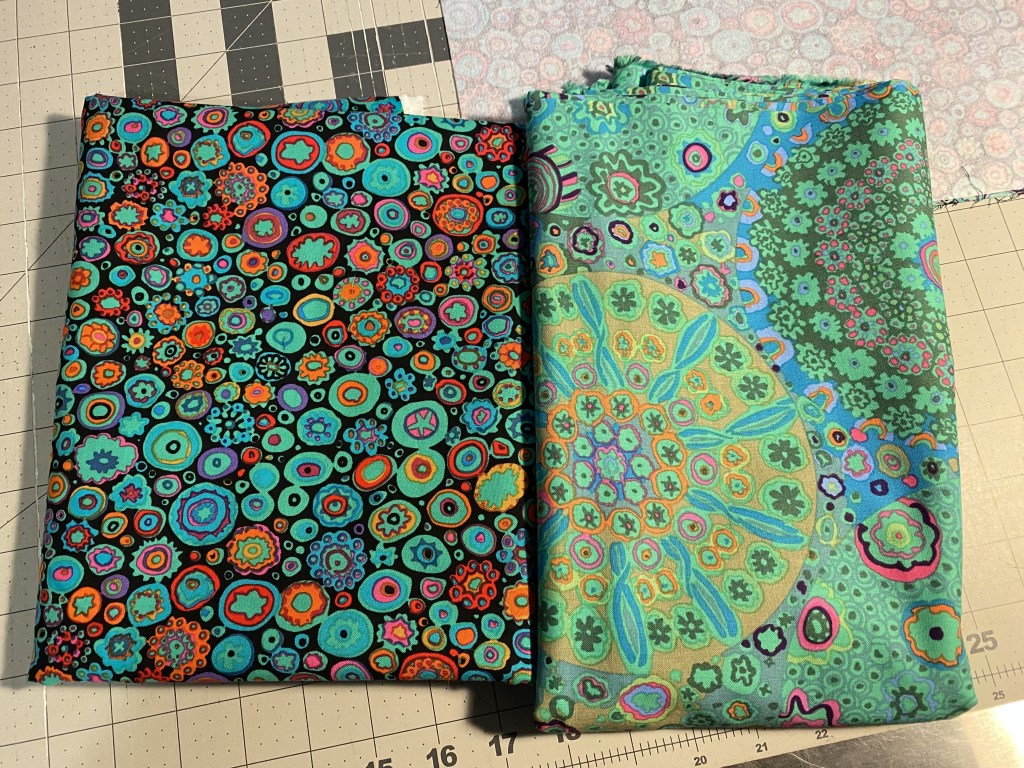
Here’s that dark, dreary fabric making me feel like this will actually work really well!
Next I moved onto the corner triangles. I cut a square the correct size, according to my reference guide, then cut that in half diagonally.

And, again, perfect fit! The bias edge on this one is the center cut line, which is sewn to the corner block.
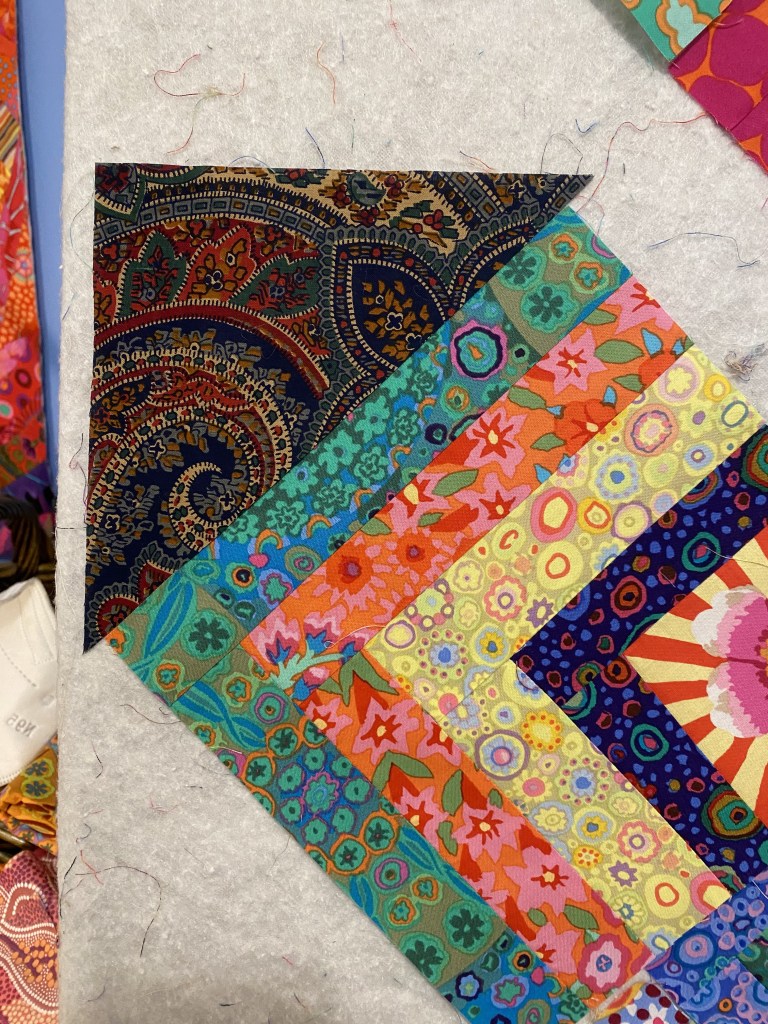
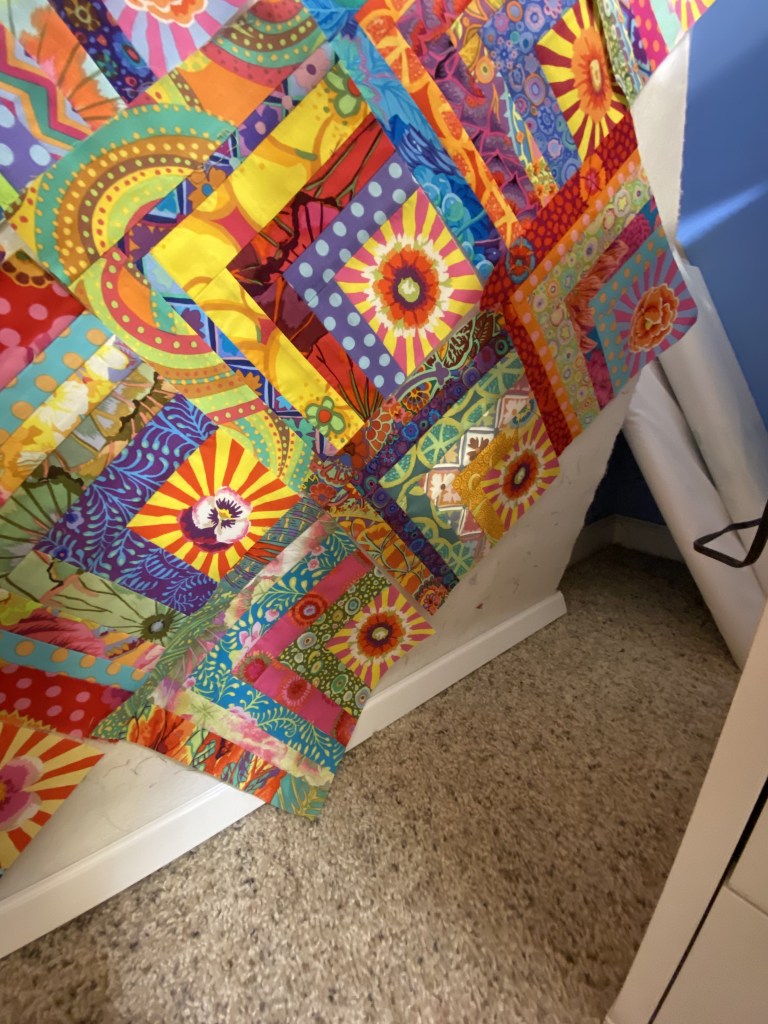
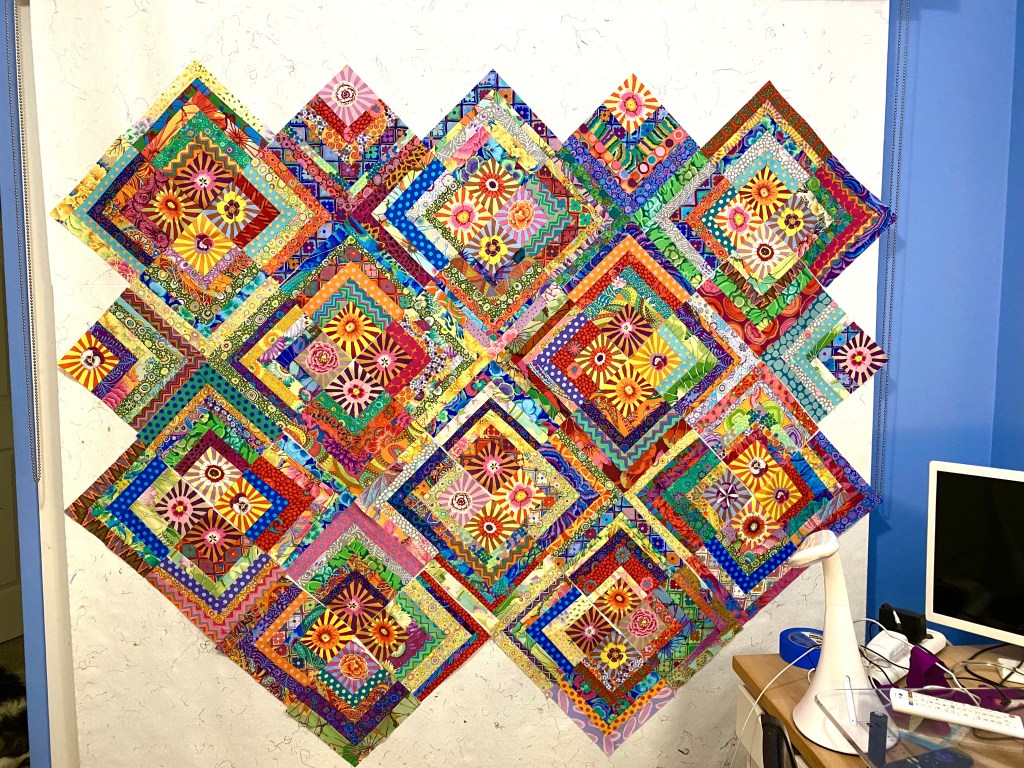
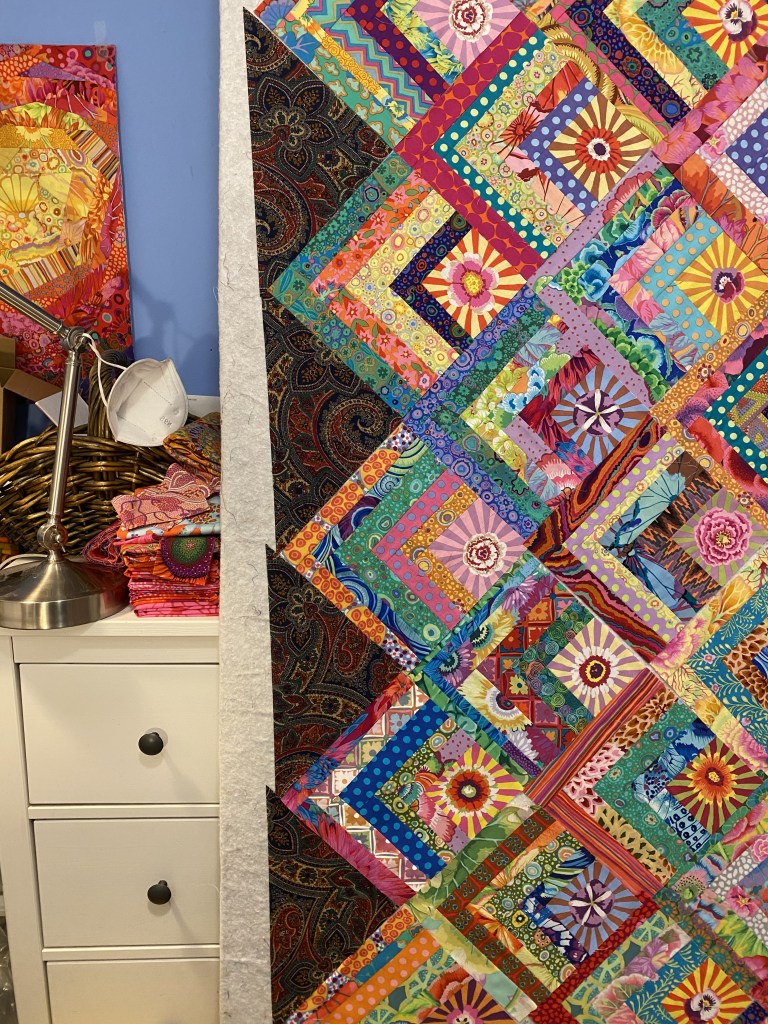
Here’s a look at what I’m using for my setting triangles and how it looks with these blocks.

Once that testing was done, I started looking for my sunburst fabric so I could cut ONE little sunburst to make the final block. Amazingly, I found it pretty quickly. It was in the drawer where I thought it was.

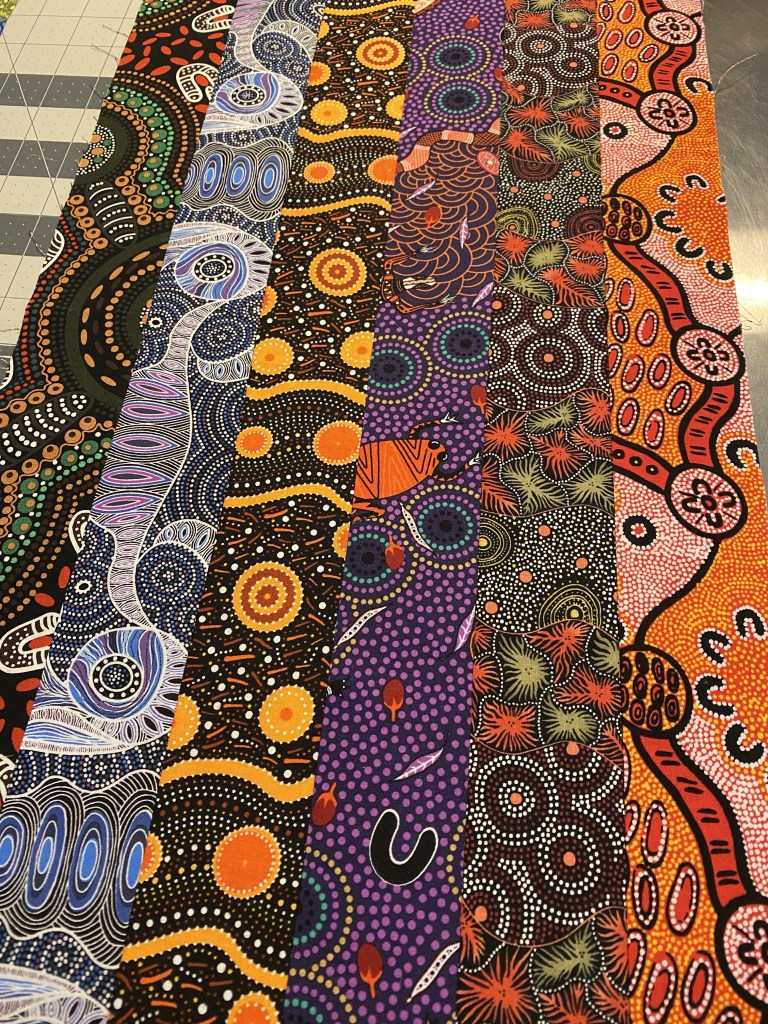
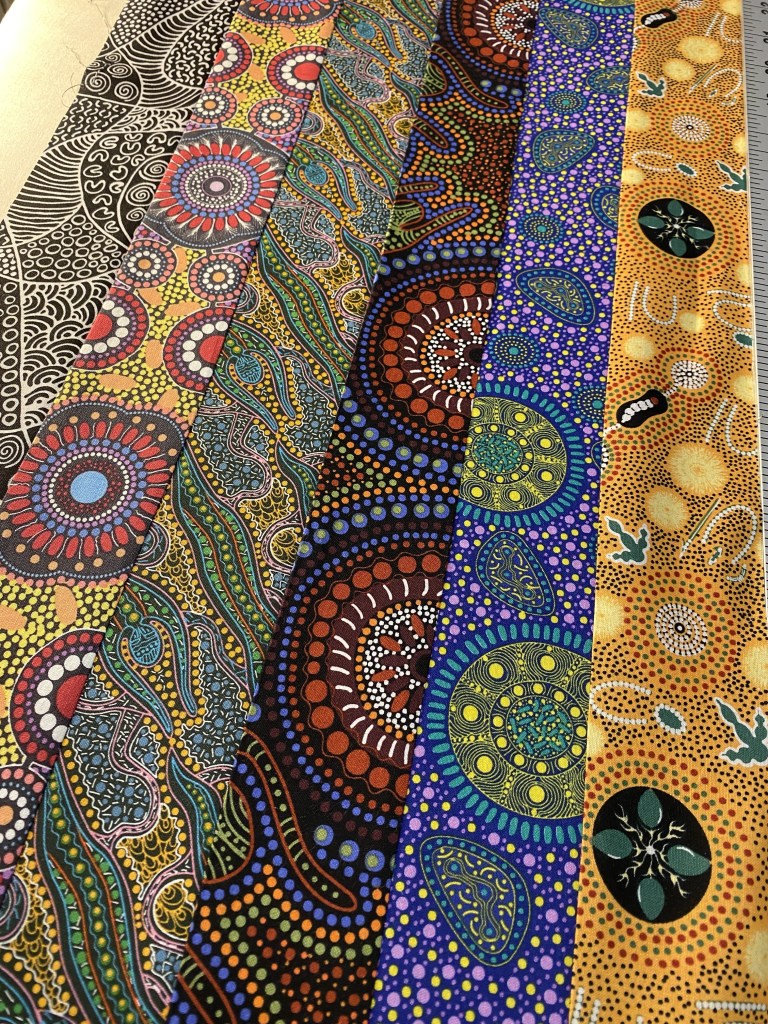
I have over four yards of this fabric. I bought it when I heard a few years ago that this was going to be discontinued. I’m so glad I have this. I don’t have plans for it right now, but there are so many fun things you can do with it!
I also have a smaller quantity of the blue color way.

So I carefully cut one little sunburst out of that fabric.

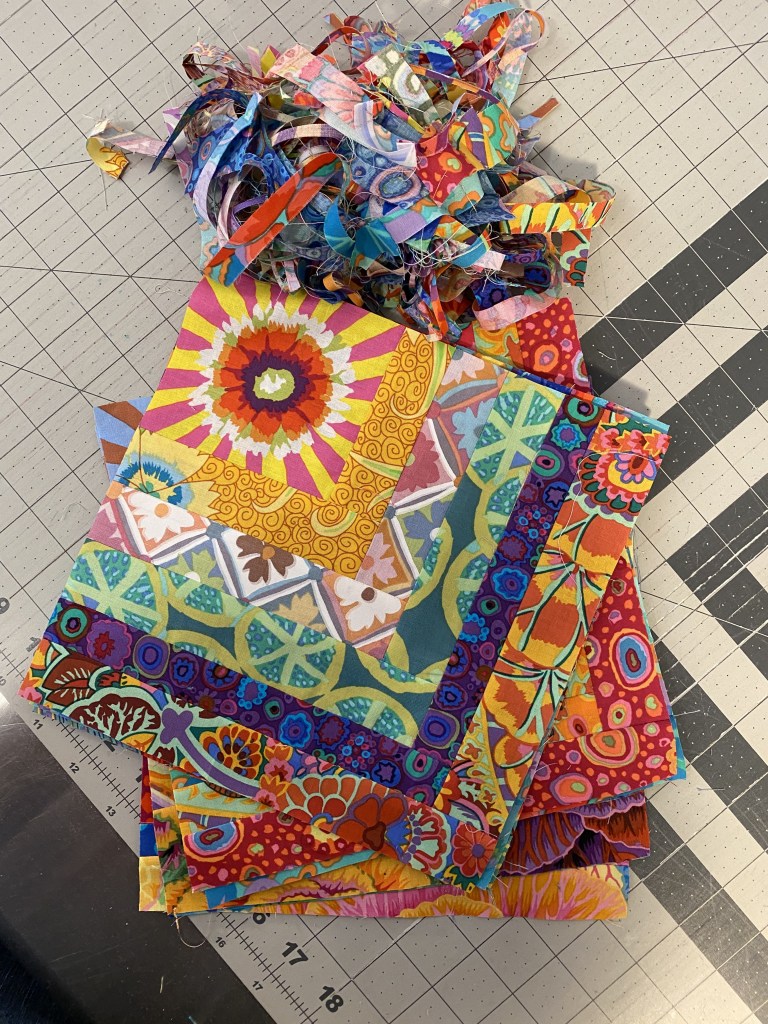
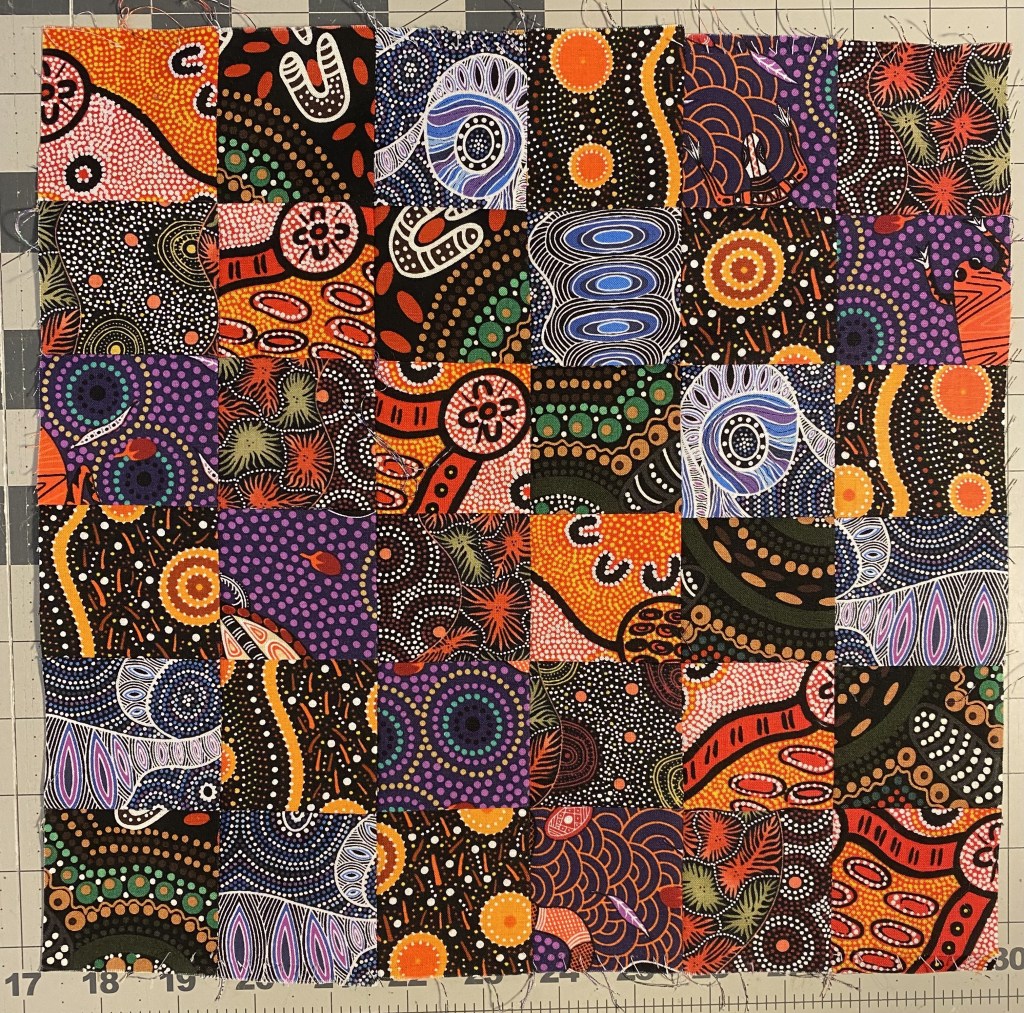
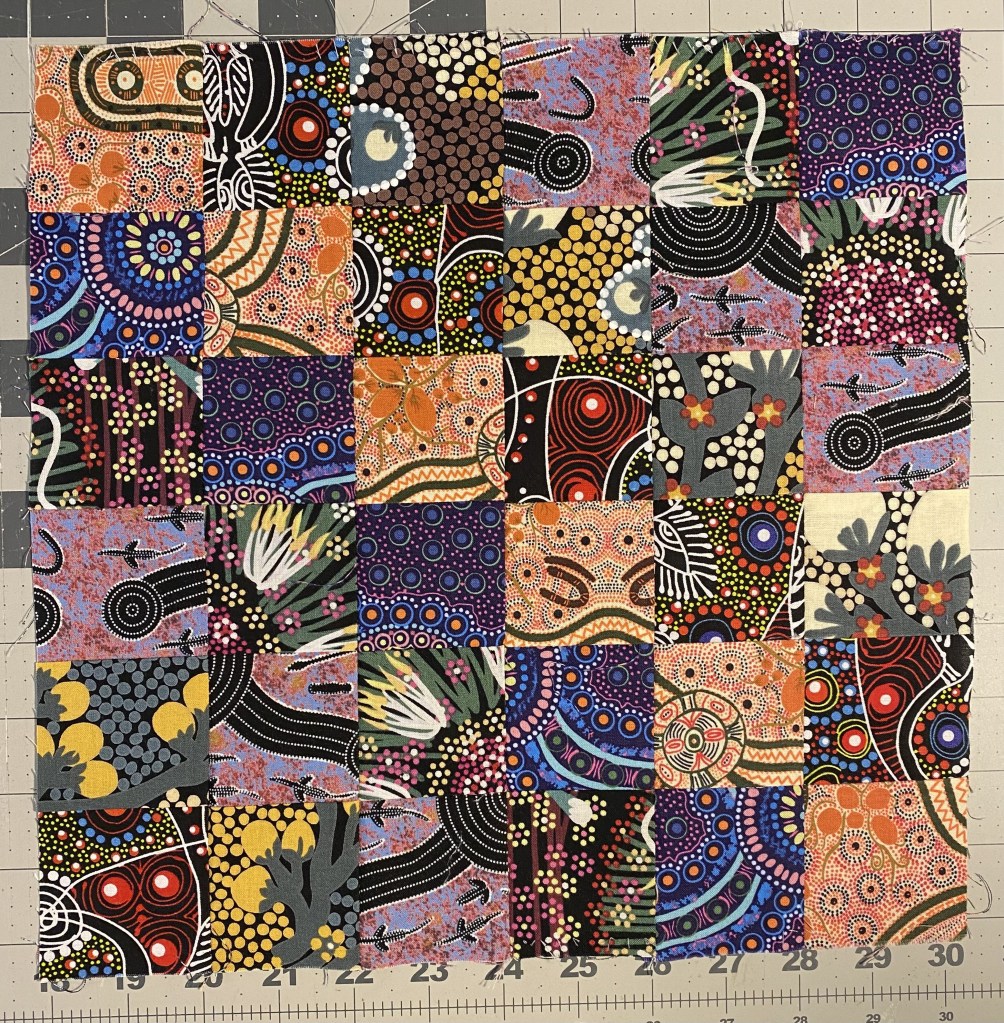
And immediately after doing that, I noticed that there were a couple strips of these sunbursts in the pile of scraps that I was using to make blocks last night.
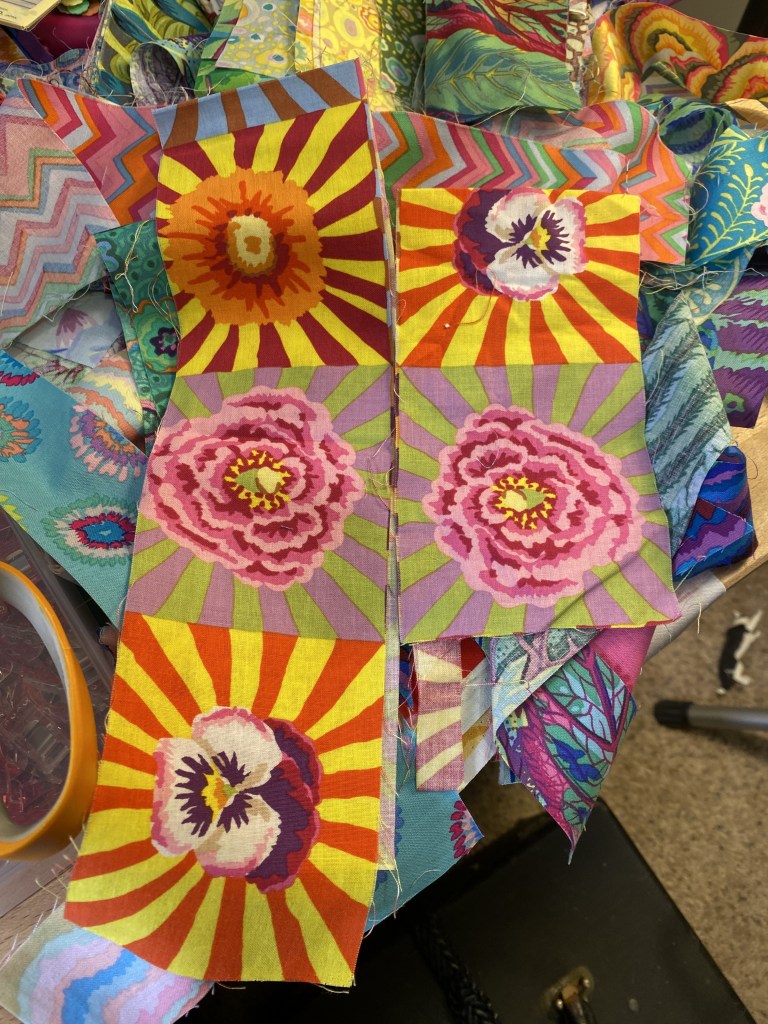
Well, of course! Wish I’d seen that before I cut into that yardage. Oh well.
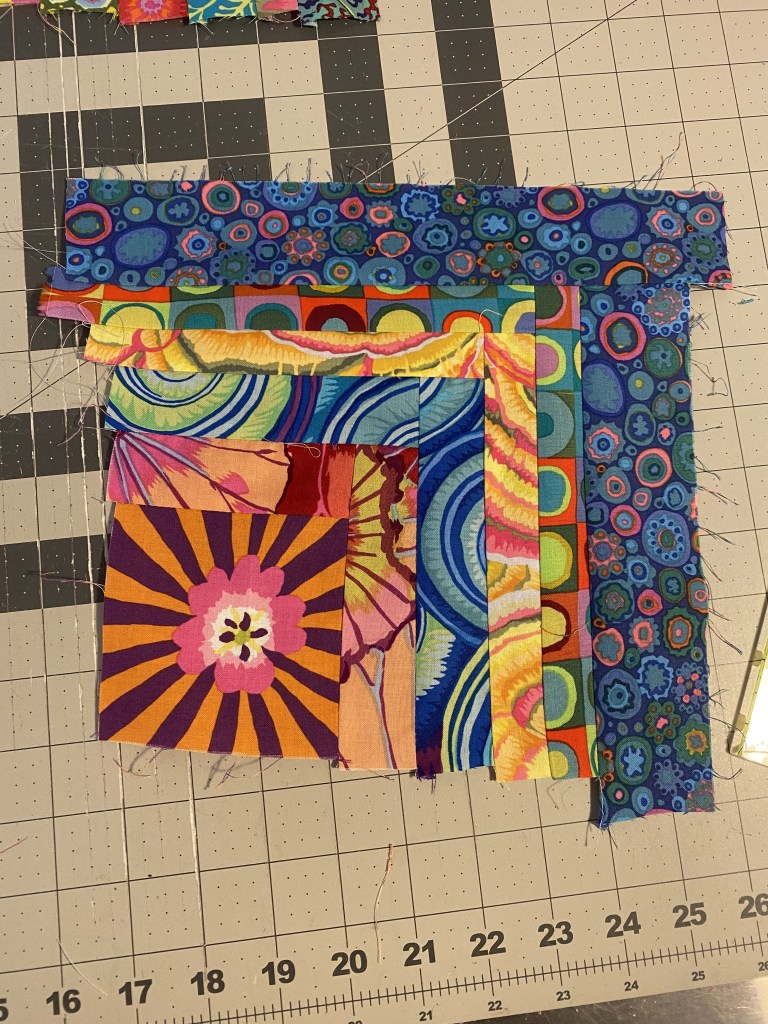
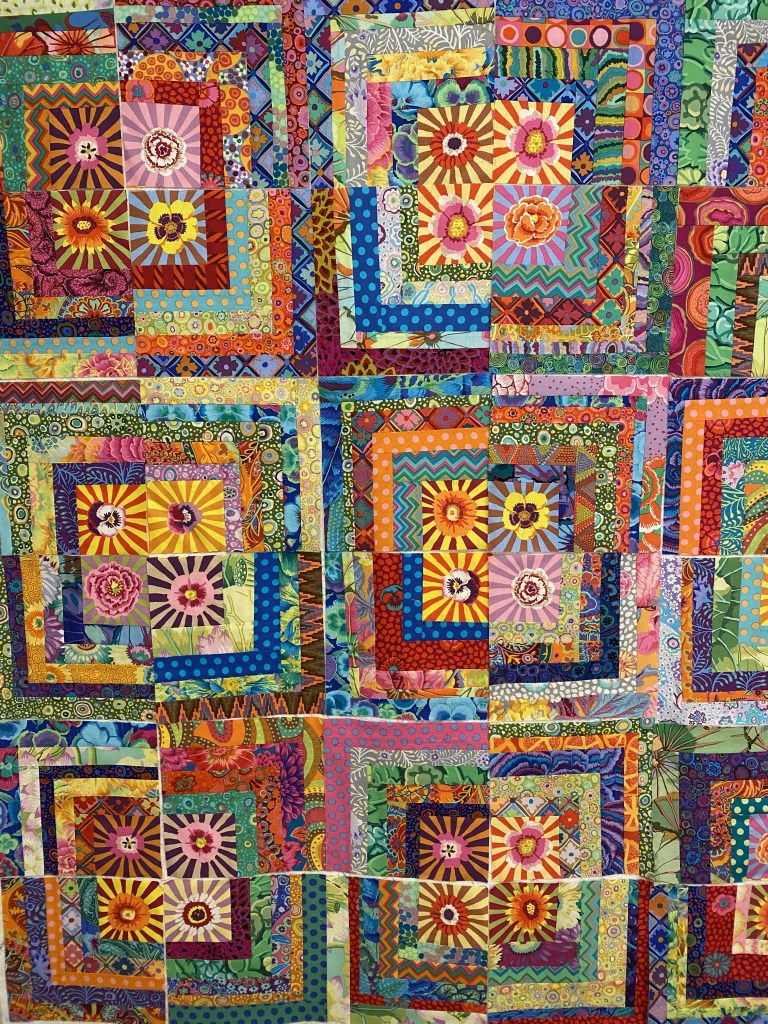
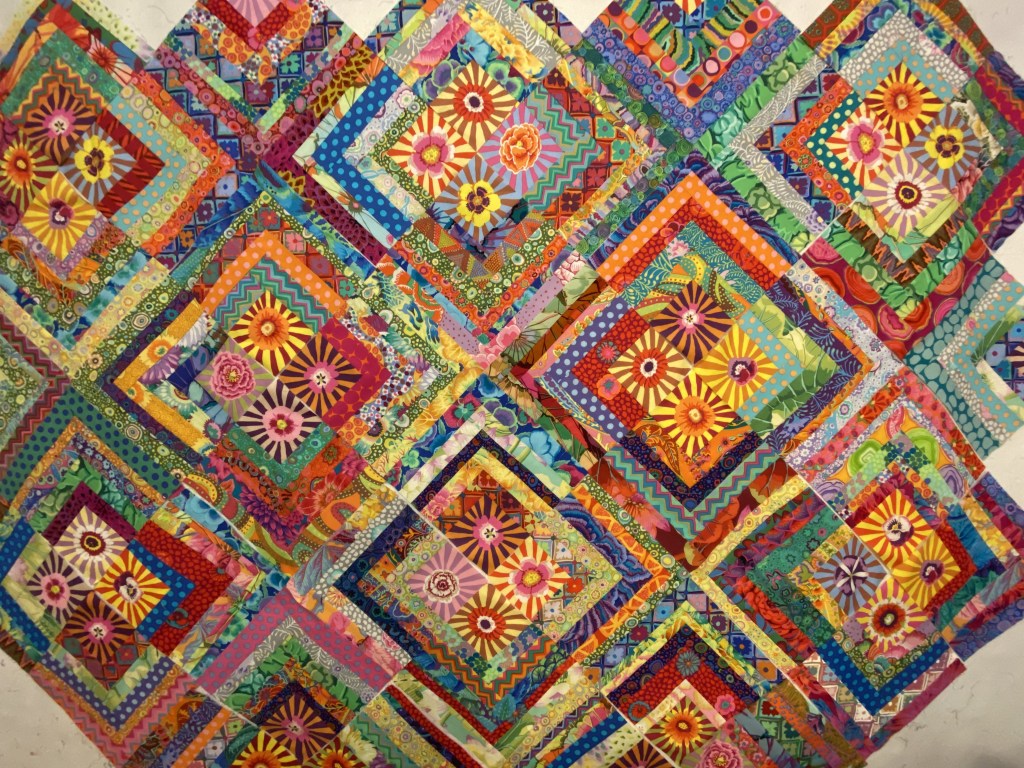
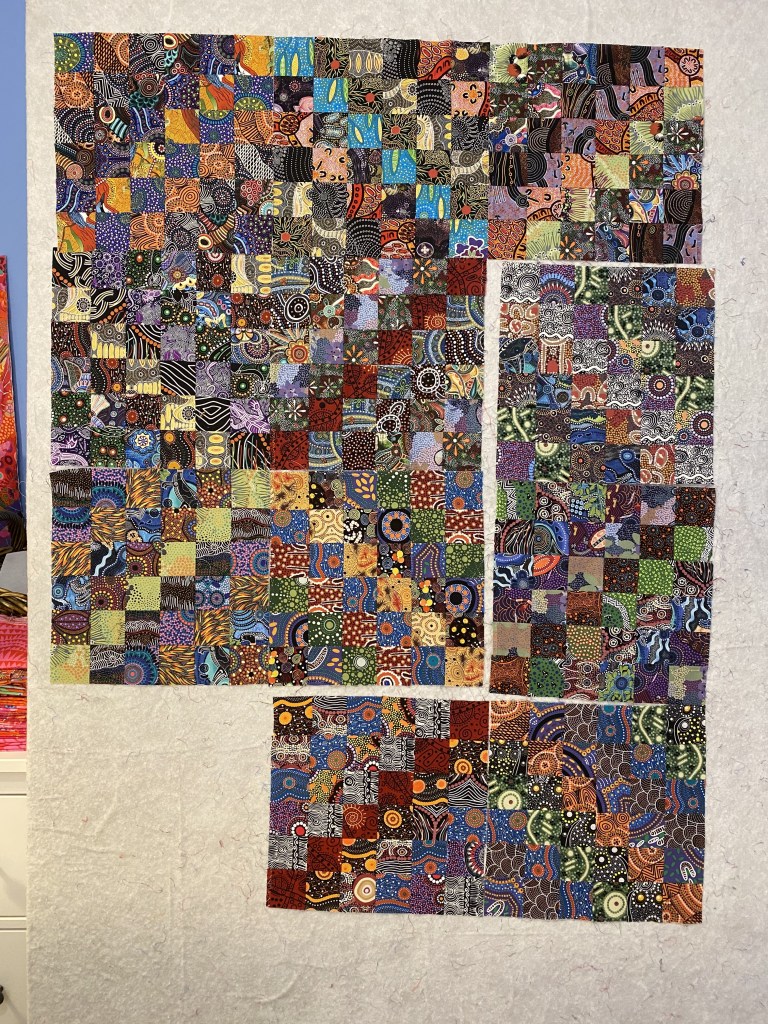
This one block went quickly since there was a good deal of fabric all pressed and ready to go.

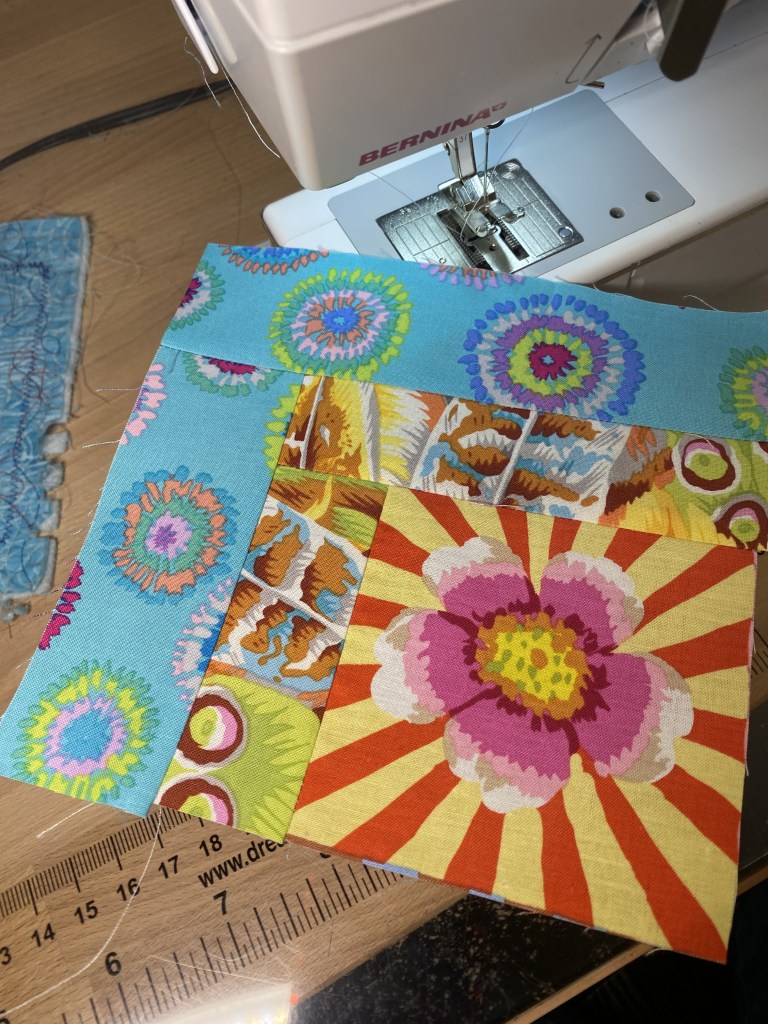
Here’s the final block before and after I squared it up.


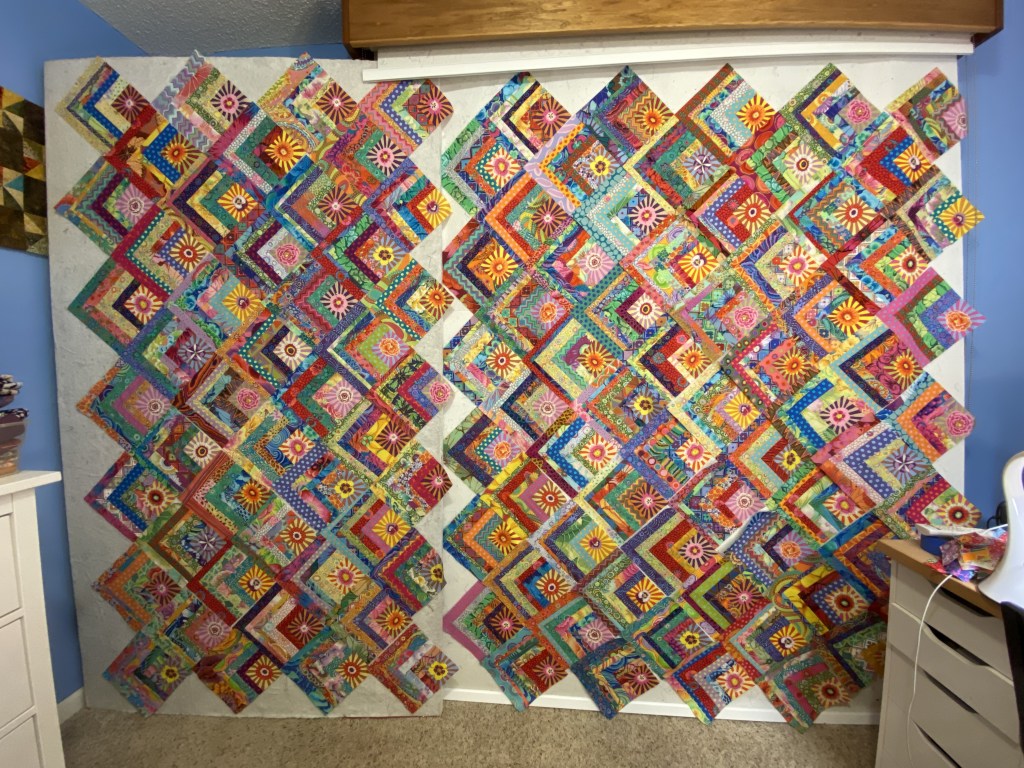
Then I set about finding a place for this on the design wall.

I may start cutting these setting pieces tomorrow night. Not sure how much oomph I’ll have after being on the job so early
We had a lovely sunny day today. But still quite cold.

The temps will be warming a little in the next few days and we’ll see some rainy days too.