Jewel Frames Quilt — All Blocks Done

Over the last two evenings I’ve finished the last 49 blocks for my jewel frames quilt, and I can’t wait to see this all put together.

img_0490

The fabric that these blocks are sitting on is the Black Shaggy that I used for the cornerstones in the sashing, and will be the border of this quilt as well. It is so gorgeous! I can’t wait to see it all put together.

I’m thinking I want to buy a new bed along with a new mattress and box springs. I might wait to finish the quilt until I get that done so I can fit it to the mattress and new bed.

New Kaffe Fassett Colllective fabrics will be released in the next couple of months. There is a new color way of the Brassica that is the most amazing thing! I’m going to have to base a quilt on this fabric!

tingly

Jewel Frames Quilt – 40 down

I have really gotten a lot done on this quilt during my four-day weekend. And what a great way to spend a weekend!

img_0483

I haven’t arranged the blocks yet. I just put them on the design wall as I finished them because I wanted to see how they looked.

I have about half of the blocks done, and my design wall is full. I’m not really sure yet how big I’m going to make this, but I want it to be generous on my queen bed. I have 89 blocks, which is an odd number and doesn’t add up to a quilt top. But 90 blocks would make a generous quilt once I add the borders.

The pattern instructions said to do one long sashing with cornerstones made from the same jade millefiore fabric, and to sew it to the blocks on one long seam. the purpose of the cornerstones is to help line up each row of blocks.

I figured that if I was going through the effort to make cornerstones, that I should make them special. So I decided to use the same black shaggy fabric as I’m using for the border. And I love how they look.

I also decided to make each block with the green border and cornerstone as part of the block, rather than doing that sashing in one long line. Then on the blocks on the last column and row I’ll need to add the final border of green with the cornerstones. You can see the individual block in this photo.

img_0481

I also used a mass production method to make the 10-inch strips with cornerstones attached. I cut a 9&3/4 inch strip, width of fabric of the green and a 2 inch strip WOF of the black shaggy. I sewed the shaggy onto the green, then put two layers together and cut the finished two-inch strips from the larger piece.

This photo shows two sets of cornerstone strips, one on top of the other, being cut in one piece. It’s a much faster and accurate way to make these strips with cornerstones.

img_0454Then I pressed the strips and pinned them onto the blocks to sew. It took a little longer to put these strips with cornerstones onto the blocks. I’m trying to be very accurate so that the finished quilt will go together well and will be flat.

It’s really coming together nicely and I can’t wait to see how it looks once I mix up all the blocks.

Choosing Cornerstones

I made a good deal of progress on my new quilt yesterday, so today I took some time to square up all the blocks.

img_0447

The blocks were supposed to finish at 10 inches square, but not one of them measured that big. They were all between 9 3/4 and just shy of 10 inches.

So to make the upcoming construction go better, I squared off all the blocks to 9 3/4. I didn’t cut more than a sliver off of any side, but this minor trimming will make the quilt much more flat and even as we go forward.

I’m going to use Phillip Jacobs black shaggy as the border on this quilt, and am thinking I want to use it for the cornerstones on the sashing as well. I’m going to give it some thought and take a look at it in the daylight tomorrow.

img_0450

That black shaggy fabric is really something! It’s a bold choice for a bold quilt! I can’t wait to see it all done!

blackshaggy


Jewel Frames Quilt Progresses

I’ve made some really good progress on piecing the blocks for my Jewel Frames quilt.

img_0441

Each block center is cut to 8 inches. The black strips are 1.5 inches wide, and are 8 inches long on the short side, and 10 inches long on the long side. The blocks were cut from fabric in the kit, plus about 15 blocks that a friend of mine gave me from when she made this quilt.

Since I’m making the quilt big enough for my queen bed, and the kit is for a throw size quilt, I knew I’d run out of the jewel/black Kaffe Fassett paper weight fabric. I was afraid I’d have to delay more sewing while I waited for fabric to arrive.

I’ve been trying to replace a black with white fabric that I’ve used a lot. In searching based on the selvedge on the fabric, I learned that it’s a Civil War reproduction fabric. This really surprised me because if feels modern to me. Well,  I found some online, and the shop also had Kaffe Fassett fabrics, so I bought the black and white, the paper weight, and some Phillip Jacobs black shaggy for the quilt border.

I was really surprised when I opened my mailbox today and found a thick packet inside! It only took two days to get the fabric, so I was off and sewing this afternoon!

img_0439

I cut a bunch of the fabric into 1.5 inch wide strips, and sat down at the machine to add these strips to all four sides of the big blocks. I love to find efficient and quick ways to get things done, so I sat down with a big stack of strips, and chain pieced about 20 blocks at a time. Then turned them around and chain pieced the opposite edge.

Once I had two sides done, I pressed the blocks, and then added the longer strips to the remaining two sides.

I was able to get the strips sewn onto all 89 blocks today!

img_0444

I still haven’t decided yet how many blocks I’m going to need for this quilt. I know there’s no arrangement that will require 89 blocks! But maybe 90 would work. I’ll just have to wait and see.

Tomorrow I’ll start putting on the jade Millefiore strips and purple cornerstones. I’m going to have to give that some thought before I start.

Bright Cat Storage Bins

I made these bins for the same friend that got the cat shoulder bag in a previous blog post. She asked me for some storage bins that she could use on her desk. I knew she would love the cat fabric. I auditioned a number of different black and white fabrics to go with the cats, and the zebra fabric was the one that sang!

IMG_0144

I used this tutorial from Birch Organic Fabrics. It was really easy to make up, and the tutorial is really easy to follow. The only thing that was a little difficult was fusing the interfacing to the fabric. It took a long time to get it to stick well, but that was it. Everything else was really quick and easy.

IMG_0146


Up Next — Jewel Frames Quilt

A friend of mine gave me the kit for the Kaffe Fassett jewel frames quilt for my birthday several years ago, and today I started cutting the fabric. (This photo is from the Craftsy page promoting the quilt kit.)

You can get the free pattern here. 

jewel frames for blog

I did a lot of sewing over the holidays of smaller pieces, and I still have the quilt I’m making for my guest room in an unfinished state, but I decided that this quilt will be the next up. And it’s for MY bedroom! I like having more than one project to work on at any given time to avoid getting bored with a pattern or with the fabric. But I’m not sure how I could ever get bored with this amazing fabric!

IMG_0394

The kit makes a quilt around 78 x 78 inches. So it’s not quite big enough for my queen bed. So I’ll make it bigger, and will have to decide what fabric to add from my Kaffe Fassett Collective fabrics stash. I’m considering a fun floral border. I’ll have to see how it looks once the blocks are all made and assembled.

I got all the 8 inch blocks cut today, as well as some of the strips. I’ll cut more strips as I need them.

IMG_0399

IMG_0403

I bought yardage of the green KFC Uzbekistan fabric on sale a couple of years ago for the backing.

IMG_0401

I’ve never looked very closely at this black paper weight fabric, but as I was pressing it I saw all these amazing bright colors! There really is no fabric like the KFC fabrics!

IMG_0402

It’s always so much fun to start a new quilt!


Custom Shoulder Bags

Now that the holidays are over and my gifts have all been given, I can share two shoulder bags that I made for friends.

IMG_0136

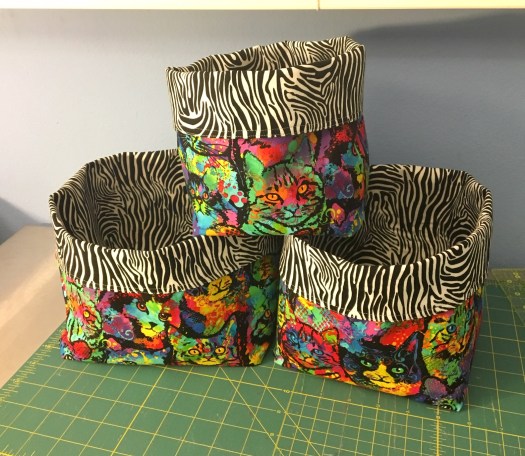
This bag was made for a friend who just LOVES her cats. The cat fabric is really fun and has a lot of detail, and of course, I love the colors. And all that graphic color looks so cool with the graphic black and white. I just LOVE how this came together!

This next bag is the one that drove this entire project…

IMG_0147

One of my friends told me she would love a bag that was basically a modification to my zipper pouches — she wanted it a little bigger, wanted an interior pocket, and wanted a shoulder strap.

I thought about this bag for a couple of weeks, we agreed on measurements, and I was nearly ready to start… but I was flummoxed by the handle. How the hell was I going to attach the handle? Did I have to modify how I put in the zipper? Should I sew the handle in along with the zipper? And how do I determine the correct length of handle for the bag.

I knew that I was going to have to make one bag with what I was thinking, and then adjust the things that didn’t work. So I did. I made this bag out of navy blue linen and a batik charm pack.

IMG_0082

The navy linen is so pretty, but it’s also thick. This bag was pretty much a fail. It was nearly impossible to sew the handle in at the top. Too many layers of fabric with seams, the zipper, multiple layers of the handle… I broke four needles sewing the handles in. The pocket on the inside was a mess, and the handle attachment was not up to my standards cosmetically, and I knew it wasn’t going to hold up to any wear.

So I thought on it for another week, made modifications based on the problems with the first bag, and was really happy with how the second bag turned out. I’m still not sure I have the handle installation to the level of finish that I want, but I know it’s durable and will outlast the rest of the bag. I have a couple of ideas to make the handle installation cleaner and prettier.

The cat bag was the second bag I made. By the time I was done with this one, I felt like I had it pretty well figured out.

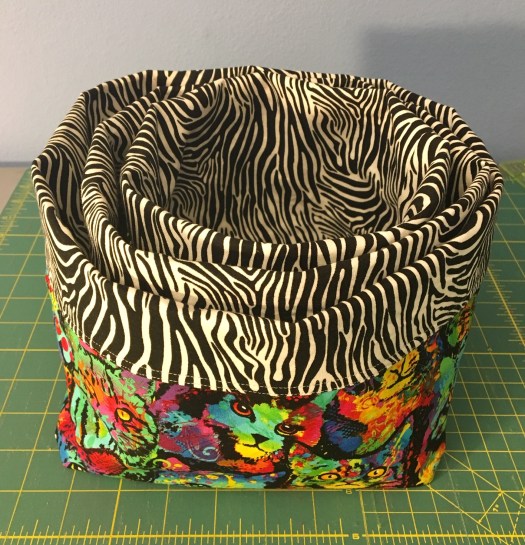
This cat bag really allowed me to have fun with fabrics… the bright cats, graphic black and whites, and I chose an amazing fabric that I bought last summer… black with colorful polka dots — for the lining.

IMG_0143

The pocket on the inside was made from the zebra print fabric.

IMG_0141

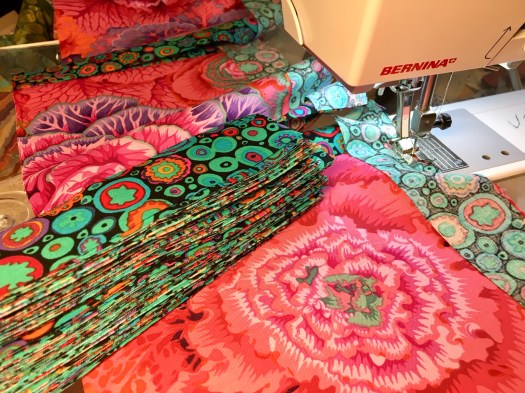
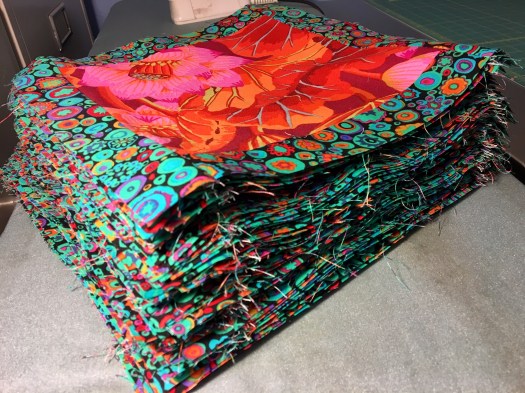
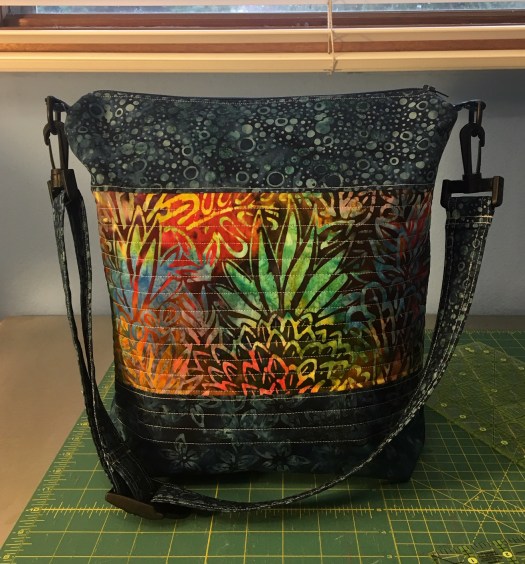
The batik bag came out so much better than I had hoped. The gorgeous multi-colored batik panel in the center is so amazing! I don’t remember where I bought that fabric, but I really wish I had more. I only had 1/3 yard in my stash. And I love it with the darker indigo blues. The lining on this one is a medium tone Hoffman Dots batik, and the inside pocket is made out of the multicolor fabric from the front.

IMG_0149

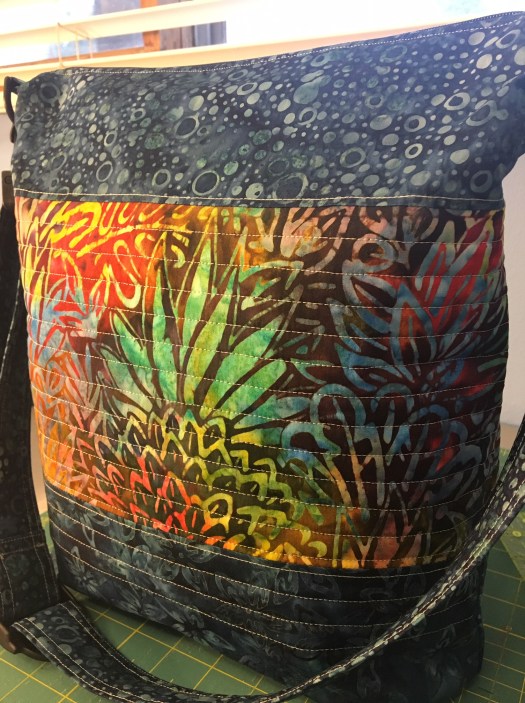
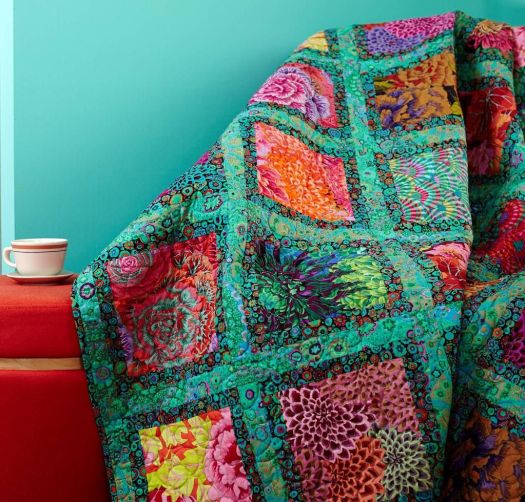
The straight line quilting on this is just so gorgeous with all the movement in the floral. GAH! I love how this turned out. And my friend was really impressed and happy with her new bag.

I have another friend who loved these so much that she asked me to make one for her. she selected some beautiful purple and aqua batiks from my stash. I’m planning on putting together a tutorial for this bag when I make the purple one.
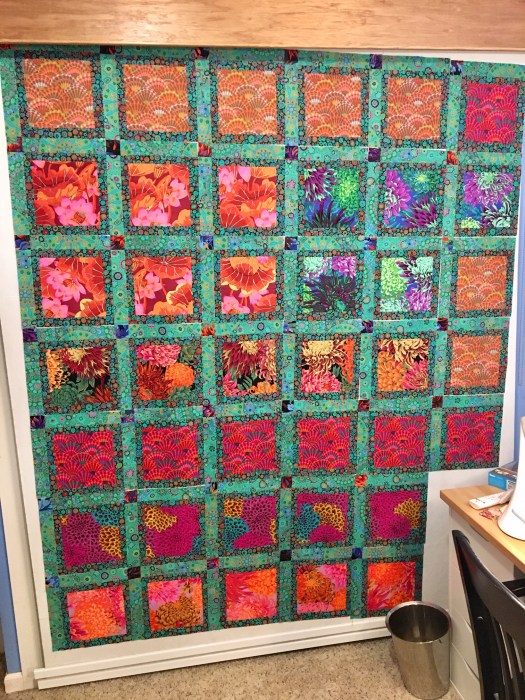
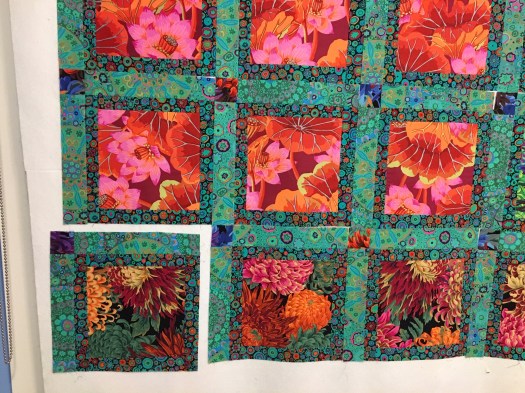
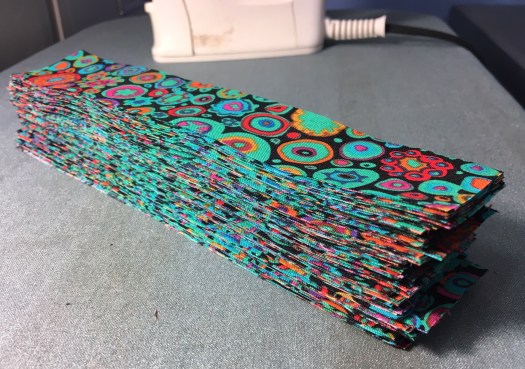