More Noodling and Some Really Fun Stuff

I’m still moving X & + blocks around on my design wall, but I think I’m close to calling this thing done.

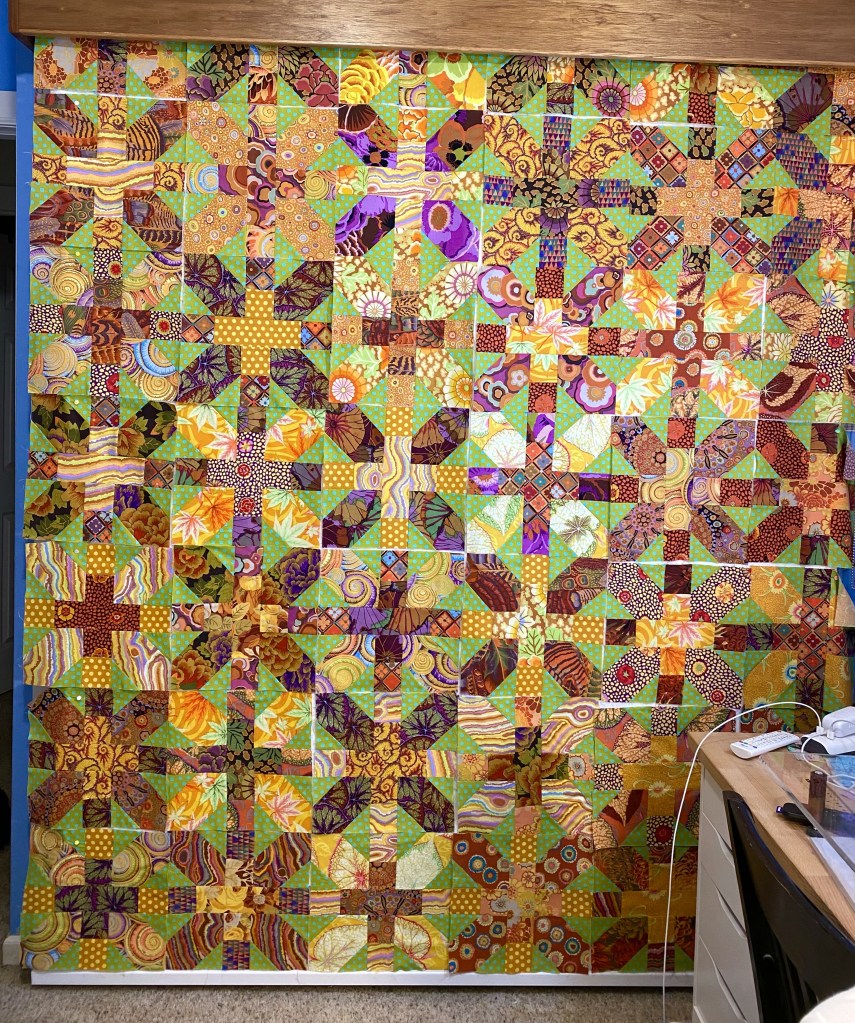
I moved some stuff around to lighten that dark bottom left corner. The problem is that every time I move something, I create a problem in a different place. But I’m feeling pretty confident that I’m at that “good enough” stage.

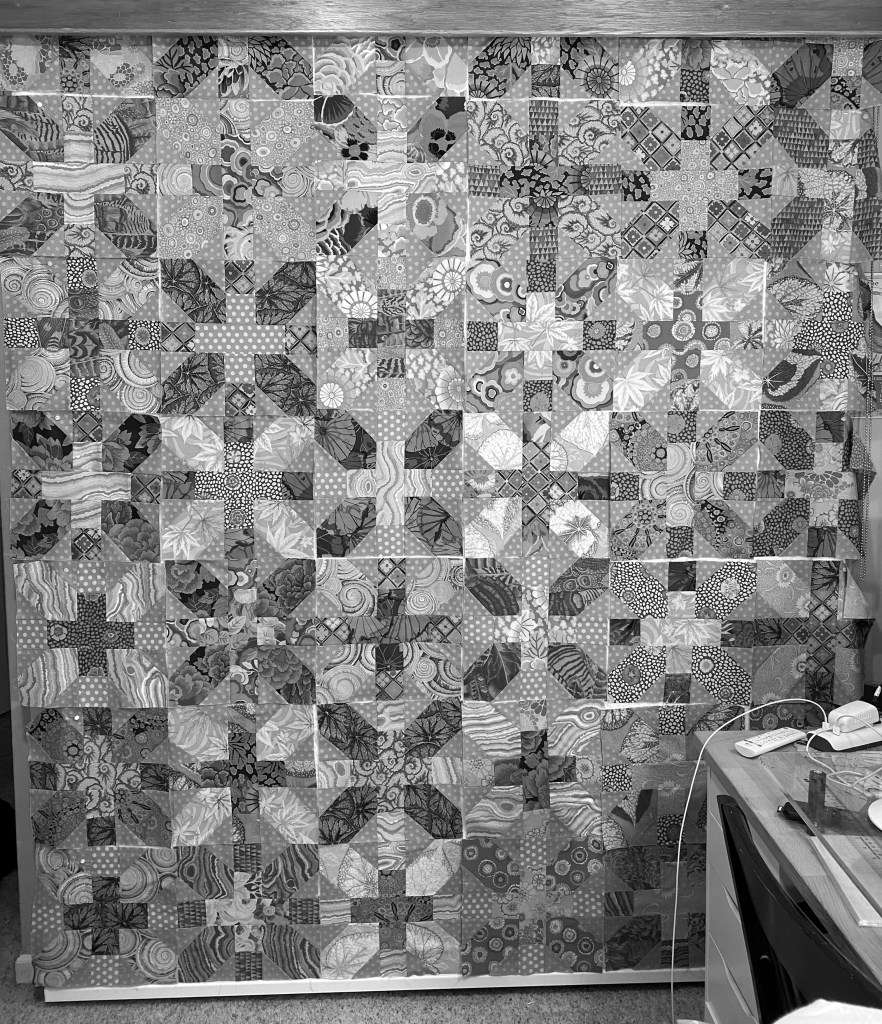
Here’s this layout in black and white.

That bottom left corner still looks dark in the photos, but in real life it looks ok. So I grabbed my LED sewing light and put it on the floor to light up that section for a photo.

So that corner actually IS lighter now. And the black and white photo to see how it looks with better light.

Like I said… good enough.

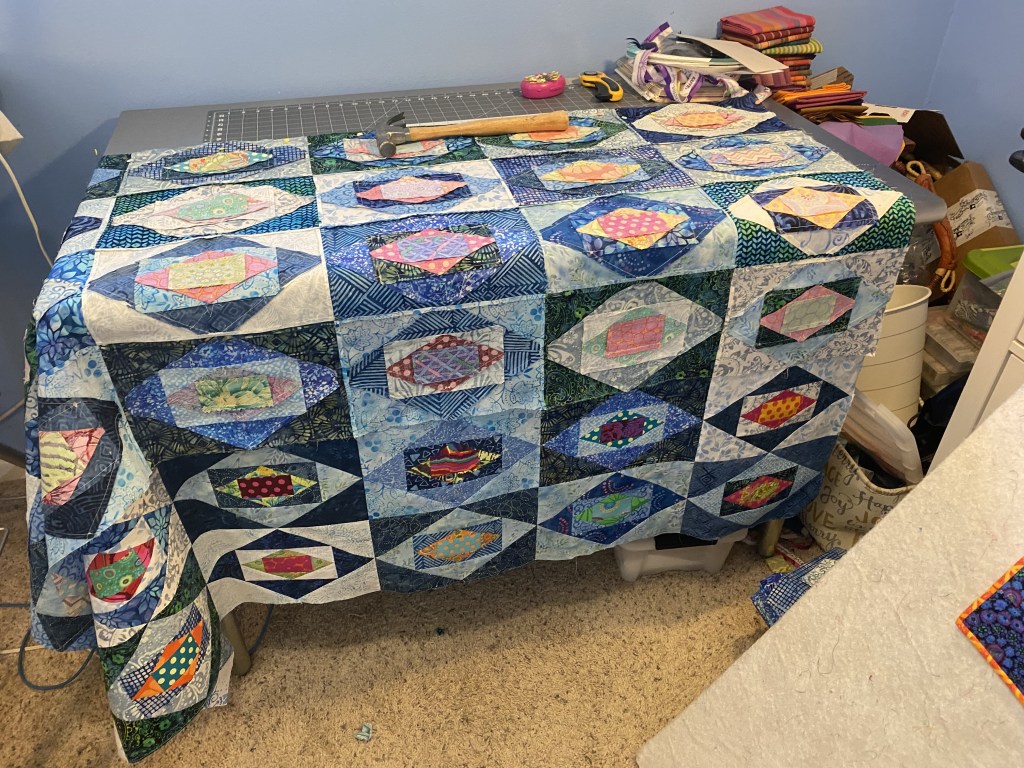
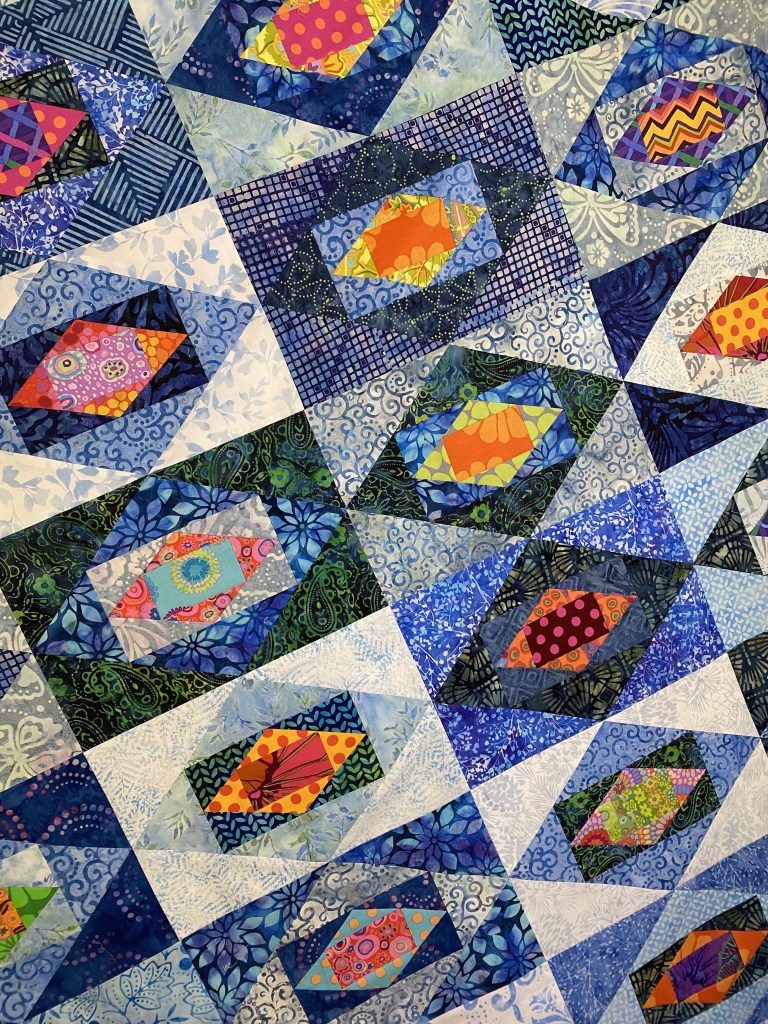
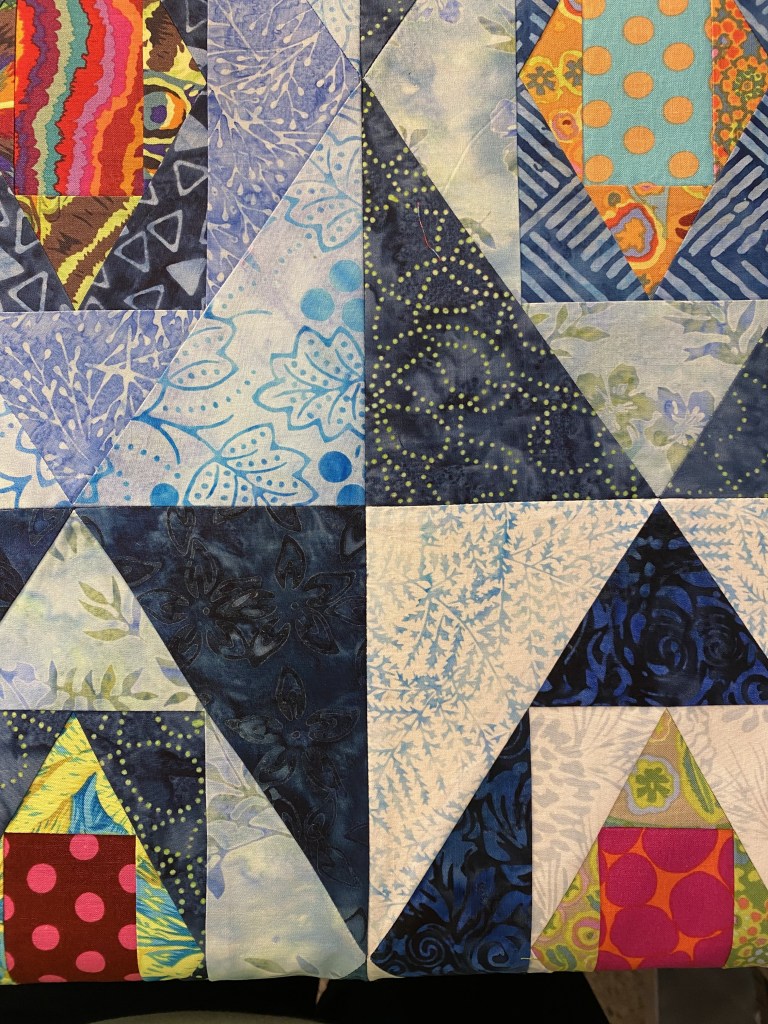
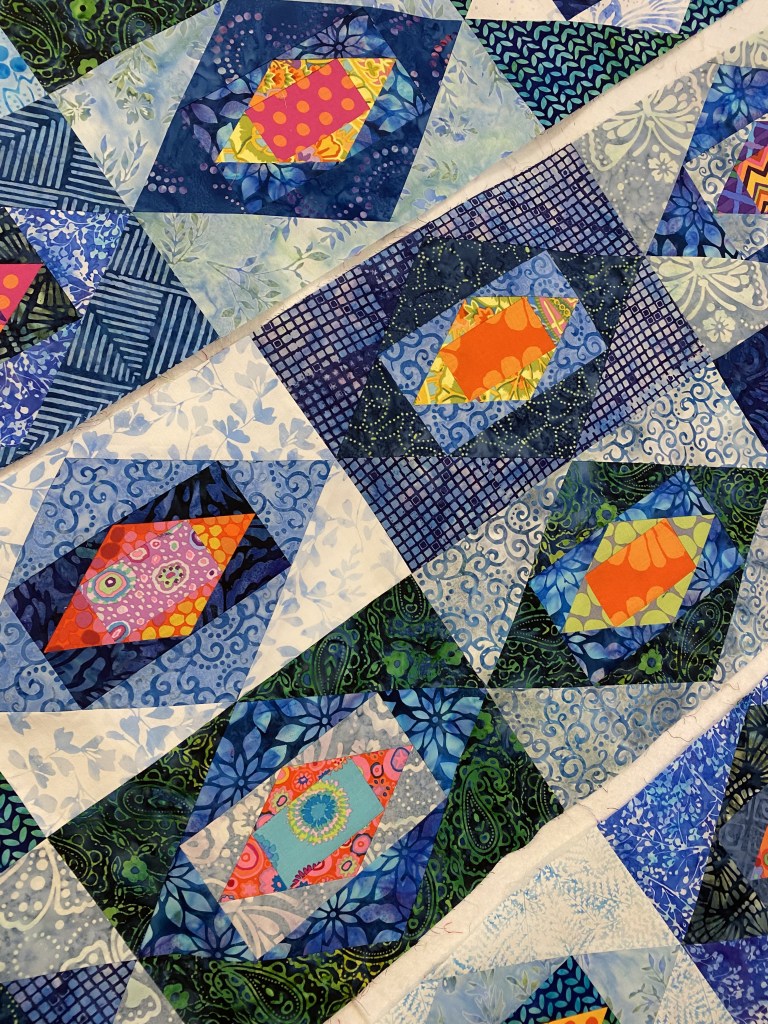
One of the things that stopped me in my tracks on making this quilt was thinking about how wonky these blocks were and how careful I’d have to be in squaring them up so everything lines up. I even considered adding sashing at one point so I wouldn’t have to be as concerned about that. But I knew the sashing would ruin the effect of the Xs and pluses. So I’m back to no sashing.

The blocks are a little over 12.5 inches square. And they are a little wonky, but not as bad as I thought. I do believe the entire quilt will go together much more nicely if I square up the bocks.

I’d have to trim off a little less than 1/8 inch all the way around. I also think it will be doable to line up the center pluses to make all the blocks line up nicely. But I’ll need to be mindful as I cut.

The arms of the plus would square up with the outer edges 5 inches from the outside edge of the block. So I’m thinking I can pull this off and have the blocks come together nicely.

I’ll wait to start on that when I’m fresh.

Now onto the FUN stuff!

I’ve been getting messages from my long arm quilter with ideas for quilting designs for my six quilts. I’ll share those in a minute, but first… the best part of my day…

MY ICE STORM QUILT IS QUILTED!!!

I just love the way quilting transforms a quilt top! And I love this quilting design. It feels like the winds that blew during that scary ice storm when I could hear branches breaking and falling all around my house. But in a nice way. Hahahaha!

This quilt will have some sort of insane whimsy since the backing is Brandon Mably’s octopus!!! it’s a little crazy, but so absolutely perfect!

So, now onto the quilting ideas the long armer sent me today. She sent several options for each quilt. It was really fun to choose the ones I like.

First off is the orange, pink and purple Another 16 Patch quilt that I made on my Featherweight machine.

And the quilting pattern I chose.

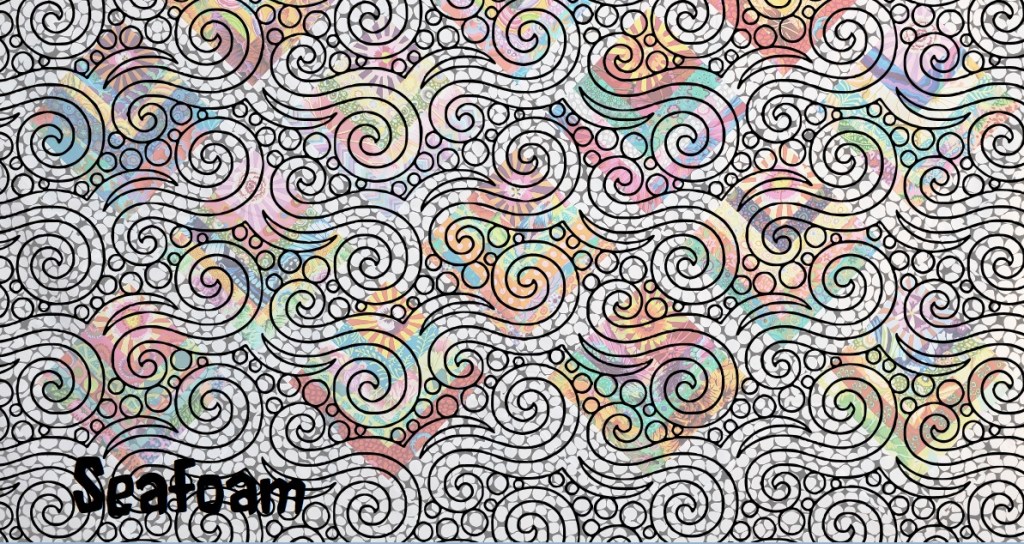
Next up is my Jumble Quarter Log Cabin quilt.

And the pattern for this one… (I love all those little circles with the jumble!)

Next up is my Red Algorithm quilt.

And the pattern I chose for this one. . .

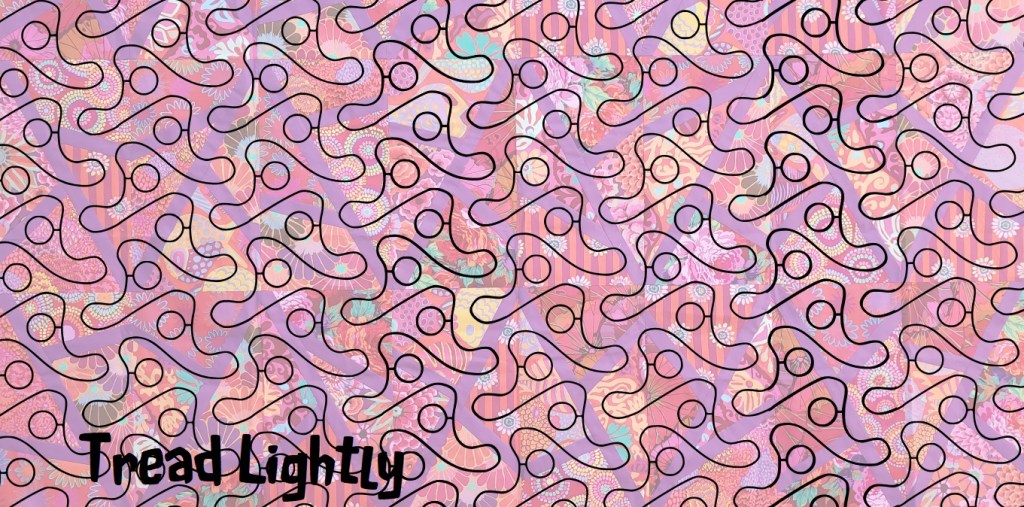
Next is my Red Fractured quilt.

This was the hardest one to decide on, but I landed on this…

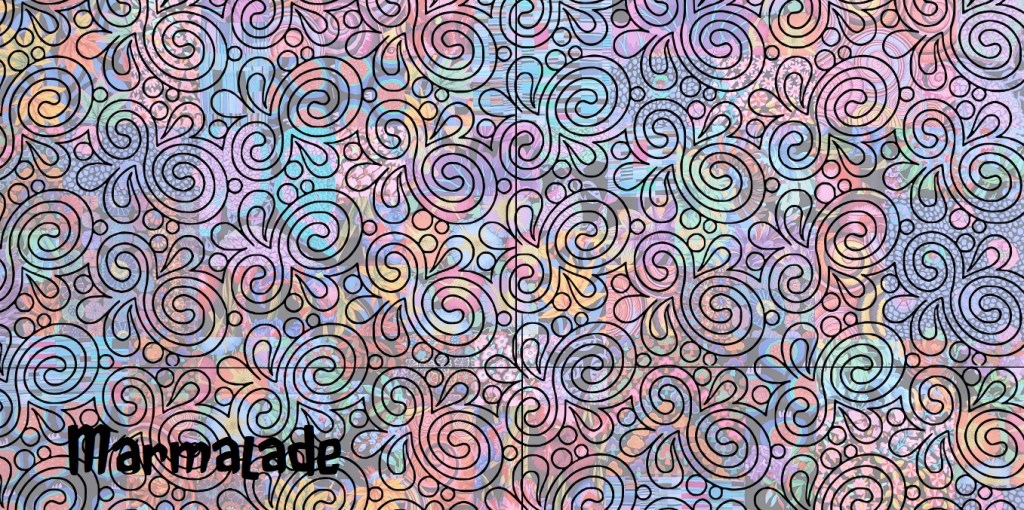
And finally, my “black” KFC quilt.

And I just love the pattern I chose for this one.

How much fun is that? It’s going to be the most chaotic quilt ever made!!!

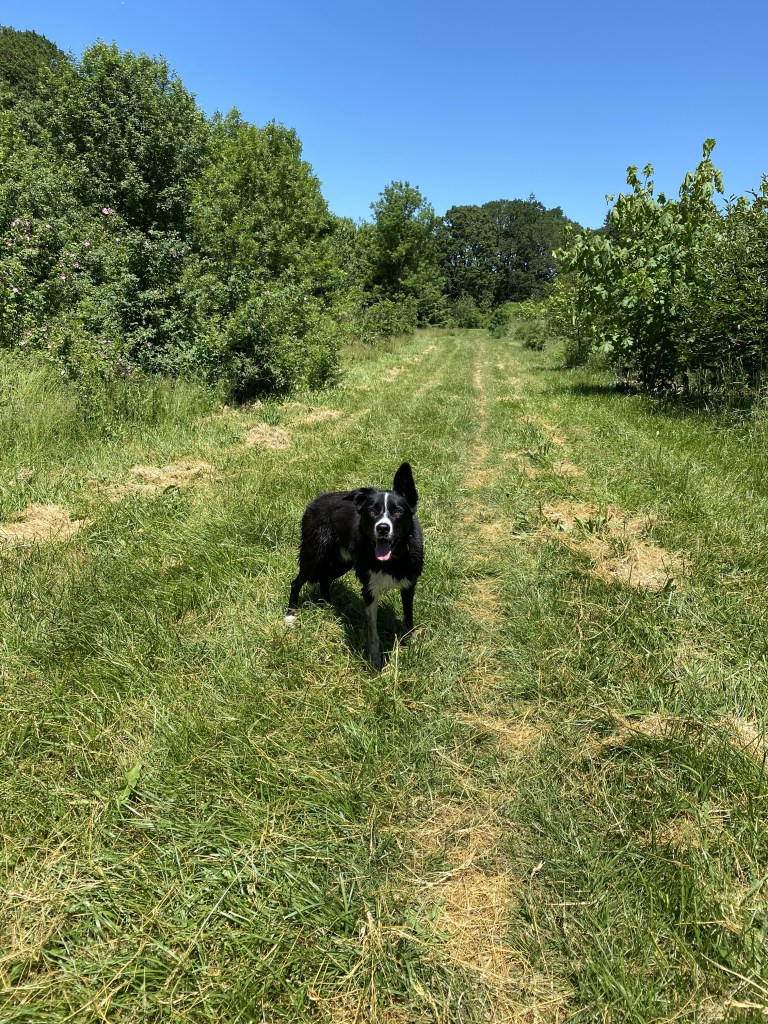
We finally had a hot day today. It got right up to 90. So we didn’t get an afternoon walk and had a two mile evening walk after the sun went down. I finally turned my air conditioner on at around 9 pm because it had gotten up to 78 in the house. I had my furnace on a week ago!

It’s supposed to be hot again tomorrow and then it’s supposed to cool back down to the mid 70s to low 80s. I’m ok if we stay away from the really hot days for a while.

A Good Weekend with No Sewing, But Some Noodling

I think I felt such a sense of accomplishment by getting that Wensleydale quilt top finished that I deserved a break from sewing this weekend. So I got nearly nothing done in my sewing room since Friday.

Nearly nothing. I did stand in my sewing room and look at that Japanese X & + quilt a few times and noodle over the arrangement of the blocks, moving squares around to separate places where one fabric showed up a lot in different blocks, balance the darks and lights, and make sure my favorite blocks had prominent placement.

Here’s where I’ve landed as of tonight.

This is feeling pretty good to me, but I see at least one thing I want to fix.

My brain wants to make every other block brown, with the alternating blocks yellow. But I have more brown blocks that yellow blocks. So that just won’t work unless I make more blocks and that’s just not going to happen.

It looks pretty balanced in this black and white photo.

The bottom doesn’t look as dark in person. It’s all how the light hits it. But I am going to have to look at that lower left corner next time I’m in that rom.

I wish I had taken a photo, but I looked at this when I got up this morning and opened the blinds and saw it with the bright morning sun coming through the window. It looked so bright and cheery and makes me really want to see this done and on the bed.

Yesterday was pretty much a wash. I took Rico for his sheep herding lesson and we did some driving work in a smaller field. He was a good boy and his brain was tired by the time our lesson ended.

On the way home we stopped at the field with the creek so the boys could get a good run. I only walked about a mile but they must have run six or seven! They love running through the trees and bushes to get to the creek. Then they come tearing out all wet.

I love to play a hide and seek game with them when they tear into the bushes to get to the creek. I’ll hide and let them find me.

They usually find me pretty quickly! Rico is a little better at following his nose.

They do love a chance to run and having access to the creek is even better.

It was a gorgeous day and wasn’t too hot. But when they’re running they get heated up.

That walk in that field took me back to my childhood. There were wild roses all over the place. The air was full of their scent.

The hot air, the bugs buzzing, and the scent of wild roses reminds me of summers at my grandfather’s home in Hudson, Wyoming, when I was a kid. It brought back all kinds of memories.

Here’s my boys posing in front of some of the roses.

Other than taking the boys for a walk later in the evening yesterday, I really can’t remember what else I did. I think I probably wasted a lot of time.

Today I slept in a little and then went and played pickleball for 3.5 hours! I had so much fun! I went to a different place and there were more courts so that I got to play more ad didn’t have to wait my turn as much. I may go back to this place on Sundays. I’m pretty wiped out tonight, but I did manage to take my boys for a three mile walk after dinner.

It was a gorgeous evening. Our weather has been pretty perfect the last few days. With the exception of Tuesday and Wednesday this week, with temps at or near 90, the next ten days look amazing!

Wensleydale Quilt Top is DONE! And What’s Next?

I had a great day off today. Started with some morning pickleball, then stopped by the racquet store and bought a new pickleball paddle. Then headed home for a nice lunch on the patio, then a little bit of personal to do stuff on the computer.

Then I hit my sewing room to start working on the final four seams to complete my Wensleydale quilt top.

First, I sewed the bottom three sections of two rows together. Then I ran a line of stay stitching around the perimeter of this section of the quilt, about 1/8 inch from the edge.

This line of stitching will hold the edge pieces together and prevent the stitching in the blocks from unraveling with handling. I don’t typically do this line of stitching, but with this quilt and all the angled points. I wanted to make sure they all held together.

I did this when the quilt top was still in two pieces because it’s easier to not have to wrestle then bulk of the enter top through the machine.

It really did go together quickly. Here’s the final two sections as I’m pinning them on my cutting table.

I really love the look of these blocks from the back! Everything is so clean and incredibly consistent from block to block.

Once I got that final seam pinned I rolled the two pieces up so the entire piece is about 14 inches wide, then accordion folded it all to help make it easier to move that bulk through my machine for the final seam.

Then I just put that stack on my lap and feed the fabric through.

I really enjoyed the final pressing of this quilt top. It’s so fun to look at all the fabrics close up and enjoy how they all play together.

I mean, just look at that!!

And here’s the finished flimsy! It measures 66 by 73 inches. I wish you could see it in person. The blue batiks are so pretty.

Before I put that finished flimsy up on my design wall for photos, I rolled up the front design wall and rolled down the back one and then put this on the back piece.

Why did I do that? I wanted to get my Japanese X & + quilt blocks up on the design wall so I could decide whether or not I have enough to move forward and complete the top. I put these blocks on the front design wall.

That’s six blocks by seven bocks. So a total of 42 blocks. I thought I had 42 blocks made, but I actually have 44.

I adjusted a photo of these blocks to see how the values balance.

I’ve already moved a couple of blocks around after I saw this photo. There’s a few more things I’ll change, but it’s close.

I’m sure this will be plenty big for the double bed in my guest room. So, no more blocks needed. I’ll decide on a final design tomorrow and will start putting this thing together.

And, of course, I have to show you some close ups of these blocks so you can see the amazing fabrics… all Kaffe Fassett Collective fabrics.

It was actually Liza Roos Lucy, who works the the Kaffe Fassett Collection, who suggested using that green/turquiose spot for the background. Of course, I love it and love those little pops of turquoise!

I can’t stop!

And one more for good measure.

I might have to do some minor trimming on these blocks. But they are big and should go together pretty quickly.

Tomorrow, Rico has a sheep herding lesson and then I’ll take them for a nice field run in the park with the creek. They will enjoy a chance to run and get in the water.

Cool Video Tutorial for Cutting Fabric for Wensleydale Blocks

Ok, I messed up my previous post and since so many people read my posts through email I wanted to make sure this info was clear and get it into people’s email boxes.

So here we go… again.

I happened across the video linked below today. It’s a really cool method that the Quilted Chicken on Youtube came up with for cutting fabrics for paper piecing the Wensleydale blocks. And it looks really great to me.

I will definitely try this when I make my second Wensleydale quilt, but I’ll probably make one block with the fabrics cut with this method before I commit to cutting a bunch, just to make sure the pieces are generous enough to make paper piecing efficient. But it looks really promising to me.

And now I have a place to send people when they ask me how to cut the pieces for paper piecing Wensleydale blocks!

Four Horizontal Seams Left On My Wensleydale

SPECIAL NOTE: If you’re one of the people who asked how I was cutting my fabric pieces to make these Wensleydale blocks, read all the way to the bottom for a special treat.

I decided that I will actually take tomorrow off as I had planned. It’s not very often that I get a day with no meetings so I decided to go for it. Besides, it’s nearly the end of the fiscal year and we’re in the time of year where we have a bit of a lull.

I did work later than I had hoped tonight so I could get a few things done that have deadlines of tomorrow. Now I can relax and enjoy my day off. I’m going to play pickleball in the morning, then have the rest of the day to do whatever I want.

One thing I want to do is finish my Wensleydale quilt top. I hit my sewing room tonight and sewed together the blocks in the four remaining rows, then sewed those rows into two sets of two rows each.

So all I have left to do on this is sew the final five sets of two rows together. That’s just four horizontal seams and this baby is done!

As I was sewing rows together I came across one block that I must have fallen asleep on…

Oops.

I did take a few minutes tonight to enjoy these blocks sewn together. It’s really fun to see the fabrics close up… see all the variation in the blue batiks. They’re pretty amazing!

You just don’t see all that gorgeousness when you look at the quilt top in its entirety.

Here’s some more eye candy.

I just love how those dark and light values play together!

And a little more…

And one more, just to be sure. . .

So, now for the special treat I teased at the top.

I happened across the video linked below today. It’s a really cool method that the Quilted Chicken on YouTube came up with for cutting fabrics for paper piecing the Wensleydale blocks. And it looks really great to me!

I will definitely try this when I make my second Wensleydale quilt, but I’ll probably make one block with the fabrics cut with this method before I commit to cutting a bunch, just to make sure the pieces are generous enough to make piecing efficient. But it looks really promising to me!

You can all thank me later for finding this!

Have a happy Friday! I intend to!