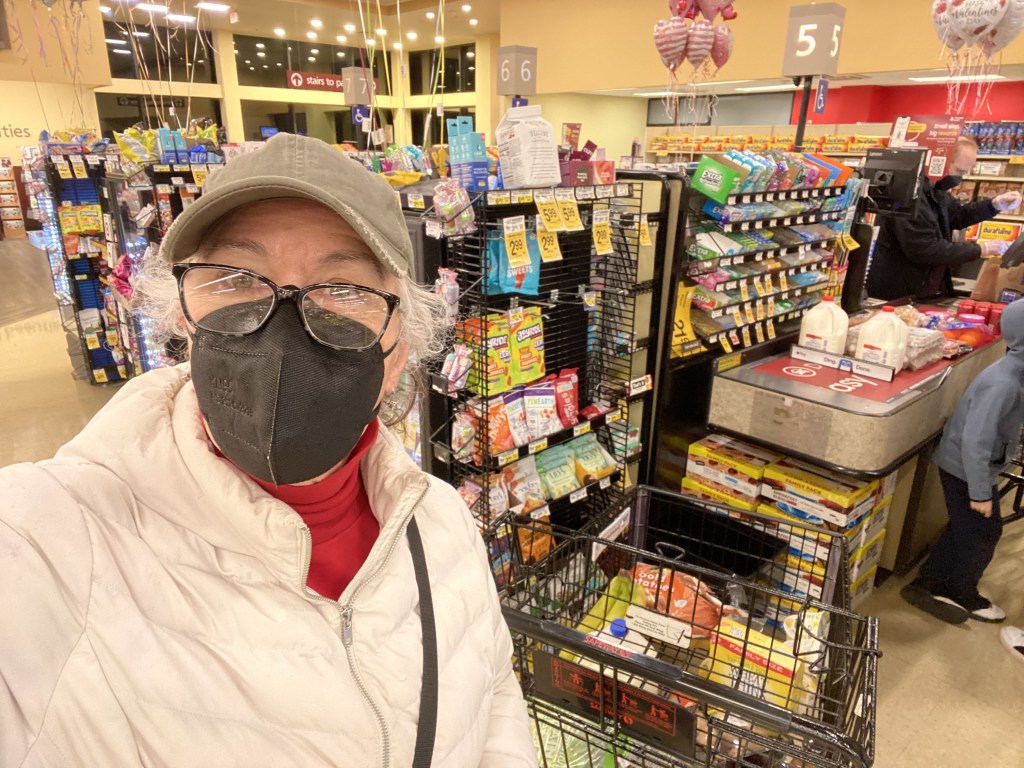
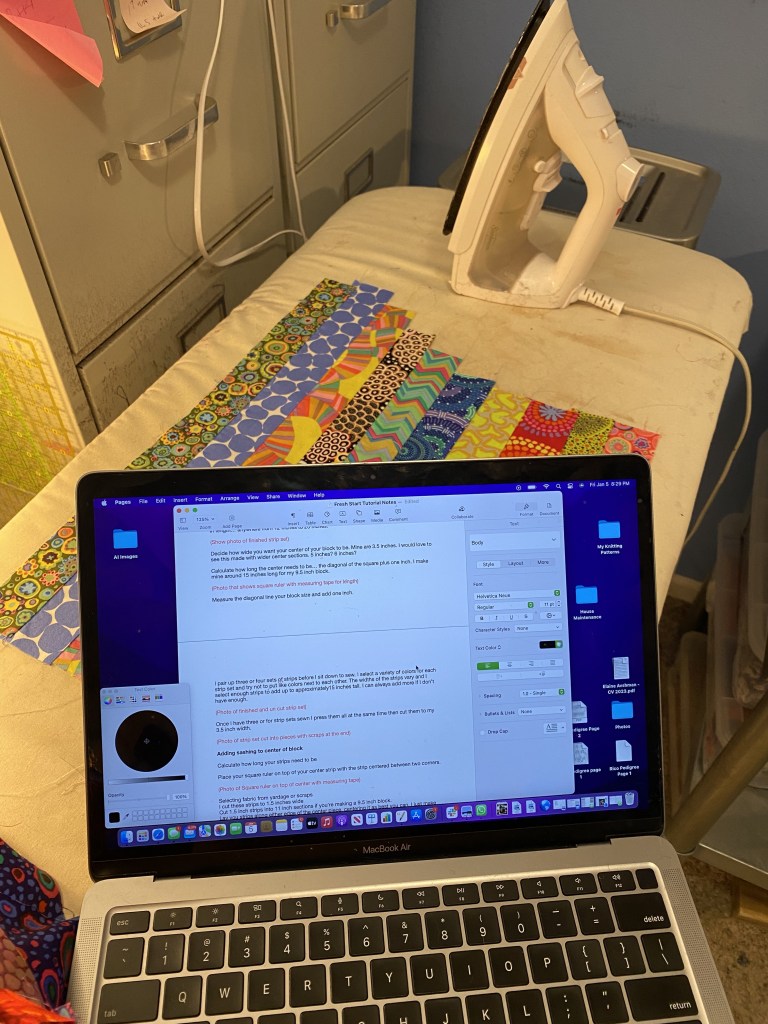
I had visions of hunkering down at home on our stormy weekend and sewing and cooking. That plan was shuttled when our winter storm caused my power to go out around 9 am on Saturday. At 11 am two trees came down across the street amid frightening wind gusts… one landing on my neighbor’s house and the other resting on the power lines.

Lucky for my neighbor, the one on the house is on the garage and not living space.
I’m so lucky to have a friend one street over who never lost power and invited me over when my power hadn’t come back on by Saturday afternoon and the temp in my house was dropping fast. The temps all weekend, and still as I type, have been well below freezing. Not a great time to be without power.
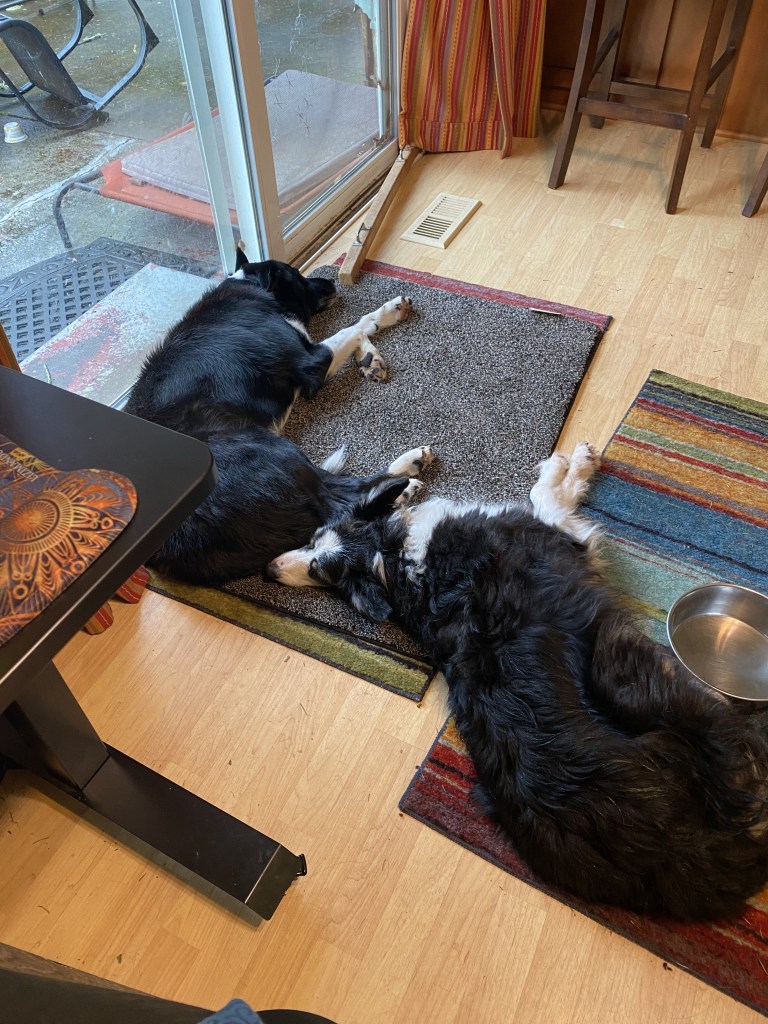
So I bundled up the dogs and some supplies and headed over. I was so worried that my dogs would be badly behaved, but they were soooo good. They loved hanging out with my friend’s 11 month old corgi puppy. She kept them active. That and my twice daily walks to check out what was happening in my very quiet and cold neighborhood wore them out!

Long story short, it’s now Tuesday night at about 10 pm and I’ve only been home for a couple hours. 82 hours without power! And all in well below freezing temps.
It’s been a very stressful weekend. There is so much damage all around the Portland area from downed trees. Four days later, over 30,000 homes are still without power. There were over 150,000 homes without power at the worst of it. I’m sure some people will wait for days to get their power back.
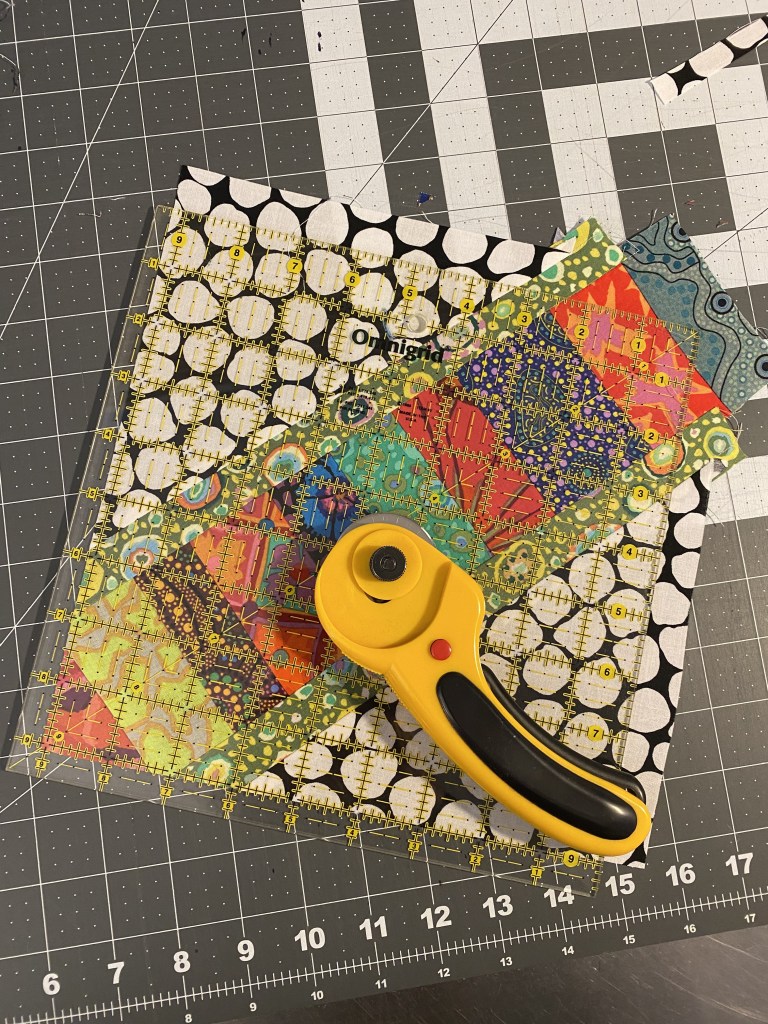
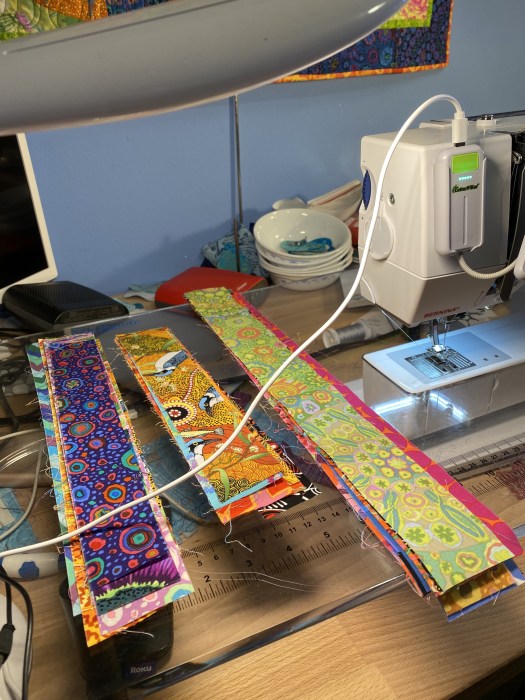
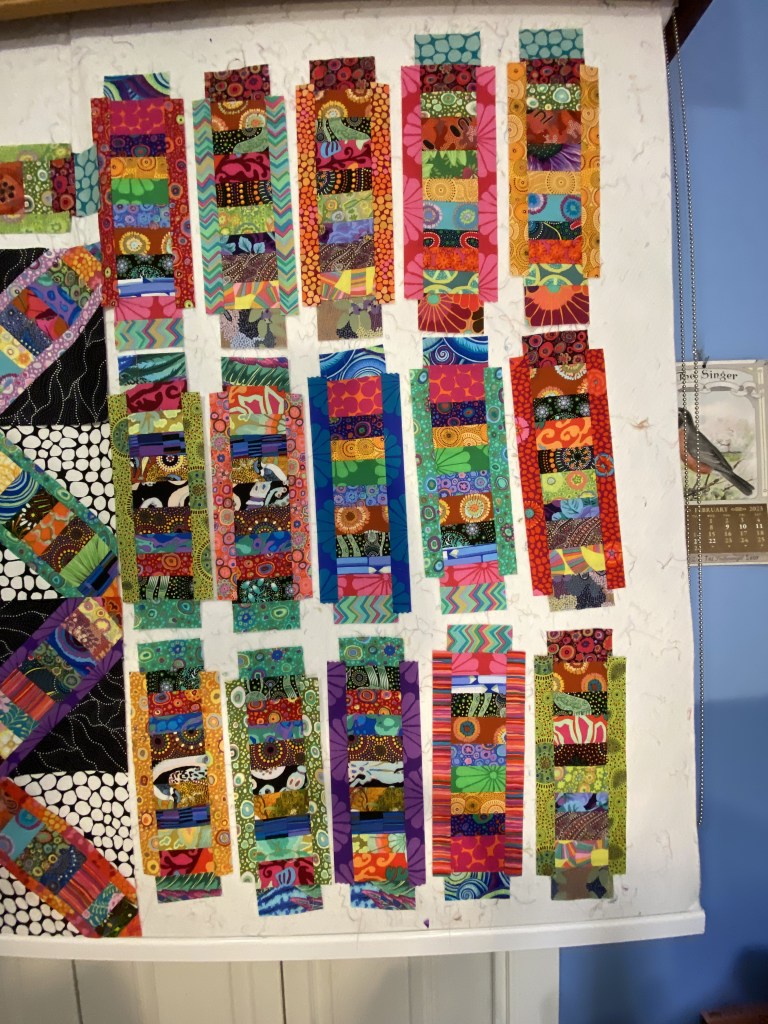
So, needless to say, I didn’t get any of my cooking done this weekend. In fact, I had to toss out the chicken I planned to cook. And I didn’t get any sewing done at all. It was so frustrating to have all that time on my hands and not be able to be productive — and have something to occupy my anxious mind.
You can find lots of pictures and videos of the aftermath of our terrible weather event on the internet. But here are a few from my immediate neighborhood.
This one shows a street a block away from me that was completely blocked by some big trees.
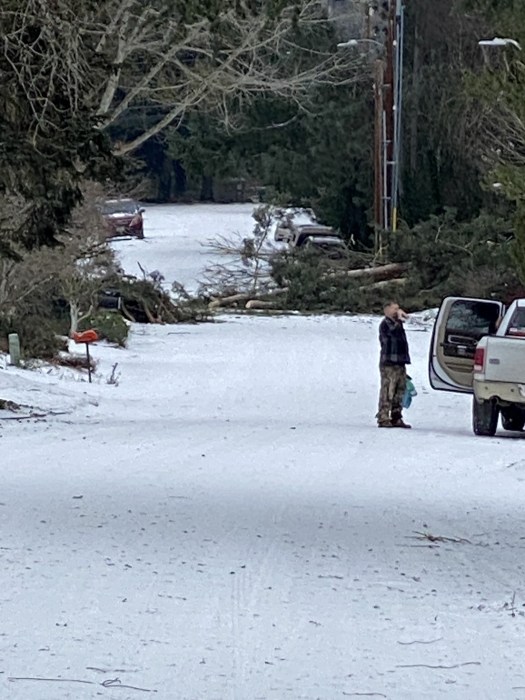
Someone had chainsawed a path through the trees by the time I walked by.
This is another street where a row of trees came down and took out about 80 feet of power lines.
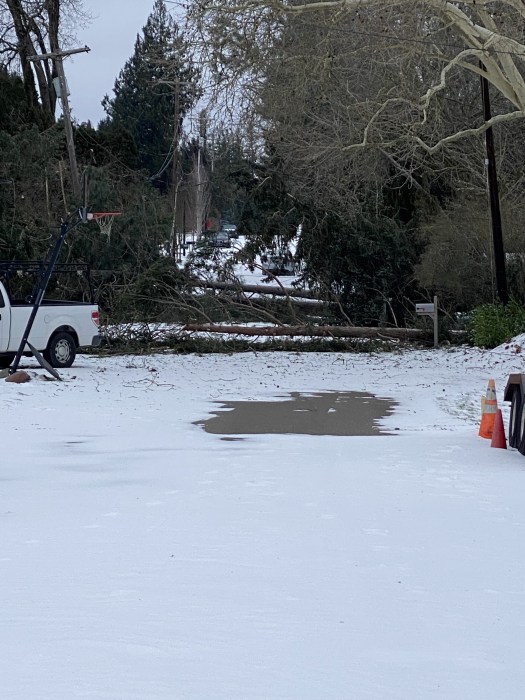
The tree company cleared these trees out yesterday and the power company was working on this street this morning. This is a street that dead ends into the park near me so these people were completely stuck for days! A UPS driver even got stuck there while making deliveries!
As I was walking my boys yesterday afternoon I saw the Asplundh truck (tree removal experts) heading up the road. It’s a wonderful site when there are trees down all over the place!

I stopped and watched as they turned onto my road. After three days it was so good so see some help arrive!
As I got further into my walk I took a loop past my house and saw that there were several power company vehicles on the street. So I walked up there and said to all the power workers, “I don’t know you very well, but I love you!” They all laughed.
I asked them if they were going to be able to restore my power soon and they said they were having a conference about it. They asked me how long I had been without power. It was three days by that time.
Long story short… the answer was, apparently, no. They went down the street and worked on some other issues while the tree was removed. There were a lot of people still needing their help.
It didn’t take long for them to have that tree removed from the power line. But I would have to wait to see the restoration of my power.
My friend’s husband and I took a drive around the neighborhood last night to see how it was looking. It was nice to see more and more streets and neighborhoods with power. But there were still lots of very dark neighborhoods near us.
My friends’ house where I stayed all weekend is on the street next to me… basically right behind the house with the tree resting on the roof. As we were doing dinner dishes tonight my friend noticed that there were lights on my street! So she told me to hightail it over to my house to check to see if I had power.
We have another storm tonight… this one featuring freezing rain! When I got outside I saw that my car was completely covered with ice. It would have taken 20 minutes to clear the windshield. So I walked gingerly to my house.
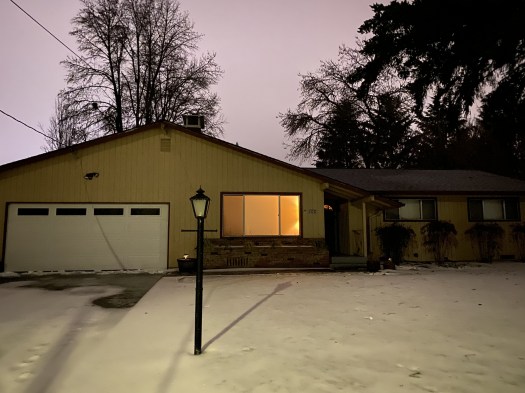
You can see the sheen of ice all over my front sidewalk and on the snow. I had even put ice melt on this sidewalk this afternoon! So slick!

It was so wonderful to see the lights on when I got home!!!
And when I got inside the temperature was already up to 50 degrees! It was 35 degrees when I was here earlier today.
I walked back to my friend’s house and packed up my boys and all my stuff. My friend’s husband cleared the ice off my car, and I was on my way.
Luckily, our freezing rain storm that was predicted for tonight has fizzled a little in my area. There is a solid sheet of ice everywhere, but predicted winds haven’t materialized. I was not looking forward to more trees coming down! Other areas in Portland are seeing a little more wind tonight.
I’ve been pretty worried about my pipes freezing. The high temps since Saturday have been in the low 20s. I did leave all my faucets running the entire time I was gone and checked every day to make sure they were still running. I’m pretty relieved that my pipes are all intact and flowing tonight.
The temps will start to go up tomorrow and melt all the ice. Then it will be up in the 50s before the weekend is over. It’s going to be really wonderful to hear the rain on the roof!
Tonight I’m so incredibly appreciative of friends who generously welcomed me into their home and took excellent care of me and my boys. I’m so very lucky and blessed.