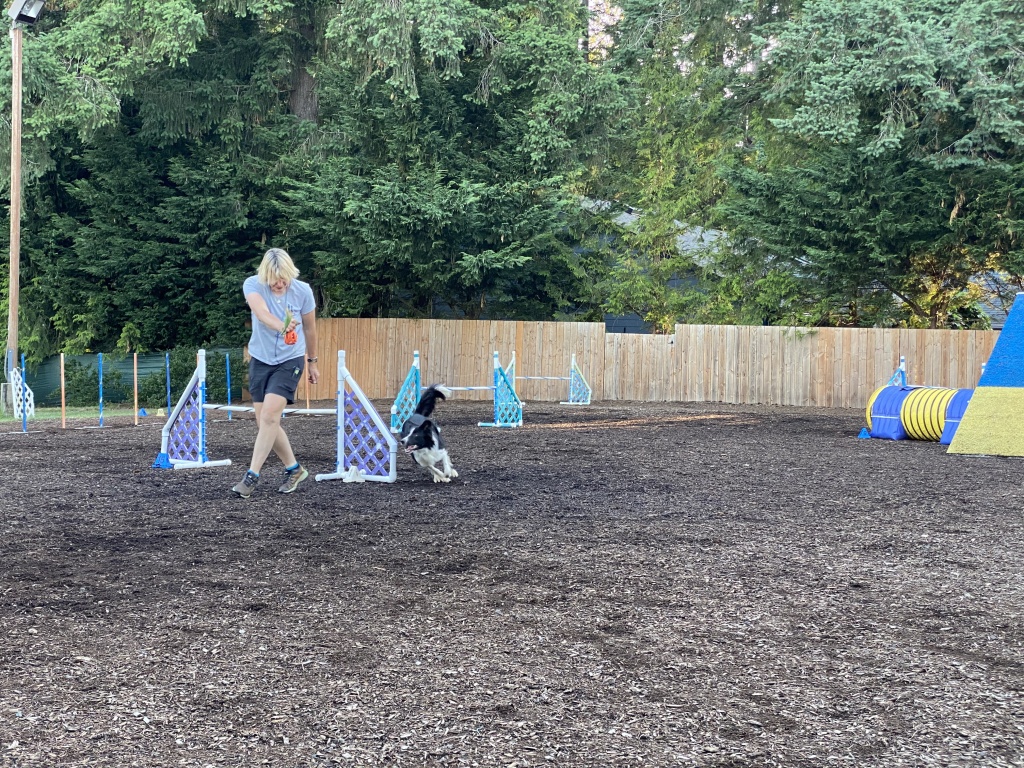
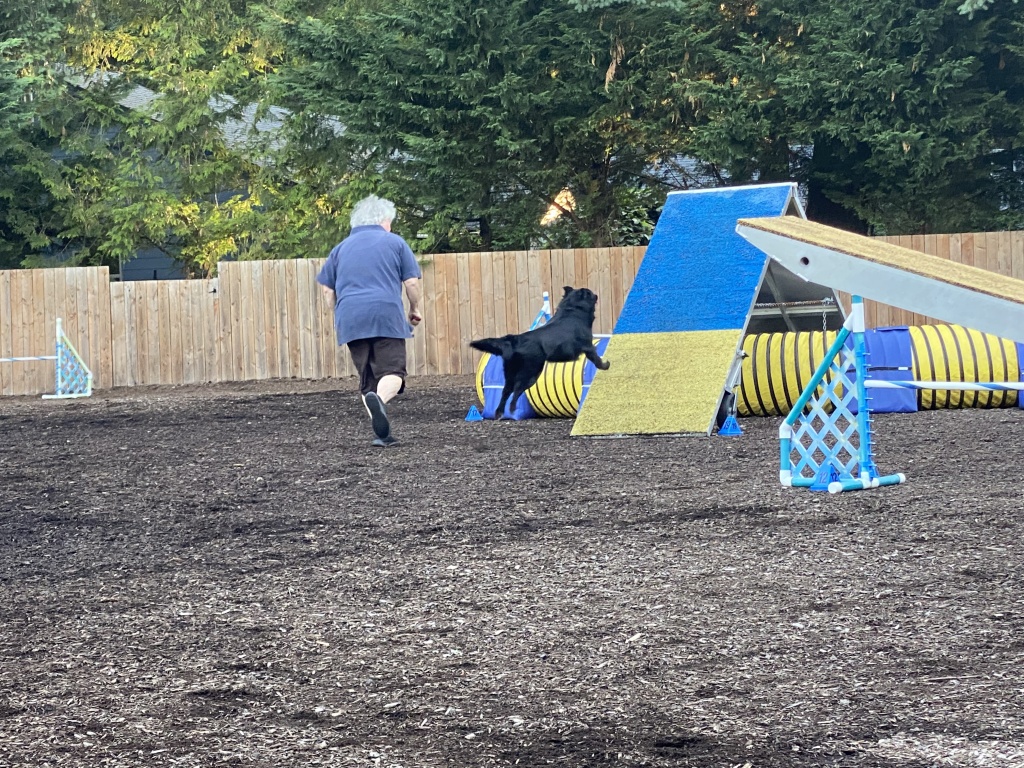
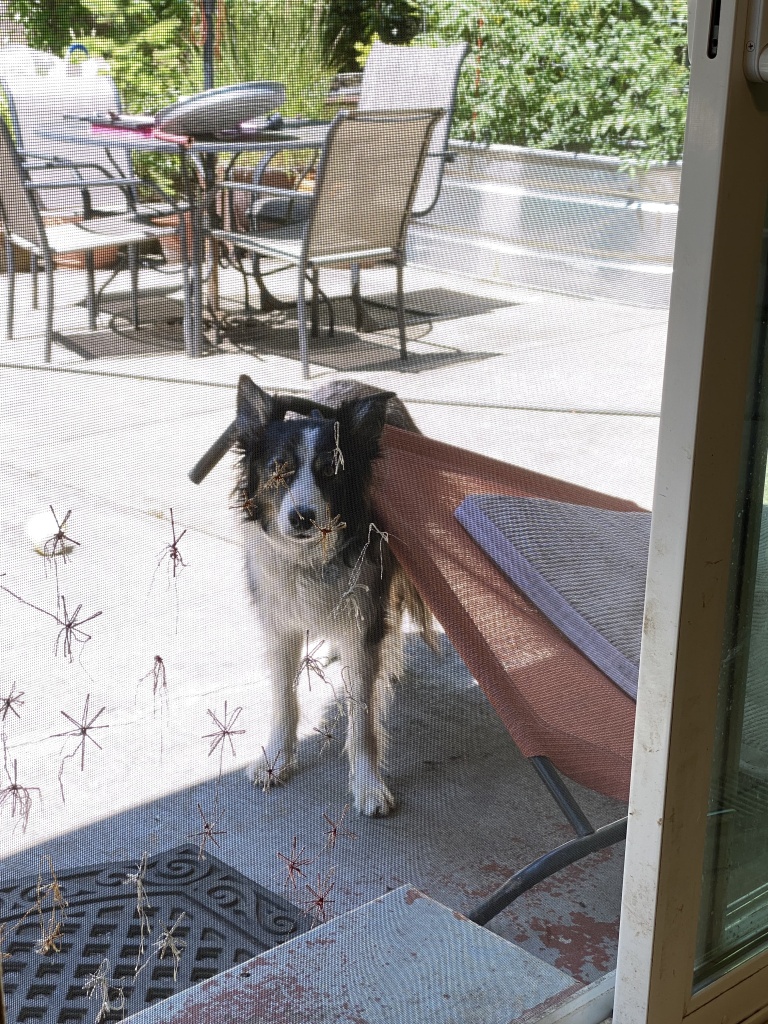
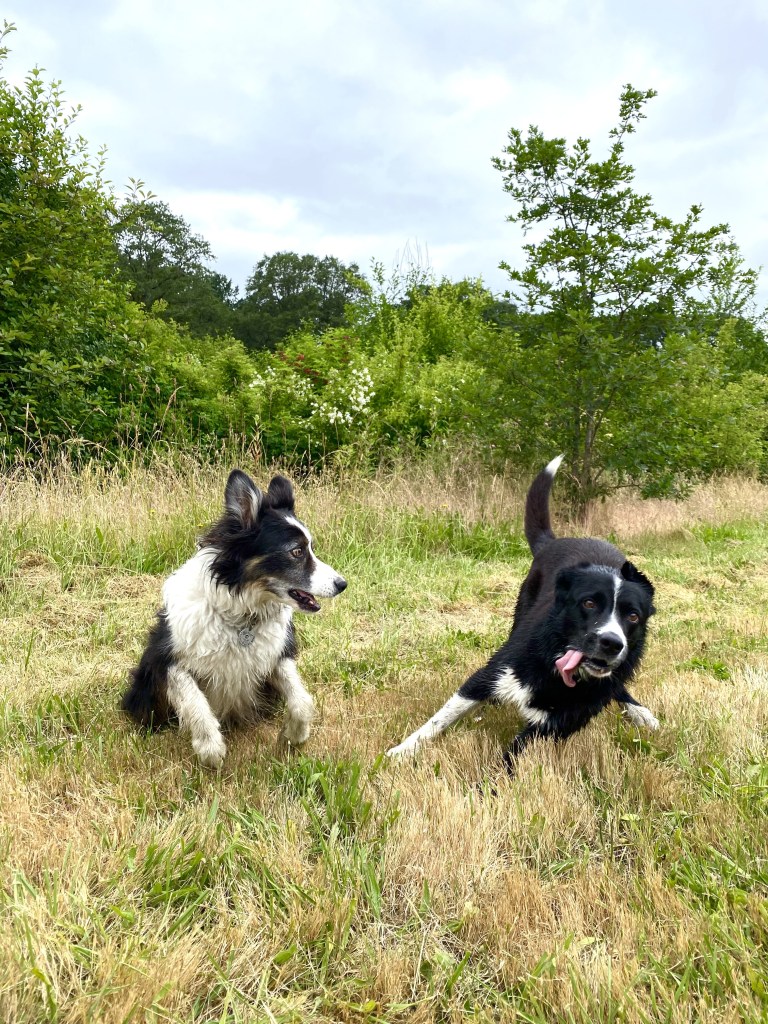
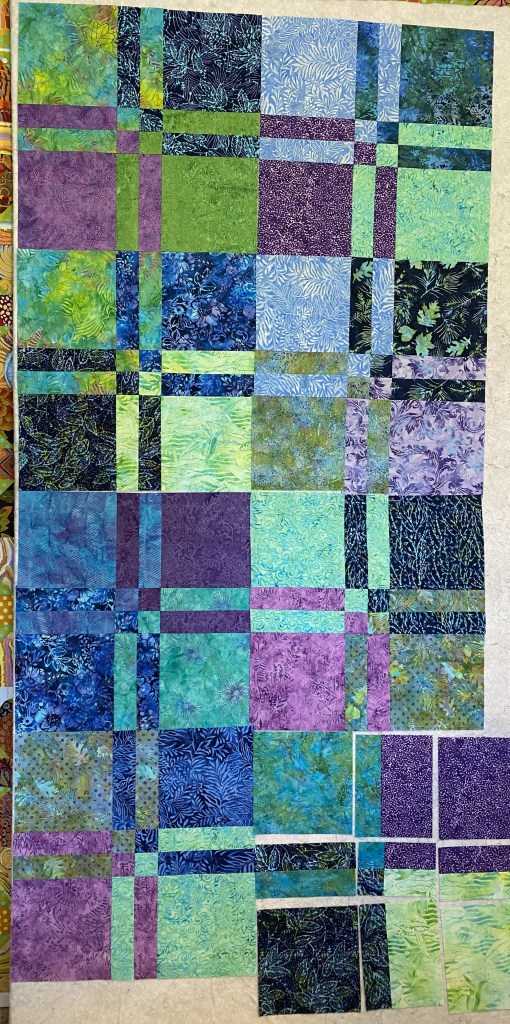
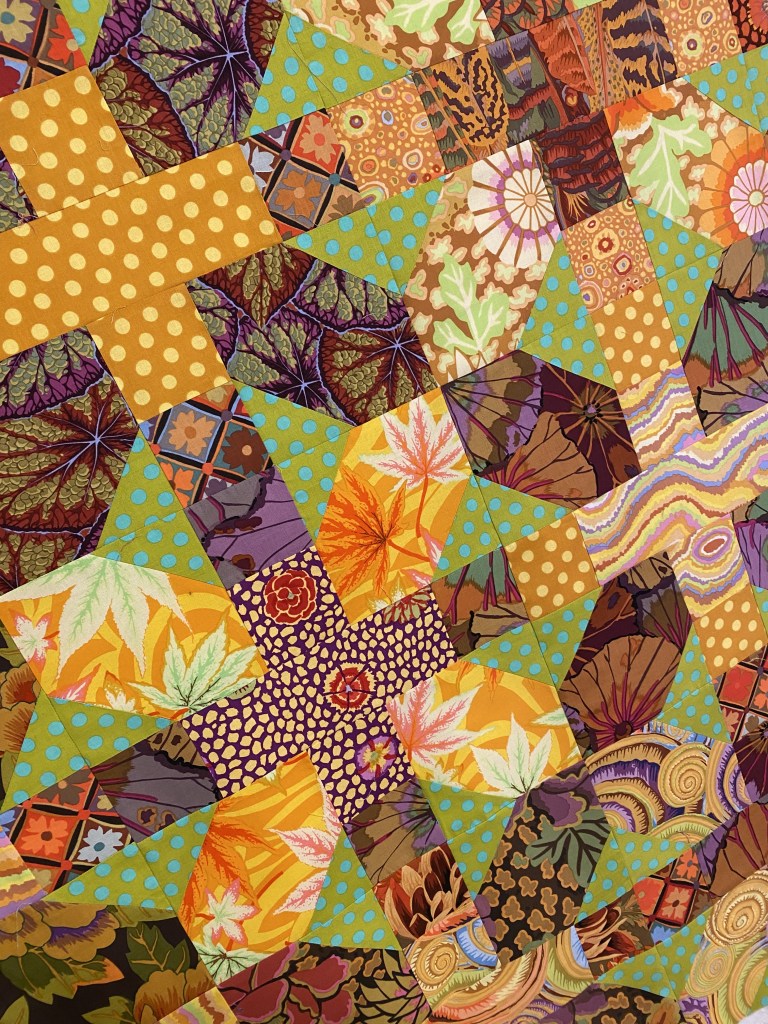
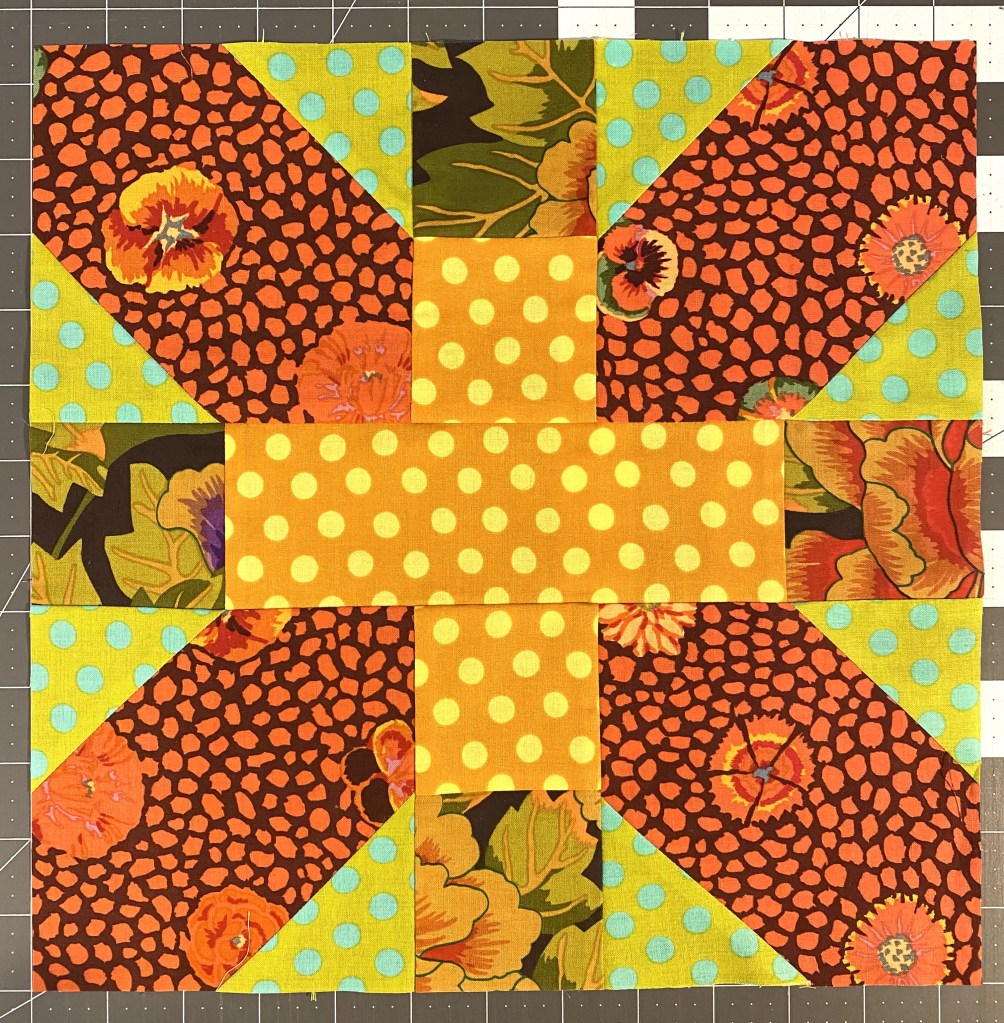
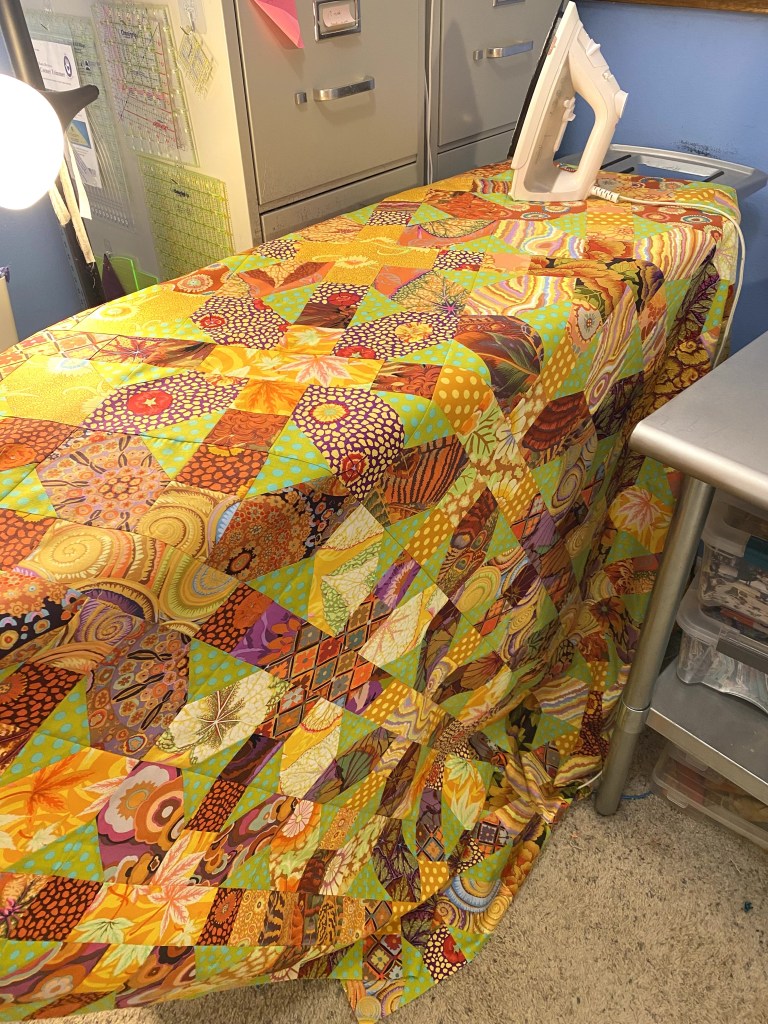
I was supposed to meet a friend to do some pickleball drills tonight but the courts were all busy so we had to cancel. So instead I played with the doggos and dug in on my X & + quilt. I didn’t finish it, but I’m getting closer!
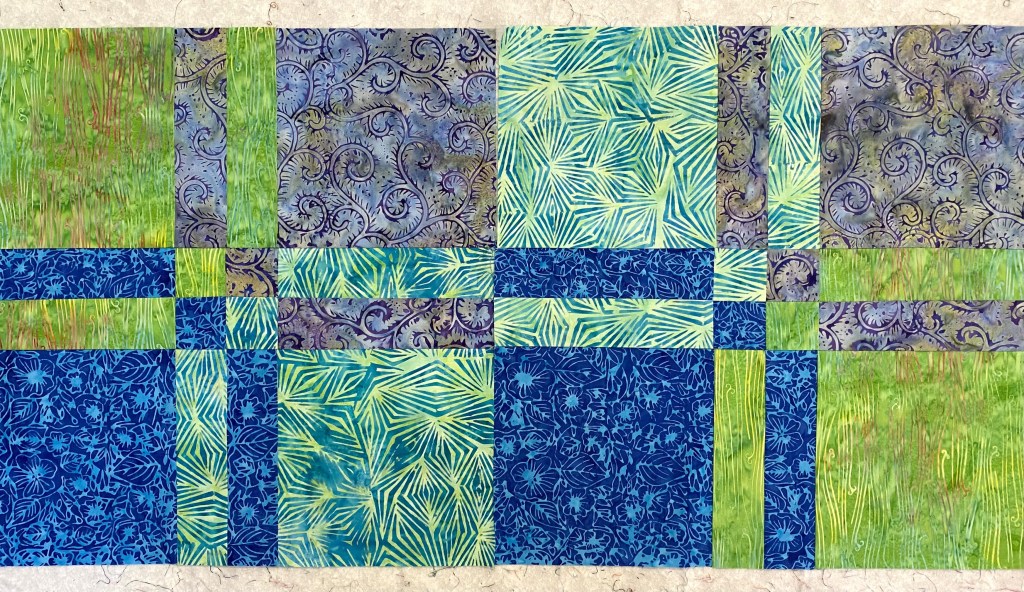
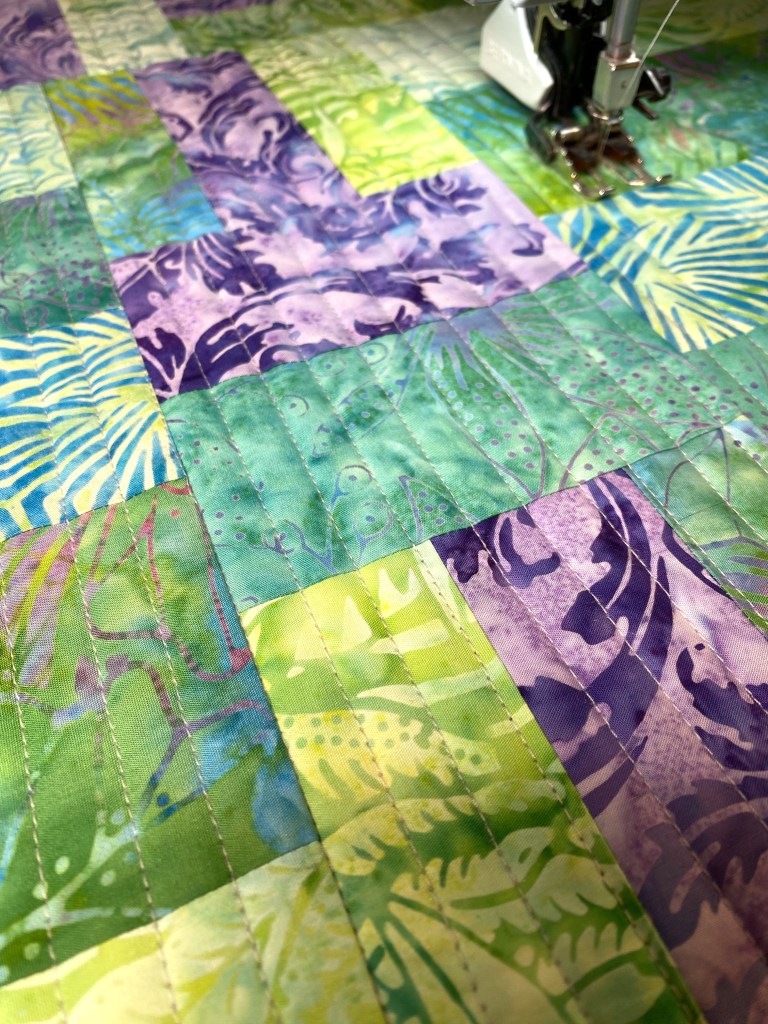
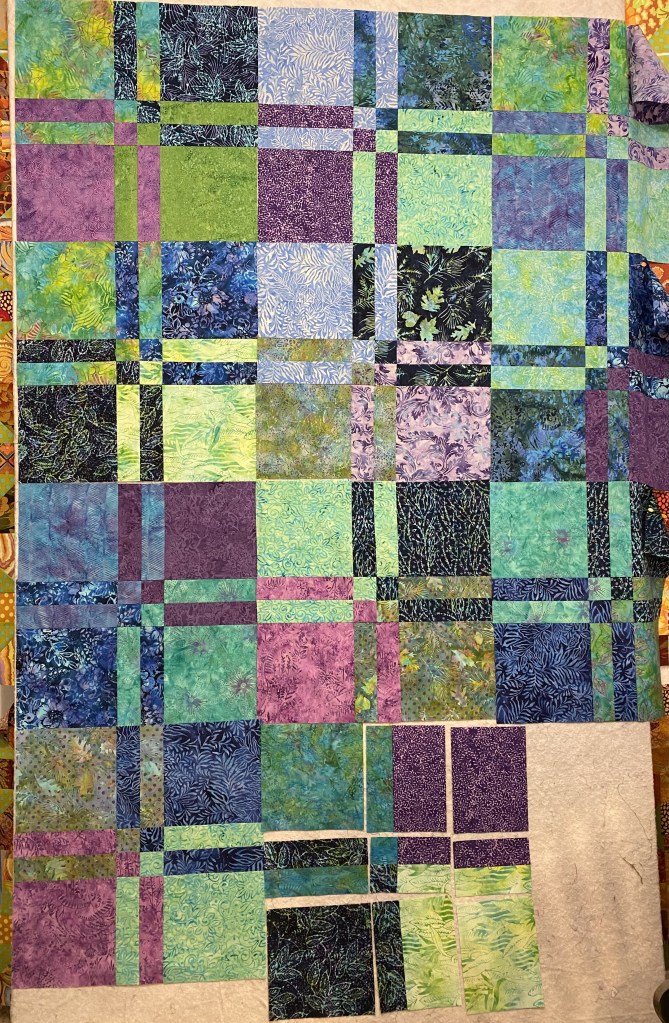
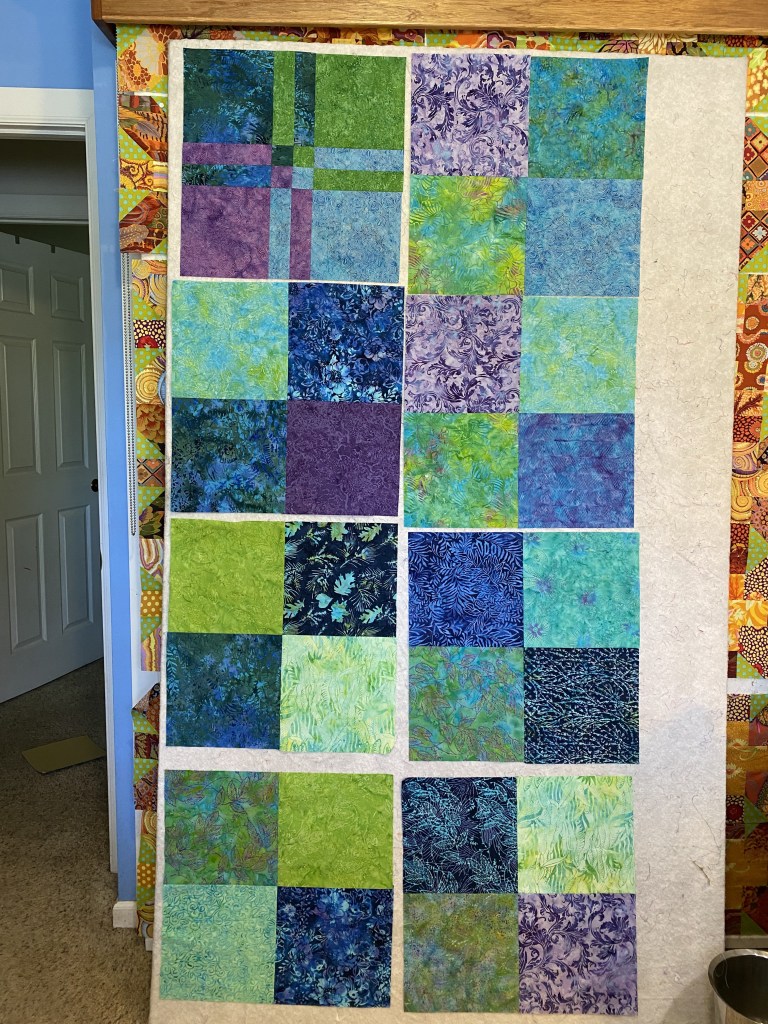
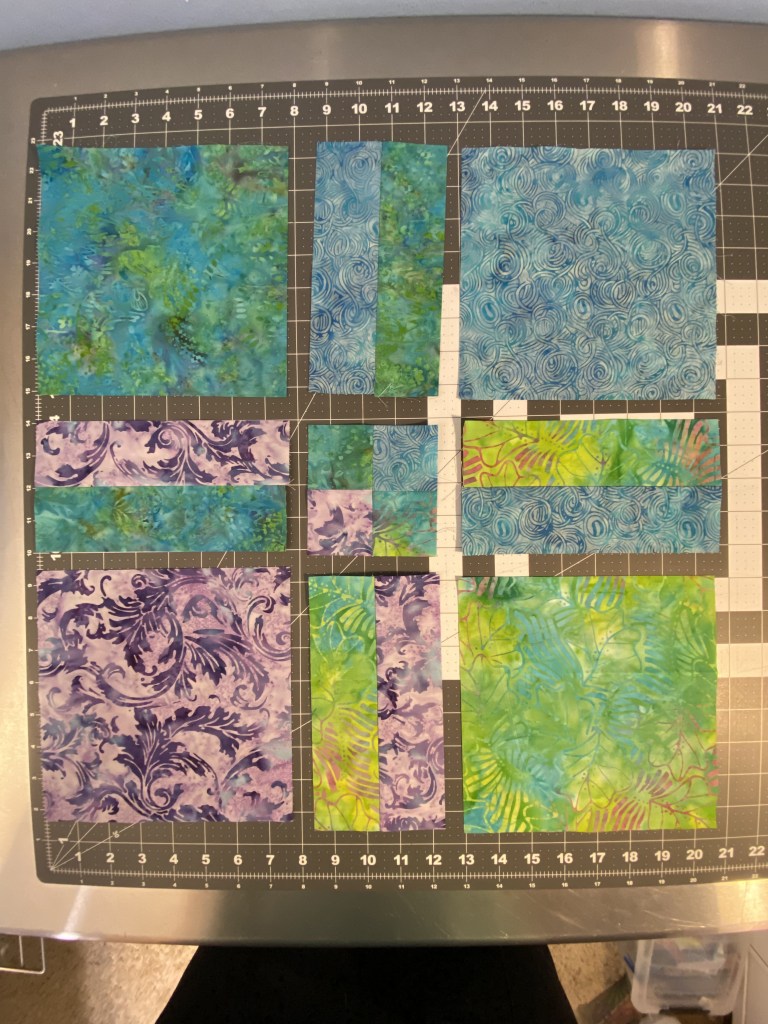
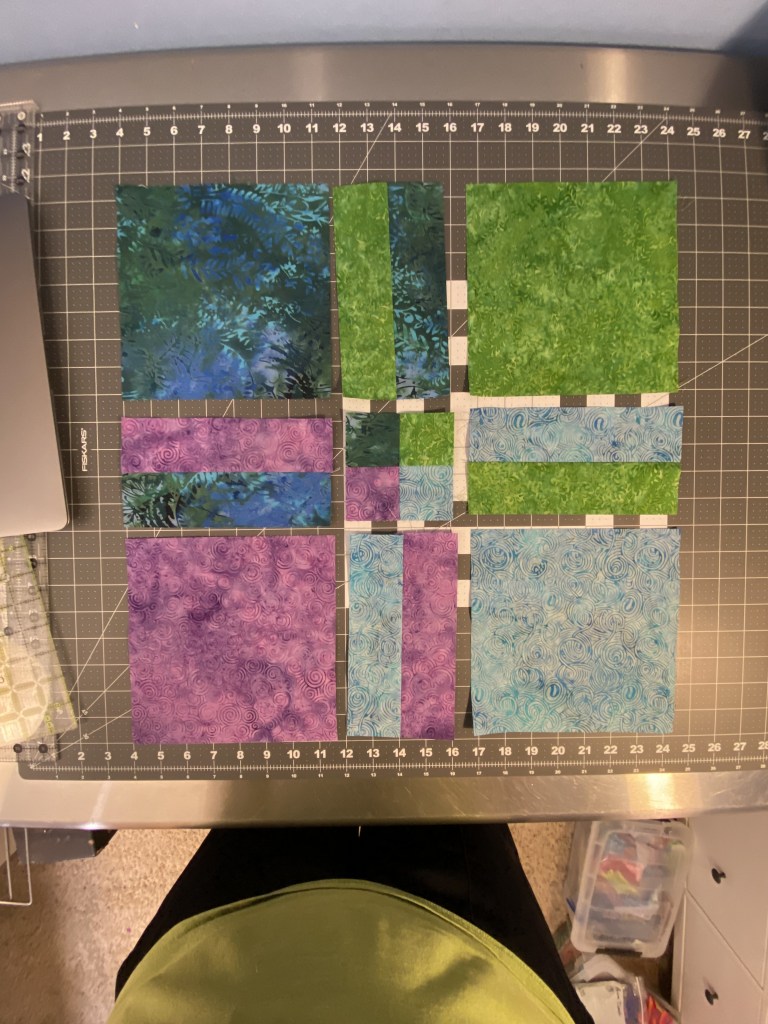
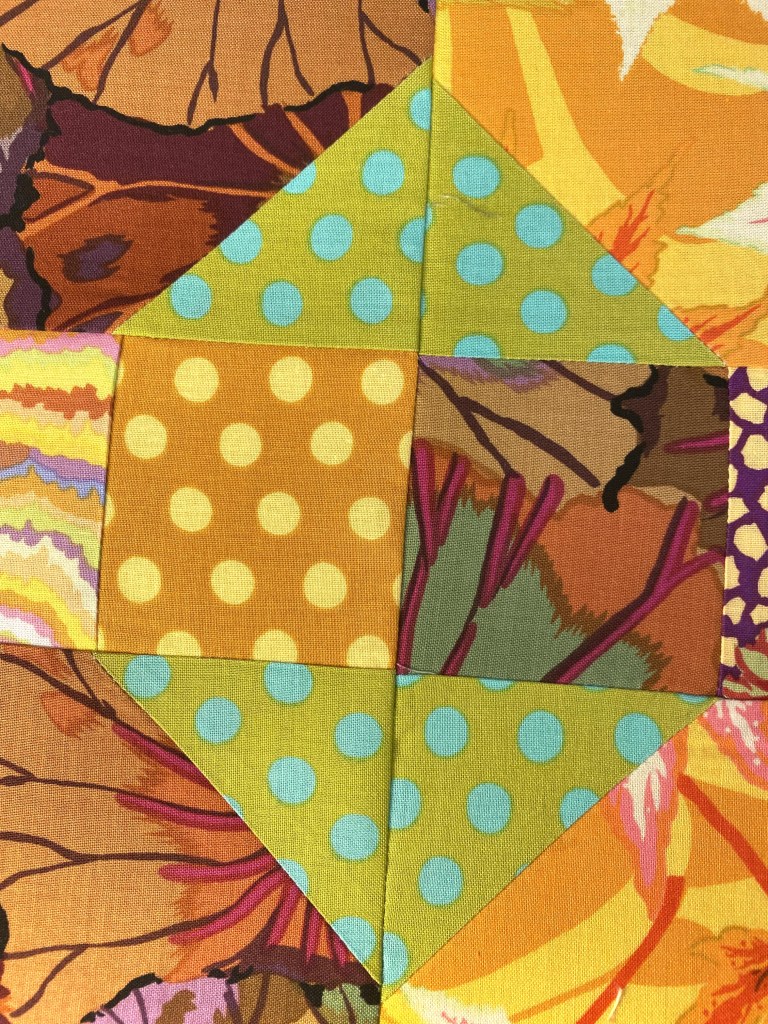
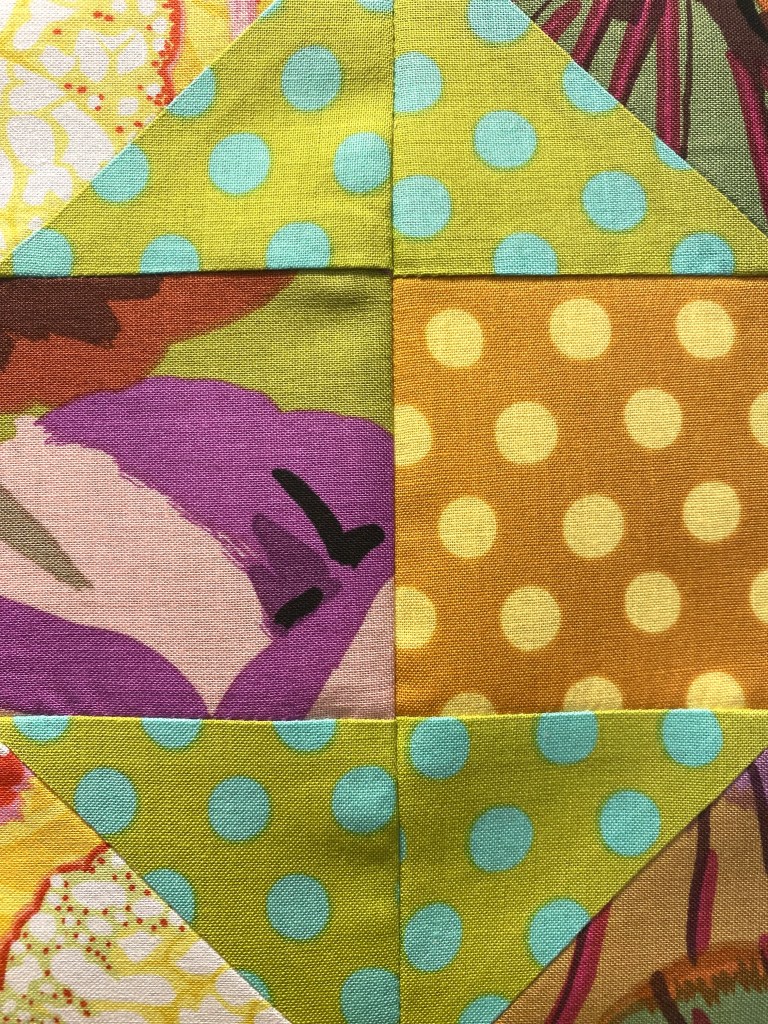
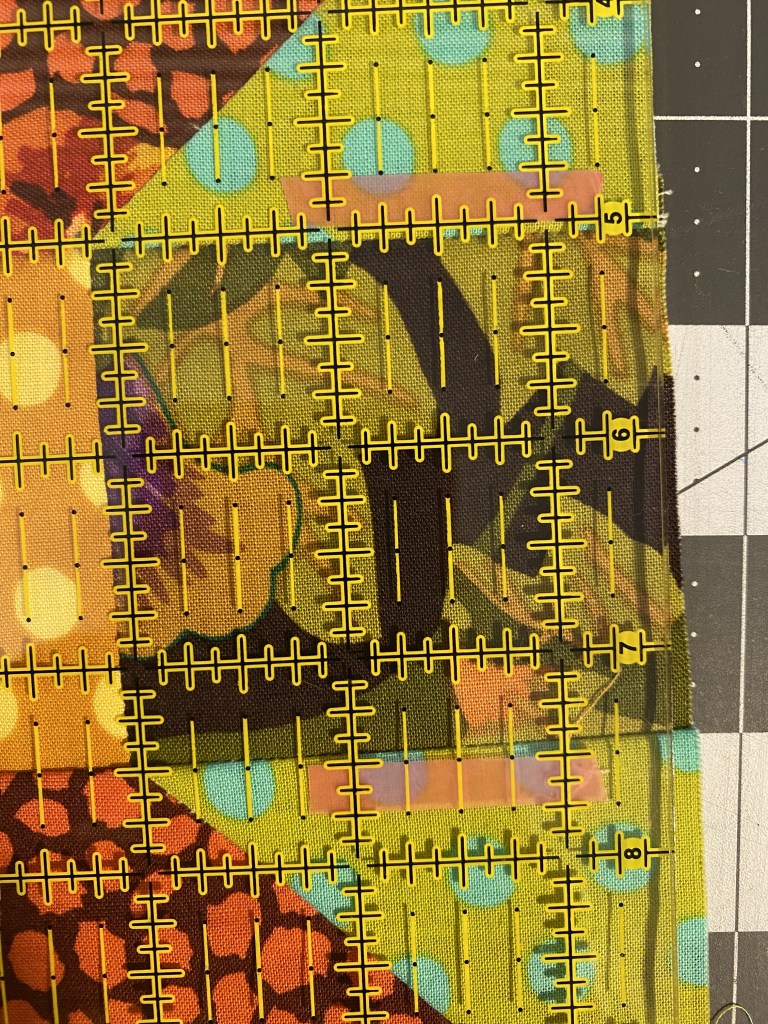
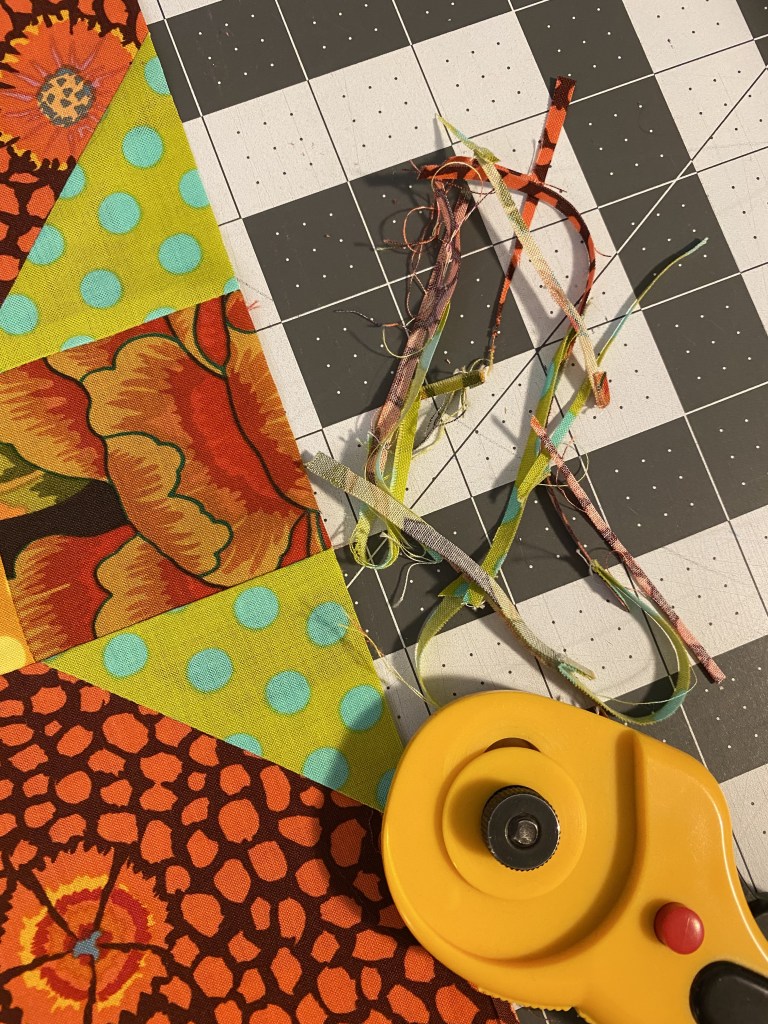
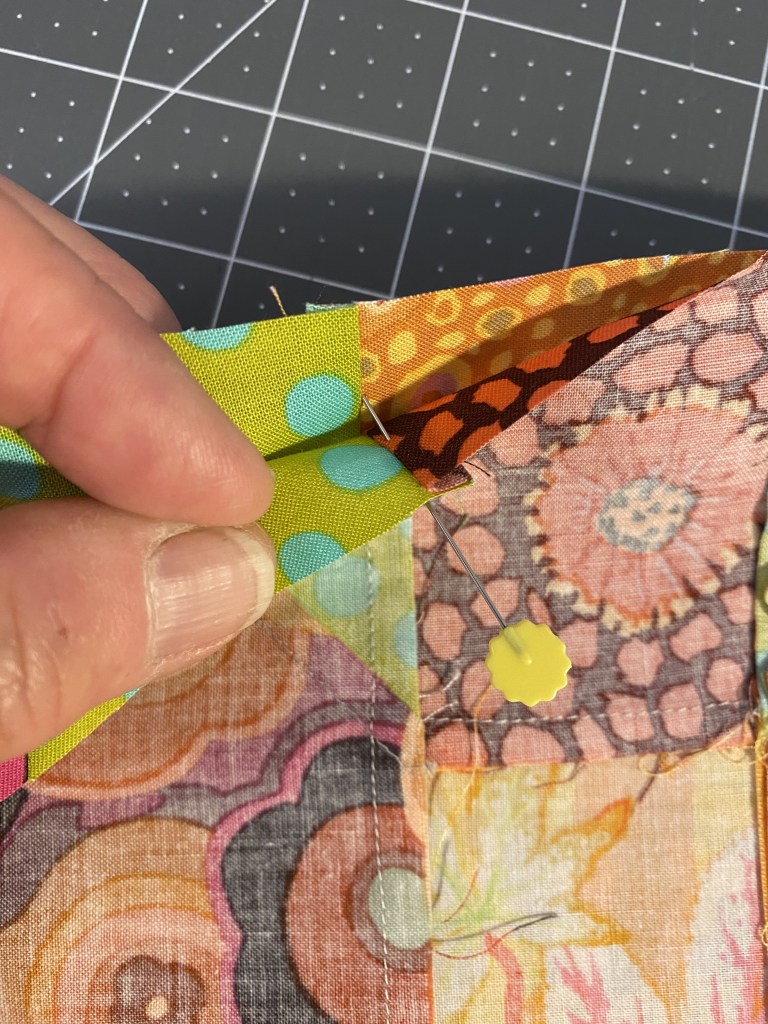
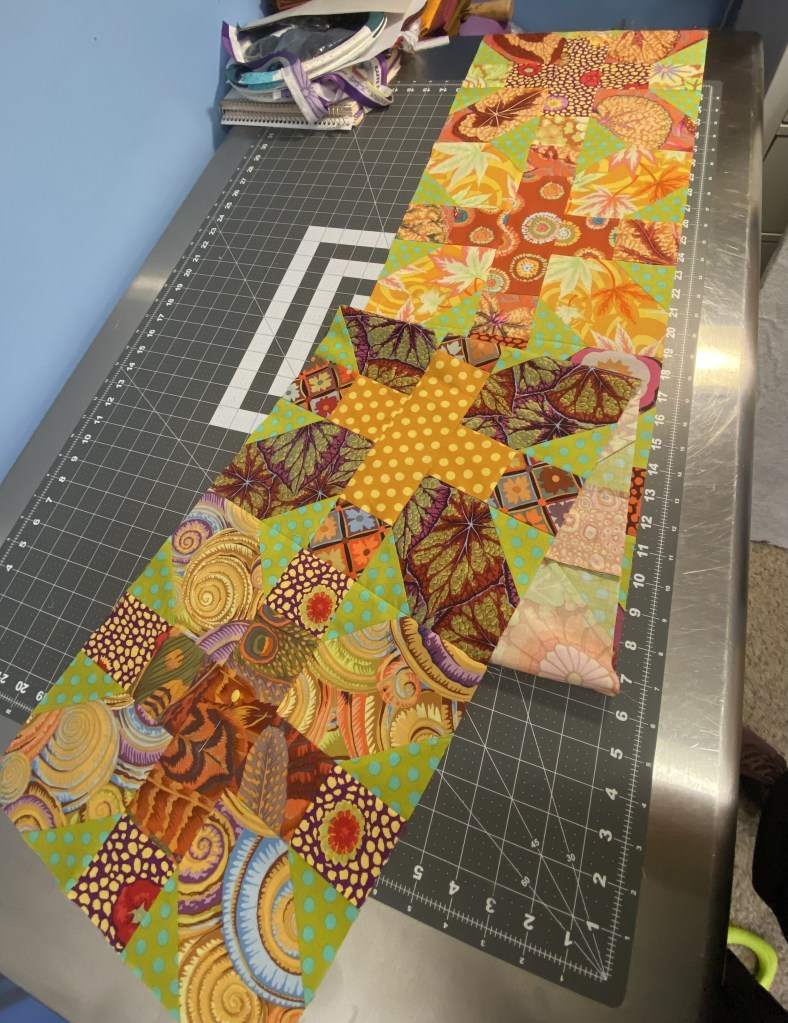
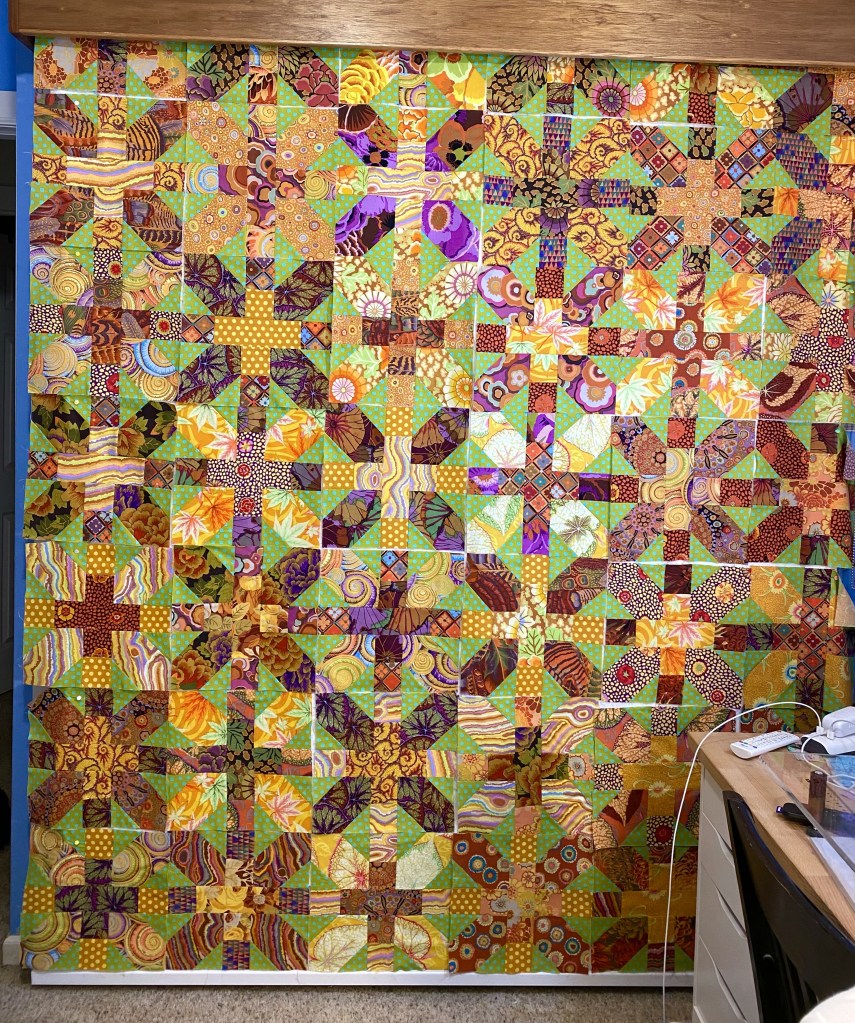
I trimmed and sewed together row 5 out of 7 rows. Then I sewed that row to the row I finished a few night ago.
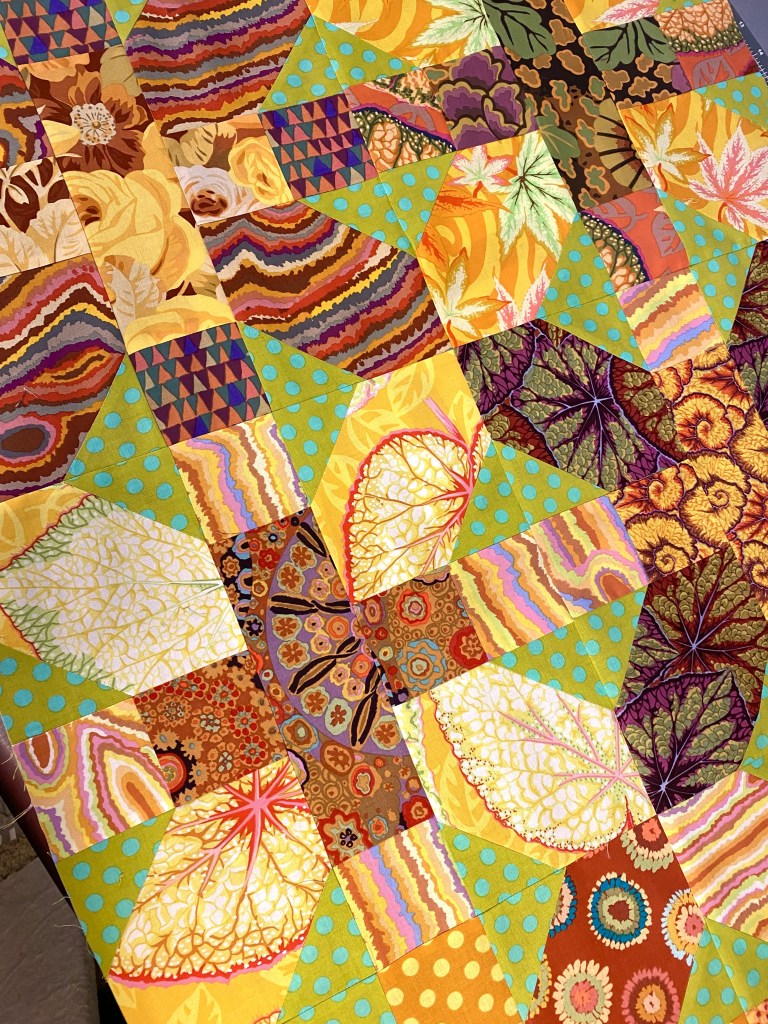
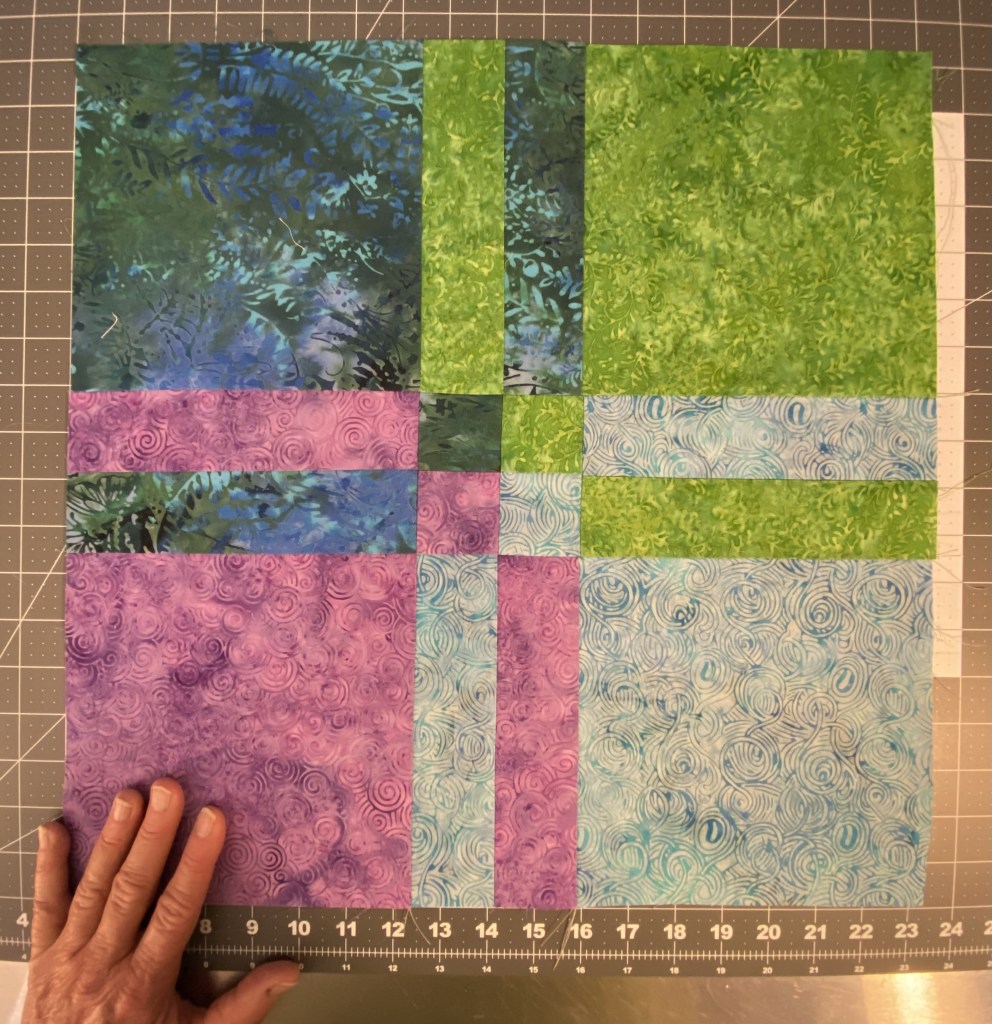
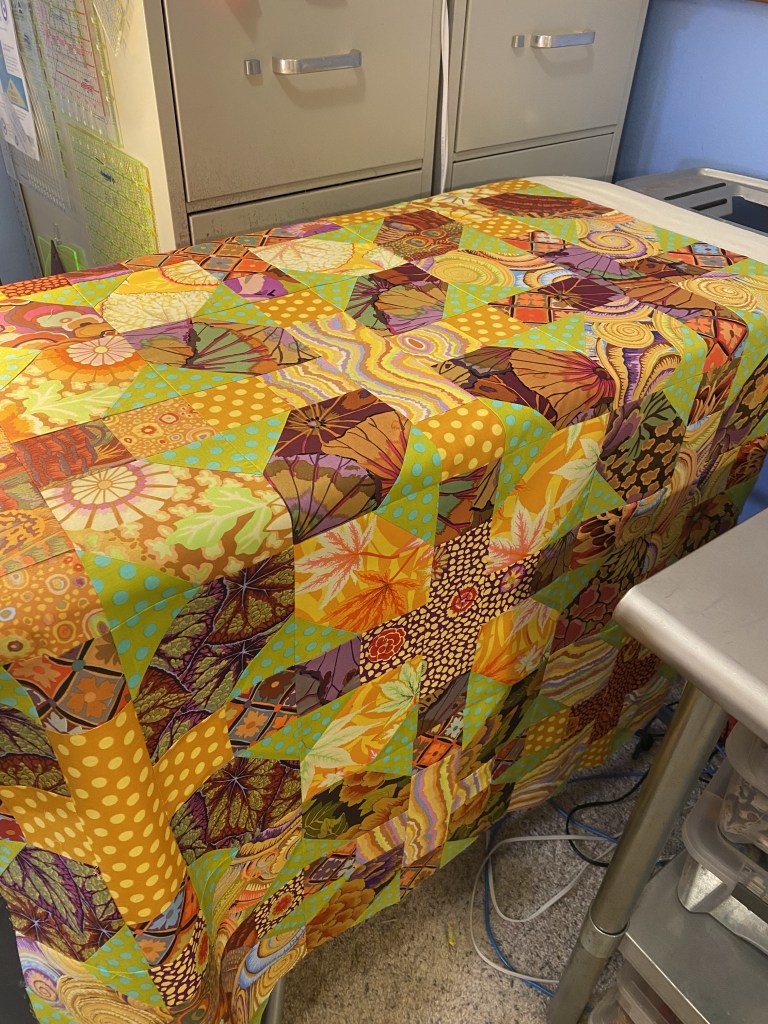
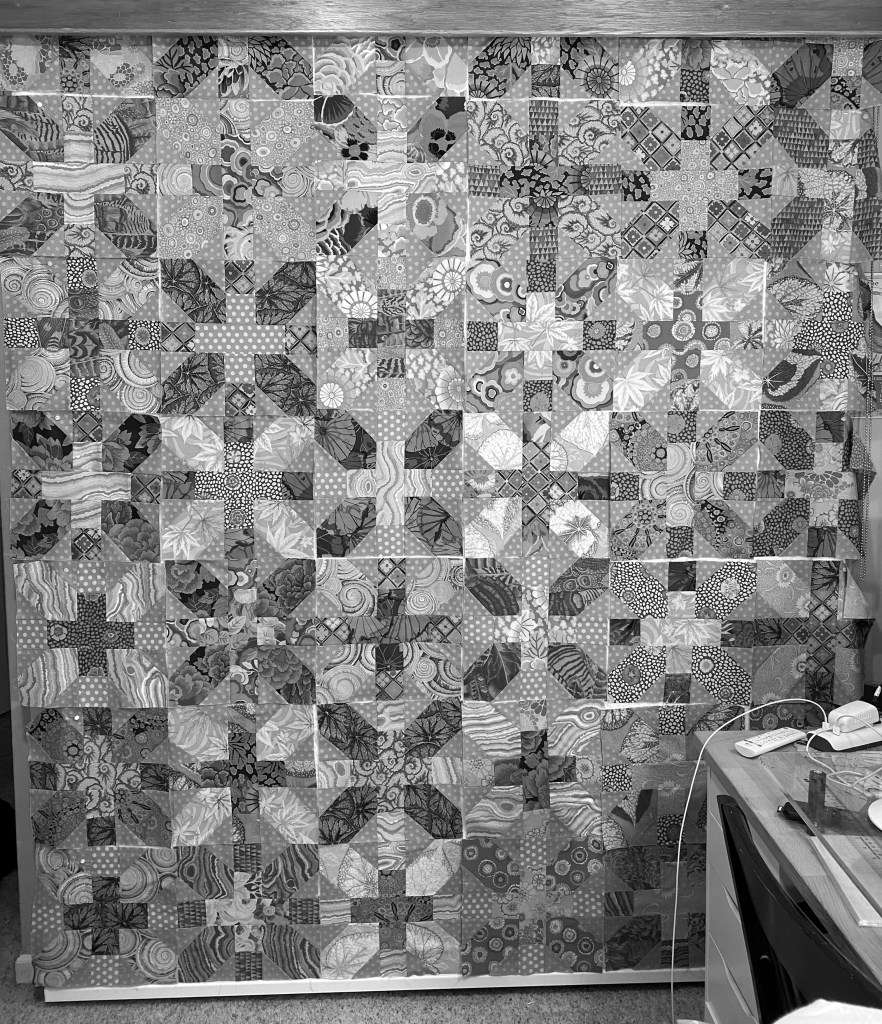
Once that was sewn and pressed I sewed that section to the three other rows that are done. Then I got it all pressed and back up on my design wall.
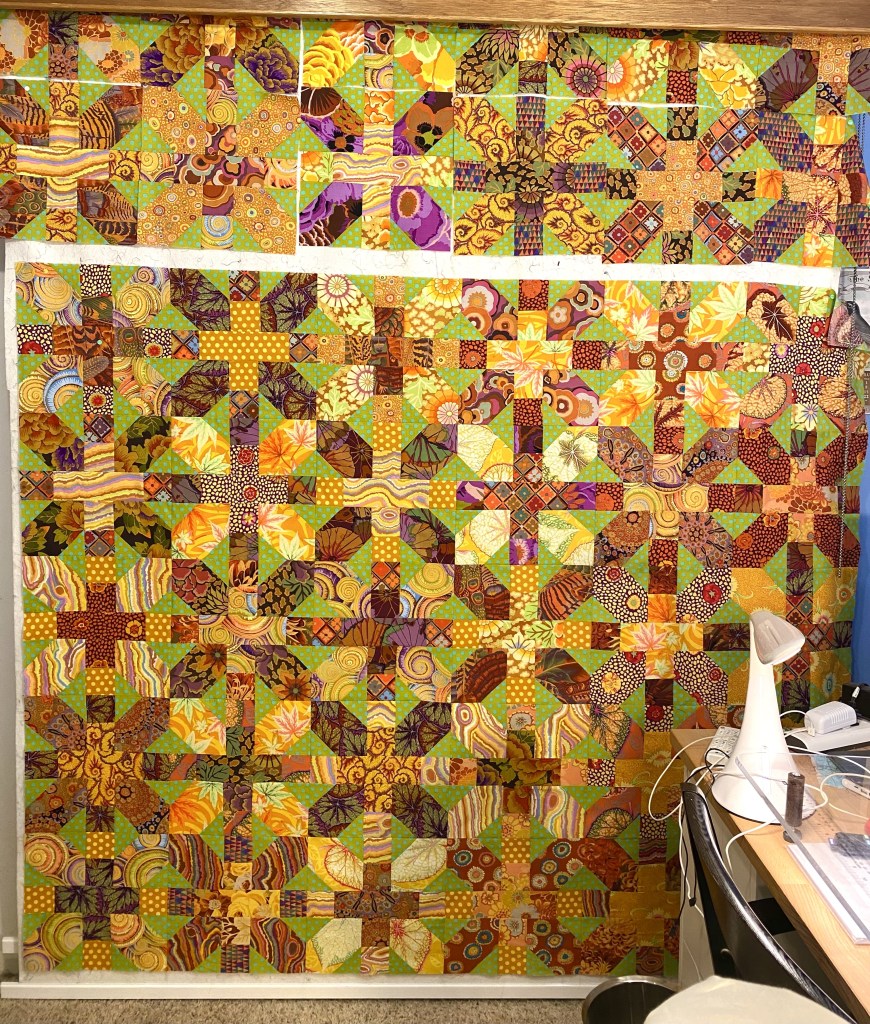
So just two more rows to go. I should get it done this weekend. And this time I really mean it!
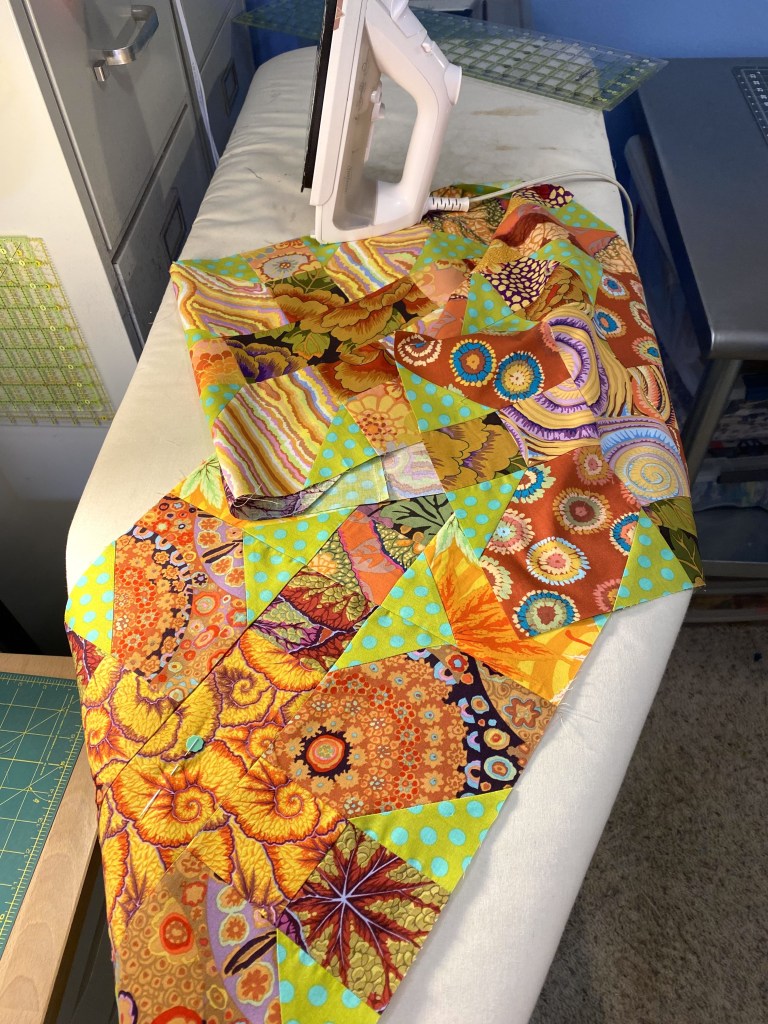
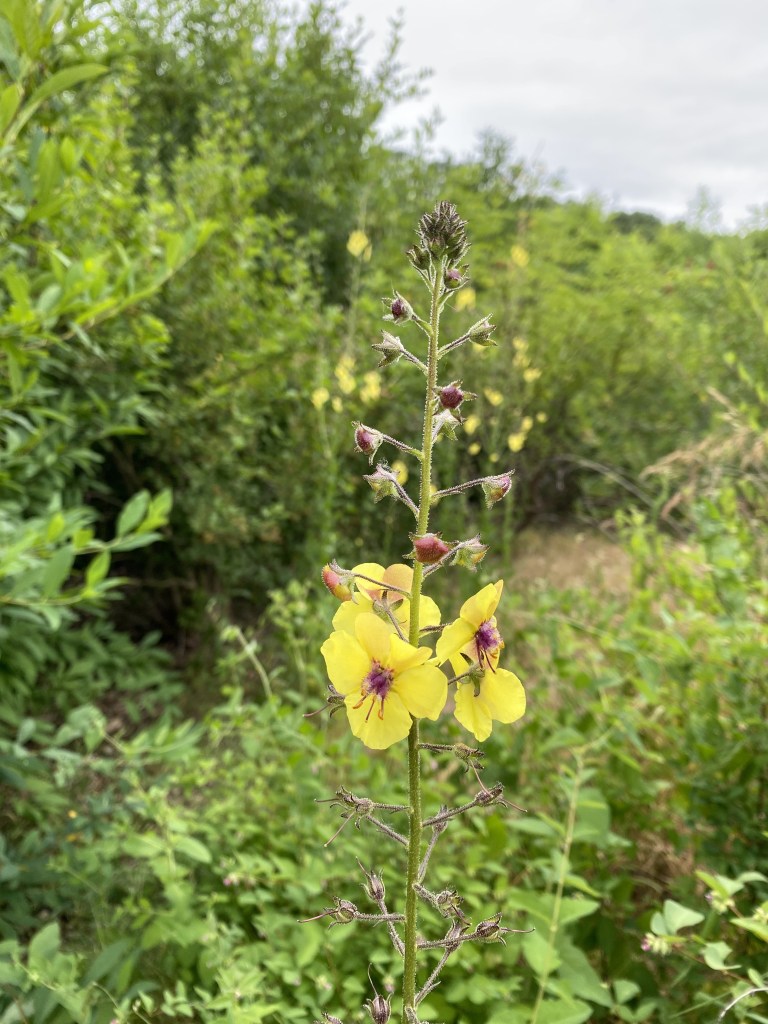
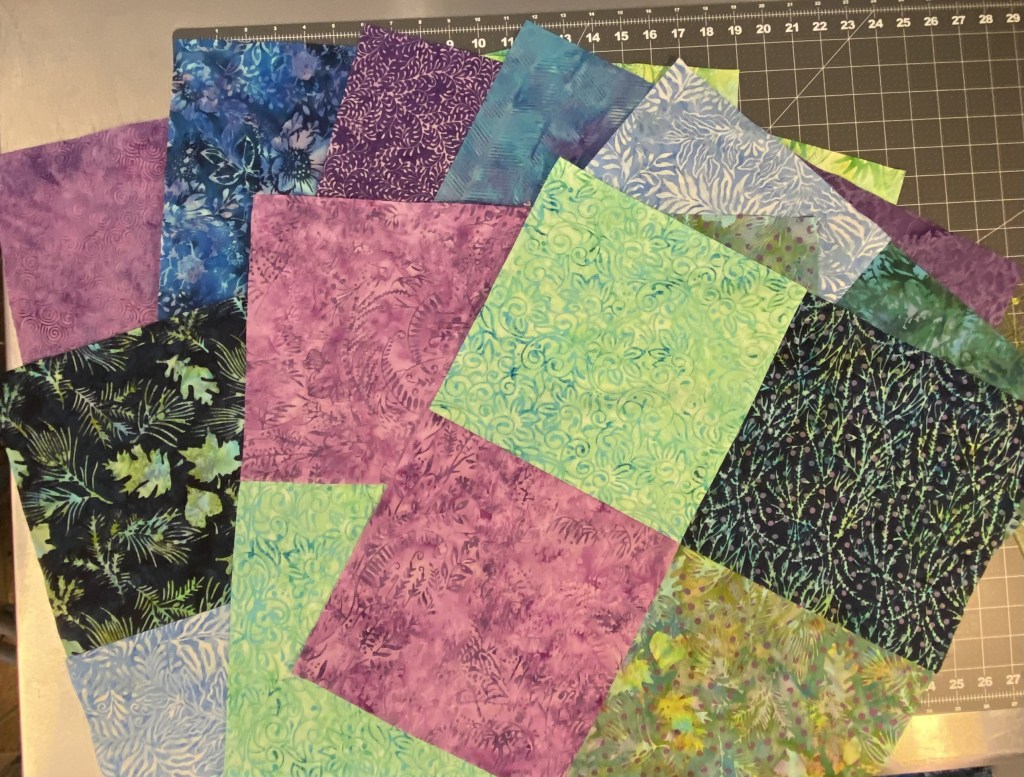
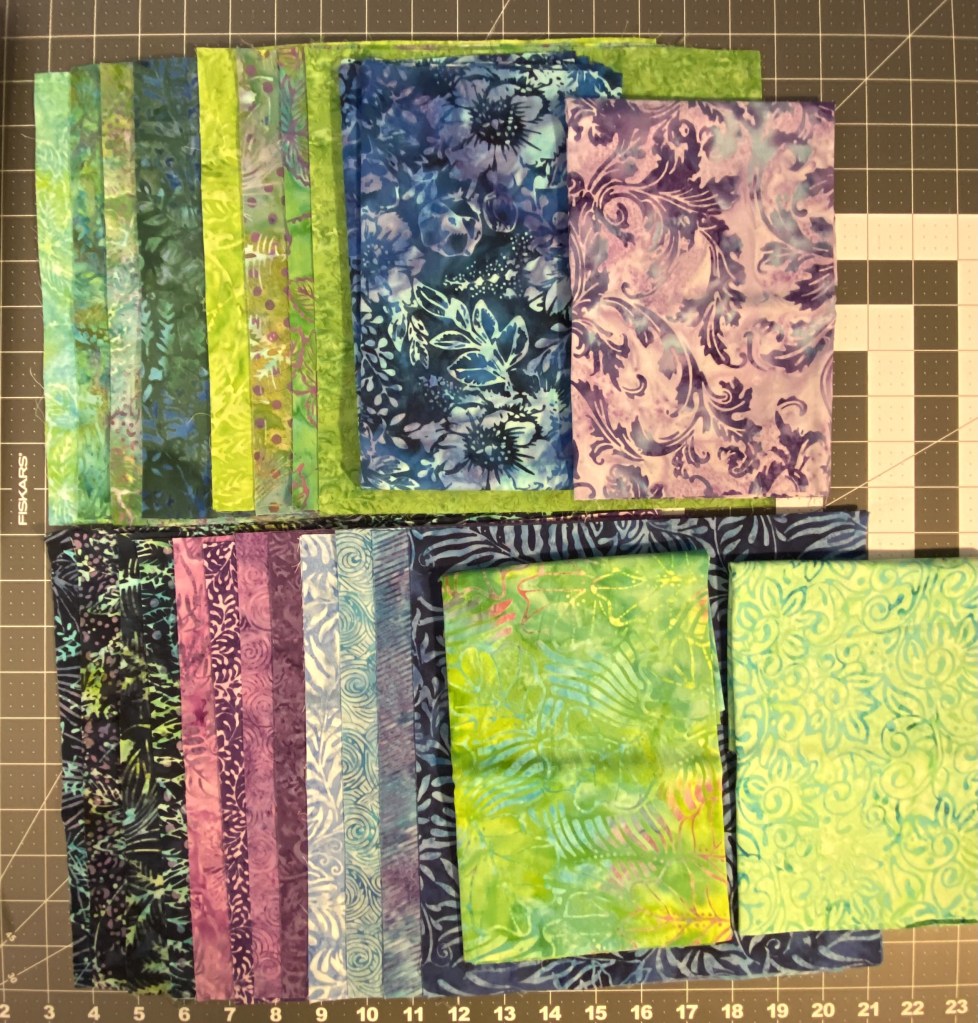
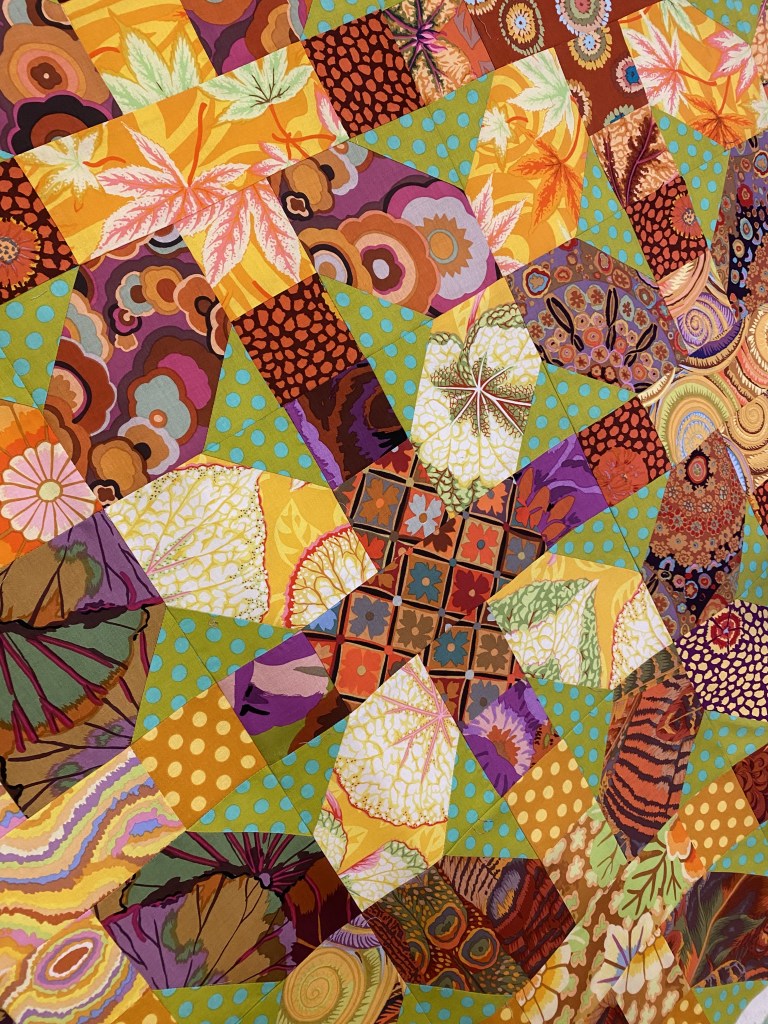
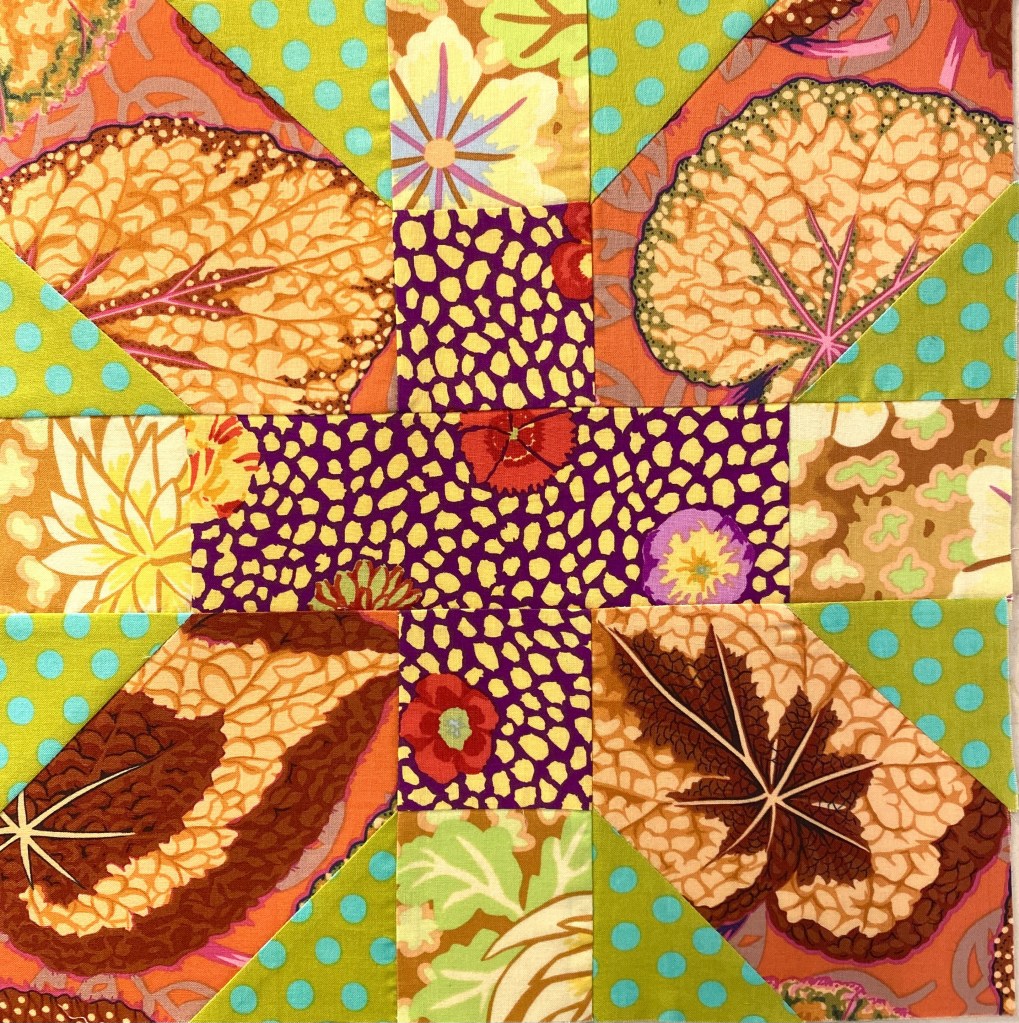
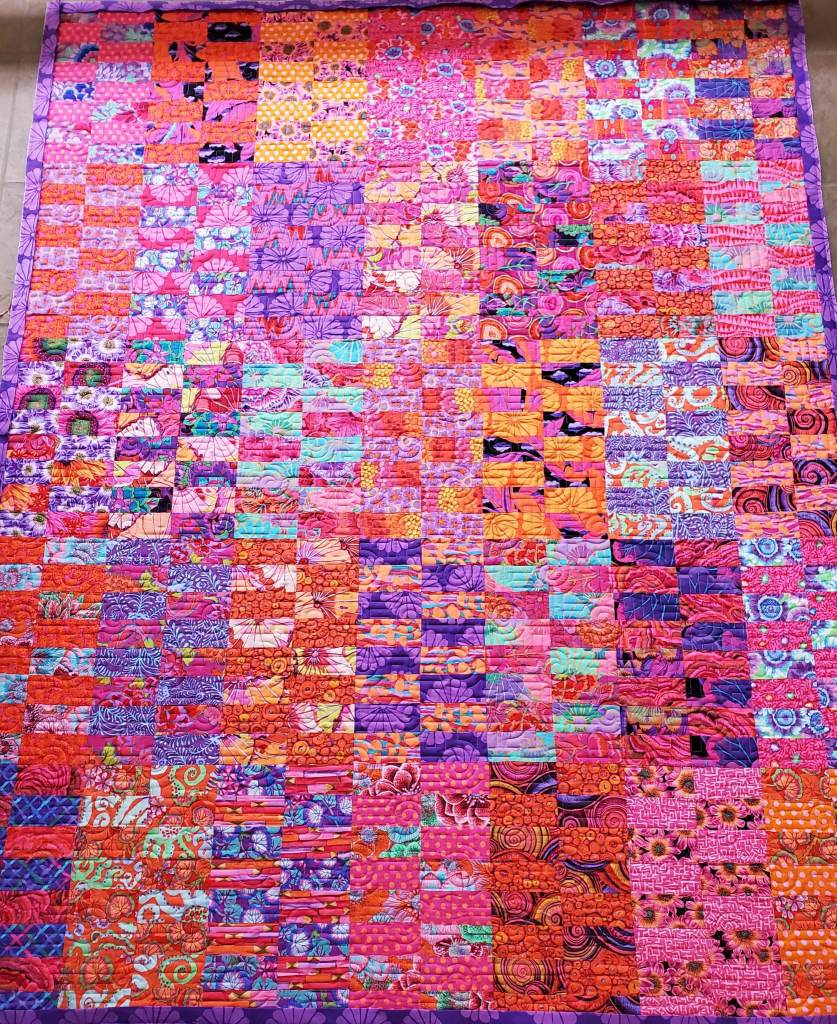
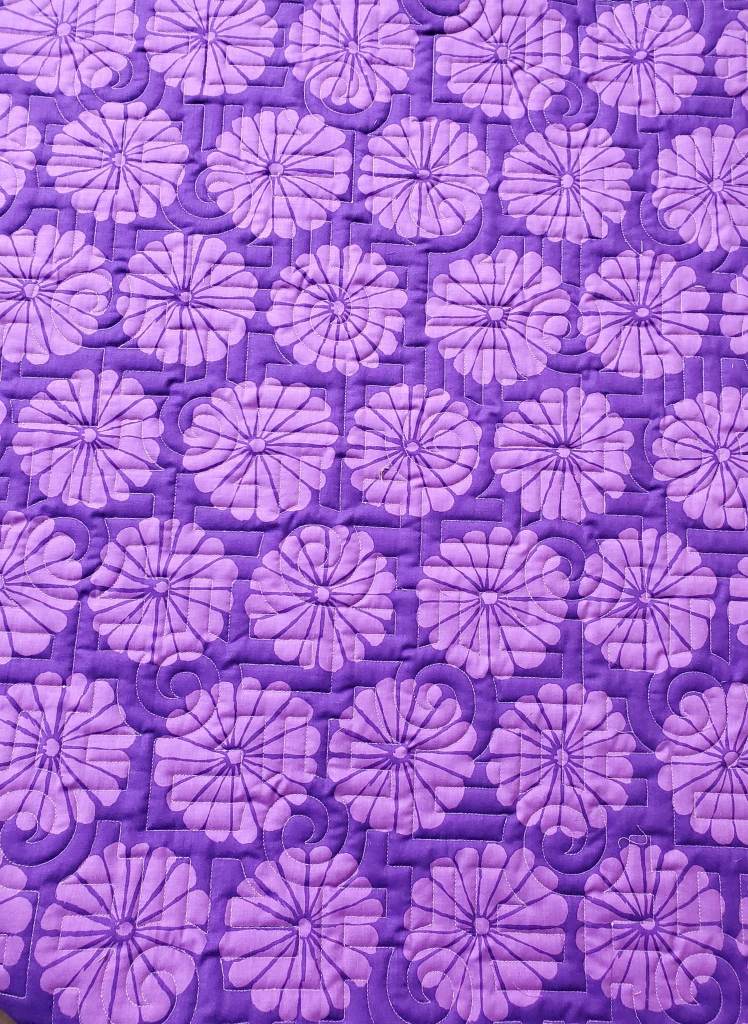
I’m ready to be done with this. In the mean time, here’s some eye candy.

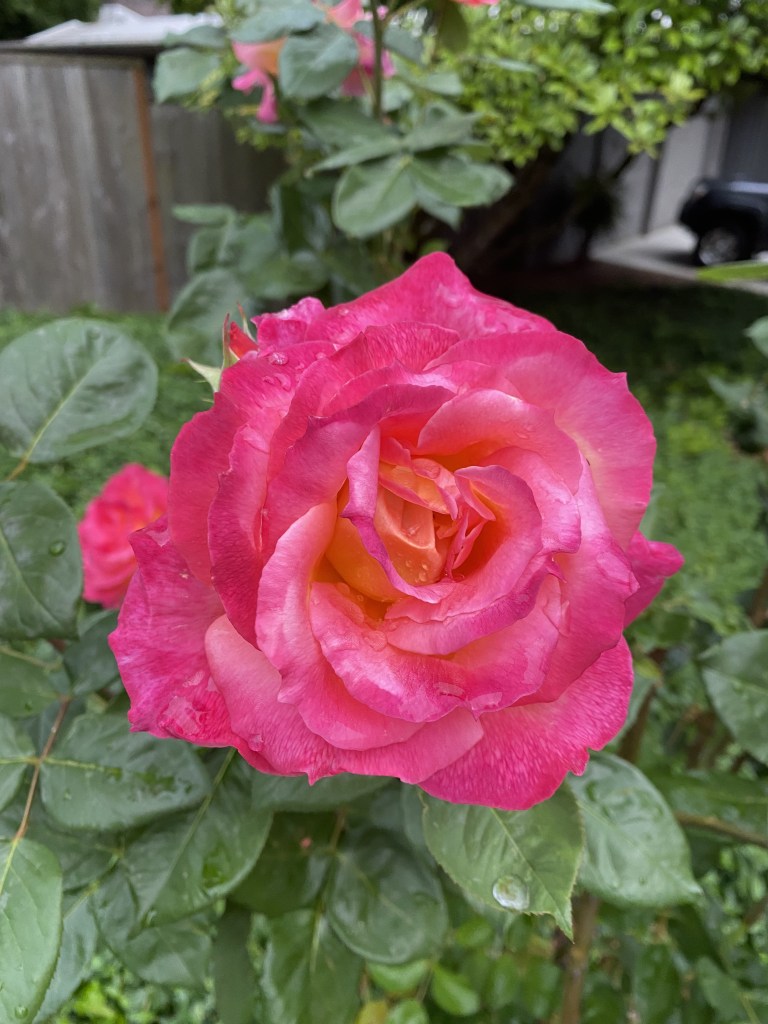
While I was out in the back yard with Bender and Rico this evening I took a look at my roses. They’ve really been gorgeous this year. I think this might be the most spectacular bloom I’ve ever seen on this pink tea rose. It’s just covered with blooms.

Each bloom is only about two inches across. These roses are hardy. I basically ignore them and they flourish! Here’s a closer look.

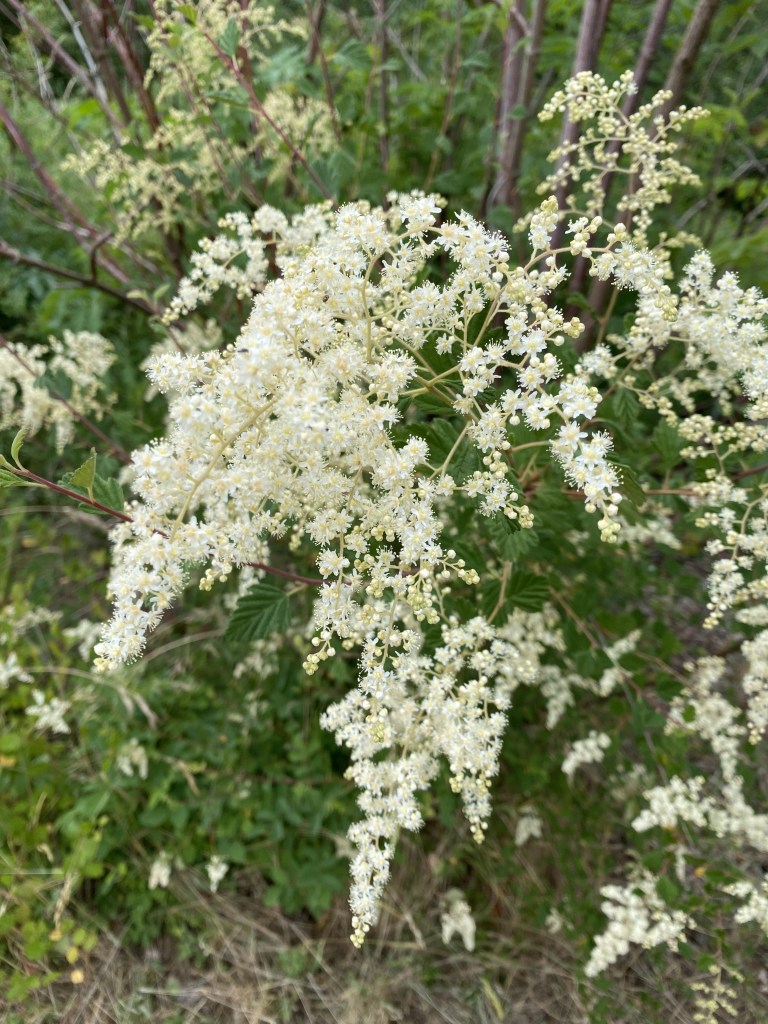
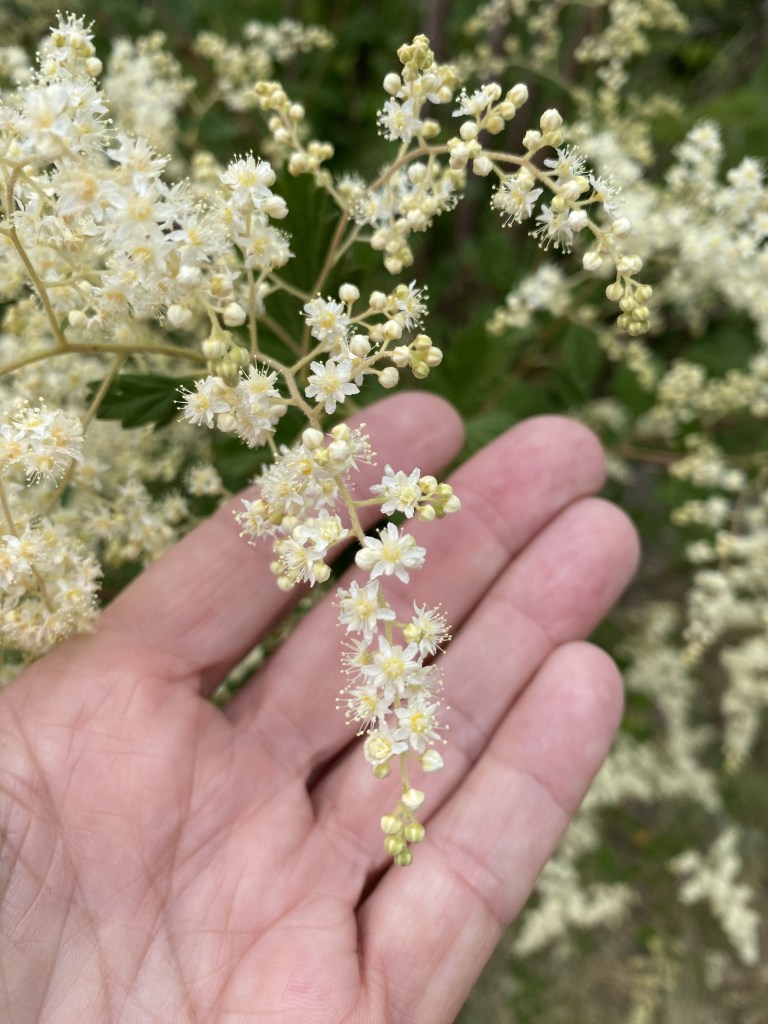
This next one is another bush with delicate pink blooms. The aroma of this one is so gorgeous. The blooms on this one are about four inches across.

I also noticed that my apples are getting pretty big. These are actually ready for picking in July each year.
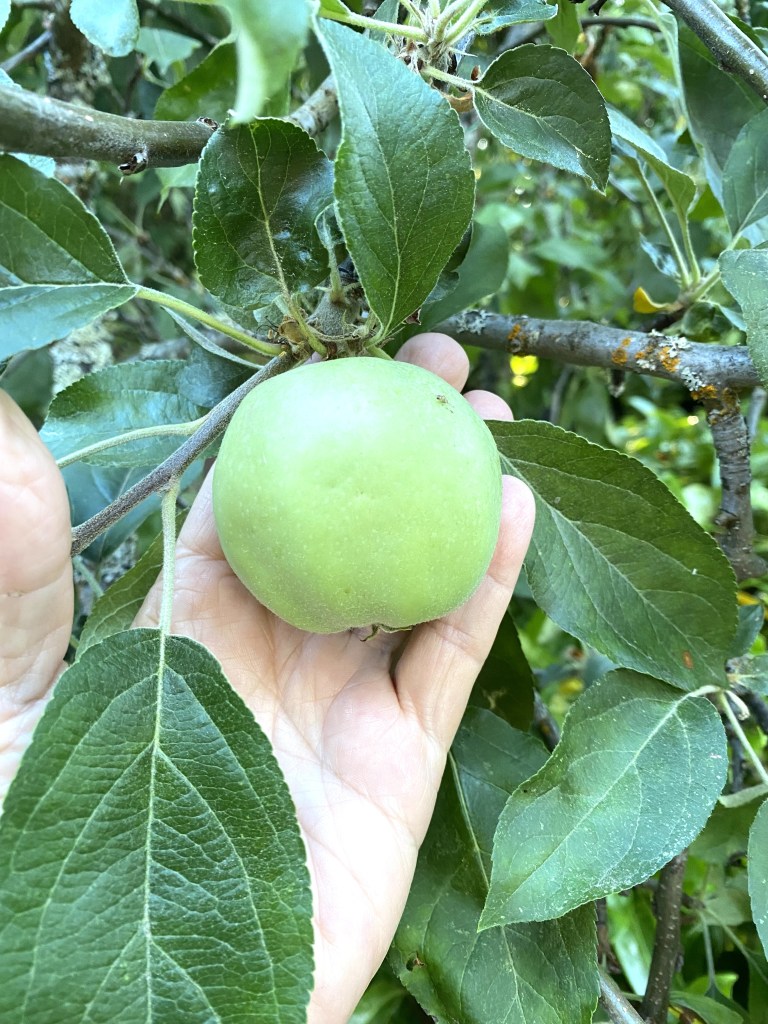
There’s only a few branches of this tree that have any apples. And that’s just fine with me. I had so many a few years ago I had my yard guy haul away garbage cans full! If you don’t get them picked up they attract rats! I just don’t need that many apples. These aren’t great for eating, but they dry well and make good apple sauce. I’m not sure what kind of apples they are. The tree is pretty old.
Rico has a sheep herding lesson tomorrow down in Molalla. I’m going to try to find a strawberry stand on the way home. I haven’t had any fresh Oregon strawberries yet this summer and I need some!