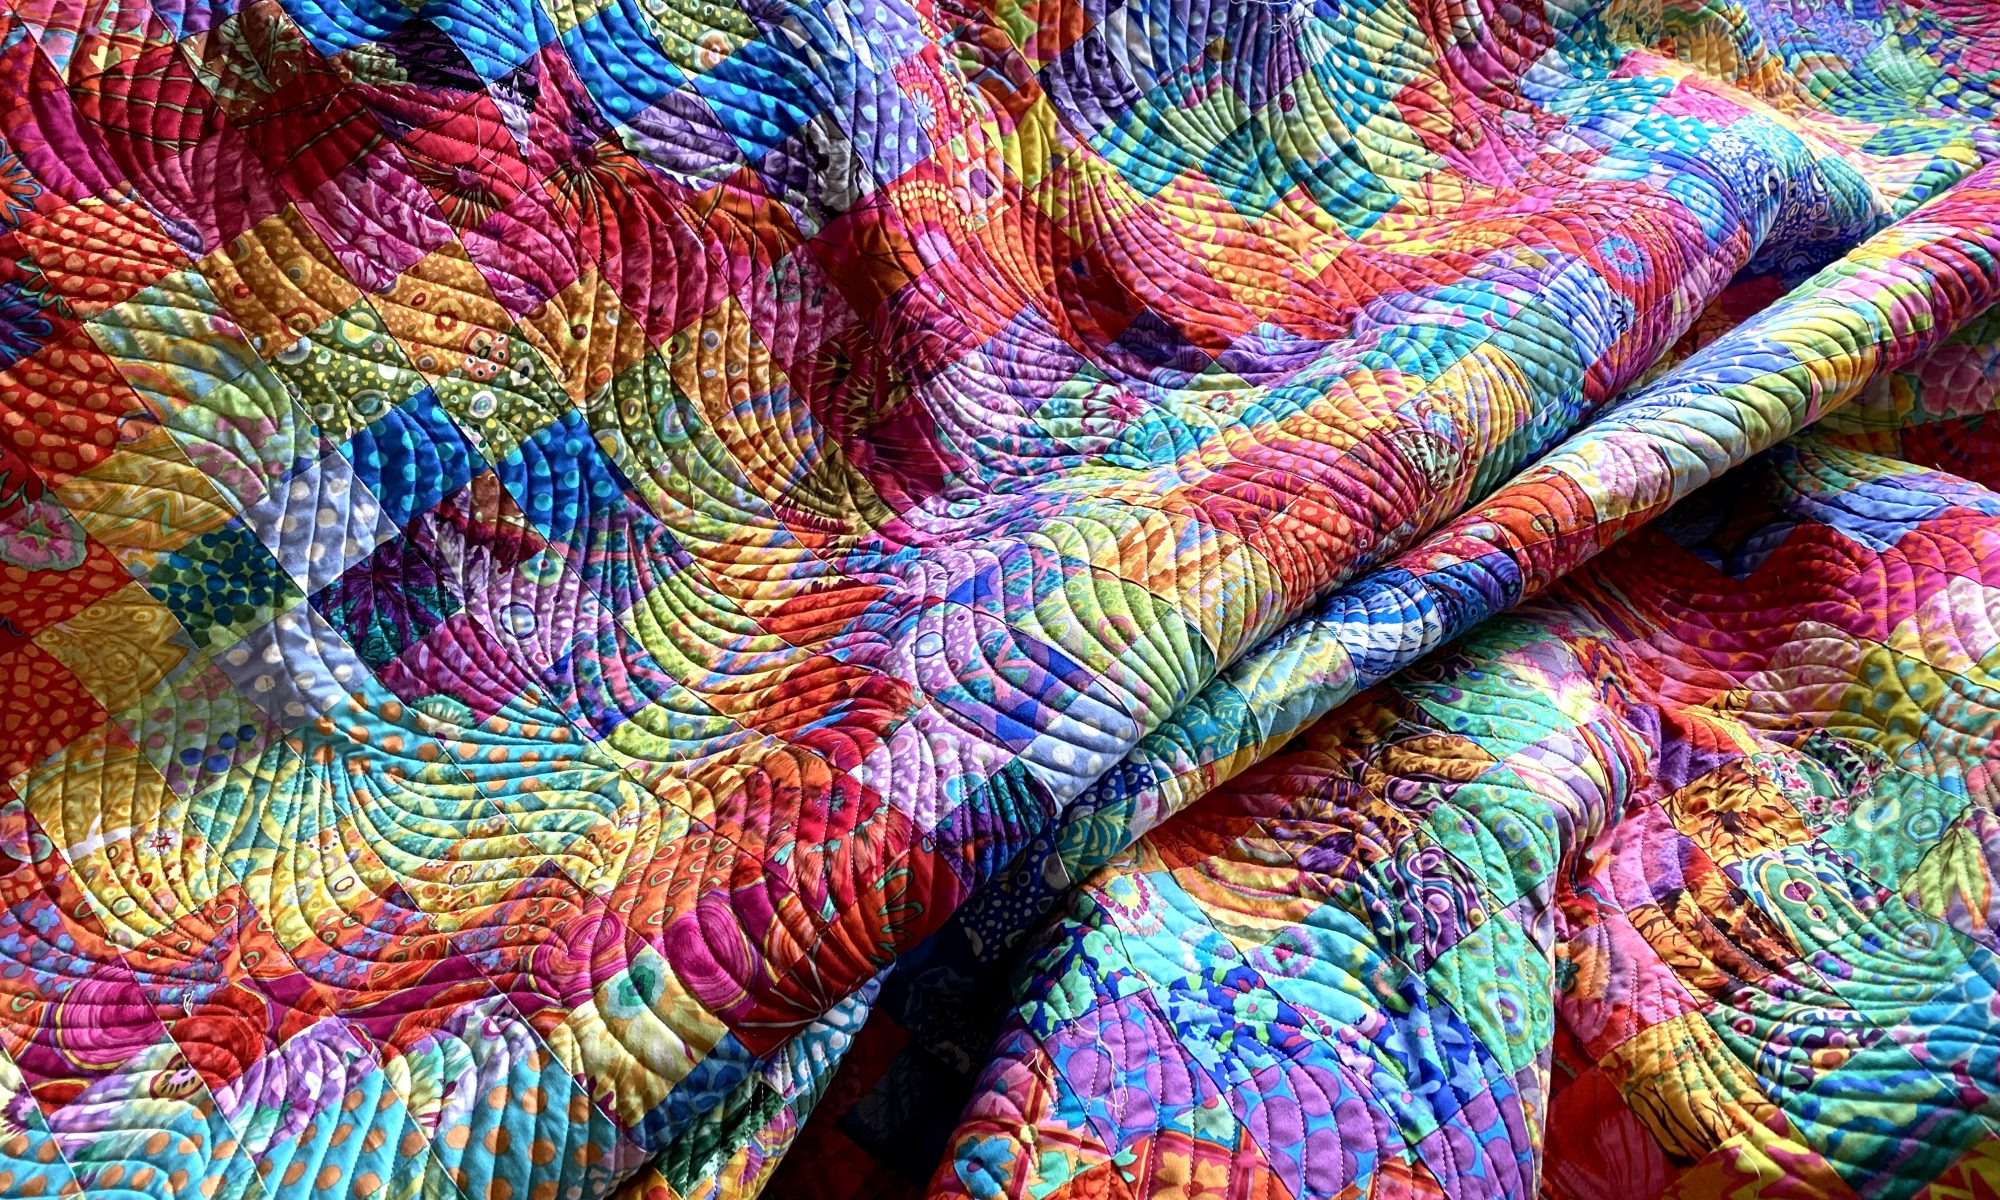
I finished sewing the scrappy Australian Aboriginal quilt blocks on Saturday and then added the final border piece and sewed a victory lap this Morning.

It’s a nice throw size quilt. I had thought about adding another border in the black color way of the black and white fabric here (the background is black with white writing), but I couldn’t find the piece of fabric I KNOW I have. So I’m considering it done.
It was a nice and quick project. Just what I needed.


I have almost enough of these blocks left that I could make the same quilt top again. I almost start cutting border fabric yesterday but decided I wanted to move onto something new.
It was a rainy day today so I thought I would start my black and white version of the Interweave quilt. Here’s the one I made from almost all Brandon Mably fabrics last year.

I’ll use black and white prints for the horizontal pieces and Kaffe Fassett Collective fabrics in purple, pink and orange for the vertical strips. I think I still need more of the pinks/purples/oranges for the size I want to make.

I was all ready to start pressing and cutting fabrics today and couldn’t find my pattern. I looked high and low. I’m usually pretty good about putting my patterns away when I’m not using them. And since I haven’t been doing much sewing, my sewing room is in pretty good shape. Luckily, I called my friend and she has a copy she is going to mail to me. I’m sure that I’ll find mine before hers arrives in the mail.
So with a bit of an itch to scratch, I decided to use Aboriginal scraps that were gifted to me by two different people. I’ve been wanting to make a string quilt from Aboriginal fabrics for a few years. So it seemed like a good time to dig in.
I had a package of the Missouri Star Quilt Co paper foundations in my close so pulled them out, grabbed a bunch of the Aboriginal strips and got going

I have a lot of Aboriginal scraps!
I have a thought that I’d like to make my next few projects only from what I have in my stash. So I found this yellow Aboriginal fabric, Three pieces of it, actually, and decided to use it as the common center strip for each block. I cut the strips then lightly glued the strips to ten pieces of the paper foundation.


Then I sat down at my Featherweight with all ten pieces of paper and started adding strips. I chain pieced the blocks and Had ten all sewn pretty quickly then pressed and cut to size.


After dinner and a walk with my boys I made another six blocks and got them all up on the design board.

The yellow fabric is actually more mellow… sort of a creamy butterscotch color. This photo is much more true to color on my devices.

Had to keep booting Bender because he kept falling asleep in the next place I needed to be. On top of the foot pedal, in front of the ironing board, or the design wall, etc…

I’m pretty happy with the yellow for the center of each block. It makes it feel real warm to me and I like a nice definition of those diagonal lines.
My Bernina is still in the shop for service/maintenance. I talked to the tech yesterday and I could have picked it up yesterday but didn’t have time to get to the shop. He did tell me that my machine has over 11 million stitches on it! A rough calculation and some help from AI tells me that is nearly 20 miles of stitching!
The tech was quite impressed about the 11 million number!
I took Thursday and Friday off work. I decided that I was going to pretend all weekend that I’m retired. I have to say, it felt pretty luxurious! I loved the feeling of being in control of my time. I loved the feeling of not really having to be anywhere. I loved the feeling of much less stress than I’m accustomed to.
The only things on my calendar for four days was pickleball and my annual flu and COVID vaccines. And I’m glad to have that done!


