I didn’t have much to do to finish this denim bag with some fun Brandon Mably fabrics so I dug in after dinner and our evening walk and finished it up.

I’m pretty happy with how it turned out, but I was right about the proportion of that pieced strip… it needs to be wider.
I like the way I put the handles in, but I think I might make the top section of denim above the handles just a little taller in future bags. It just seems a little off to me.

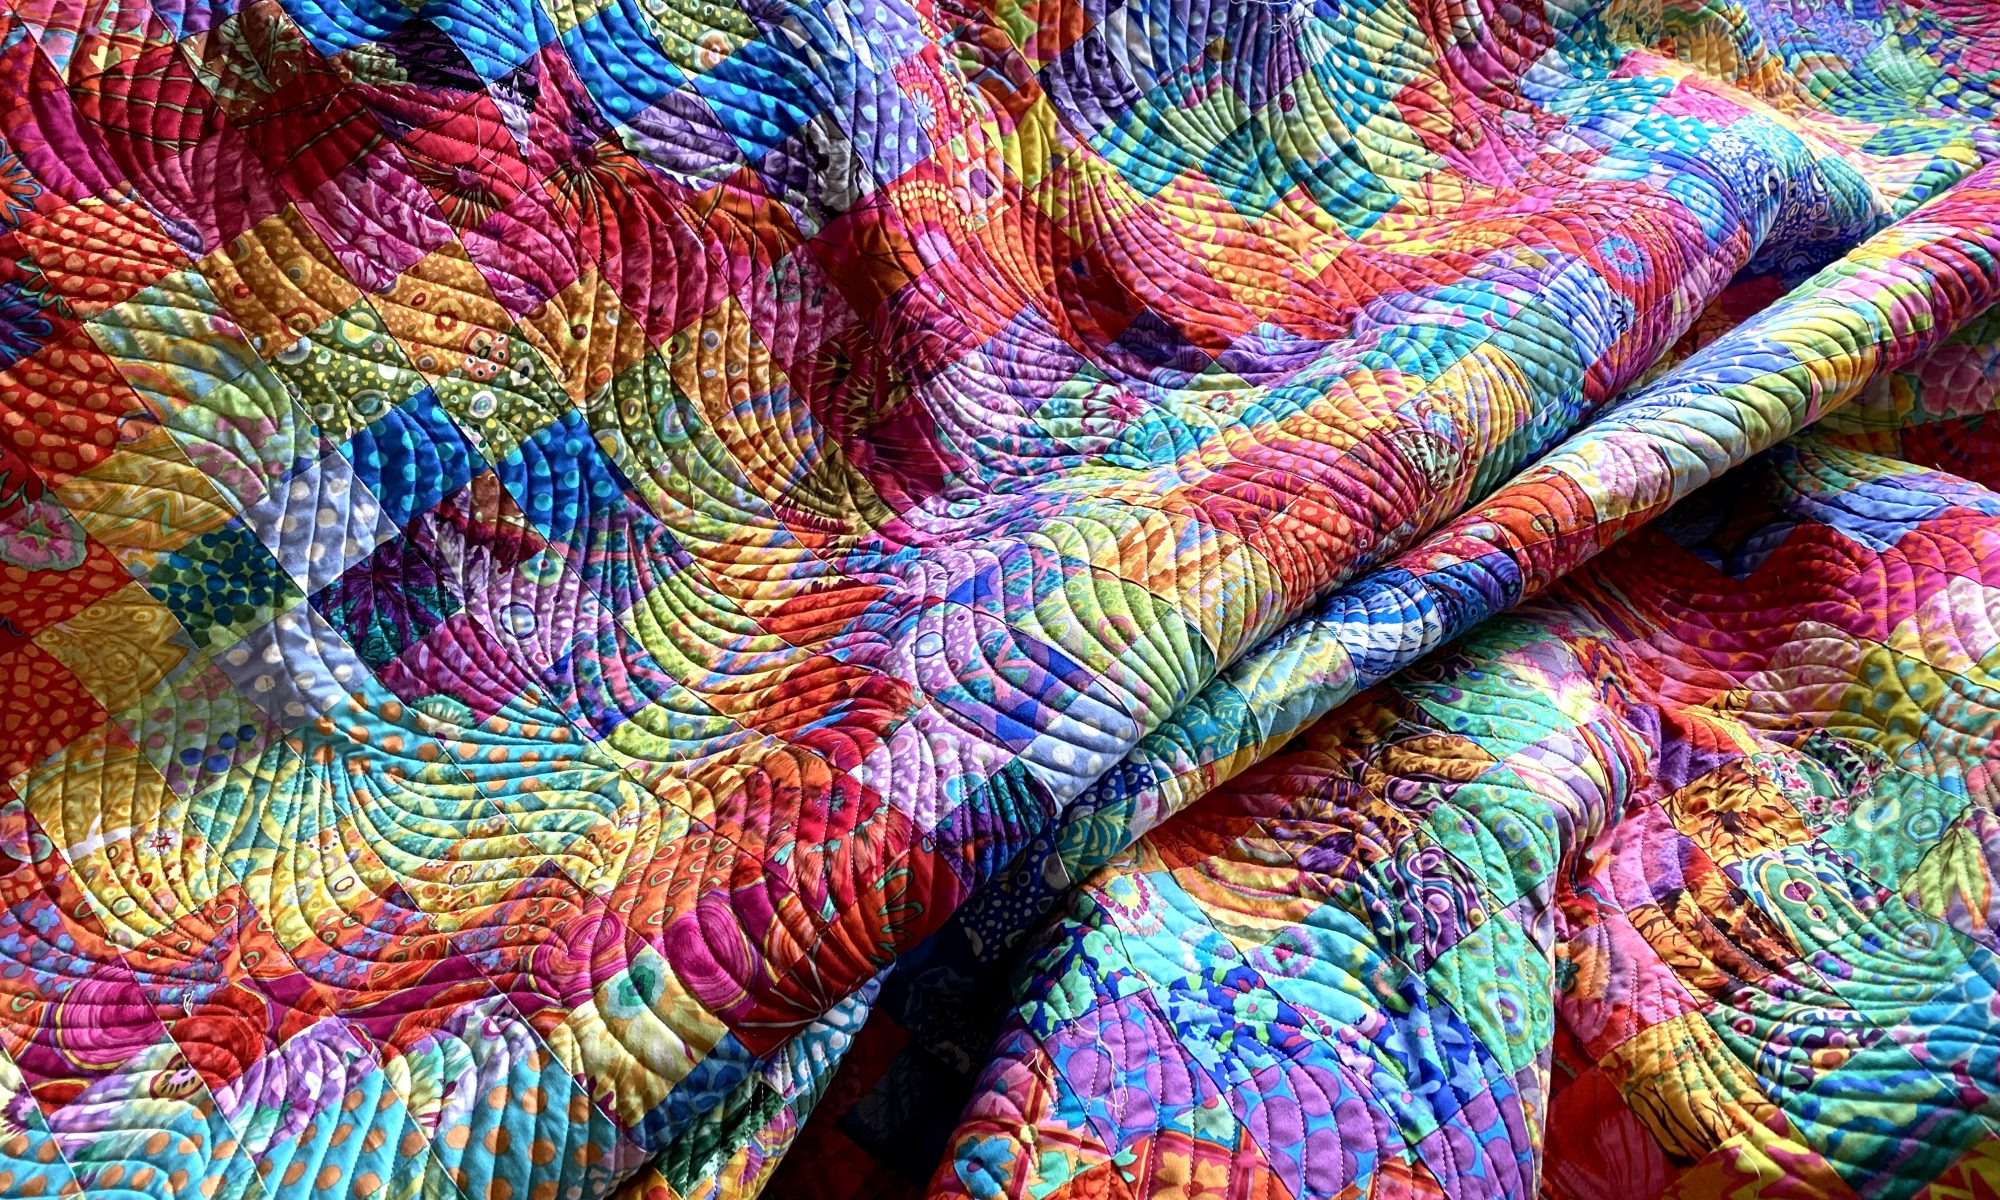
So here’s what I like about it. I love the heft of the denim and it feels really cool with the fusible interfacing. It’s plenty to give the bag heft and structure without making it too thick. I also really like the fusible interfacing in the lining. I will probably add this to all my upcoming bags, but may use a little lighter interfacing. I also added a piece of interfacing to the pocket and that was a really good move. I’ll also do that in future bags.
I also did the construction of this bag in a different sequence than I usually do. I typically finish the outside of the bag, then finish the lining (leaving an opening in one side), and then I sew the final top seam.
With this bag I wanted to try sewing the top of the lining pieces to the top of the bag pieces first.

My thinking was that this would simplify the final finishing at the top of the bag… which is usually a wresting match with the nearly complete and bulky bag.

Starting with the top of the bag made it really easy to press that top part and make sure it was done nicely. Nice finishing on the top of the bag is really important to me. If the rest of the bag is well made and you screw up the top, it ruins the bag.
I sewed and pressed the top seams. Then I sewed and pressed the side seams. I left an opening in one side of the lining. Then I sewed the bottom seams of the bag and the lining. Finally, I sewed the gussets.
Here’s the learning part.
Through all of this I wrestled with all the bulk of entire bag. What I had hoped would be easier was actually a colossal pain in the ass! I don’t think the ease of constructing and finishing the top of the bag is worth all the other frustration it caused. So I doubt I’ll go with this method on future bags.
But I’m glad I tried it. Now I can just walk away from that idea.
Here’s some more pictures.


I will definitely make another denim bag because I want to make the changes I think will make it better. I also have some dark denim with a pinstripe running through it that I plan to combine with a piece of Brandon Mably’s black octopus fabric. So stay tuned for that.
I was looking through some photos on my computer last night and I’m pretty sure there are a few Frankenbags that I saved that never actually made it to my blog. My apologies to these makers!
The first one is this bag made by Antoinette Todd. Her tropical prints are really fun and this looks like a bag that’s been loved and used for years, which I love. And I love the random and free form approach to the piecing. It looks easy and casual.


This next one was made by Margot Pritchard. I love the way she used that Queen of Hearts panel and mixed it with a great eclectic group of fabrics. See that green fabric at the top of the first photo? That’s Kaffe’s kite tails design. It’s out of print and nearly impossible to find. How I’d love to have a few yards of that.


The last bag tonight was made by Linda Allen. I love that she included a printed panel of her pupper! What a happy little dog! And I love the combo of the little paw print fabric with the bright prints! And the lining is perfect.


Thanks to Antoinette, Margot and Linda for sending photos and for your patience with me!
Your bright strip of fabrics is a good pop with the denim and yes to making the straps longer. That’s a cute picture of you 🙂
Haa! that’s a terrible photo!!! But thanks!
I’m actually not going to lengthen the handles. I want to make the piece of denim above the handles taller. I really like the length of these handles! They allow the bag to nestle in right at my waist… the thinnest part of my body!
I think your bag is great! Thanks for all your tips and trials- it makes things easier for us. I plan on making one of these bags soon- the fabric is all picked out…just need to get at it!
I might as well share all my thinking so it doesn’t go to waste! thanks for reading!
Anne
And here I am still making cards! Must be close to 200 by now. I’m like a dog with a bone … or just me with my Kaffe Fassett fabrics. Thank you for your great tutorial on the cards, you made it so easy for me. I’ll try to send some pix to your email.
Did you ever start your ice storm quilt?
I love recycled denim. I add 808 interfacing first then top it with batting. That way it gives structure and I can quilt if I want.
Love the bag, and yes longer handles🙂 would be nice.
I’ll have to check into 808. I don’t think I’ve ever used it.
I actually really like the length of these handles. they let the bag nestle right into my waist, rather than bouncing off my hip. what I’m thinking of changing is the size of the denim piece above the handles.
Anne
I love the denim bag. I too think the denim above strip needs to be a bit taller. Not sure about the Brandon strip. I might put taller denim first before enlarging strip. Like how these handles are attached. Can we figure this out for Frankenbags? And speaking of Frankenbags… would it work to just use binding to close the top edge? Then we don’t have to wrestle anything!
FrankAnneBags should be the catch phrase. Clever, right?
It would be pretty easy to add the handles like this to a Frankenbag. I’d probably add them in, then quilt the bag, then topstitch the handles. It should work, but someone will have to test it out!
Anne