
For a short work week, this week sure seems long! I can’t believe it’s only Wednesday night.
I met a friend last night at a pickleball open play time. We played for nearly two hours and it was so much fun! I’m loving it because it feeds my competitive spirit and I just love learning something new… learning the rules, how to make different shots, and learning the strategy. And I’m loving the physical activity! I think I’ll be playing for years to come!
We’ve had a couple days up in the 70s and it’s been really nice. Another day or two of nice weather and the sun will be leaving for a few days. Rain arriving just in time for the weekend. It was so gorgeous after our walk tonight. I just sat on the patio for a while enjoying a cool breeze.

After I had a few minutes of quiet I hit my sewing room to whack away at another bucket hat. I wanted to try a few things that some blog readers suggested for making the construction a little easier and to avoid tucks.
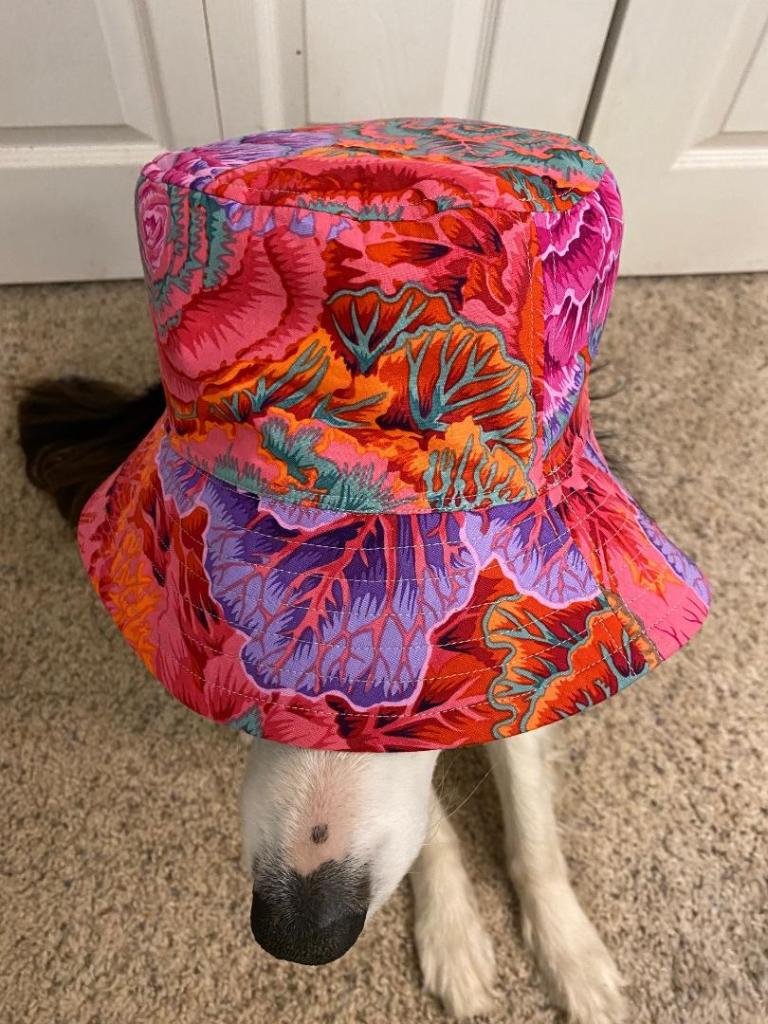
Here’s the finished product made from Philip Jacobs’ brassica and Kaffe’s millefiori in jade. I loved the small pieces of green in the brassica and thought the millefiori went really well with it.

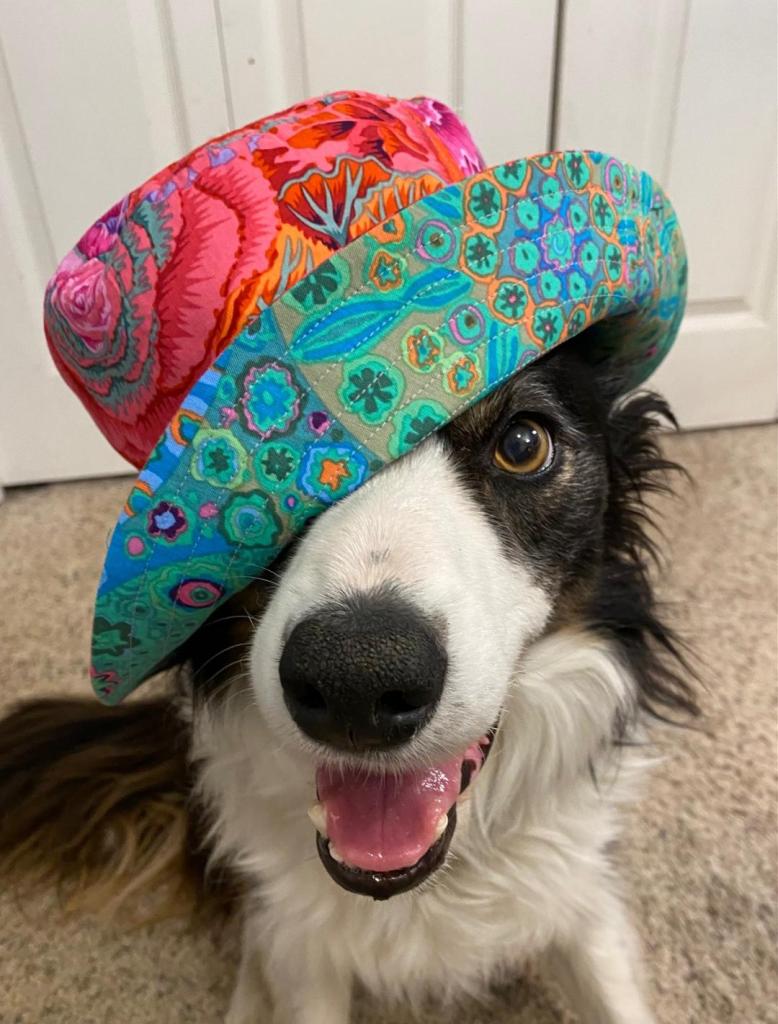
Here’s a little Bender looking dapper.

Isn’t that brassica amazing!?!?!?
A little eye candy…


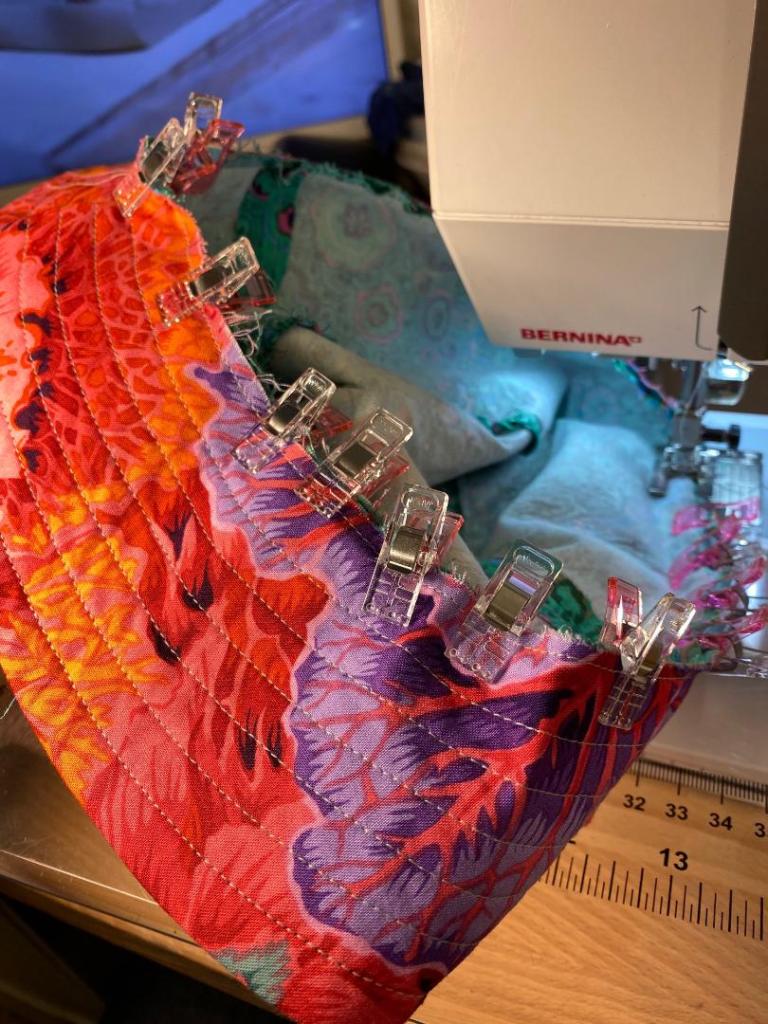
Now onto the construction: instead of using a lot of pins to connect the sides to the top of the hat pieces I used lots of clips.


Using clips on this part worked really well. I probably used more than I needed and may try fewer next time. So that’s a win.
I also sewed a line of stitching close to the raw edge of the two brim pieces once they were sewn together and top stitched. This held all those pieces together so they were easier to handle during the final construction. So this is another win.

I also used clips to sew the brim to the lining of the hat. And that worked really well too!
So I just had the final step left — sewing the right side of the hat top to the brim and hat lining. So I got it all lined up and used clips again to hold it all together.
And when I had the seam all done and looked at the back of what I had sewn, I had sewn a tuck into the lining of the hat… about three inches long. So it was time to pick it out.
I think the clips worked really well, I just did a terrible job of making sure the fabric on the under side was pulled flat. Lesson learned. I won’t do that again and I’m hopeful my next hat will be perfect and trouble free!
I have five or six more hats cut out. I hope I don’t lose enthusiasm for them before I get them all made.

Sounds like this one went pretty smoothly, other than the little slip up at the end. I bet you breeze thru the next one! And are churning hats out left and right!
Btw, I like Benders new pose! Seems like he changes them based on the mood/theme of his apparel! Such a pro!
LikeLiked by 1 person
I woke him up from a dead sleep to take this photo. He’s a little bleary eyed!
Anne
LikeLike
I was inspired by you and made a few hats myself, I always get stuck when adding the brim and topstiching . Has anyone tryed first sewing the top and the middle ,then the two brims together. Then the brim to the 2 top portions then add binding to cover the seam in the middle?
LikeLiked by 1 person
I saw a tutorial that has you put the hat together like that. I like doing the brim first because I can get a really lovely finish on it more easily than if the entire hat was put together. But you could certainly do it that way.
Anne
LikeLike
Great colors for the hat, they look like fun, I think those clips are a great invention I use them when working on the frankenbags. Bender is such a sport , and he wears the hats well!
LikeLiked by 1 person
I use the clips on my bags as well, but only in certain steps. they work great!
Anne
LikeLike
Simply Gorgeous hat fabrics 🥰and always a very handsome Bender! He does remind me of frank sinatra 🤣
LikeLiked by 1 person
I’m making these hats because I love seeing hte fabrics put together!
Anne
LikeLike
Like “many hands make light work”,
So “many ideas make better hats”.
Glad you had so many good suggestions from others.
LikeLiked by 1 person
Thanks for the great ideas. I’m getting ready to try a hat!
LikeLiked by 1 person
Good luck!
Anne
LikeLike
Many hands make light work
Many suggestions make better hats
So glad you get good ideas from others! And LOVE the beautiful clouds photo
Sent from my iPhone
>
LikeLiked by 1 person
I love how generous people are with ideas for making it easier!
Anne
LikeLike
Love Bender’s “Mad hatter” poses.
This very morning, in adding the top to the sides of my bucket hat (thanks for spreading this virus!) I was reminded of the mantra of my tailoring prof in college: always divide and conquer! She was a very demanding teacher, would hunt for miniscule mistakes and graded everything before the lining was attached. When it came to sewing any curve, (like inset sleeves of suit coats or “drunker’s path” quilt blocks or tops of bucket hats!) if it could not be conventionally gathered with a running stitch, she had us divide the curve in half, pin those two places, then divide the 1/4s in half and pin those places, etc., etc., until not only were the pins evenly spaced around the curve (or circle) but there’s was no chance of a pleat anywhere.
She was so demanding that all 12 of us received an A in the class…and all 12 of us then threw away our worn out seam rippers in celebration.
LikeLiked by 1 person
that sounds like a great foundation she gave you!
I kind of do that, but not as precisely as your teacher!
Anne
LikeLiked by 1 person
I started doing my hats a little different and love it. I sew the brim and lining (right side together) along the outer edge. Clip and turn right side out. Then do the top stitching. Then put the lining pieces together. Add the lining to the brim. Next put the outer top and sides together. Press under a nice sharp edge and put the top over lining. Pin in place and if possible use your free arm on your machine and do a round of stitching and you are done.
LikeLiked by 2 people
That sounds exactly like how I’m putting mine together. But I’m not clipping the seam allowance of the brim. It doesn’t feel necessary to me. Maybe I’ll do one clipped and see how it goes.
Anne
LikeLike
I haven’t needed to clip the outer seam of the brim. It weakens a seam when it’s clipped and if it lays flat it’s really not a good idea.
LikeLiked by 1 person
Good to know, It seems unnecessary to me. I’m not seeing any issues with the brim that would be solved by clipping.
Anne
LikeLike
Oh that red fabric is glorious! One other tip: when making bags, many people use staples to hold difficult edges together. They can be placed close to the two edges and within the seam allowance. No need to remove them after seaming, just trim the seam allowance and the staples will be cut off.
LikeLiked by 1 person
I never would have thought of using staples!
Anne
LikeLike
These are so beautiful and I can’t wait to try one! Thanks as always for sharing the process in such a clear and concise way.
LikeLiked by 1 person
YOu should make one. Good luck! I’m happy to share.
Anne
LikeLike
Loved this beautiful hat fabric and the model posing so well! From the picture, I am not getting where the opening is for the final birthing? I had to clip the crown before attaching the sides to it. I used pins and got poked quite a bit. Ouch. I would like to make a few of these hats for grand daughters. Is it ok to request a step by step Bucket Hat construction pictures for a dumme(y) please? I finished the second Franken Bag panels and got hooked to the bucket hat frenzy right in the middle of it!! Thank you!
LikeLike
Although this isn’t the pattern I’m using, it’s very similar. And this tutorial shows how I put my hats together. https://sweetredpoppy.com/free-reversible-bucket-hat-sewing-pattern/
Also ready through my last few blog posts as I talk about the challenges I’ve had and readers have offered some really helpful suggestions.
Anne
LikeLike
Thank you for the bucket hat tutorial link 🙂 🙂
LikeLiked by 1 person
One of these days I’ll buy some of those clips, everyone seems to love them
LikeLiked by 2 people
I don’t use them all the time, but they do have specific functions. I’m definitely glad I have them in my tool box.
Anne
LikeLike
I don’t comment often, but I have to tell you how much I enjoy your posts! Always inspiring me with your colors and patterns, and I adore your pup photos!
LikeLiked by 1 person
Awww. Thanks! And thanks for commenting!!!
Anne
LikeLiked by 2 people