NOTE: Copyright 2024.
PLEASE DO NOT SHARE THIS TUTORIAL FOR COMMERCIAL REASONS WITHOUT MY PERMISSION. CONTACT ME AT anne@agilejack1.com FOR PERMISSION.
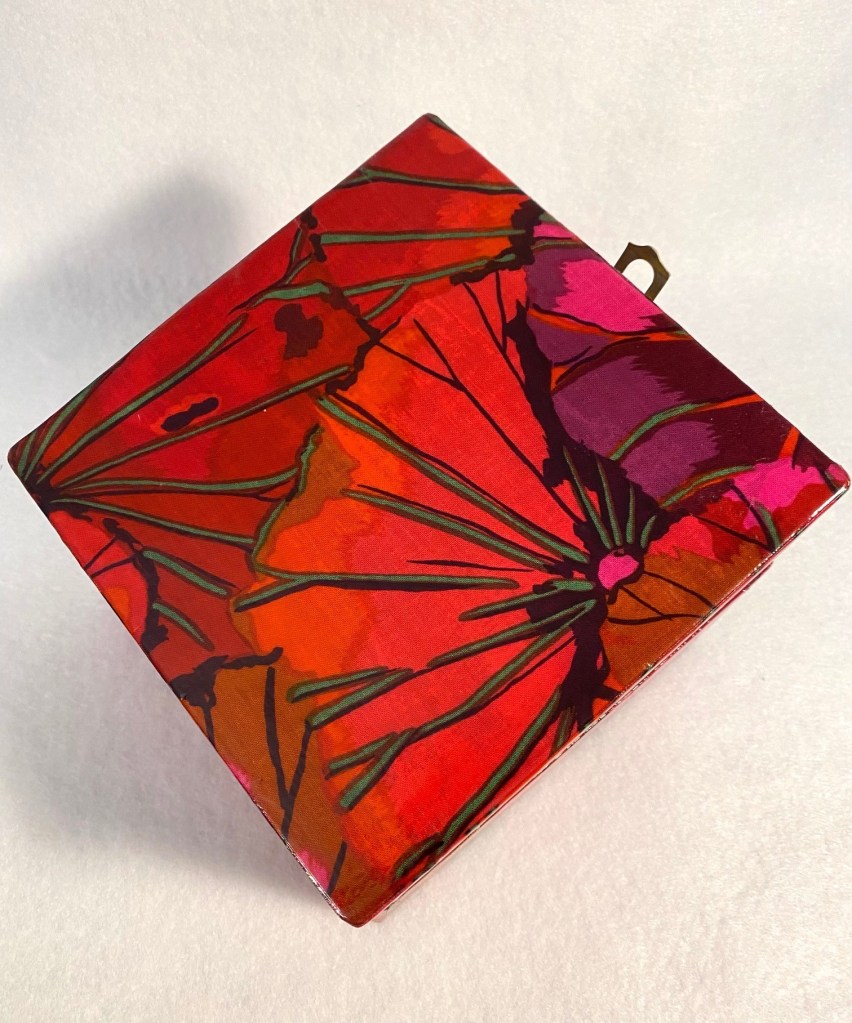
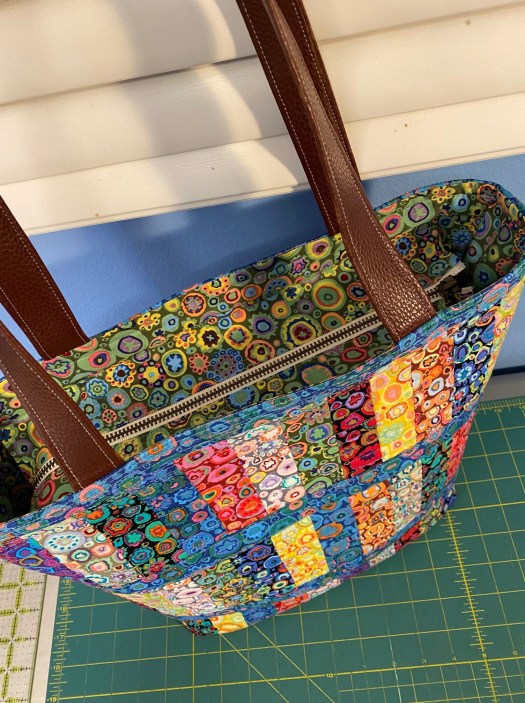
In this tutorial I’m going to show you how I added a zipper placket to this Frankenbag.
A couple of months ago I promised that I’d make a tutorial for adding a placket to this bag. I’ve finally gotten around to it.
You can find the tutorial for my Frankenbag here.
You can find my tutorial for constructing the bag panels here.
Here’s the materials you need to do this:
One zipper, at least 15 inches. If you’re using a metal zipper, try to keep it to 15 inches. If you’re using a nylon zipper, you can use a longer zipper and cut it to the size you want. The zipper I used was about 15 inches long. (This should not be a jacket zipper that comes apart.)
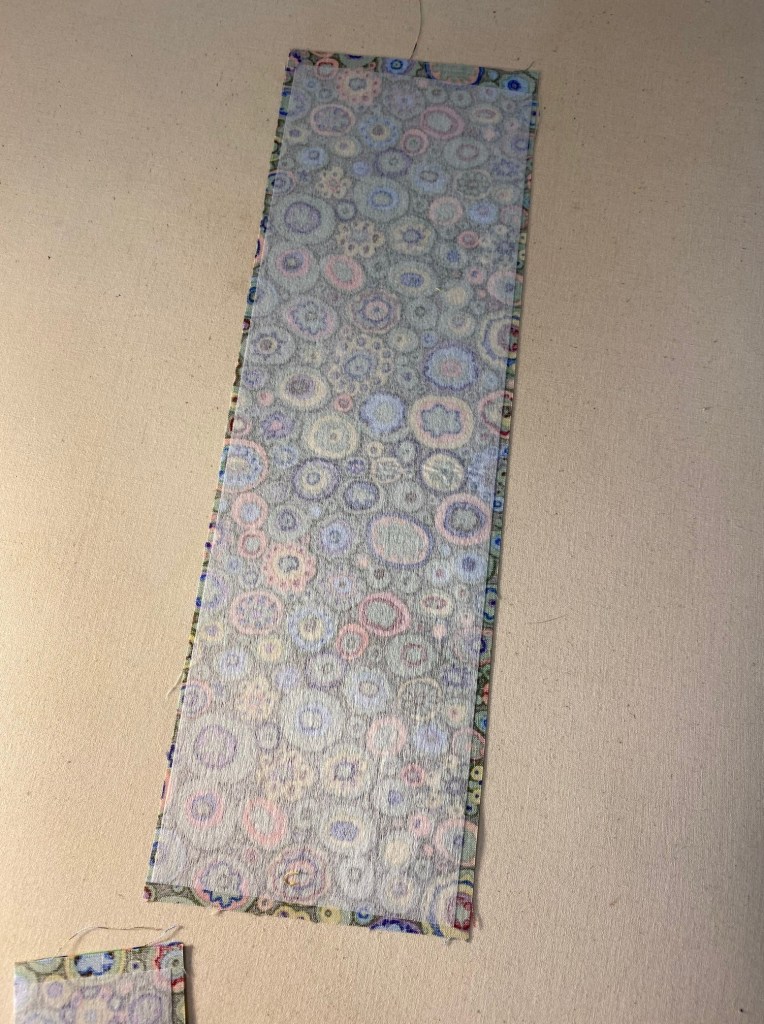
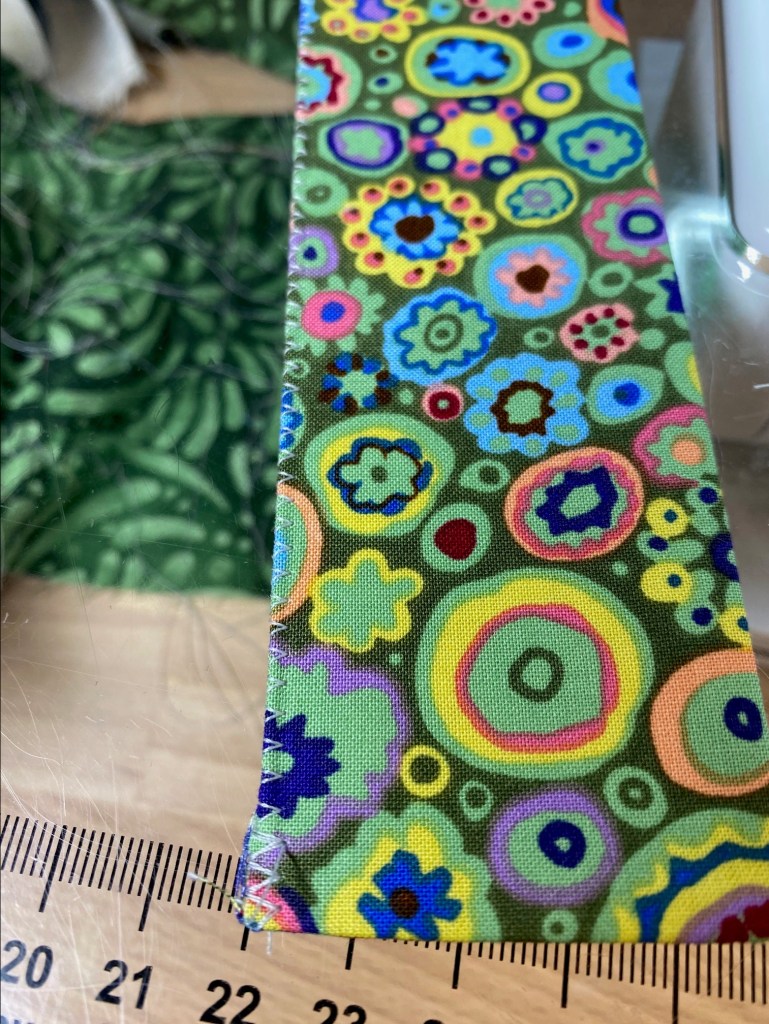
Two pieces of fabric cut to 12.5 inches by 4 inches. I used a fabric that matched my lining, but you could use any fabric you want.
Two pieces of a light fusible interfacing cut just a little smaller than your fabric pieces (above). I used a light weight fusible interfacing that I had left over from mask making. It’s a Pellon product, but I don’t have the product number. The stiffer your interfacing, the stiffer your placket. I like the placket to have a little body.
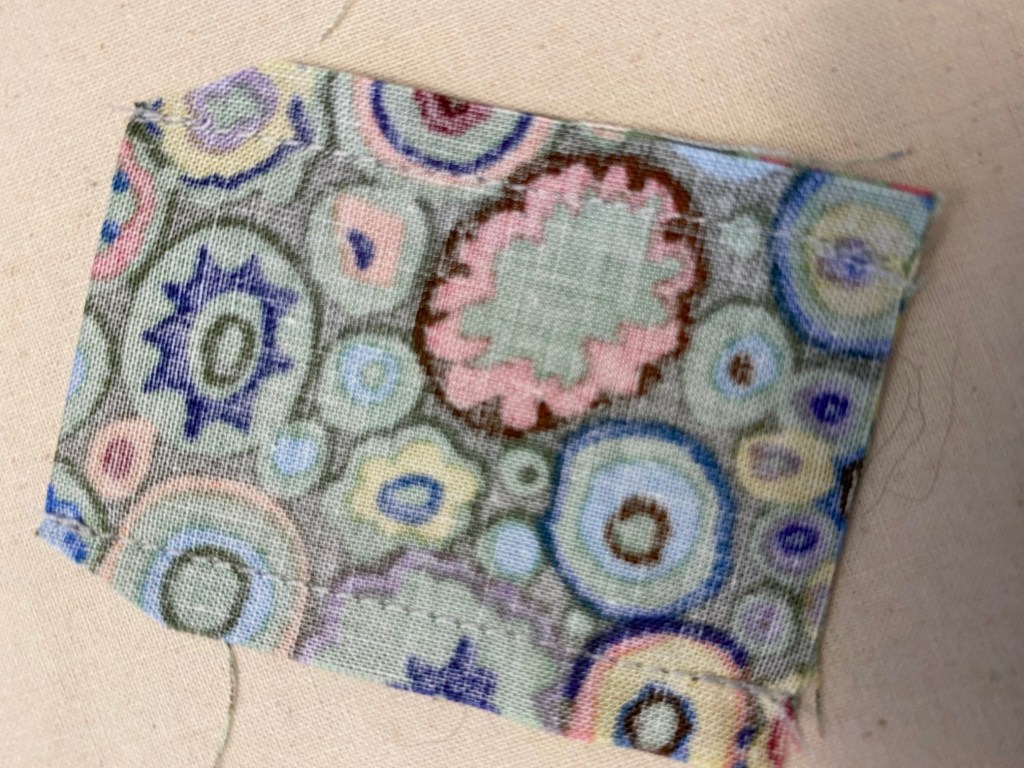
A small piece of fabric, approximately 1.5 inches by 4.5 inches to cover the long zipper end. I used fabric that matched the placket and the lining. You could use any fabric you like. You will cut this according to your zipper width (read on for details).
And that’s all the materials you need, well, except for some thread.
Ok, let’s get started.
Fuse the interfacing pieces to the wrong sides of the two 12.5×4 inch zipper placket pieces according to the instructions on your interfacing.
Fold each of these two pieces along the long edge, with right sides together.
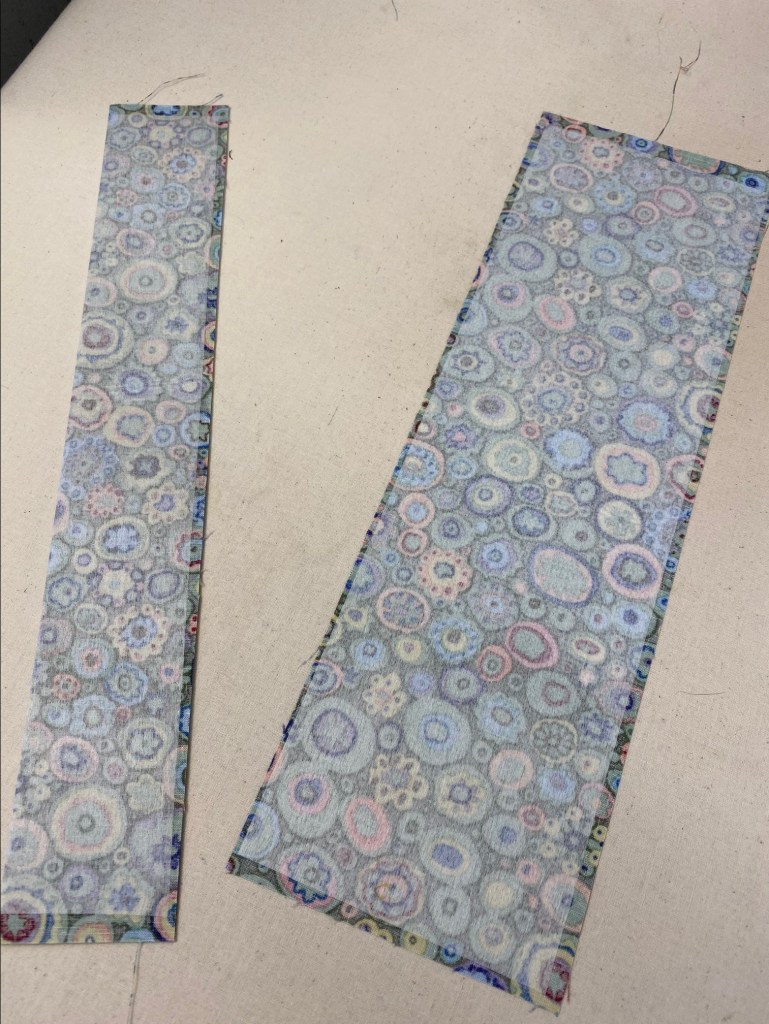
Sew a 1/4 inch seam along the short side on both ends of each piece. Clip the corner on the fold.
Turn these two pieces right side out, gently push out the corners, and press. Then sew a line of zig zag stitching along the long raw edge of each piece, making sure to catch both sides of the fabric in the zig zags.
Don’t freak out about this unfinished edge! It will later be completely hidden when you sew the placket to the lining. You’ll have plenty of time to freak out later. Now is not the time.
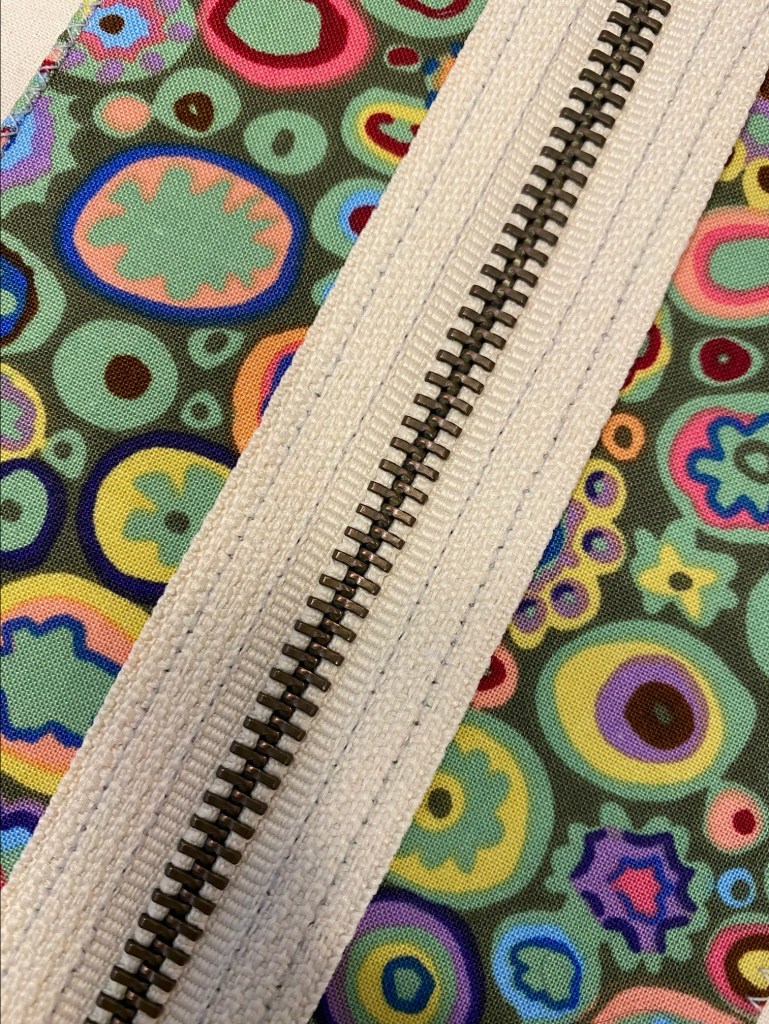
So now you have two pieces that are ready to apply to your zipper. When I made my placket, and knowing that I was working with a metal zipper, I decided that I was ok that the inside of the placket, the side no one will ever see, would have the zipper tape showing. If I had been working with a nylon zipper with the ability to actually sew over the zipper, I would have worked on a method to enclose the zipper inside the placket. Since I’m happy with “No one will ever see that,” that’s how I did this. Plus, you get a really nice finish on the part that shows.
So let’s move on.
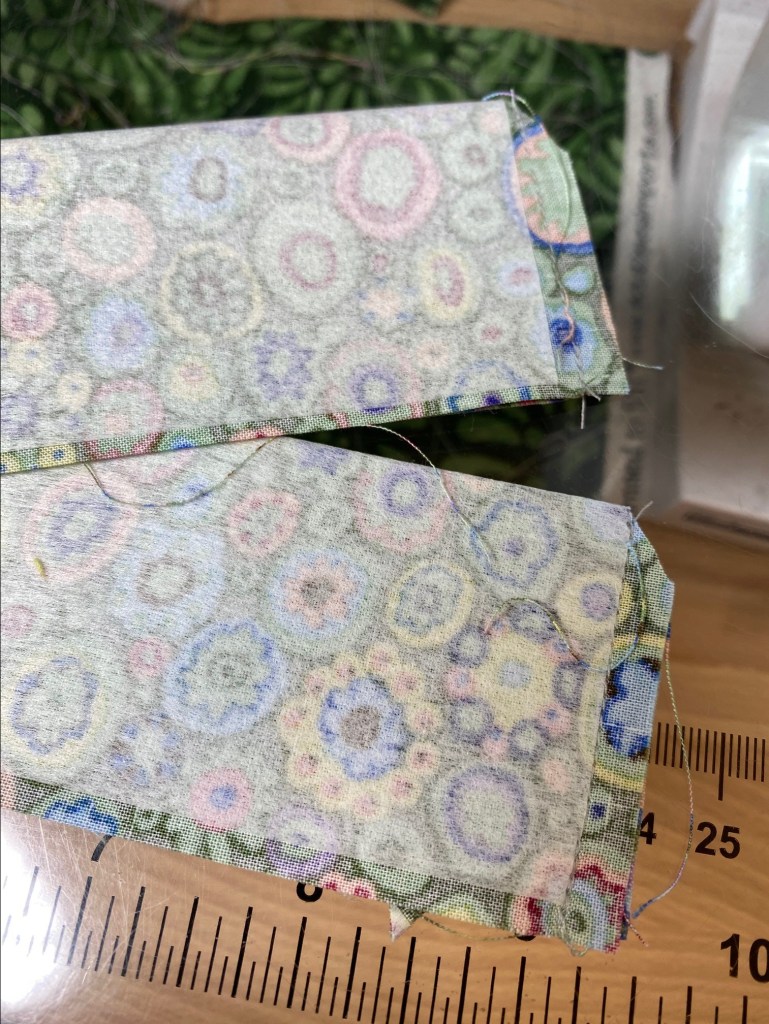
The next thing you’re going to do is cover the stop end of your zipper. This just gives a little more finished look. This is where the little piece of fabric that I was a bit vague about comes in. So, first, measure the width of your zipper. Mine is just shy of 1-1/4 inches. You’ll want to cut your zipper tab fabric about 4.5 inches long, and 1/2 inch wider than the width of your zipper. So mine was cut 4.5 inches x almost 1-3/4 inches wide. This allows for your seam allowances and the tab should fit your zipper. If it doesn’t, adjust your measurements and make another one.

Fold your tab in half right sides together, lining up the two short ends. Stitch a 1/4 inch seam along the two long sides and clip the corners that are on the fold (the left side of this photo).
Turn this piece inside out, gently push out the corners, and press. Then turn down to the inside about 1/2 inch or so on the open edge and press.
Slip this little envelope over the stop end of your zipper, pin it in place, and top stitch all the way around four sides about 1/8 inch from the edge. NOTE: I did not push the end of the zipper into the bottom of this little envelope. Just push it in far enough that you cover the zipper stop.) If you look closely at this photo, you can see that I didn’t stitch over the metal of the zipper on the lower right. I would have gone through a lot of needles trying to pull that maneuver. If you have a nylon zipper, you can probably sew right over it.
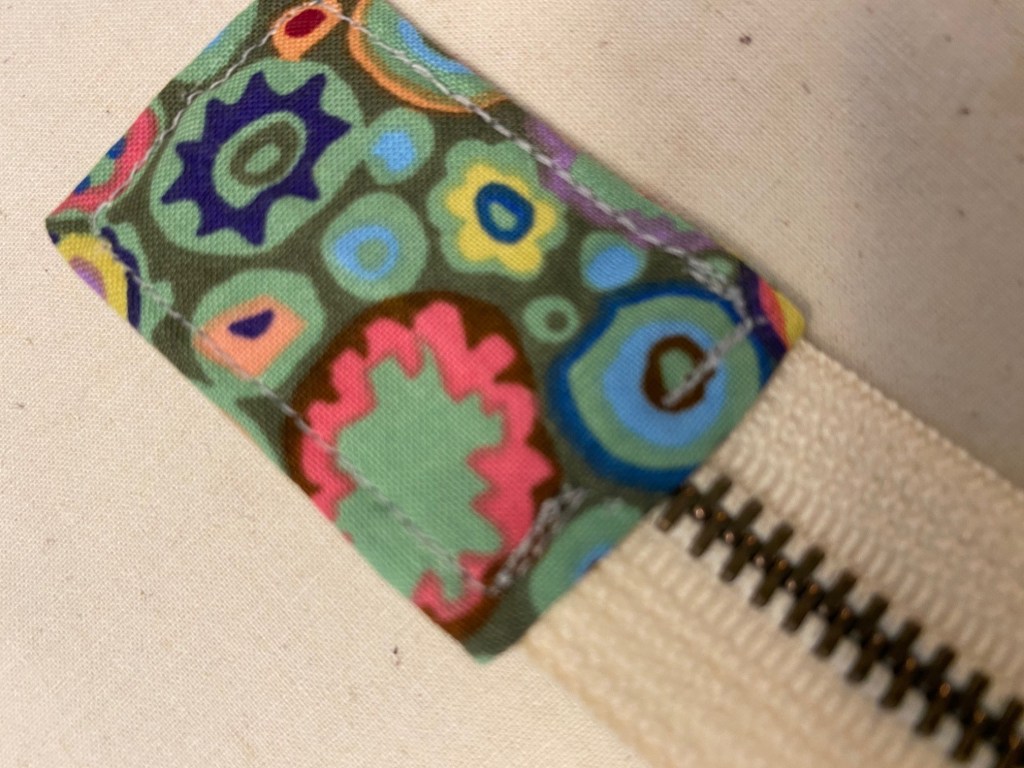
There’s only about 1/2 inch of zipper inside that little envelope.
Now you’re ready to put the placket pieces onto the zipper.
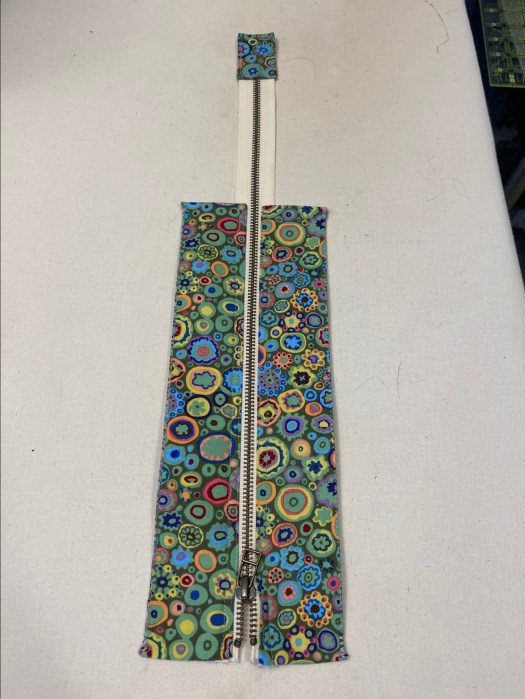
Somehow, I didn’t get a photo of this step so you’ll need to look at my finished product to see how to line up the plackets with the zipper and how to stitch.
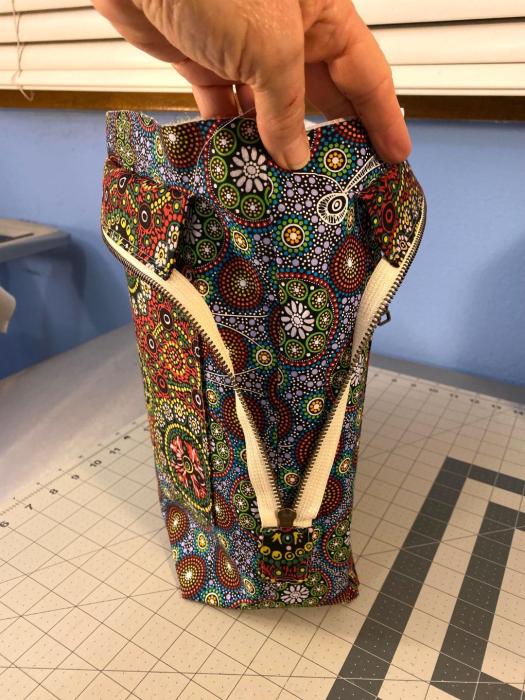
Here’s my finished placket with zipper and tab. So this is what you’re trying to achieve.
Put your zipper right side up on your table. On the open end of the zipper, line up your placket pieces on top of the zipper, fold side toward the zipper teeth, zig zagged edge away from the zipper, and pin it in place.
You can do this all one side of the zipper at a time. But when you add the second side of the placket, make sure your two sides of the placket are lined up on the opposite sides of the zipper. I lined the ends of my placket pieces with the end of the zipper tape on the open end and made sure the other ends matched up across the zipper.
I used my zipper foot to stitch two lines of stitching on each side of the zipper. One closer to the edge of the fabric closest to the zipper teeth, and one a little further away, but close enough that you’ll catch the zipper fabric on the back side. This is probably just shy of 1/4 inch or so.
Here’s what it looks like from the front.

Here’s what it looks like from the back. This is where that “no one will ever see this” comes in. See the two lines of stitching on the zipper fabric?
These two lines of stitching should keep that zipper in place and out of the way of the teeth nicely.
THIS IS A GOOD TIME TO TALK ABOUT WHY THE ZIPPER IS SO MUCH LONGER THAN THE PLACKET.
You might be wondering why I didn’t use a 12 inch zipper. Here’s the reason. This longer zipper allows you to open up your bag really wide to put stuff in, take stuff out, and find your fricking keys that you can hear but can’t locate. If your zipper was the same length as your placket, you would only be able to open the bag wide on the other side where the zipper is open. This longer zipper adds a TON of functionality to your bag! This placket is more than just a pretty face. It knows how to get the job done!
Now you’re ready to sew this placket to your lining. If you want pockets on the inside of your bag, make sure they have been sewn to your lining before you apply the placket.
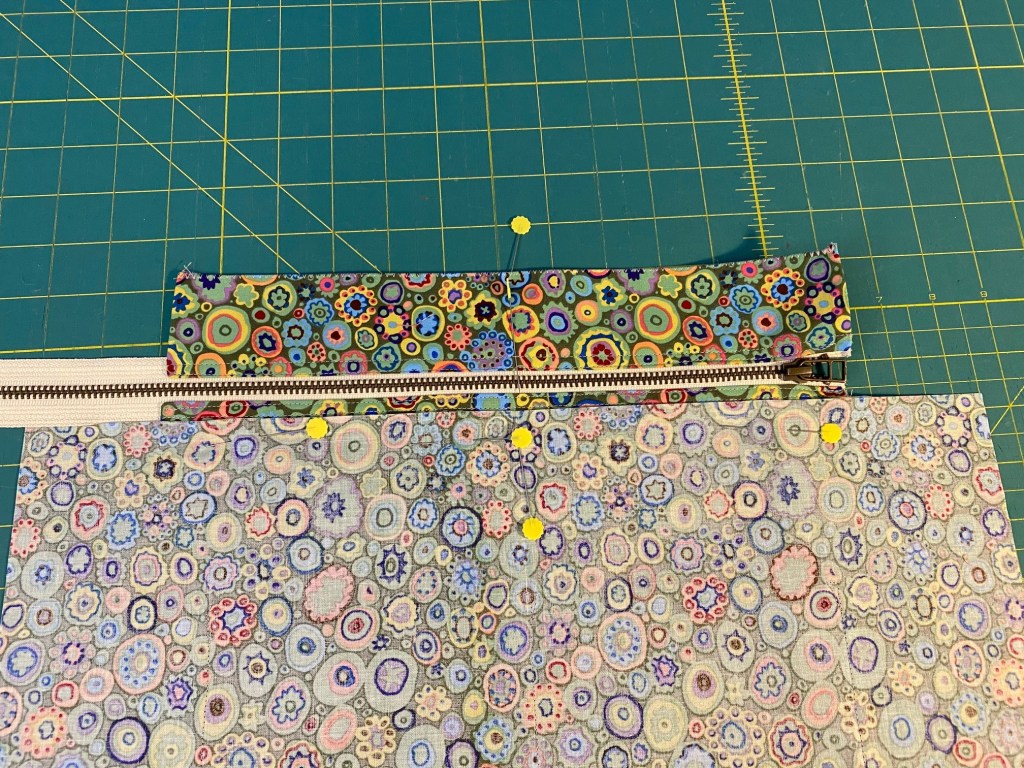
Mark the center of point of the top of each piece of your lining. Mark the center on each side of your placket. (mark the center of the placket, not the center of the zipper! — This is really important!!!)
You need to make a big decision now… what side of your bag and lining do you want the open side of the zipper to be on? For me, if I’m looking at the front of the bag, I want the open side to be on the right side of the bag, so when I have the bag tucked under my right arm, the zipper pull will be forward when the bag is closed. So, now, even more complicated, you need to decide what side of your lining is the front and which is the back. If I only have one pocket, to me that’s the back of the bag. If I have a pocket on each side of the lining and they are the same, it doesn’t matter which side is the front or back. But if you have different pockets and want them to be arranged in a certain way, you have a decision to make.
Does your head hurt just a little right now? That’s normal.
But hold on, because here is where it get’s a little complicated.
Lay the completed zipper placket, right side up (zipper pull up), on your table with the open side to the right. Take the lining piece that you want to be the front of the bag and lay it on top of the zipper placket, right side down, leaving about 1/2 inch of the placket fabric showing above the top edge of the lining. Line up the center marks. Put a couple of pins in to hold these pieces in place.
Now flip the whole damned thing over! Put in a bunch of pins to hold it all in place nicely. Then remove the pins you put in the other side to hold it together while you flipped it.
Then stitch a line along the zig zagged edge, a generous 1/8 inch away from the edge. (This raw edge will be enclosed later… I promise!) Be sure to back tack on each end of this line of stitching.
Now lay this piece on the table so the zipper placket is face up and the piece of lining you just sewed is at the top.
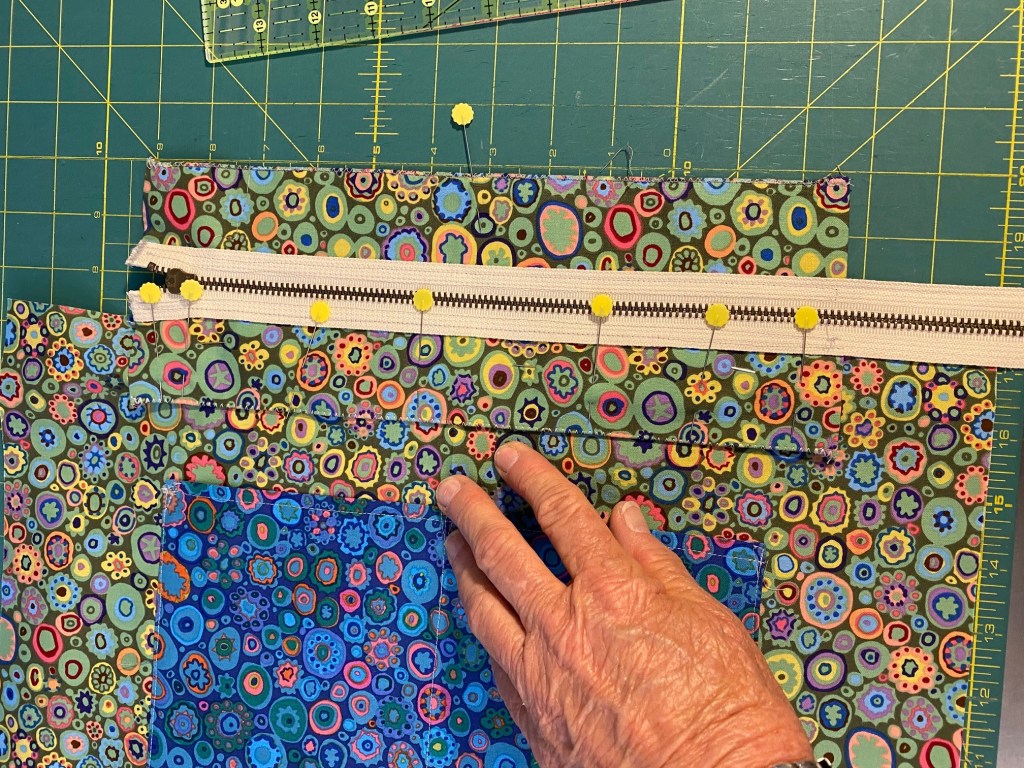
Lay your second piece of lining, right side down, onto the zipper placket and line it up with about 1/2 inch of the placket fabric showing. make sure you line up the centers again.
Put in a few pins to hold it all together and then flip the whole thing over. Pin it more securely, remove the pins on the other side, and then do the line of stitching along the zig zag edge, making sure to back tack on each end.
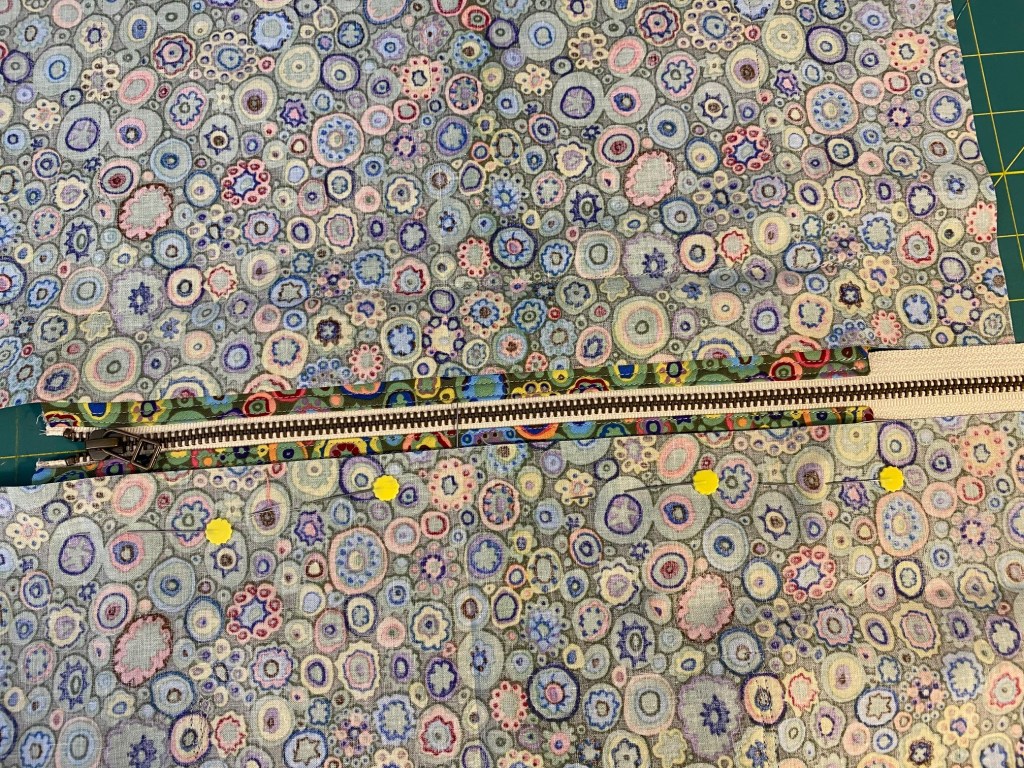
Remember when I said there would be time to freak out later? Well, THIS IS THAT TIME!!!
This piece you just made that connects the two lining pieces to the zipper placket will look TOTALLY WRONG! But, it’s probably right. Probably.
Here’s what it should look like:

If you pick this up by the pieces of lining above the placket, you should be able to picture this inside a bag. That helped it all make sense to me. One key thing here. Your zipper pull should be facing up at this point. If it’s not, your bag will be difficult to operate.
Now, sew the lining together according to the instructions in my Frankenbag tutorial (linked at the very top of this blog post) and sew it into your bag body according to the instructions — making sure the zipper is open and the placket is folded down out of the way of the line of stitching at the top of the bag. Top stitch the top of the bag and lining according to the instructions, making sure to fold the placket out of the way so you don’t catch it in the stitching.
(Side note to explain something that made my head hurt: When I sewed my lining with placket to my bag body, I had a good deal of head scratching in deciding where that long piece of extra zipper should go. When I sew my linings to my bags, I have the bag body wrong side out and the lining inside the bag body with the right side out. This loop of zipper that attaches the two sides of the lining should just ride naturally around the side of bag lining. I think I gave this much more thought than it deserved. (When I make another bag with a zipper placket, I’ll add a photo.) And here’s that photo now on 1-1-21:
Once the lining is sewn in and you’ve completed your topstitching, it’s time to sew one final seam on each of the plackets to finish them.
(DON’T FORGET THIS FINAL STEP!!! I’m adding this note here because I’m noticing a few bags recently where people have forgotten this final step, which covers the raw zig zag edge of the zipper placket.)
Making sure all the layers of bag and lining are nice and flat and there are no tucks, fold the placket down and press along the edge where you sewed the placket to the lining. This folding will encase the raw zig zag edge.
Make sure all those layers are flat and there are no tucks or folds undernneath, pin it in place securely, and top stitch a line 1/4 inch away from the seam line (you can see in the photo that the right edge of my foot is right on the seam line that attached the placket to the lining). Back tack on each end of this line of stitching. Do this to both sides of the placket+/lining.
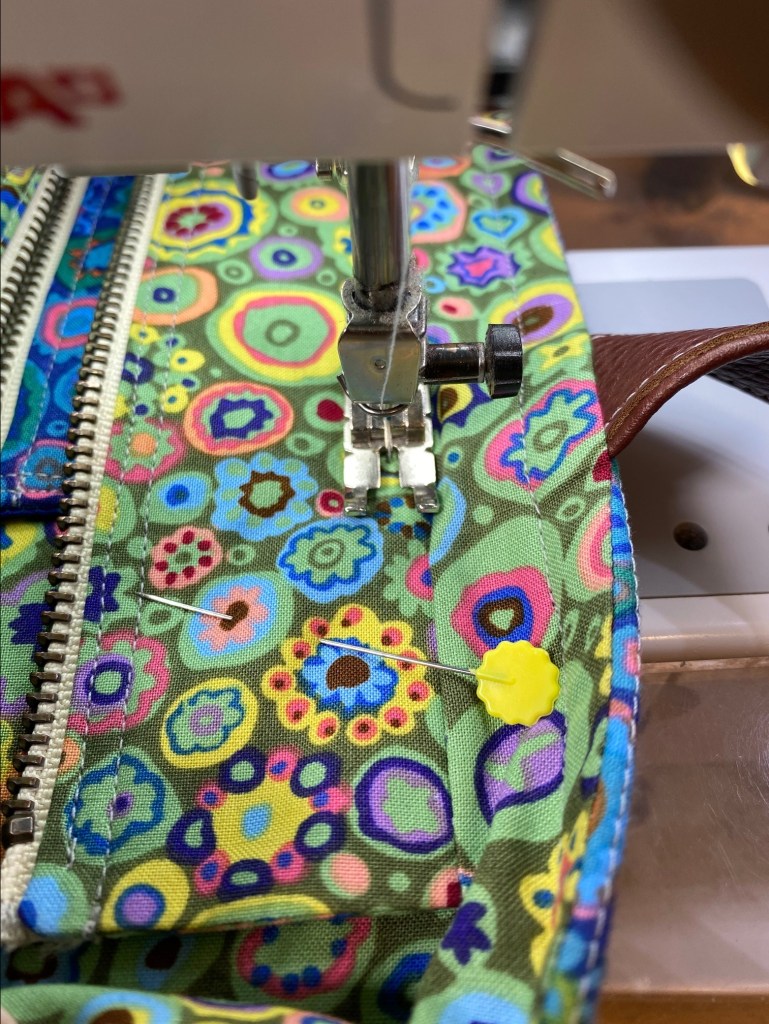
An important note here: because I do about 2 inches of match stick quilting along the top edge of all my Frankenbags, this line of stitching will be essentially hidden in that quilting when viewed from the right side of the bag. If you haven’t done this match stick quilting on your panel, that line will be more apparent.
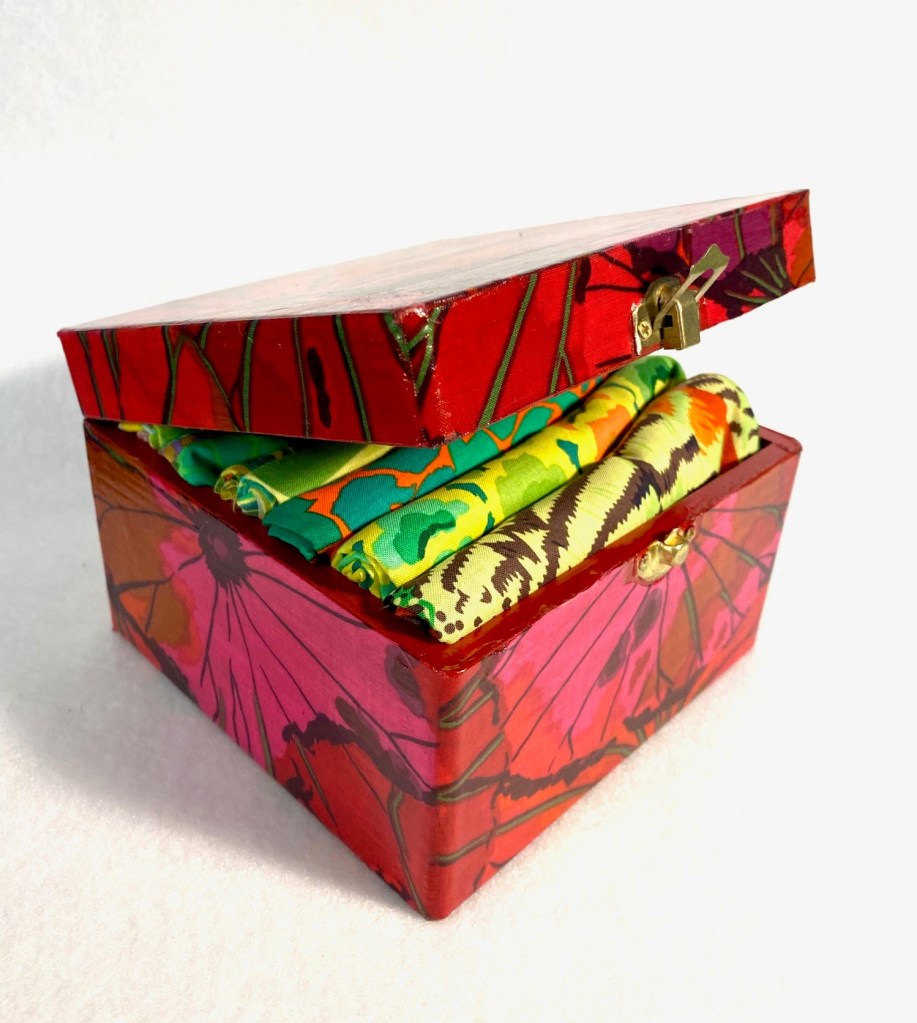
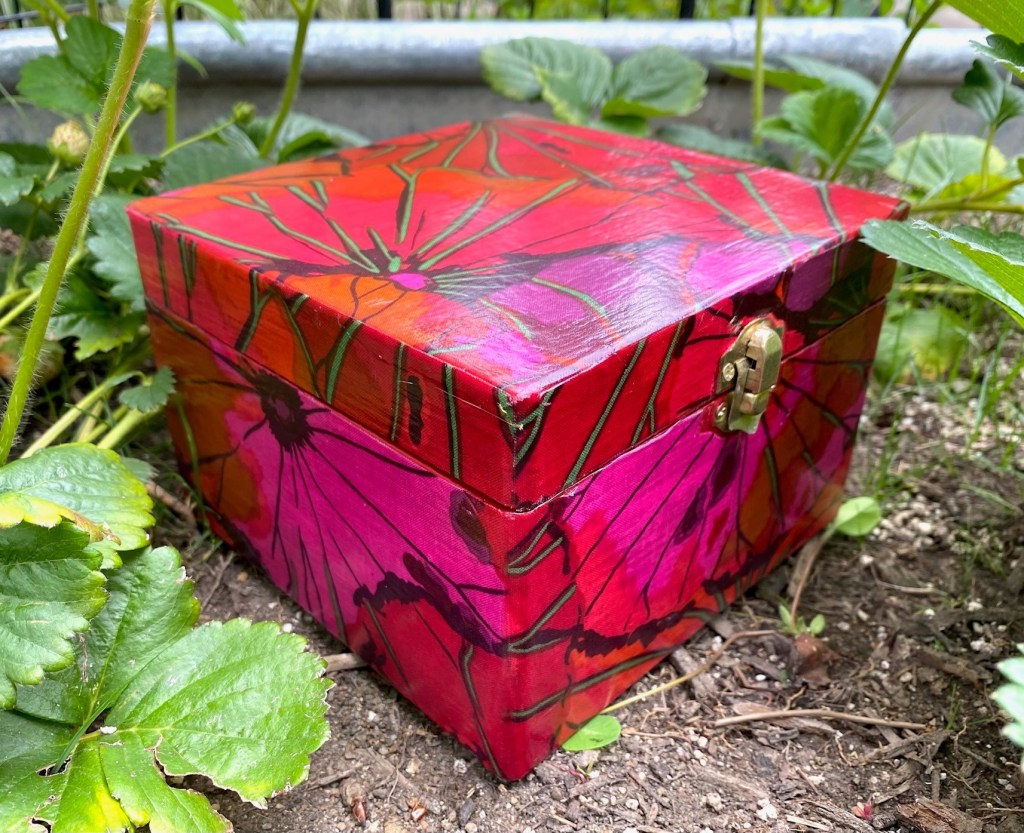
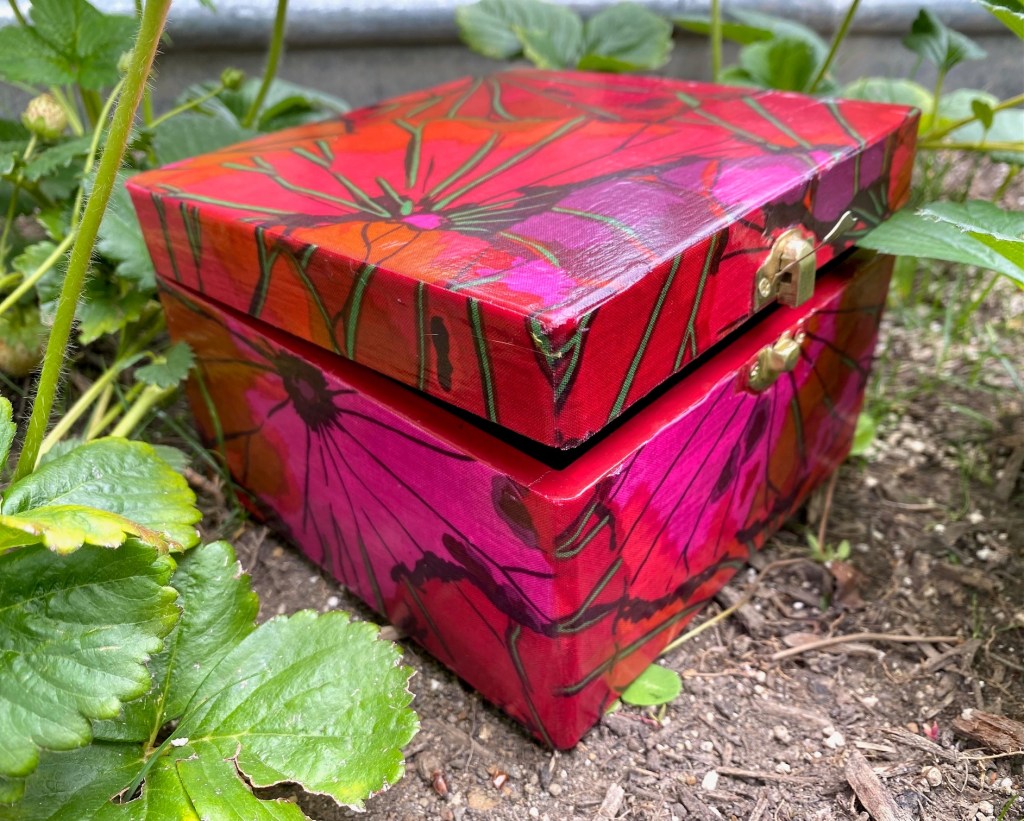
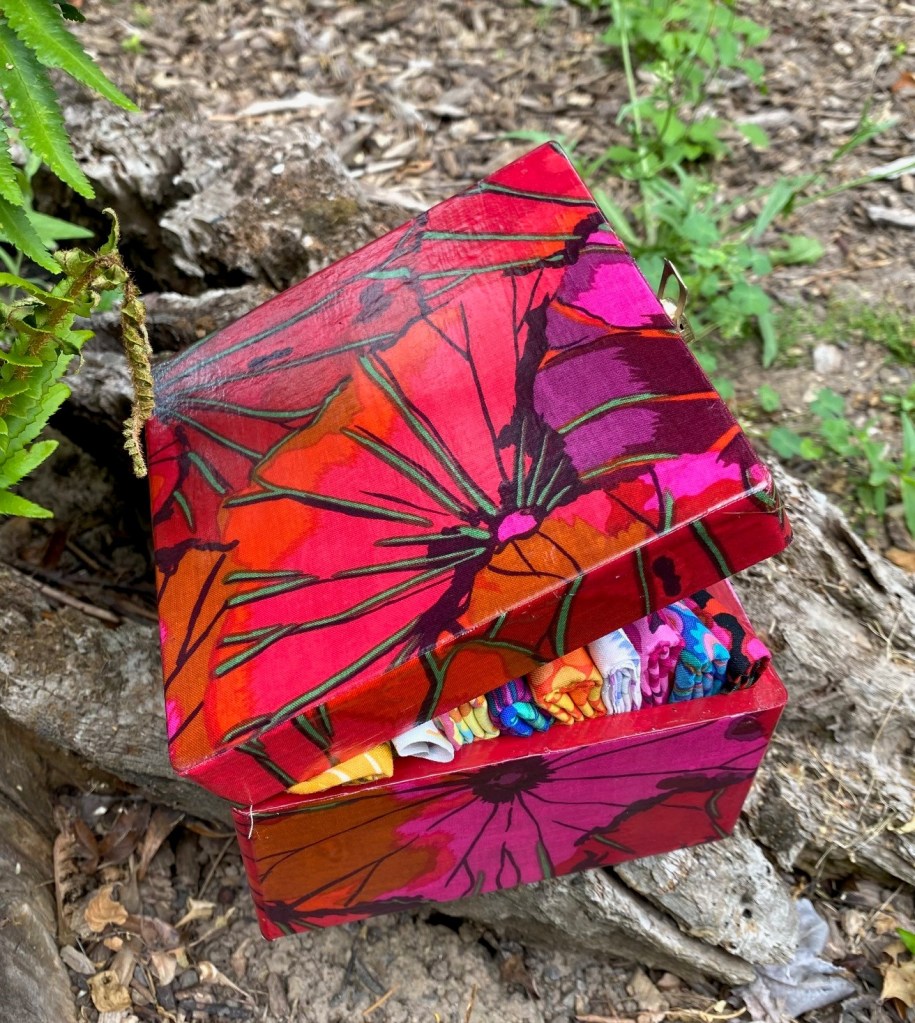
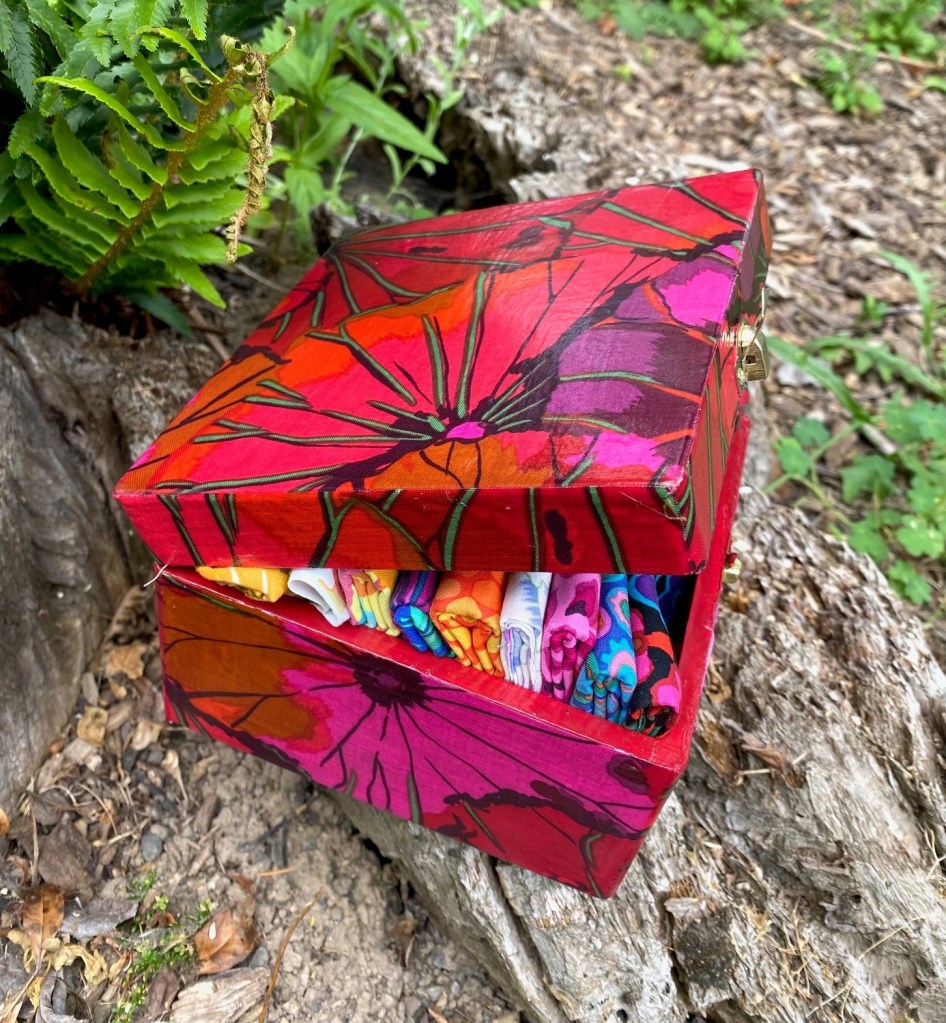
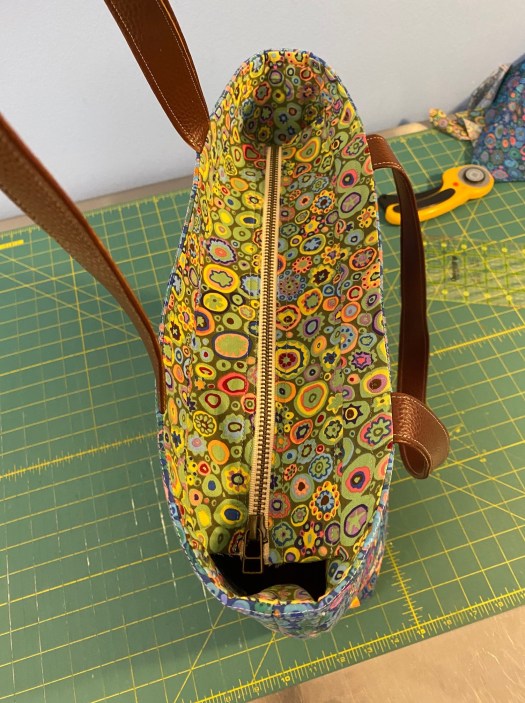
Here’s a few more photos of this bag with the placket.


Let me know if you find any typos or mistakes and I’ll edit this post.
Good luck! I hope it all works!