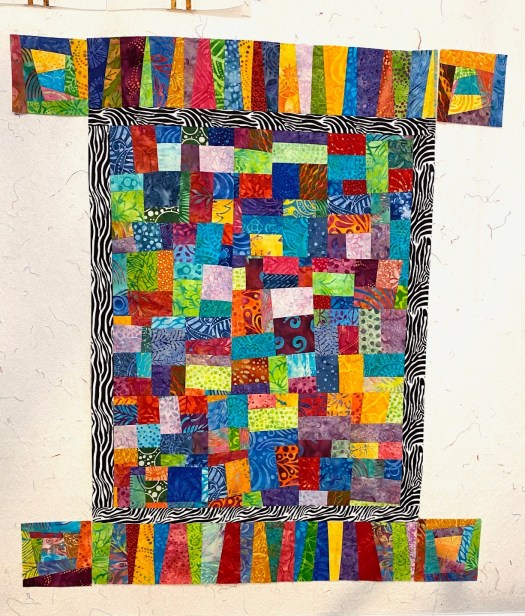
I finished the borders on my Moss Garden quilt a couple of weeks ago and finally took some photos last night. Borders are not my favorite part of making a quilt… wrestling with all that bulk of fabric. But for me, it’s like eye shadow and mascara… it just brings the whole thing to life.

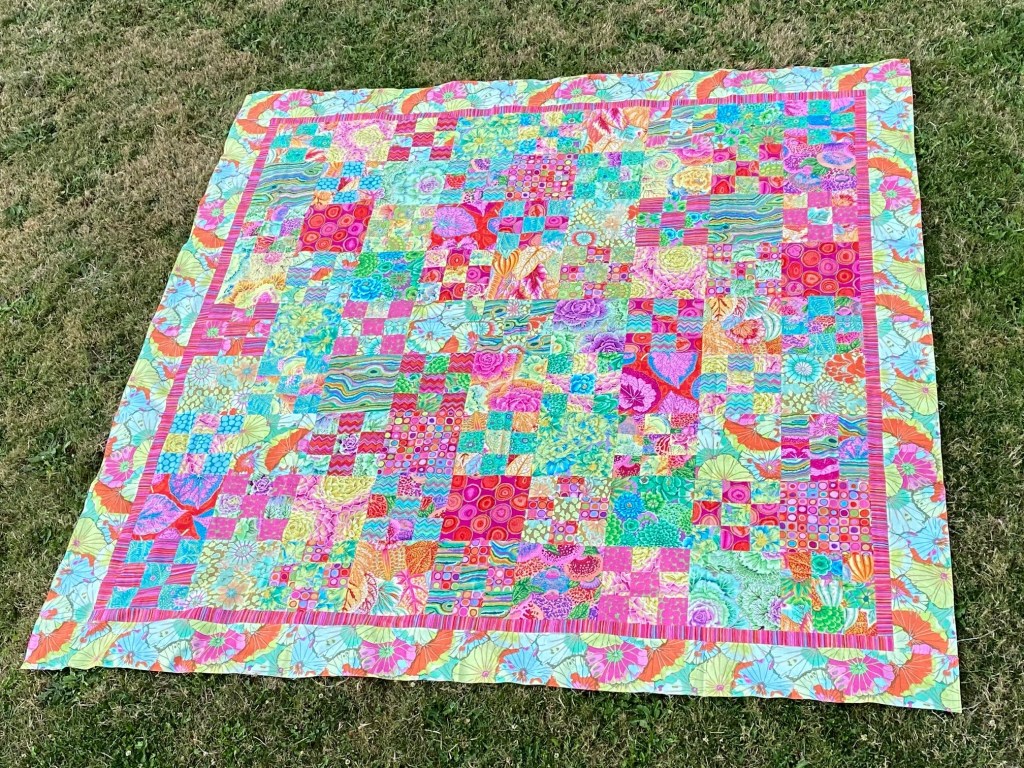

With the borders this quilt measures about 97 inches square. This will be a nice size quilt for my bed. And yes… I’ve decided that I’m keeping this one. Now I just need to piece the backing and get this off to my long arm quilter.
I think the boredom of the pandemic is finally starting to take its toll on me. I’m feeling another wave of lack of motivation coming on. I’m going to do all I can to keep it at bay, and I know I need new things to do to keep me interested and engaged. I’m concerned about winter coming on. Being isolated and stuck at home will be very different when it gets dark at 4 pm. I’m already noticing the lack of light in the evenings… the the evening light is my favorite part of the summers.
I was not very productive yesterday. I took Rico for his herding lesson and he was amazing. then a friend dropped by the sheep ranch with her new puppy so I got to meet him for the first time, and he’s adorable! He looks like a baby Bender. After that, I took the dogs for a walk around the trails on the WSU campus. We got home around 3:30. And I have to say, the rest of the day was pretty unproductive. I did work on a big pile of masks I have that are partially made. I’m trying to chunk away at them a little at a time so I have some ready when I need them.
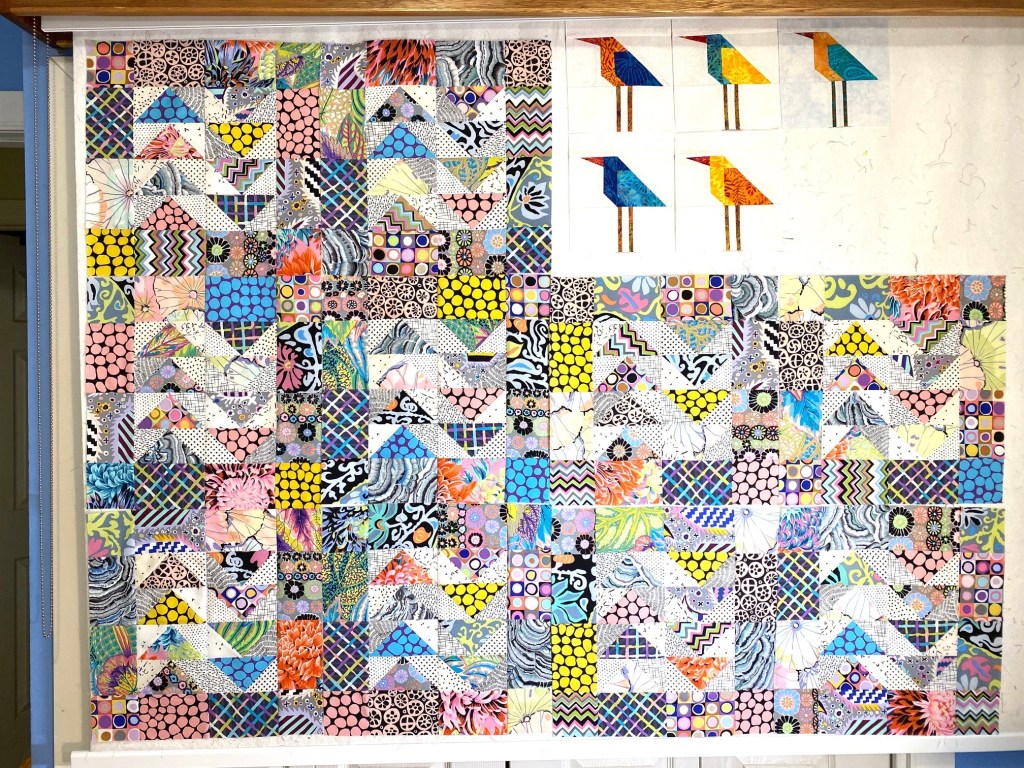
I slept in on this gorgeous Sunday… later than I thought I would, but the dogs let me stay in bed so I took advantage of the luxury. We’re going to take a four mile walk soon, and then I think I’m going to try to make four more blocks for my Ruffled Feathers Quilt. It’s half done and this is the point where I usually start wanting to start a new project. And I know if I don’t get this done it will sit in a partially done state for way too long. So I’m going to press on.
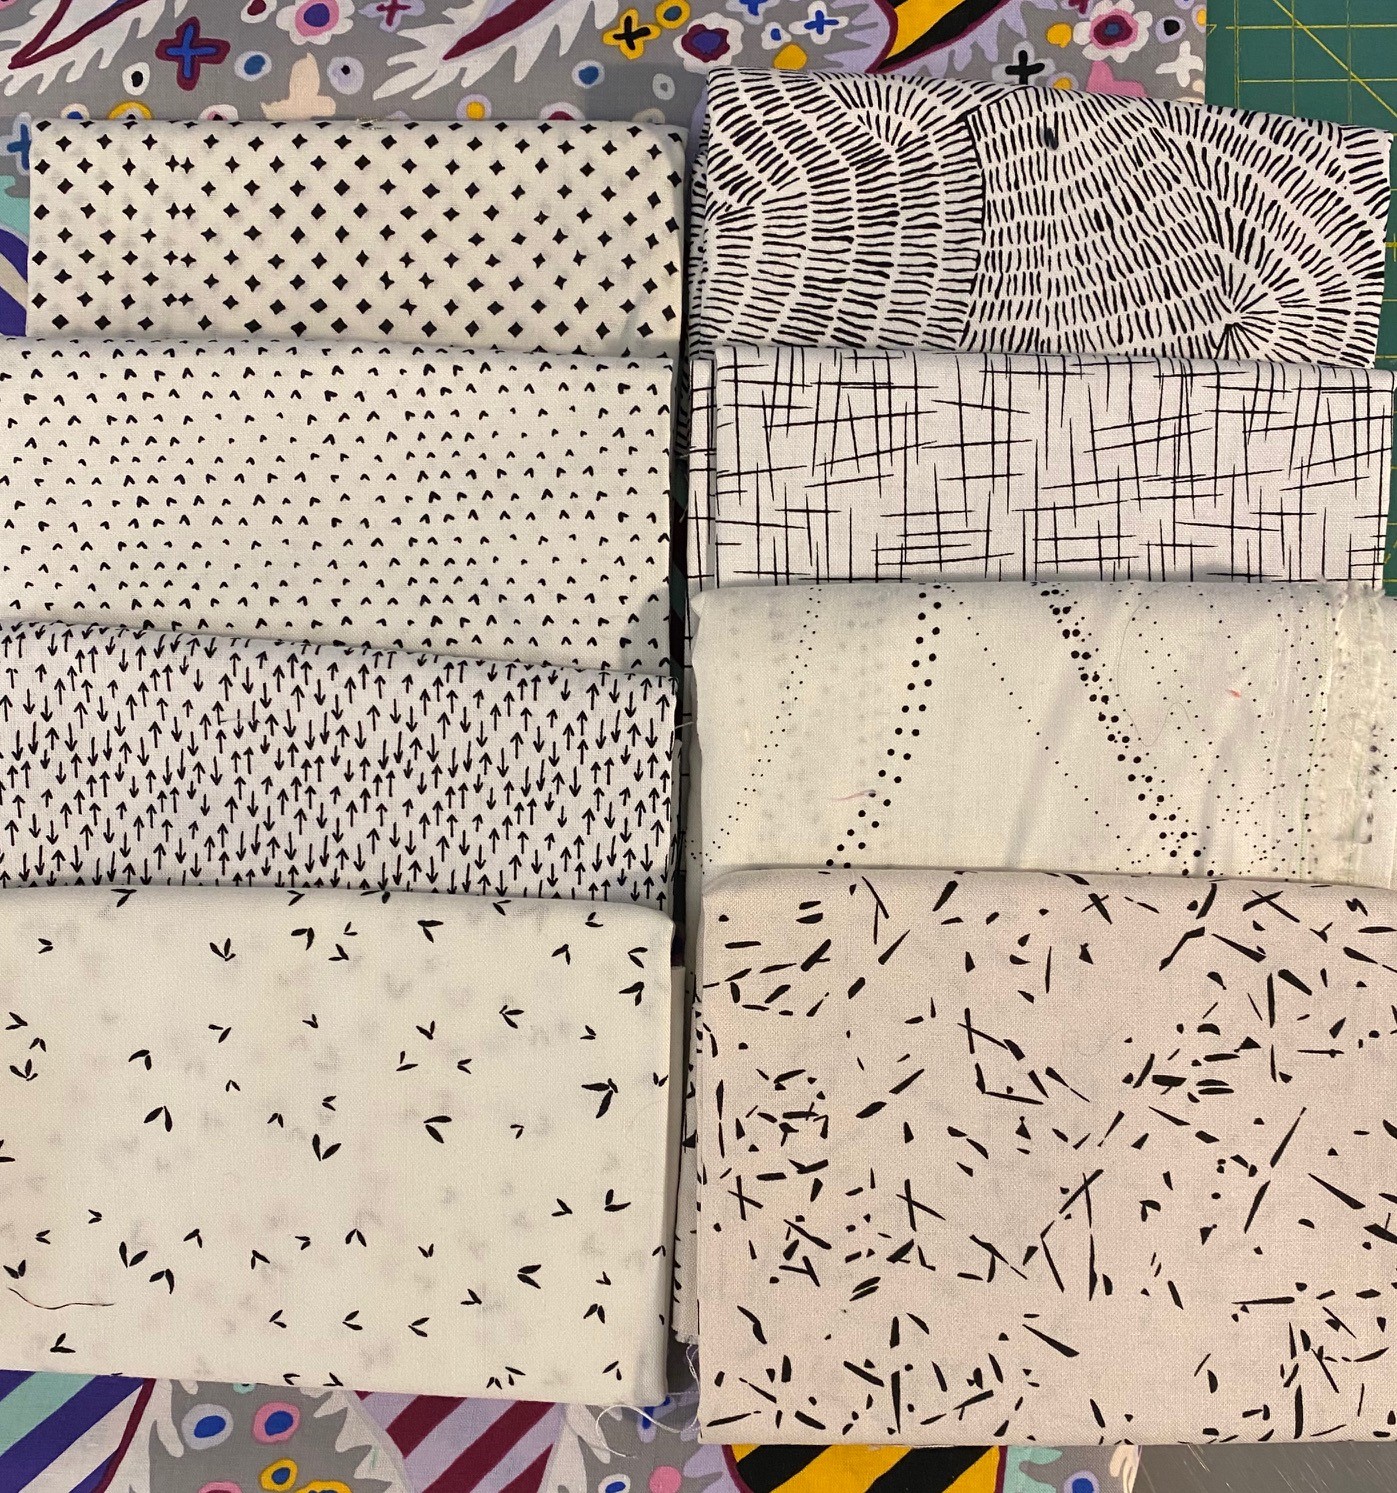
I think my next project will be to finish the Aboriginal fabrics quilt that will be a holiday gift. the blocks are almost done. All I have to do is add sashing and cornerstones to one side of each block, then get it on the design wall. Then I’m going to make an Aboriginal quilt for another holiday gift but on a different pattern. I have the pattern selected and it will be a quick and fun make. I want to get these done so they will be quilted in time for the holidays. I’ll be giving four quilts as holiday gifts this year.


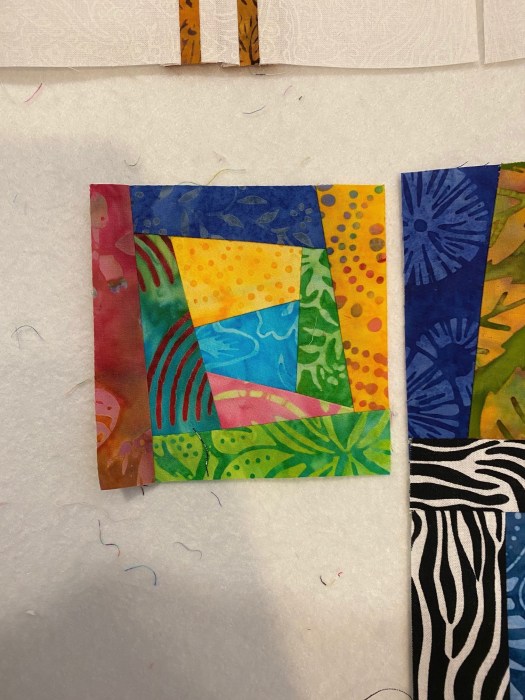


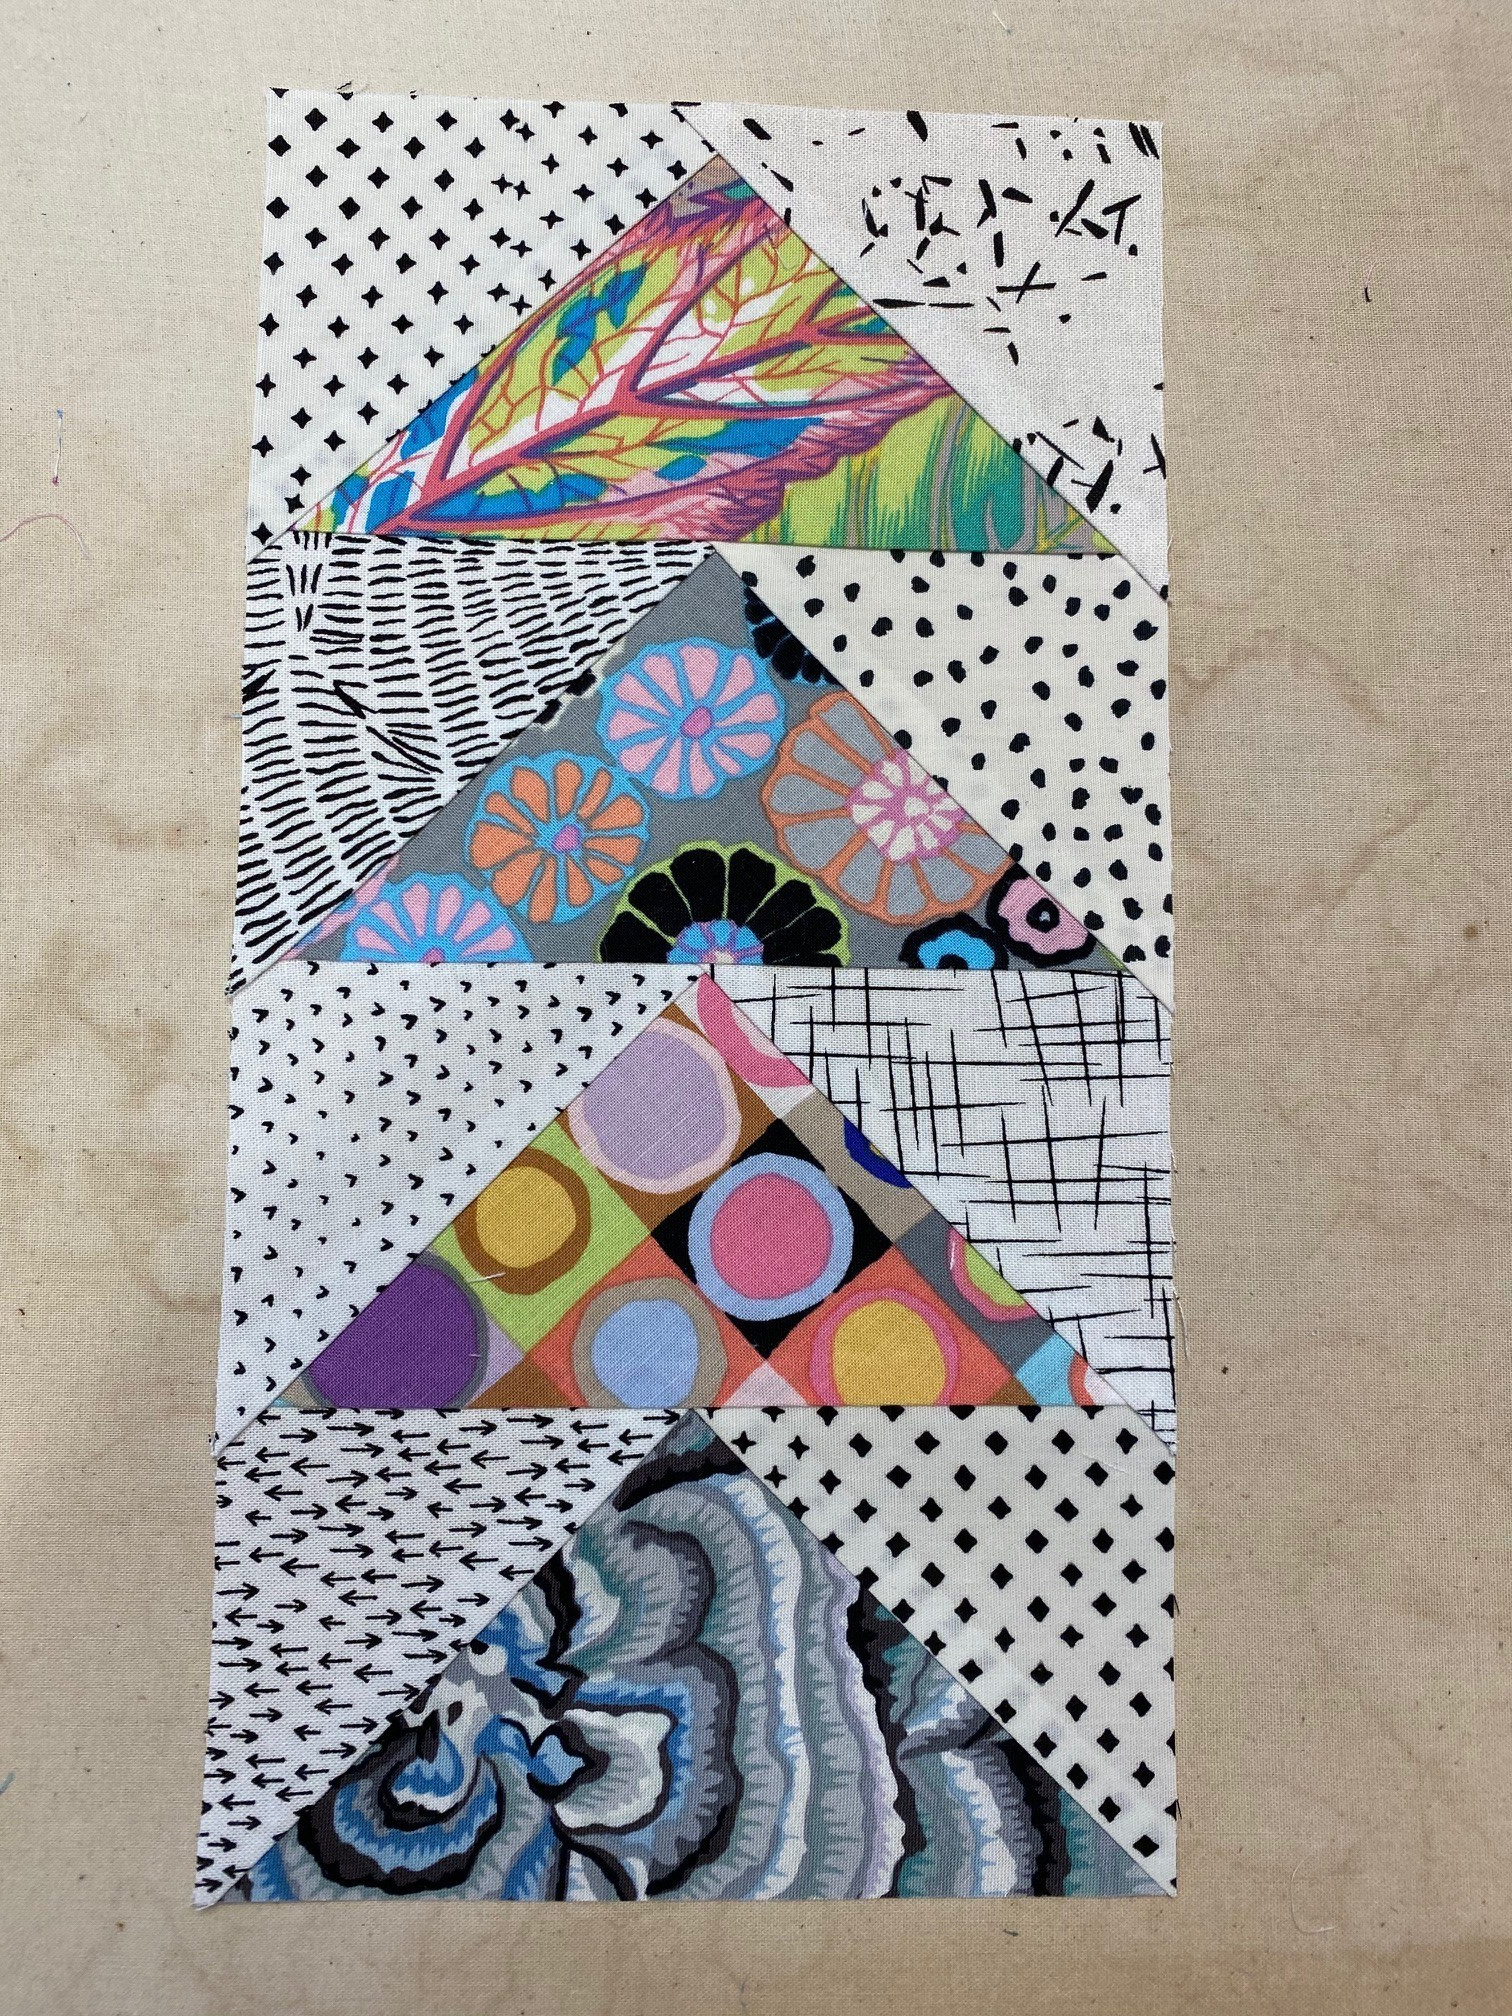
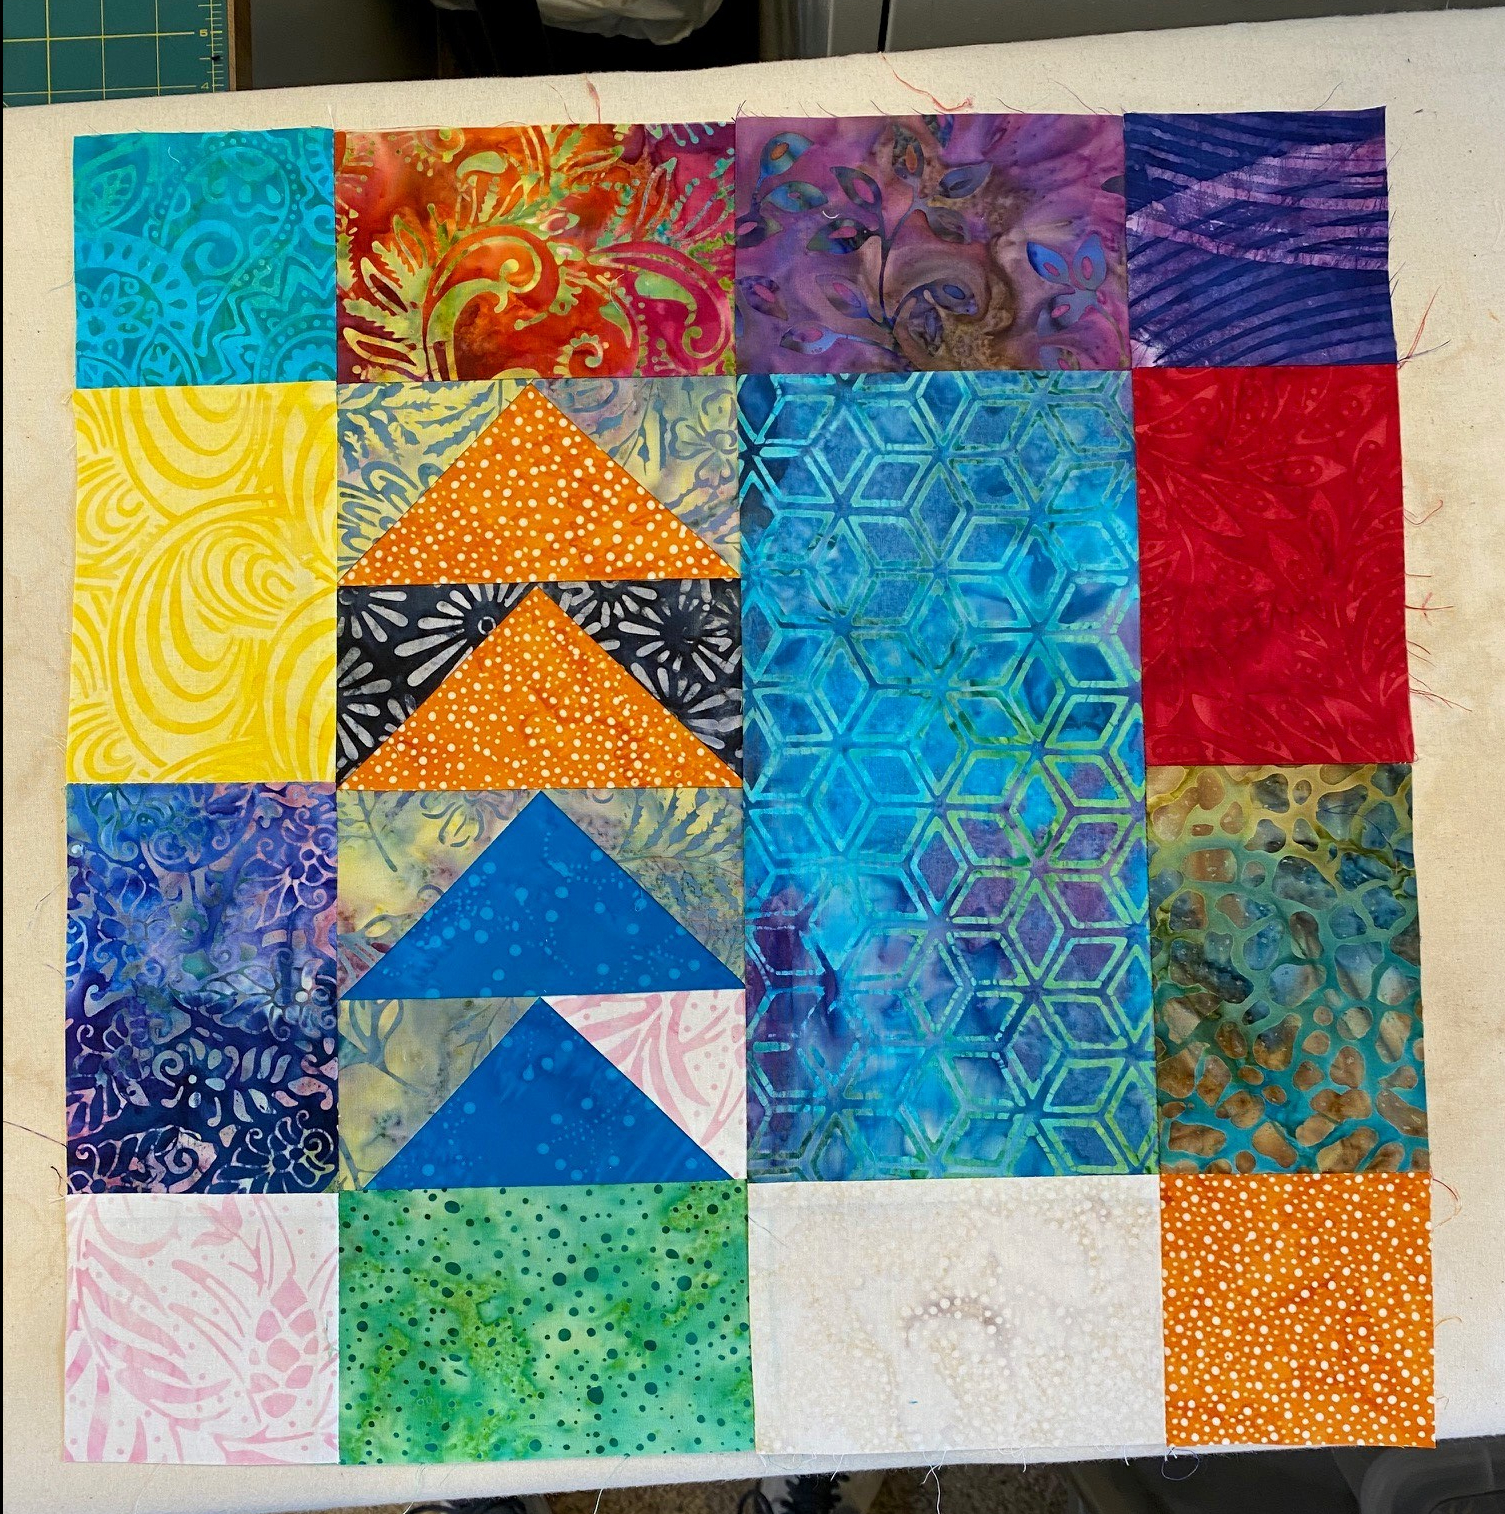
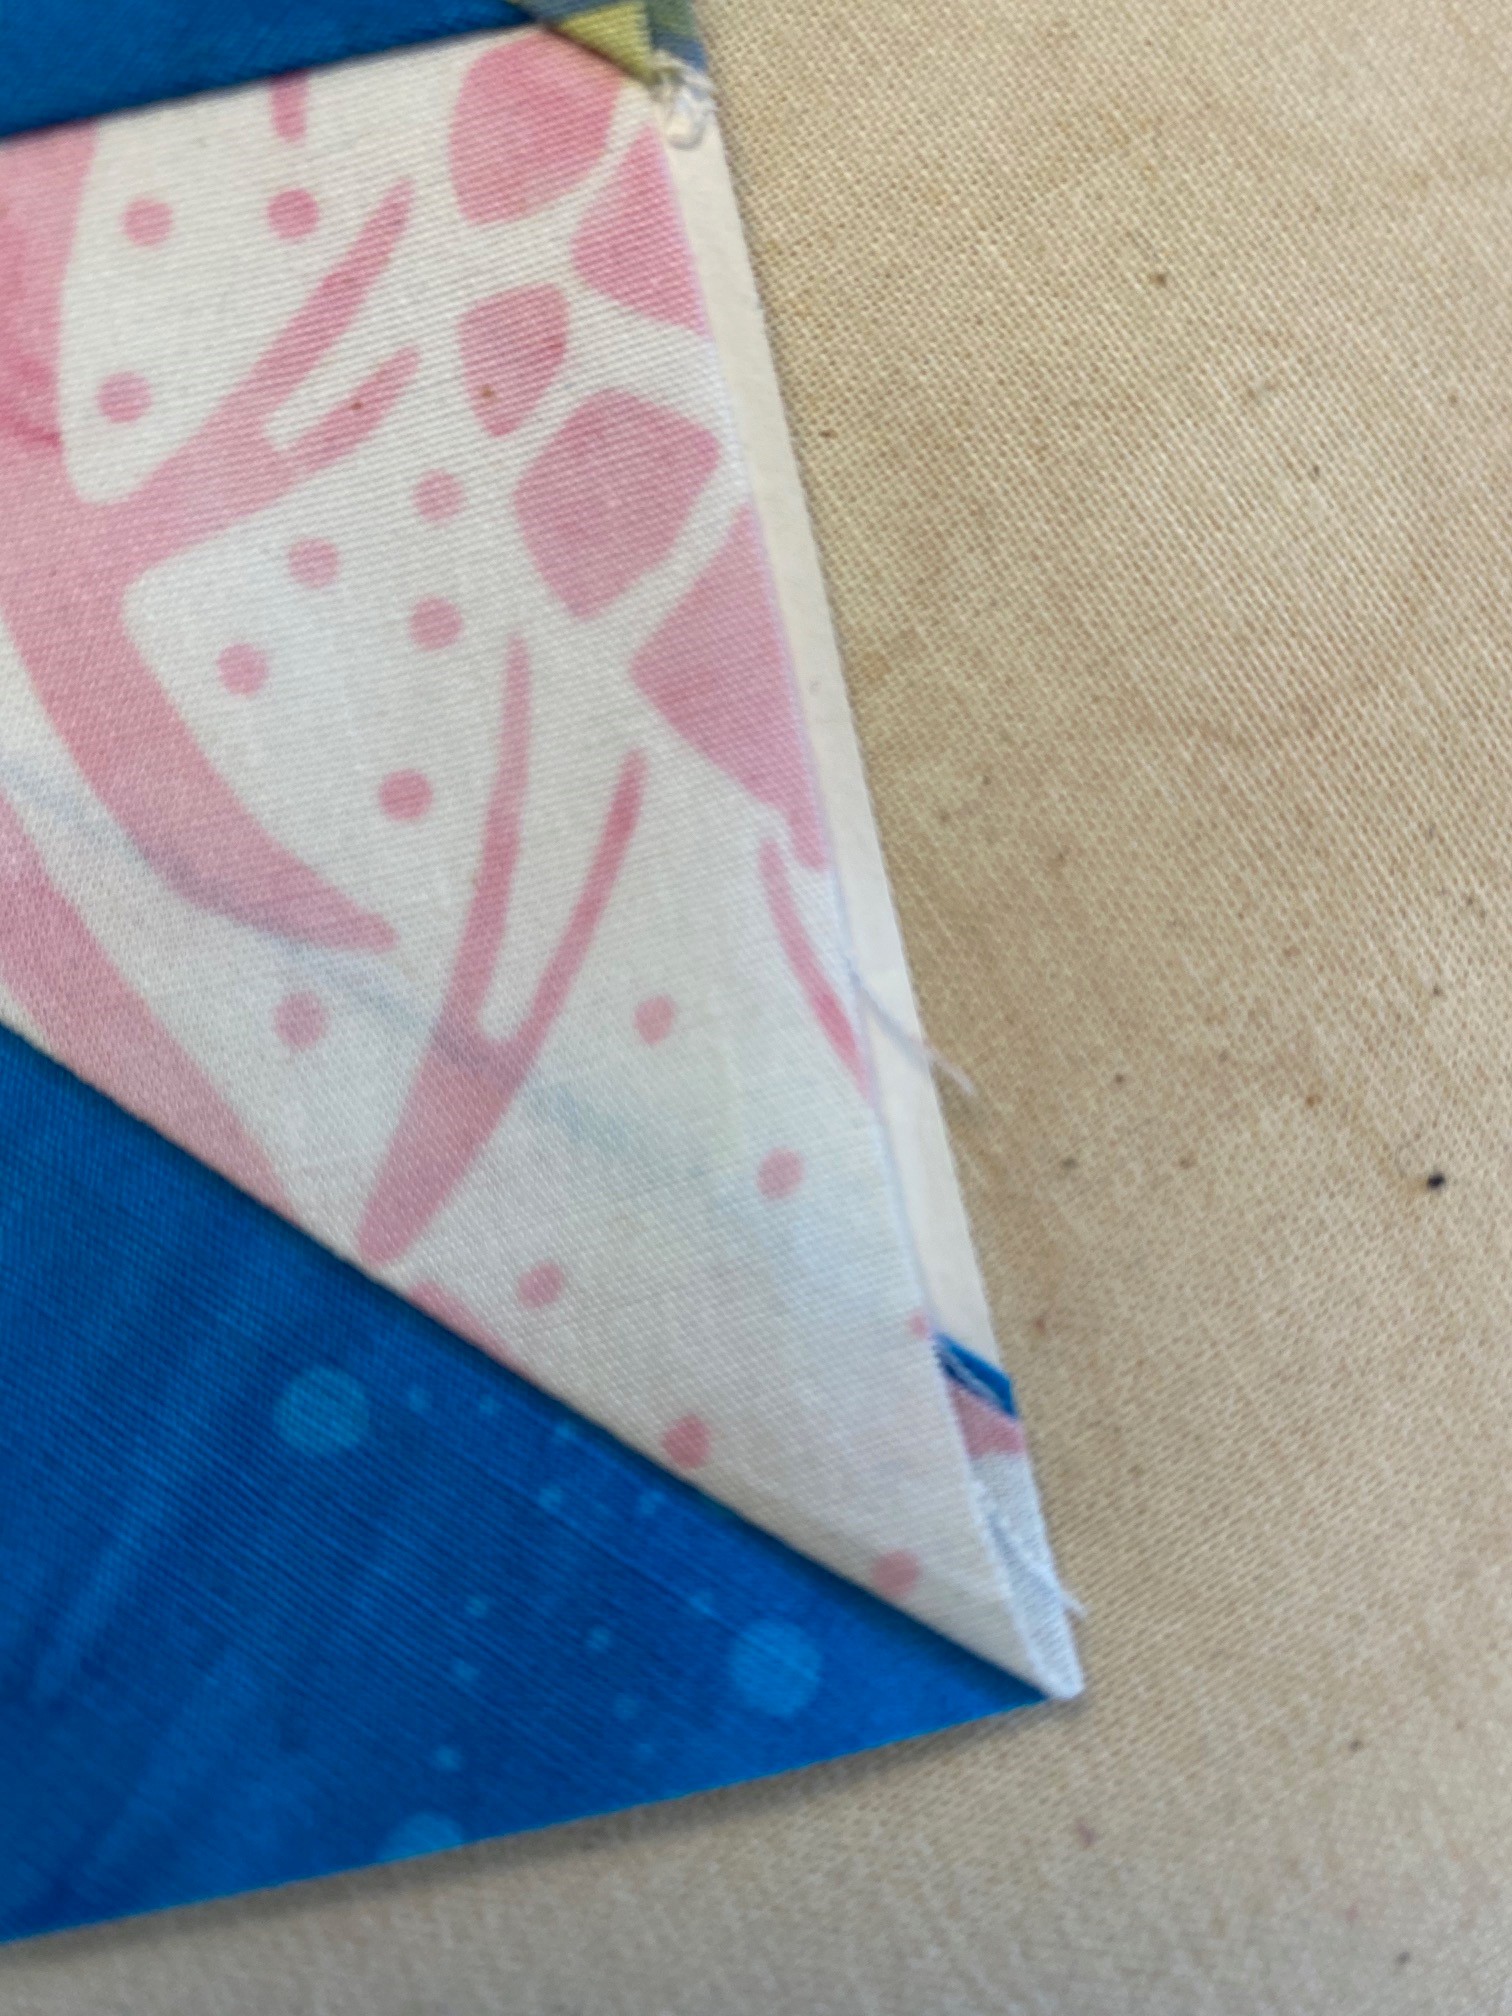 You can see in that photo that i didn’t leave myself a full 1/4 inch seam allowance. The background pieces were actually big enough, but I didn’t allow myself any room for error. I would have needed to place them very precisely each time, which is unlikely to happen. So I increased the size of the background pieces.
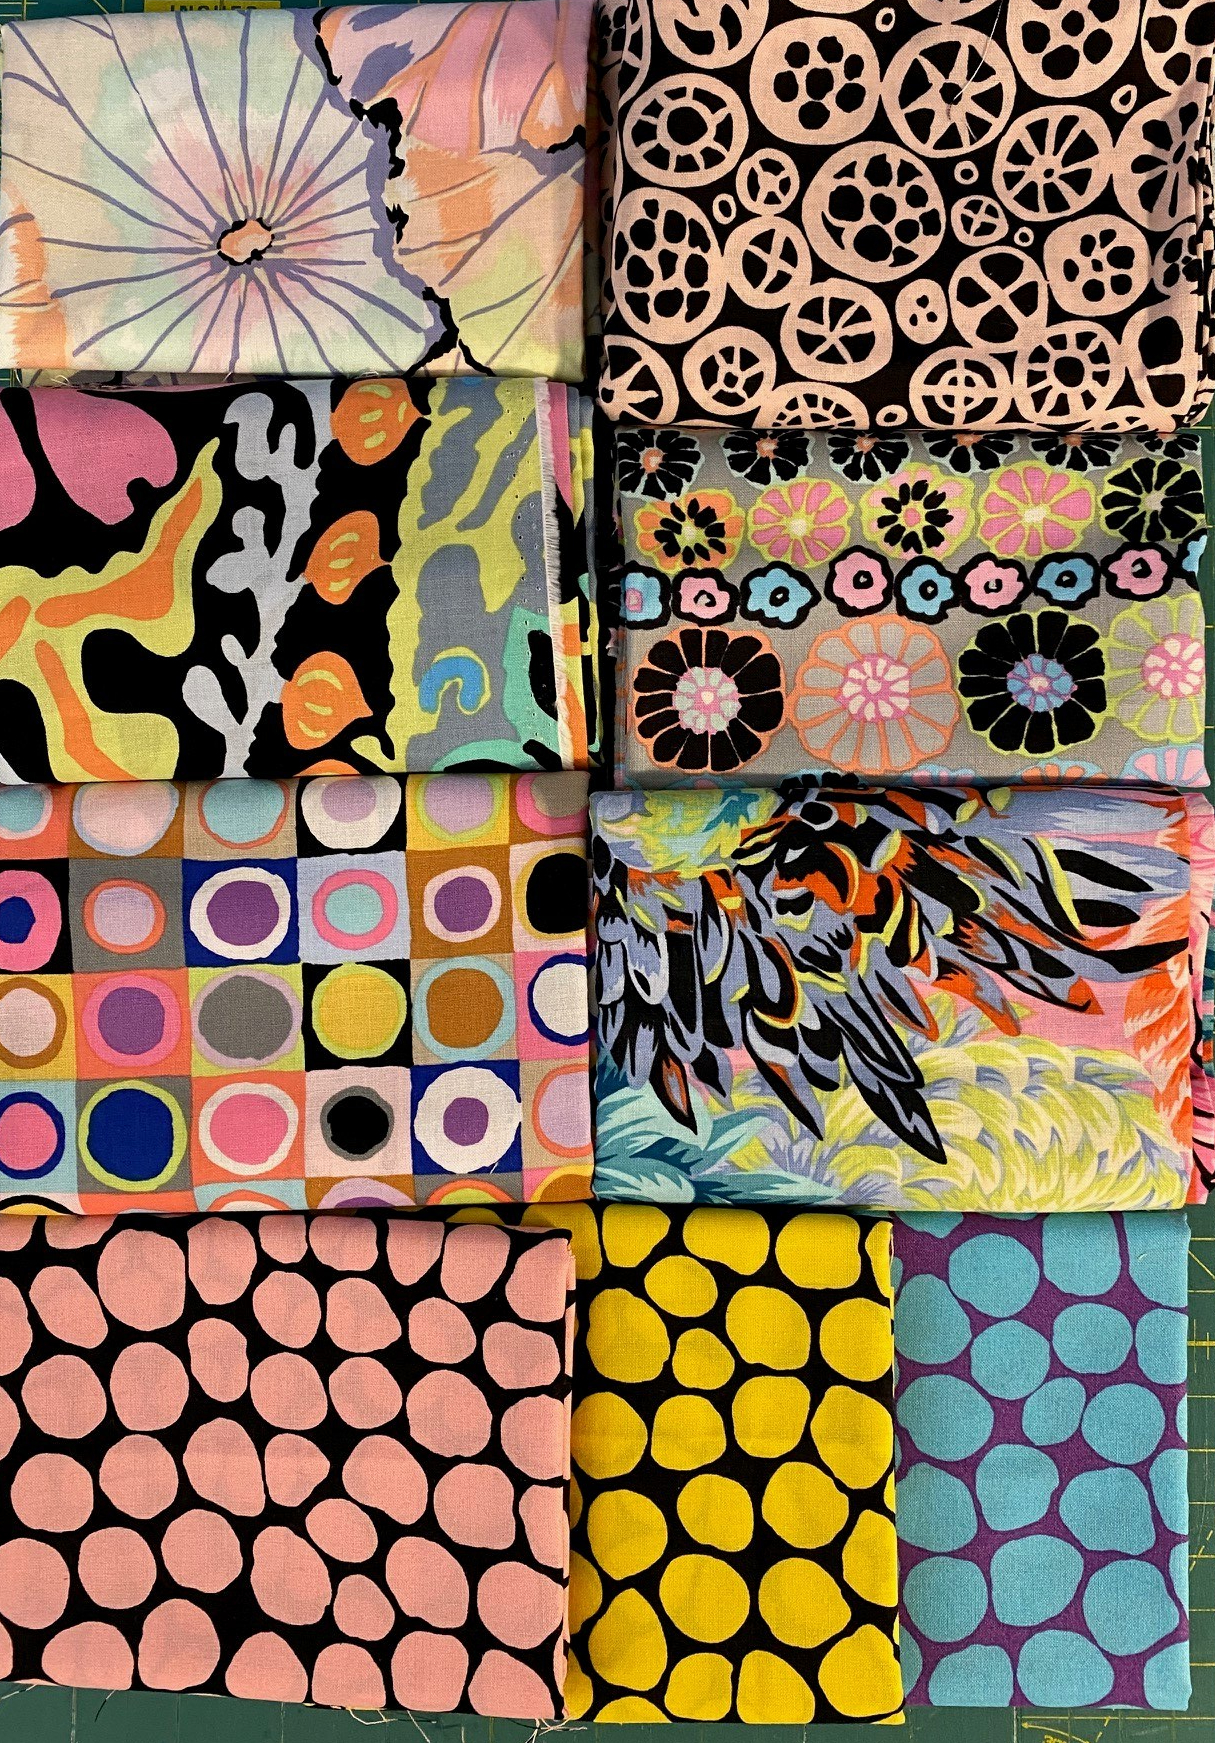
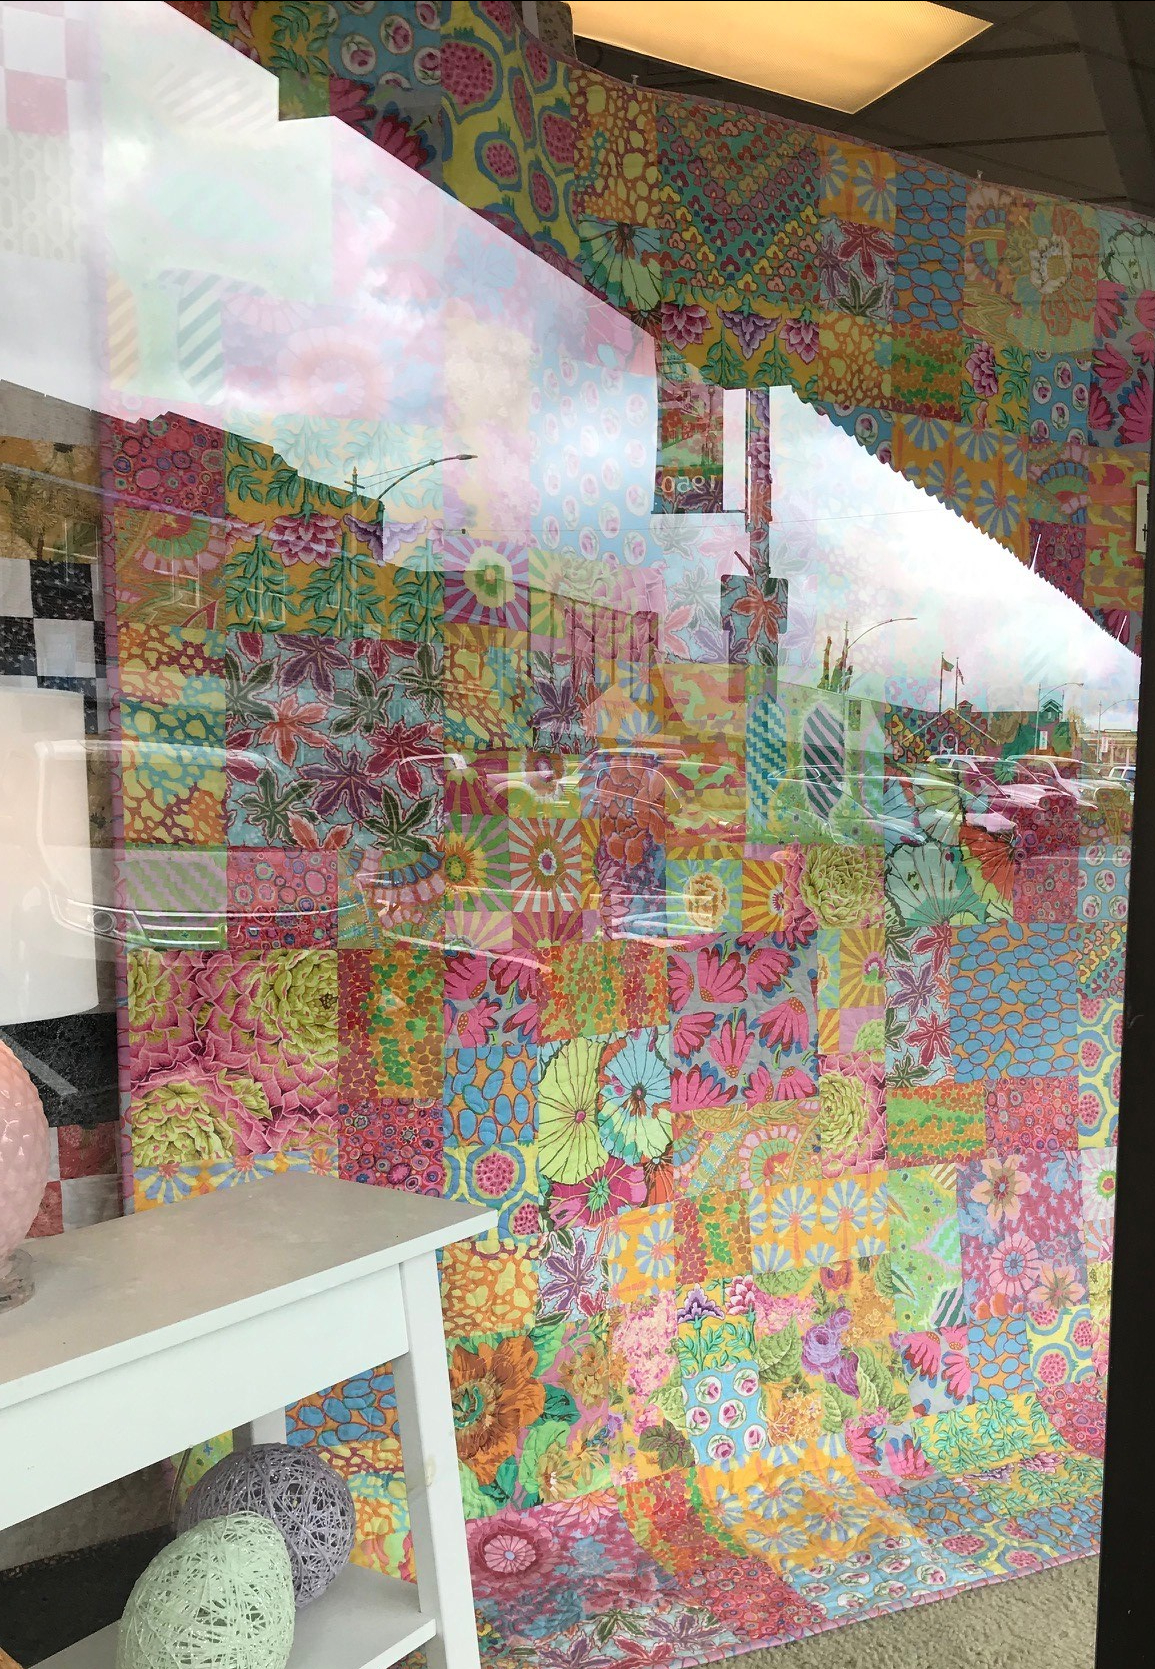
 This was the first photo I saw of this quilt and it grabbed me instantly. I thought it would be gorgeous out of KFC fabrics, but wasn’t initially thinking about using it with the contrast color way fabrics.