After our evening walk I hunkered down in my sewing room to see if I could finish the lining, pockets and zipper placket on my KFC Paperweight Frankenbag. I got close, but didn’t quite get it all done. I also documented all the steps with photos so I could write this up into a tutorial. It’s going to take some time to write that up so that it makes sense.
I did a lot of on-the-fly design as I put this lining, pockets and zippers together, and it sort of made my brain hurt. Luckily, all I have left to do is press and topstitch around the top of the bag, and then stitch down the zipper placket. I’ll finish that up tomorrow.
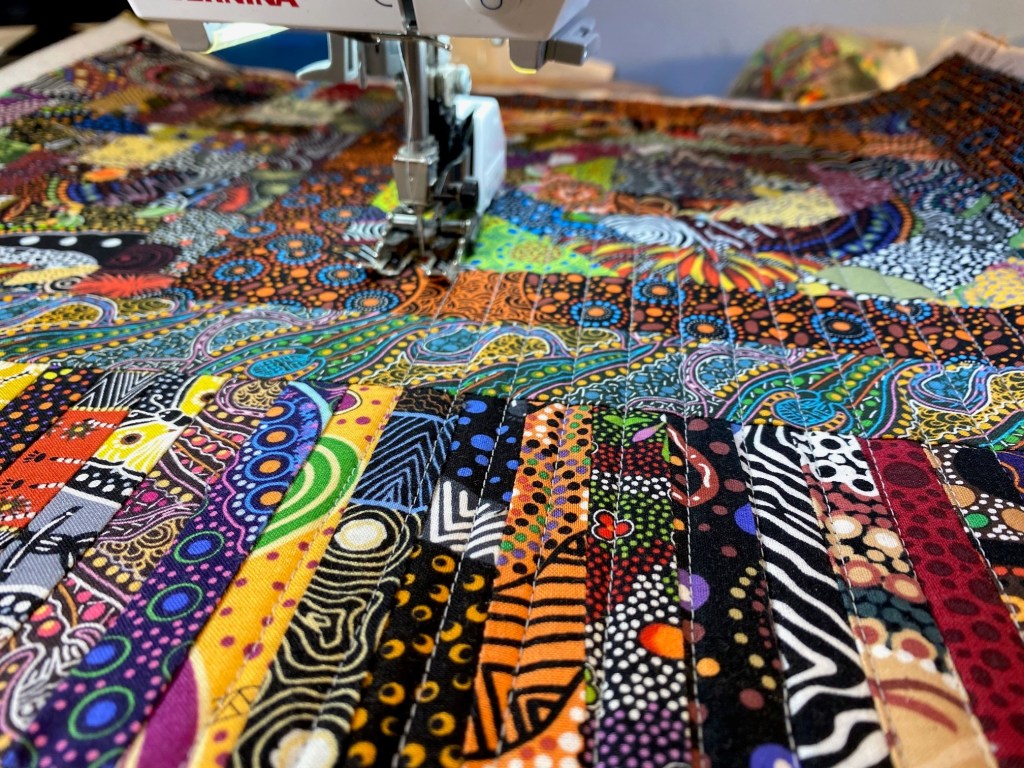
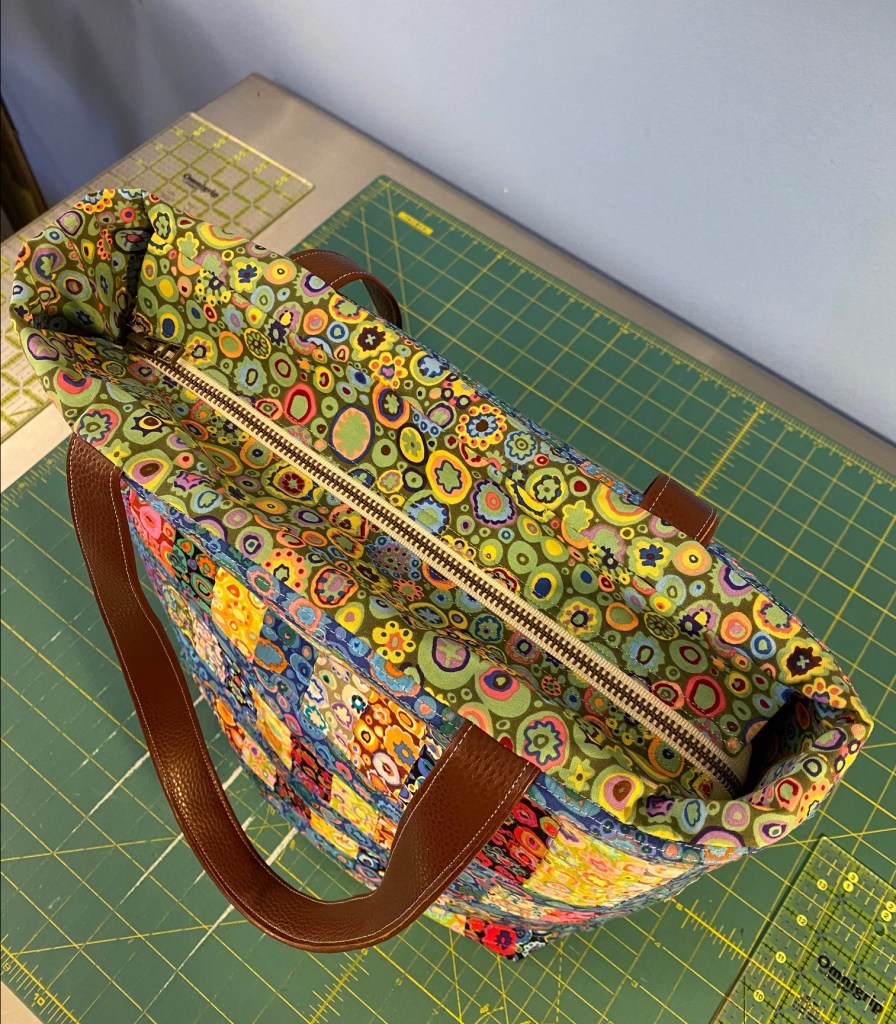
As I was walking my dogs this afternoon I had a brainstorm that it would actually be easier to do the initial attachment of the zipper placket to the lining before the bag lining was sewn together and attached to the bag body. So I figured out how to do that as I put this all together. It worked pretty well. And it means that there will only be one additional line of seaming showing at the top of the bag… it will be a little easier to hide that one row of stitching among the lines of match stick quilting.
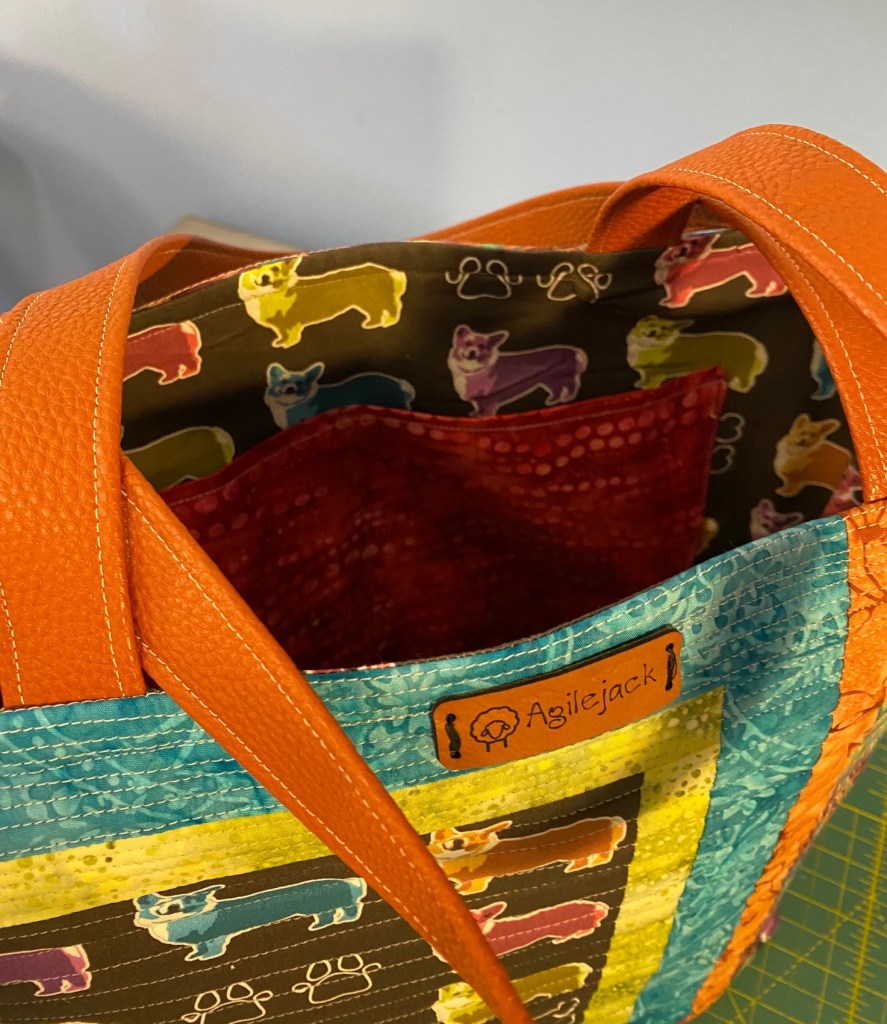
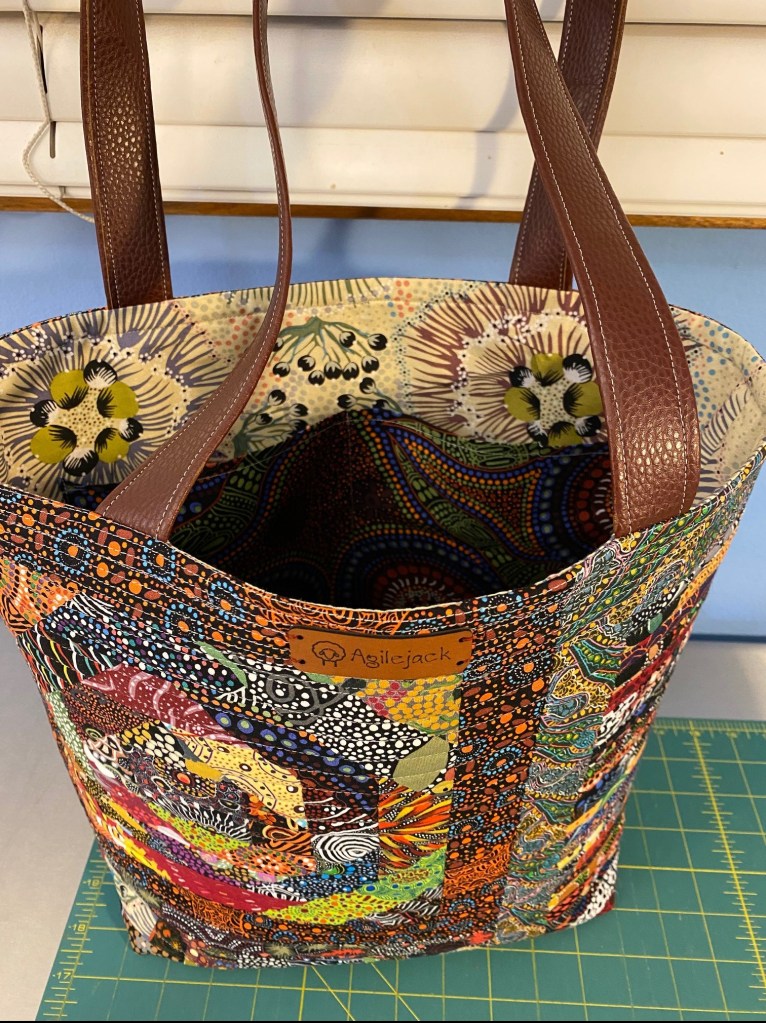
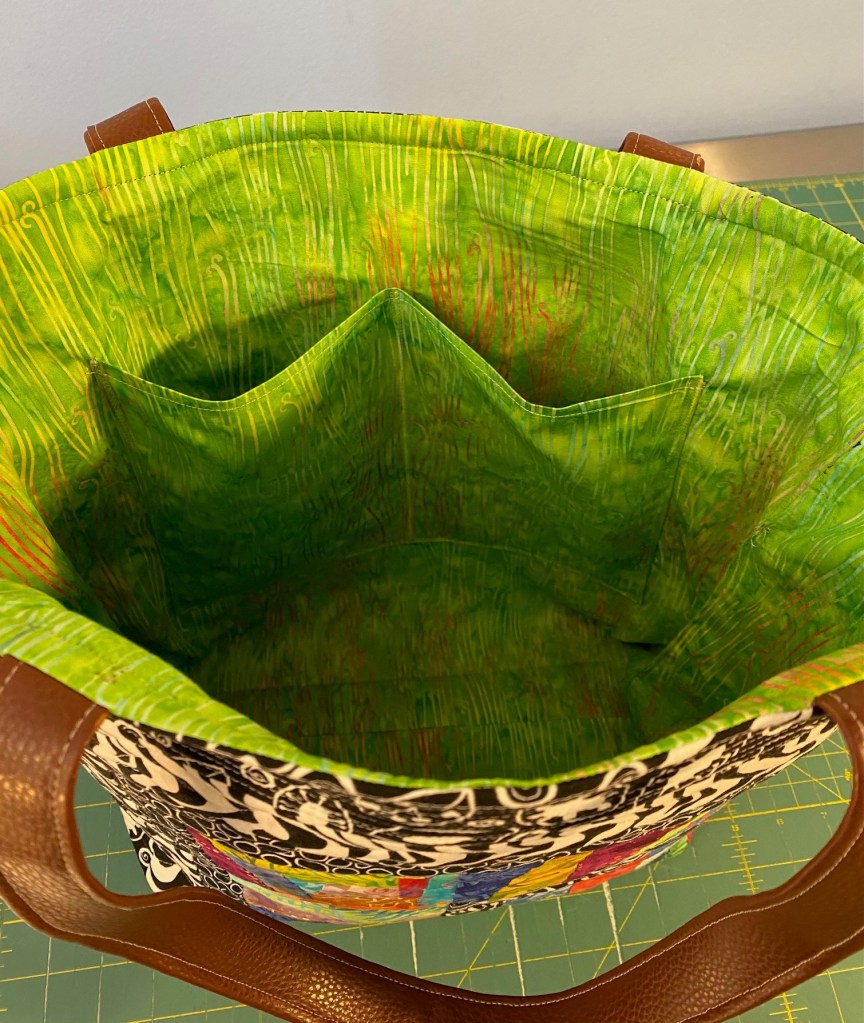
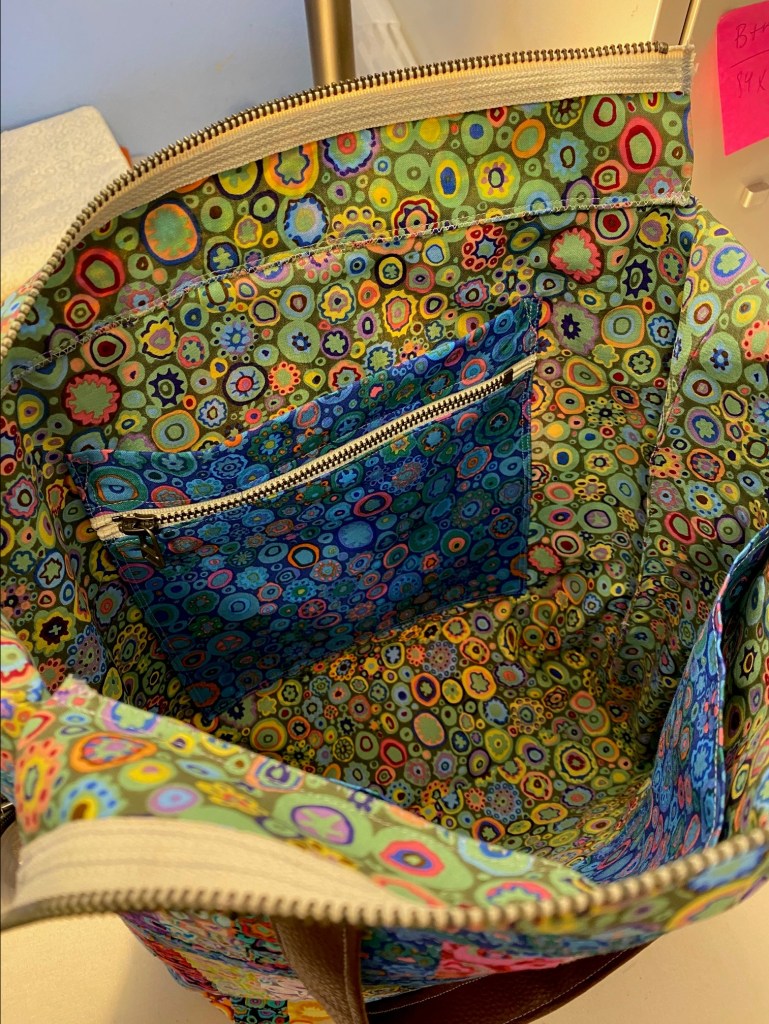
Here’s a look at the pockets on the inside of the bag. One zipper pocket and a divided slip pocket.
I also figured out that zipper pocket as I made it. It turned out pretty well, but I will change a few things when I make the next one.
I sewed the zipper pocket on so that it’s a zipper AND a slip pocket at the same time. So it will do double duty. So many pockets!
This pocket is part of what made my brain hurt. I really figured this out as I made it. I really didn’t want to make a fancy zipper placket so tried to figure out an easier construction. It was easy to put together, but I used a light fusible interfacing on the pocket and it ended up being just too much. I also screwed up and ended up with the interfacing as the inside of the pocket, rather than a piece of fabric to line the pocket. But I’ve noodled out in my head how I will fix this in the next bag. In my sore brain it seems like it should work. But that’s what I thought when I made this one!
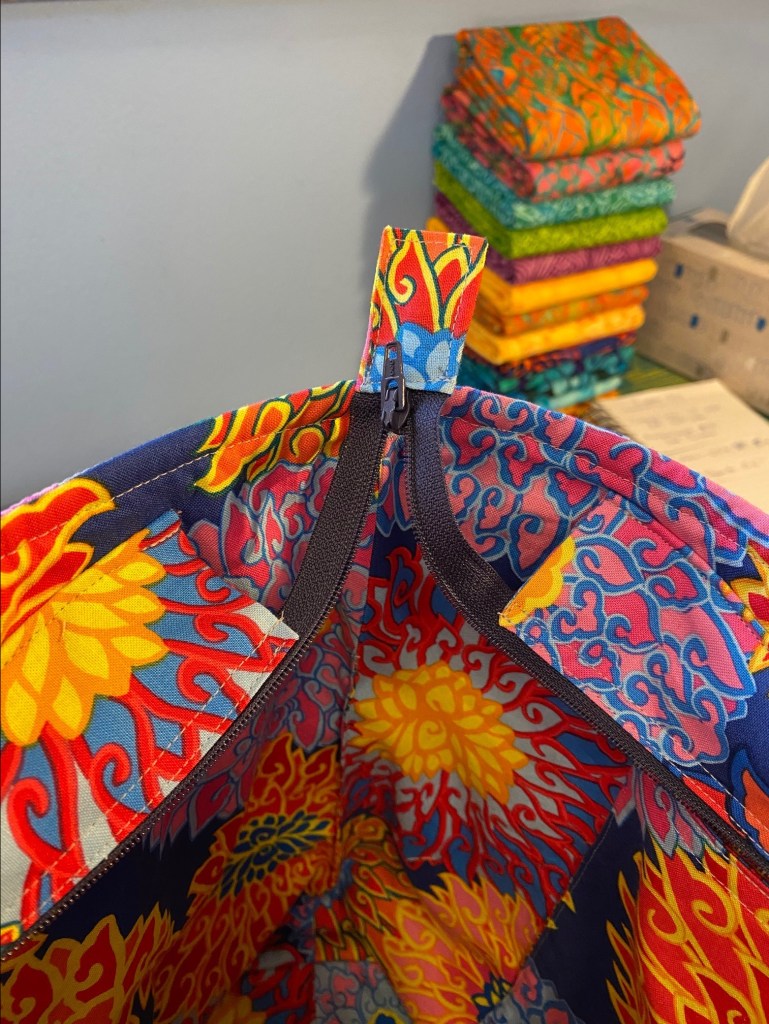
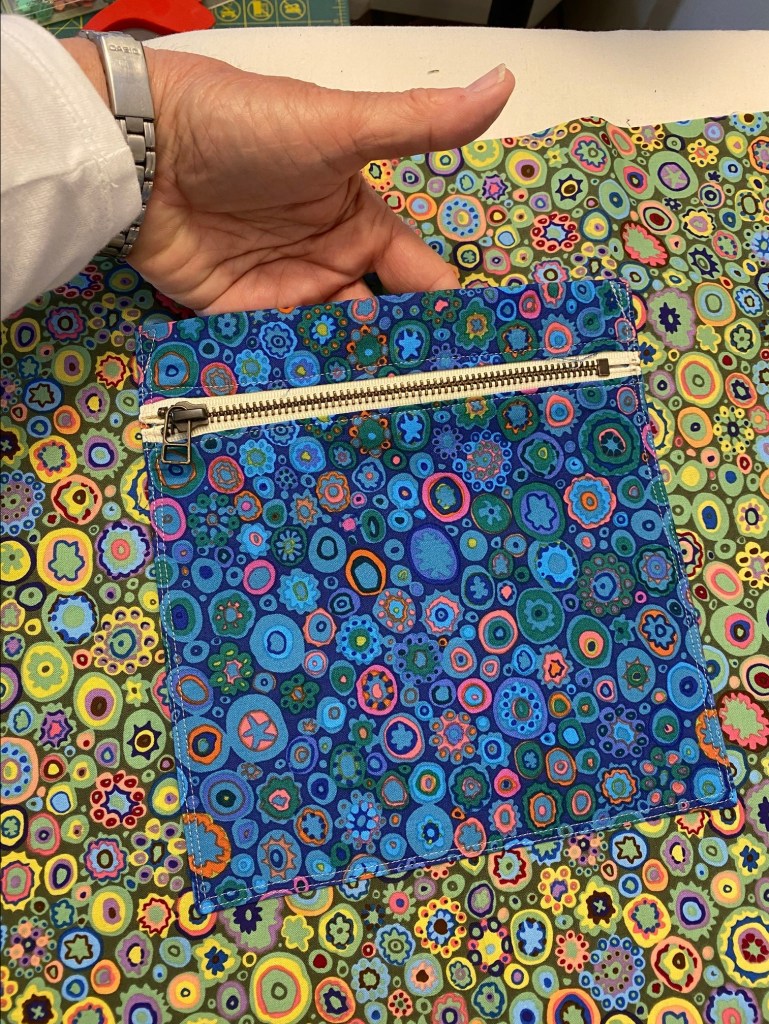
Take a look at this zipper placket once it was constructed. This part didn’t so much make my brain hurt.

I like these metal zippers and have been wanting to try them instead of the nylon zippers I use for my zipper pouches. But they present some challenges. First, you can’t sew over a metal zipper. So that affects how you construct things like pockets and plackets where you WANT to sew over zippers. Second, the zippers are a little stiff. I’m guessing they will loosen up over time and be more smooth to open and close. I have four more of each size to use up. I like the look of them, but I’m not sure I’ll buy more.
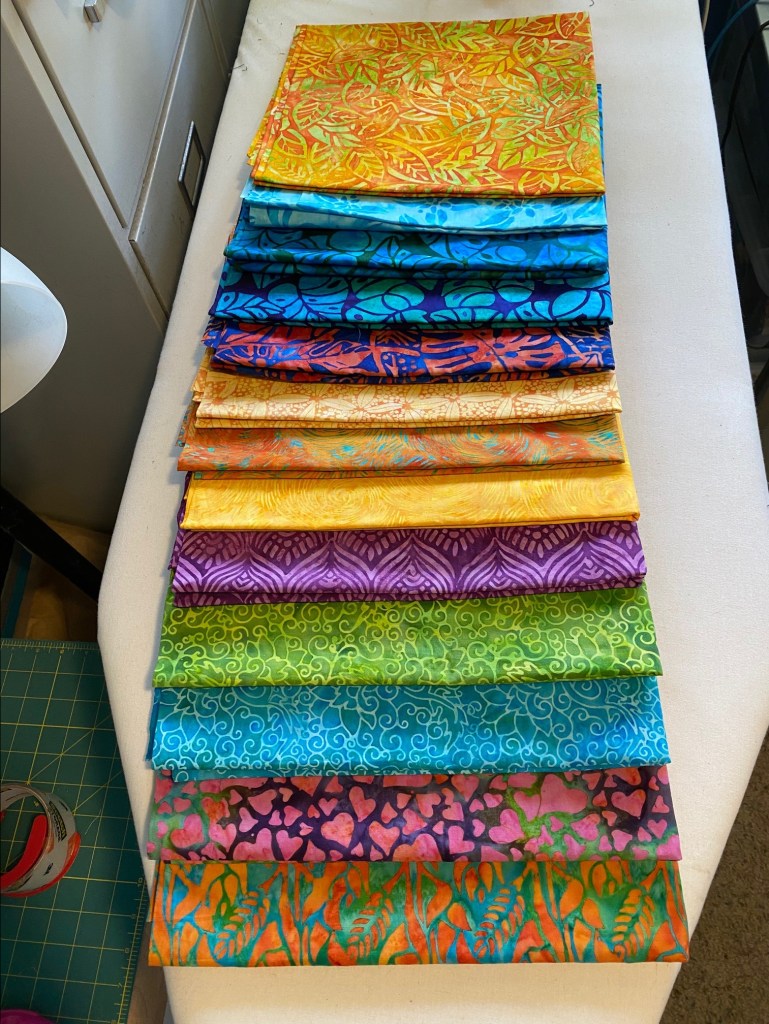
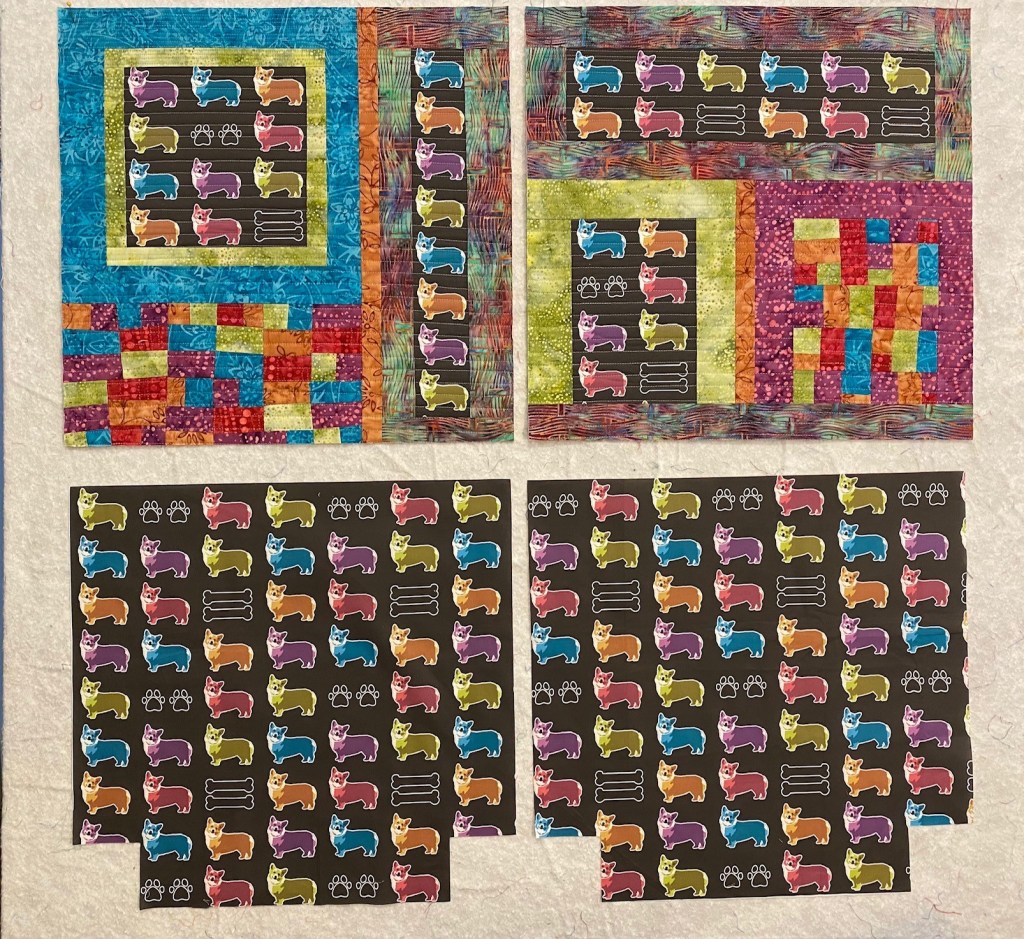
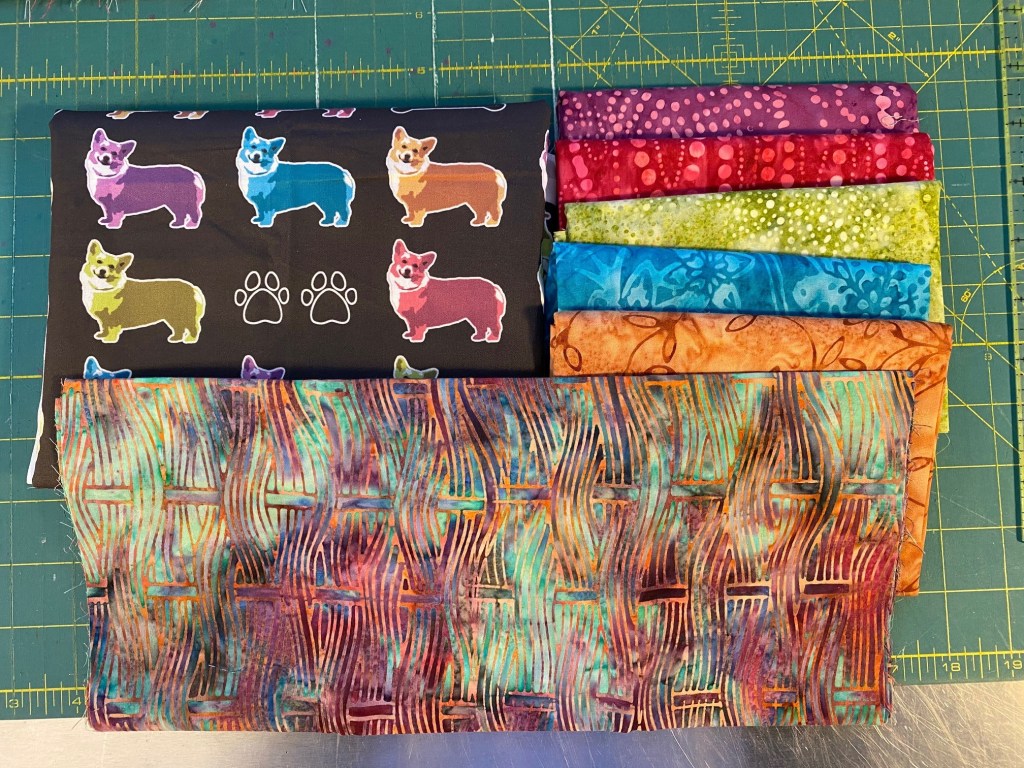
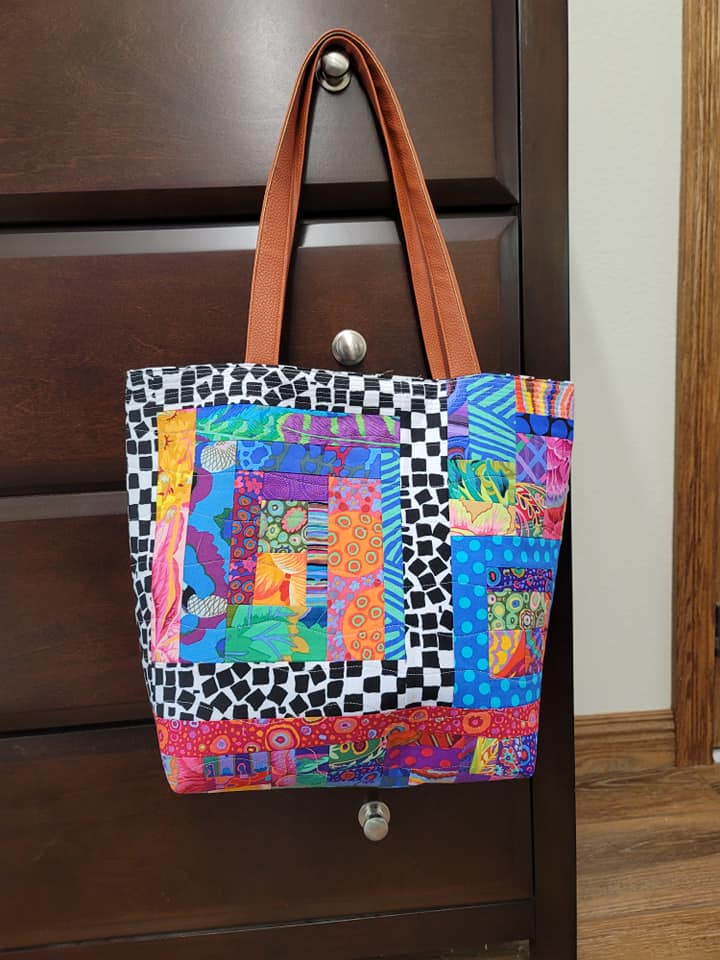
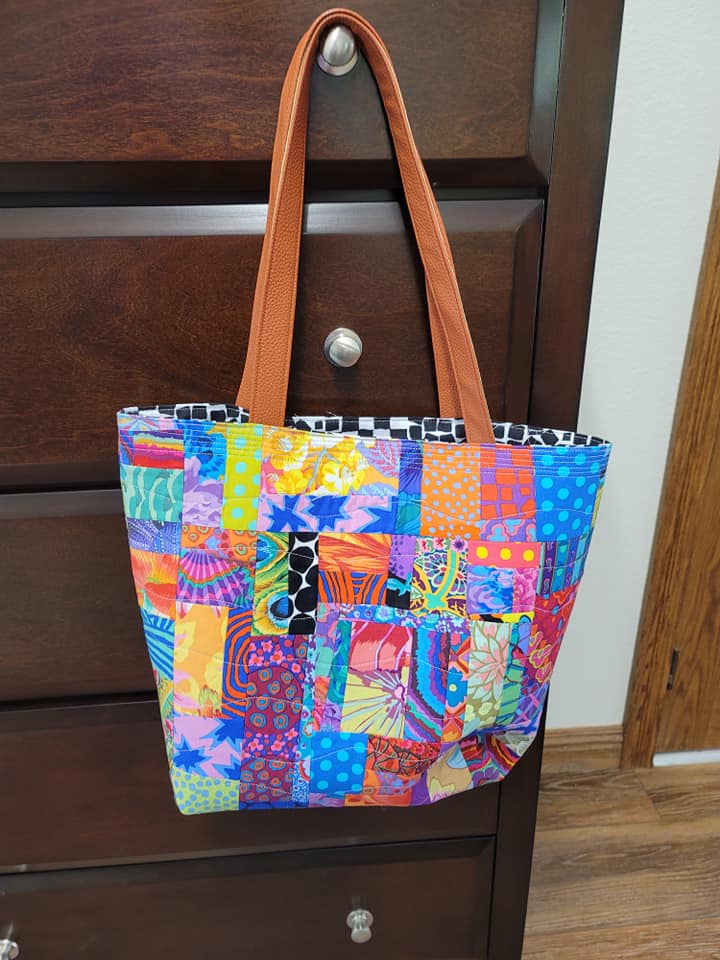
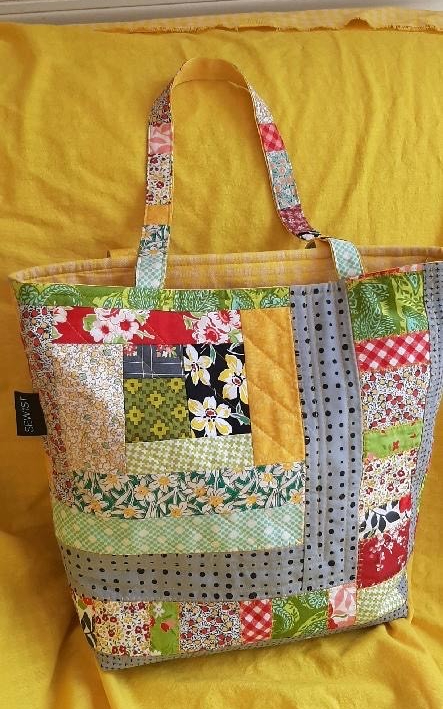
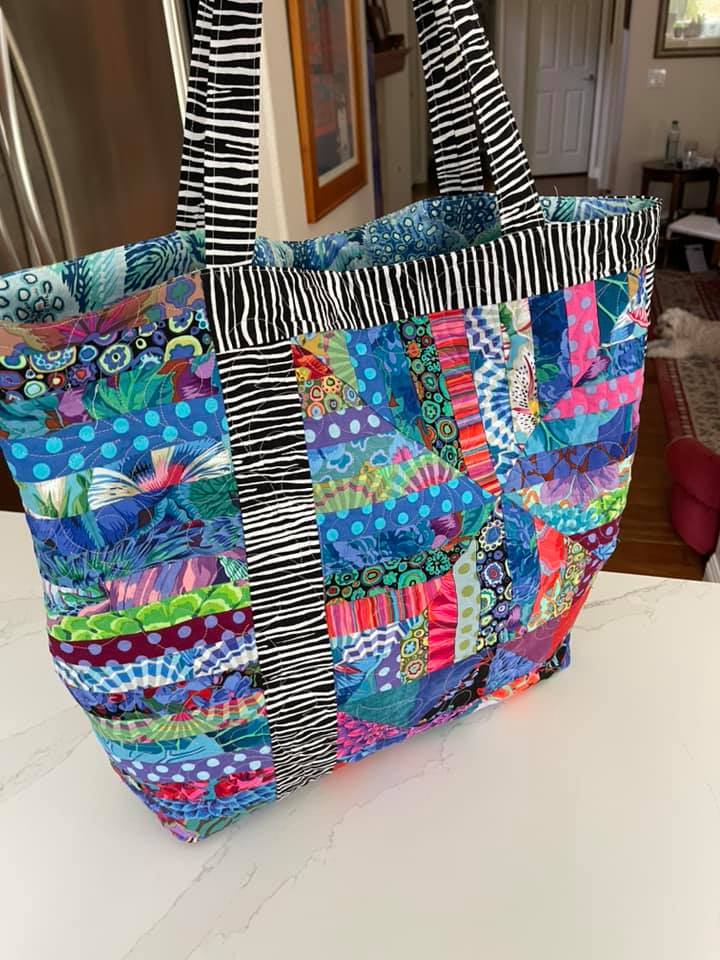
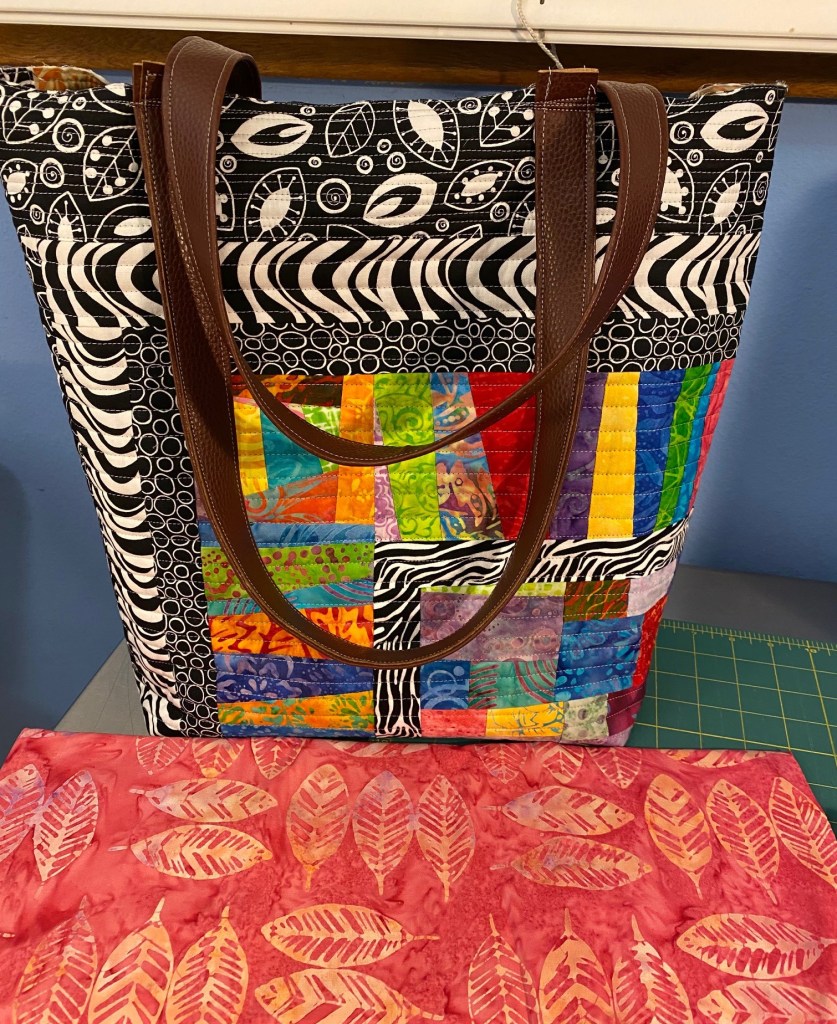
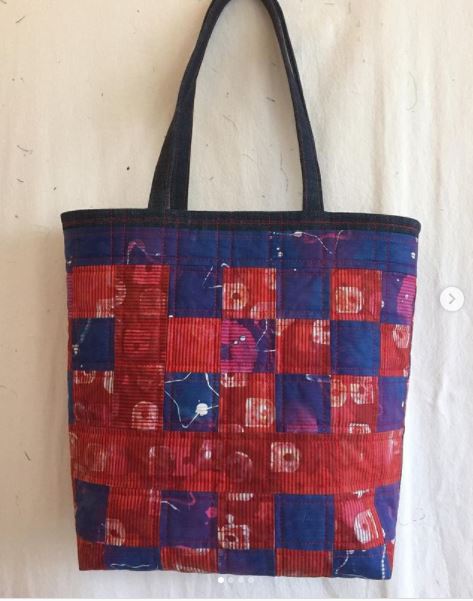
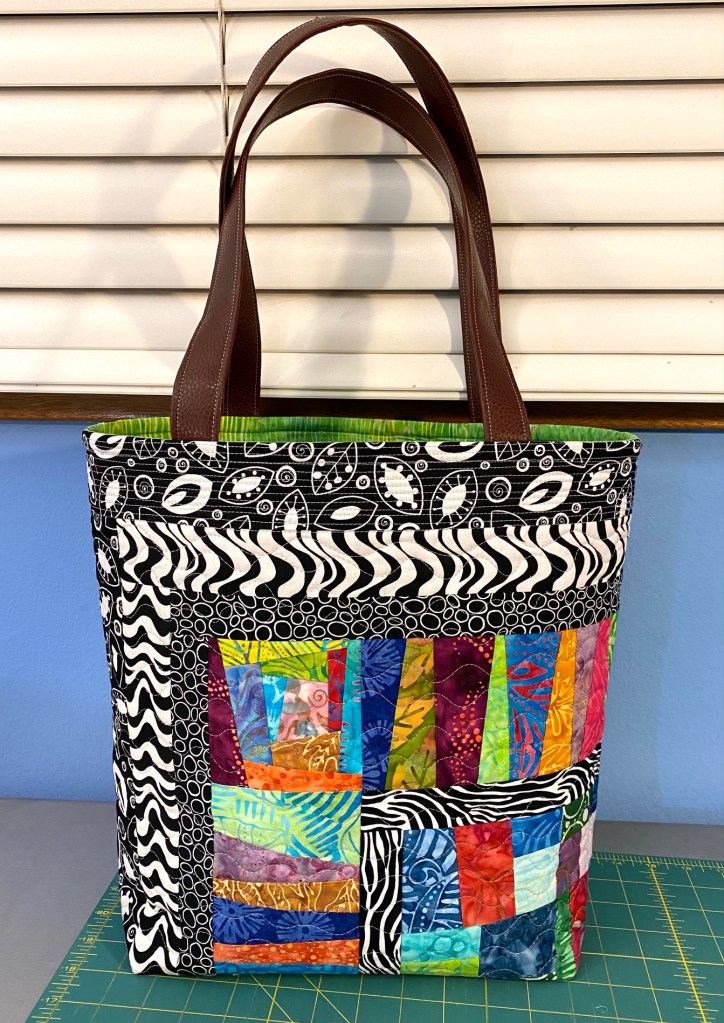
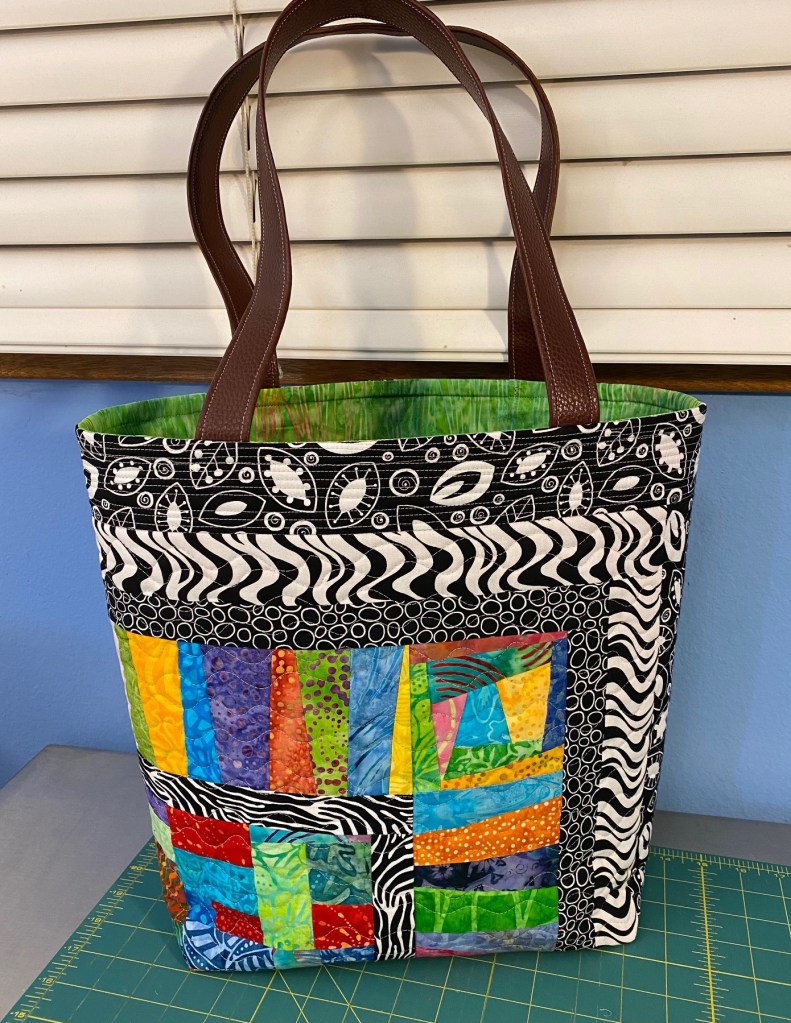
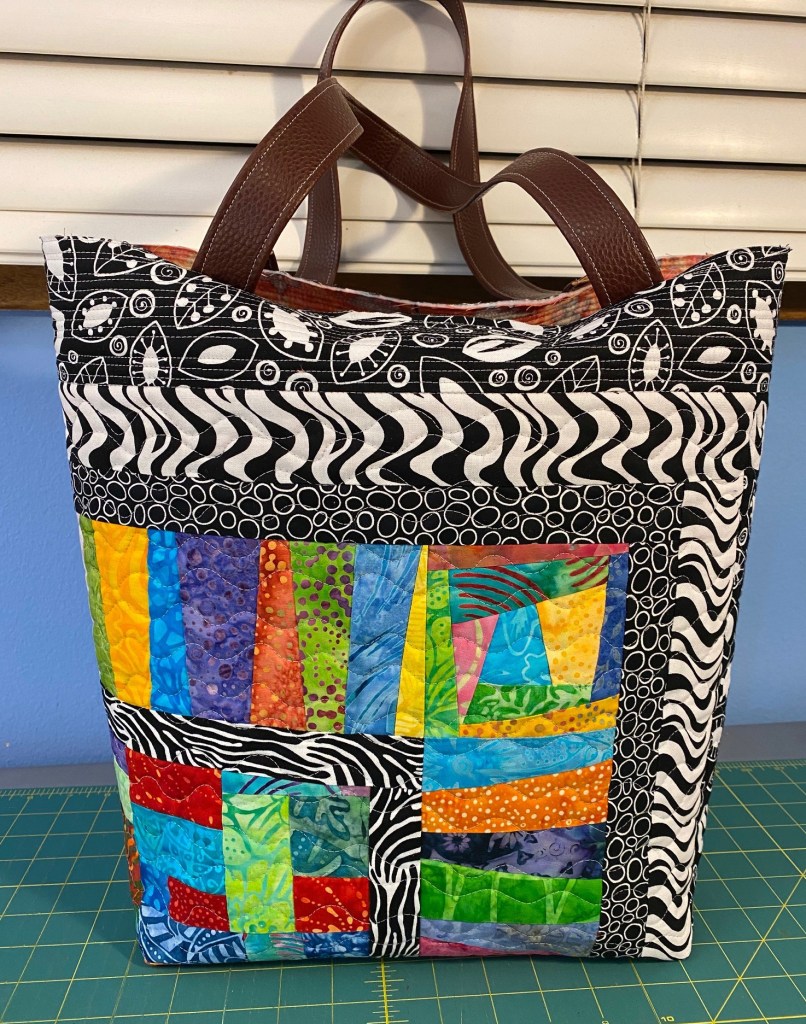
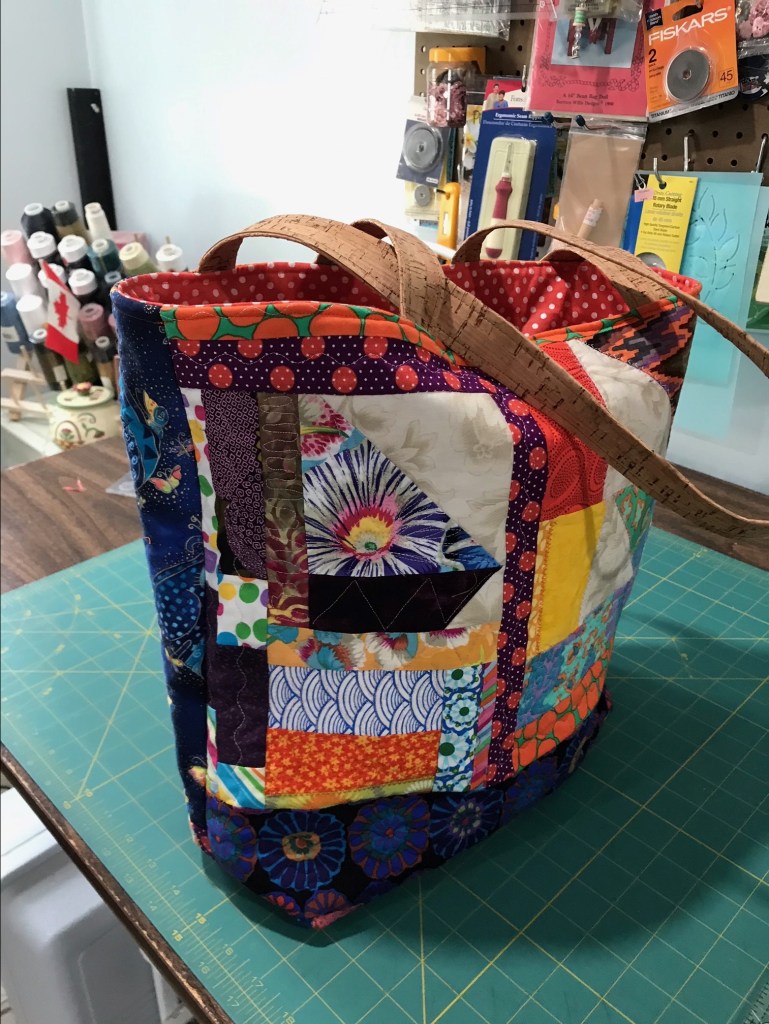
I received some more photos of Frankenbags made by blog readers. This first one was made by Debbie Fraser out of some lovely warm batiks. This one really makes me want to dig into my batiks! Maybe that’s the next bag I’ll make. I’ve been noodling some ideas out on how to use my batik scraps. Oh, and I love that vertical quilting. I want to try that too.

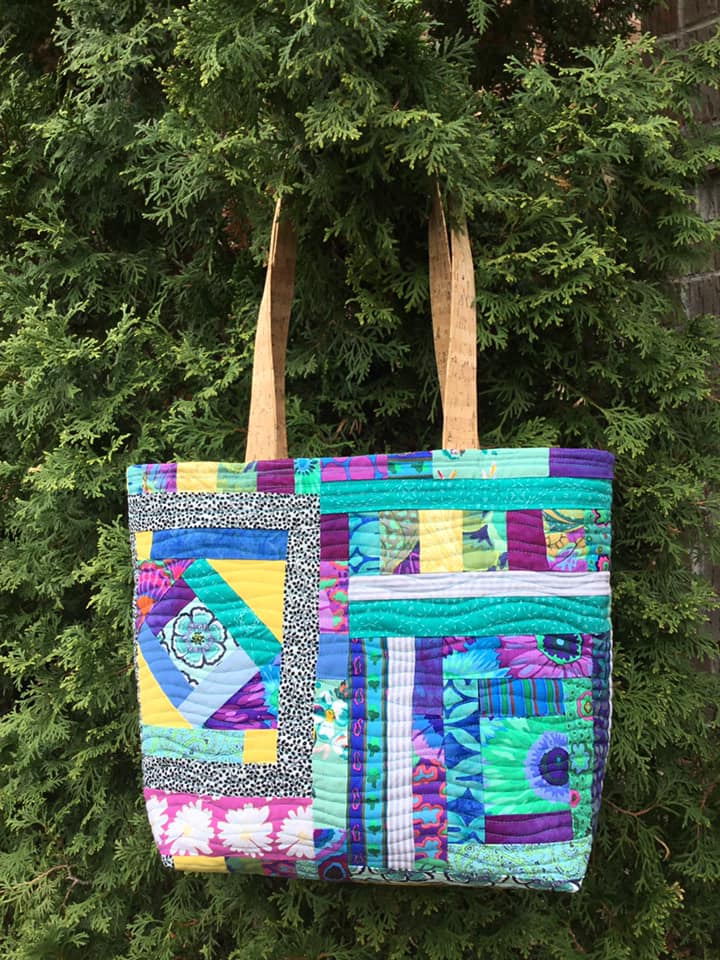
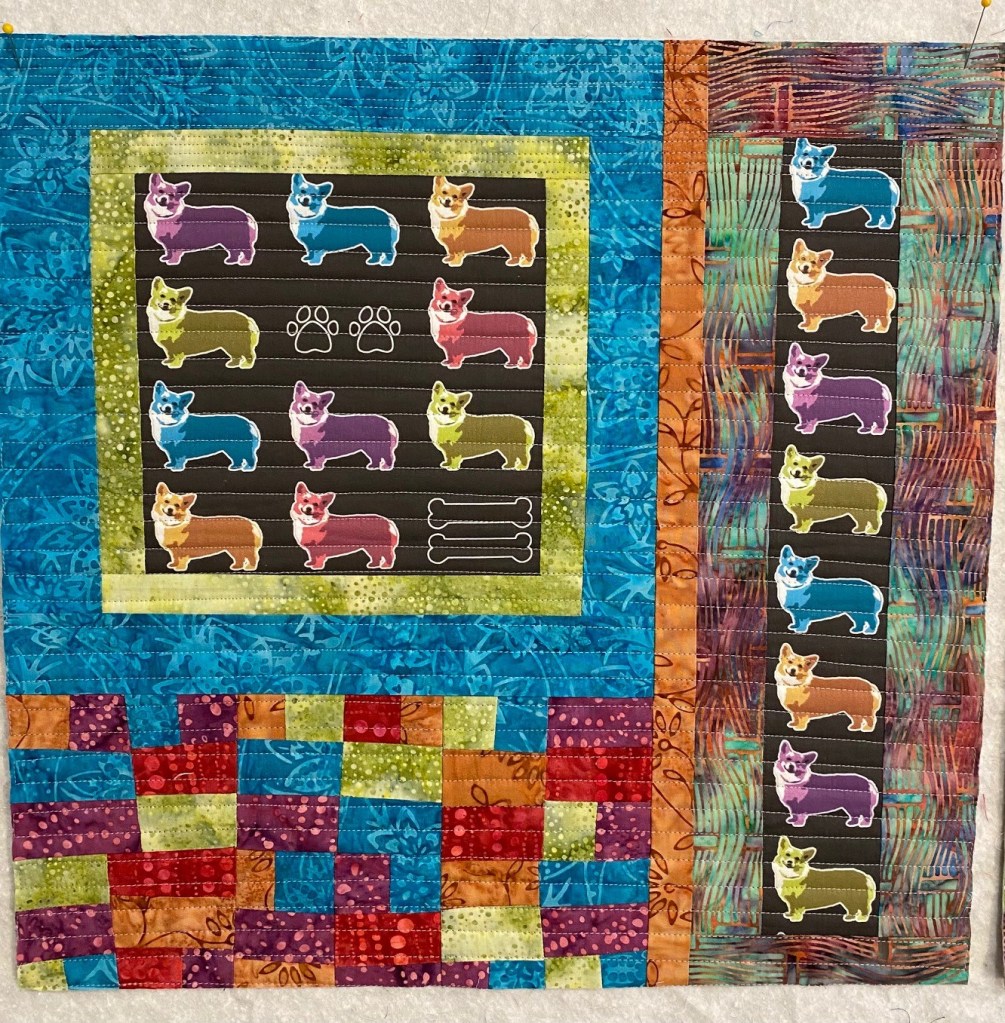
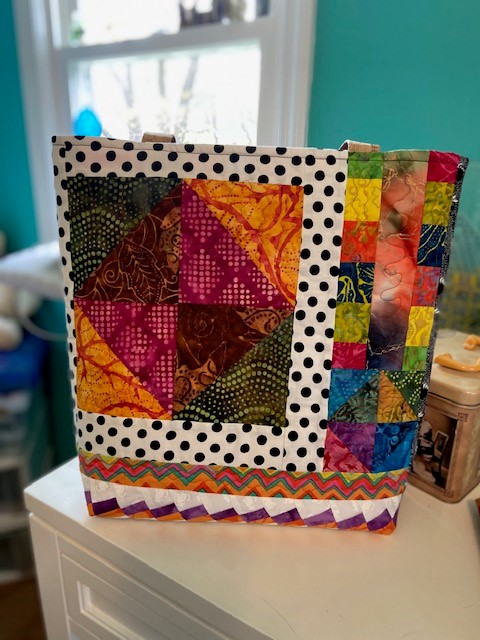
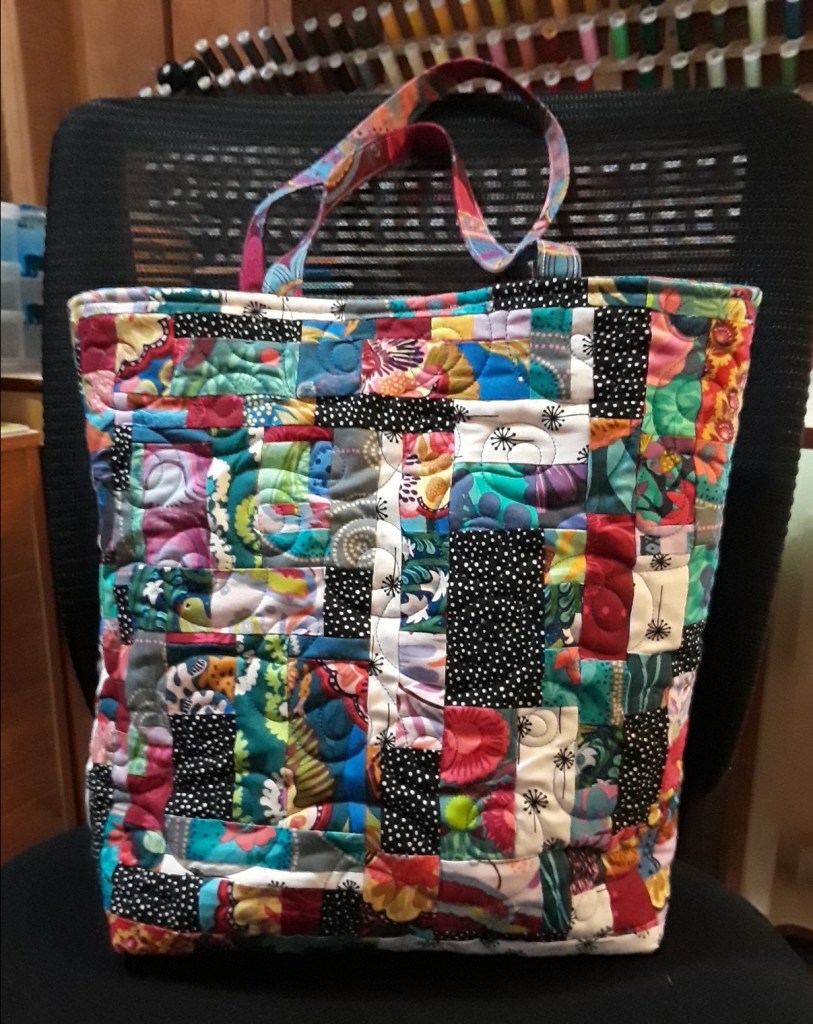
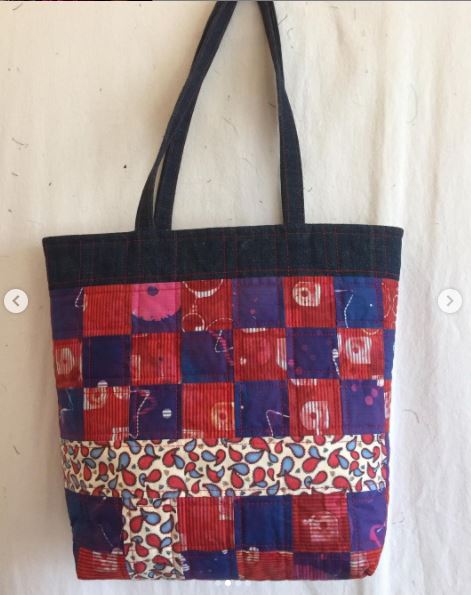
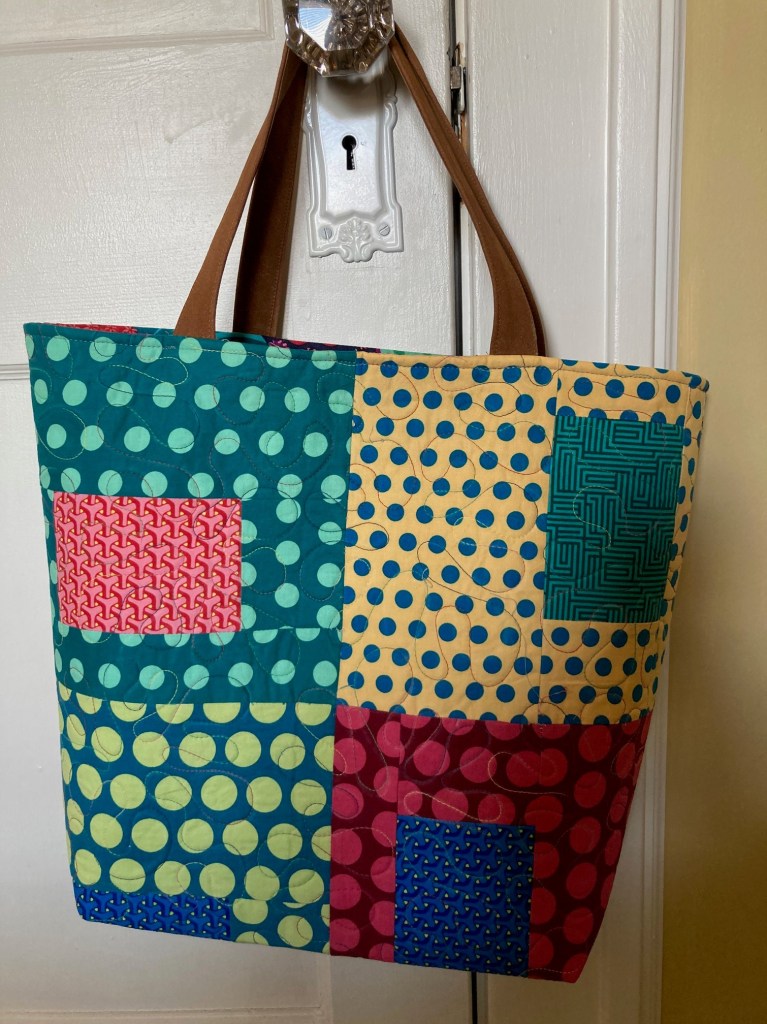
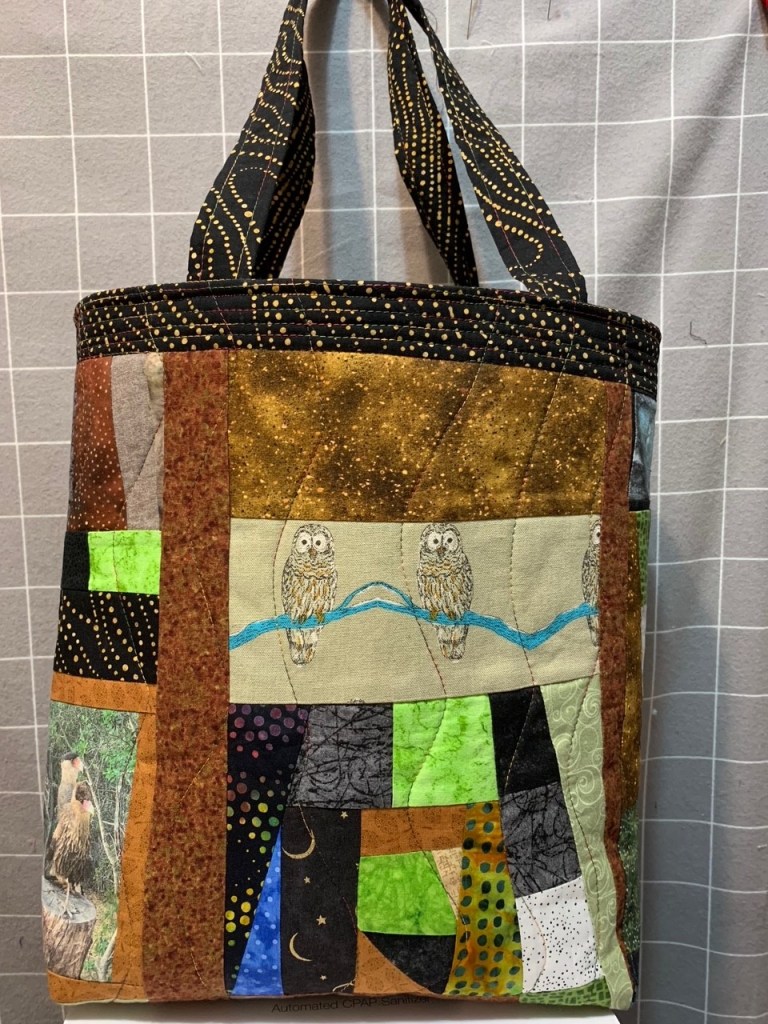
This next bag was made by Josephine Abbot. I love the way she incorporated that New York Beauty block. I’m pretty sure I have a few of those made from KFC fabrics and batiks laying around somewhere. I wonder if I can find them. They’re left over from this wall hanging.

Those KFC oranges, pinks and yellows are so pretty against that indigo background!
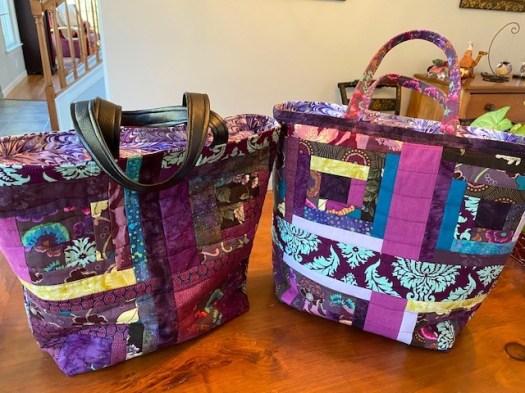
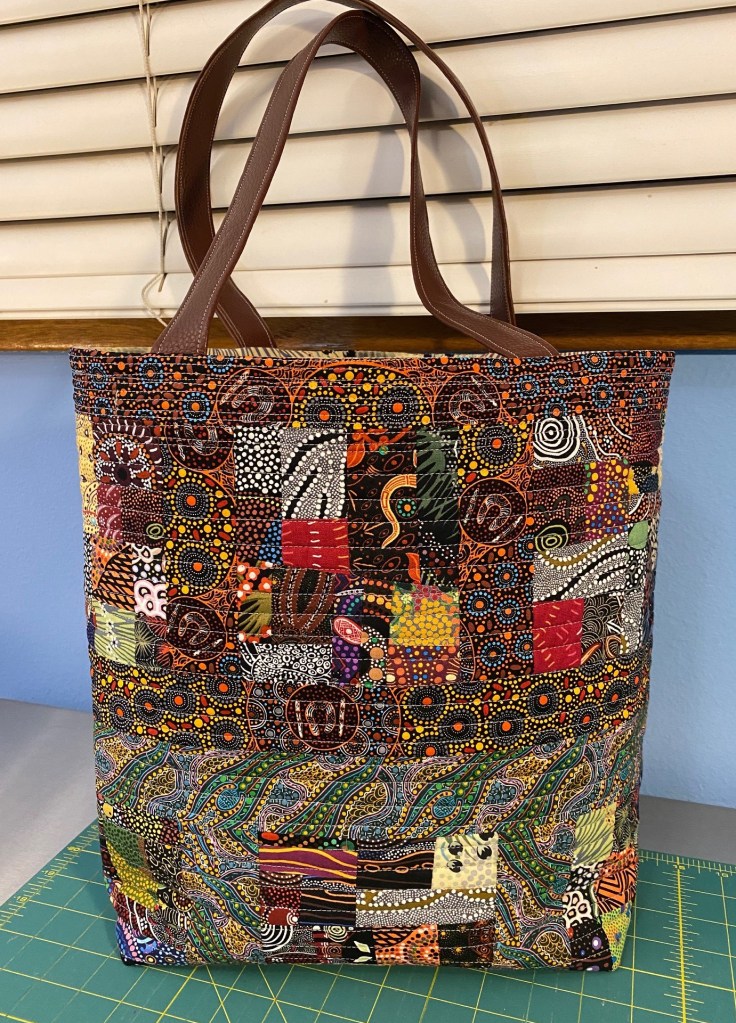
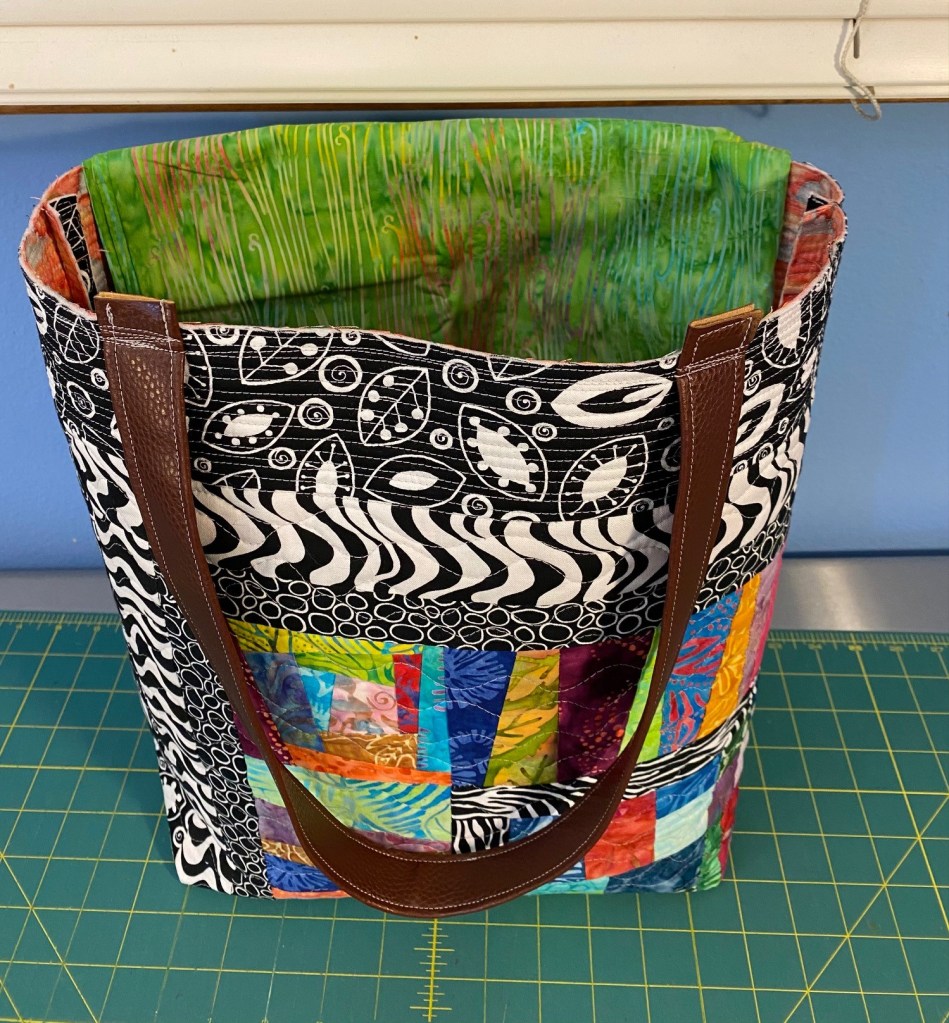
Here’s the other side of this bag. What a great use of eclectic scraps!
Thanks to Debbie and Josephine for sending me photos of their bags!
My snowball tree is in full bloom right now and it’s pretty spectacular! Some of the blooms are as big as my two fists together.

So, of course, I had to put some on Bender.
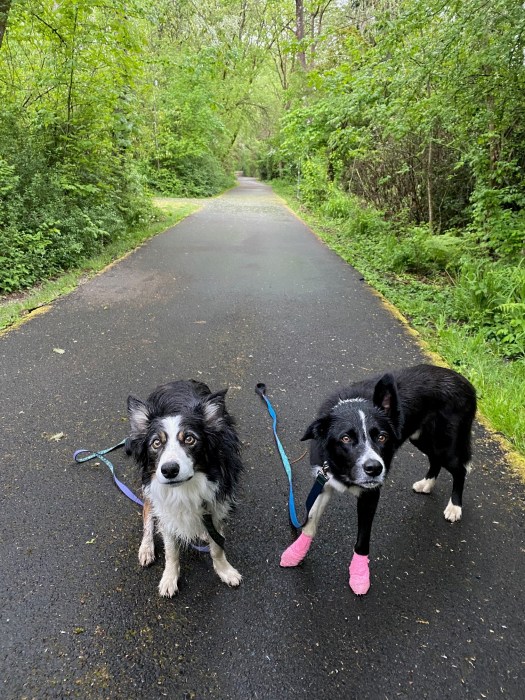
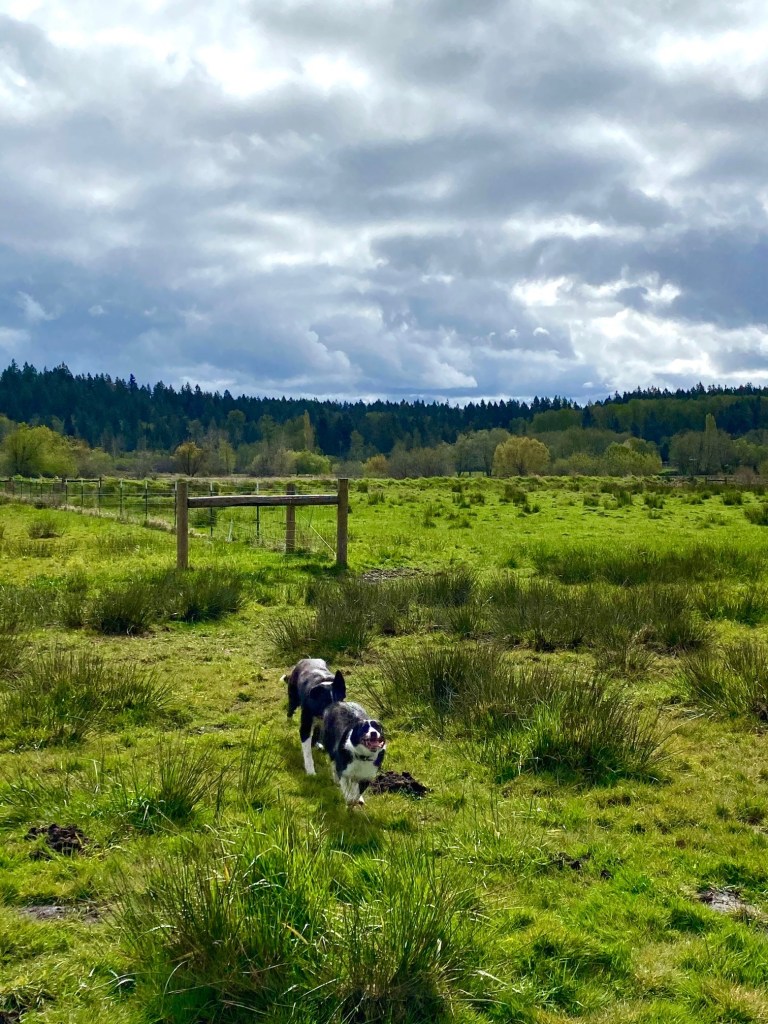
I’m happy to report that Rico’s sore feet were better in just a day or two. We’re all very happy about that!