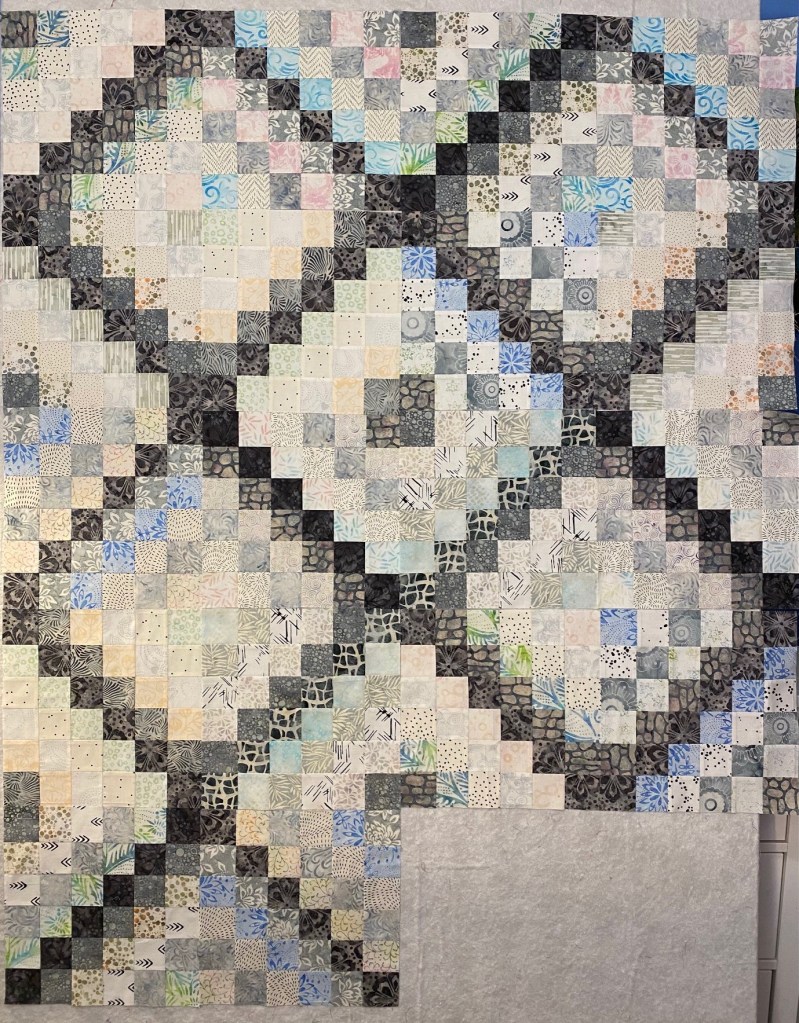
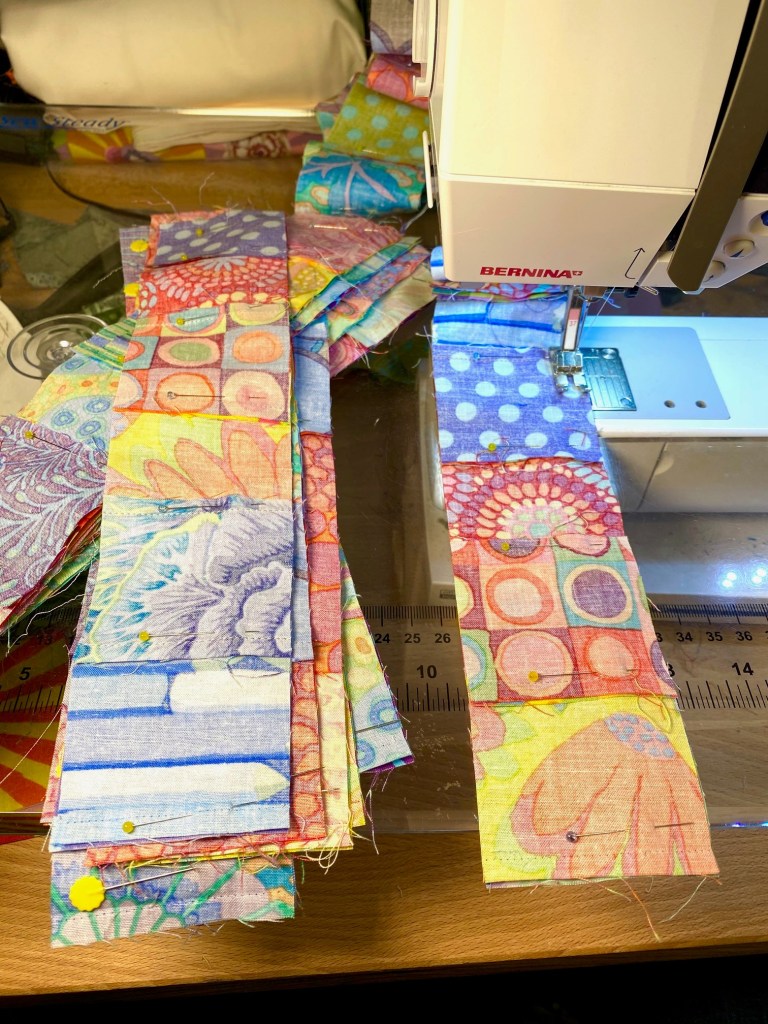
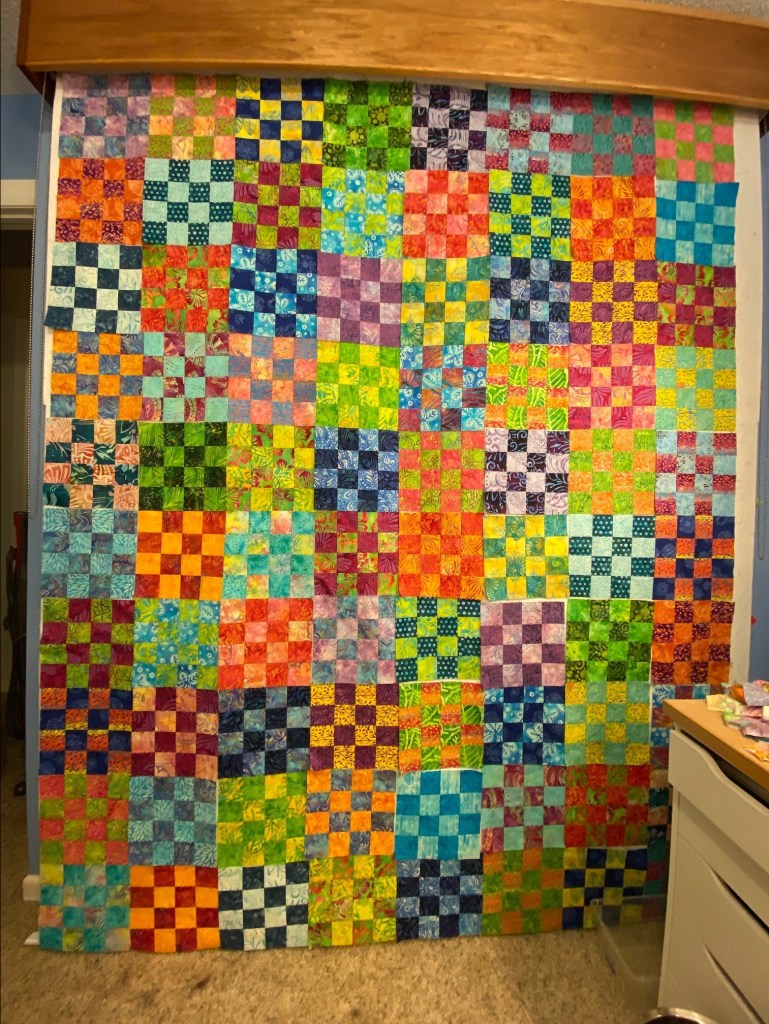
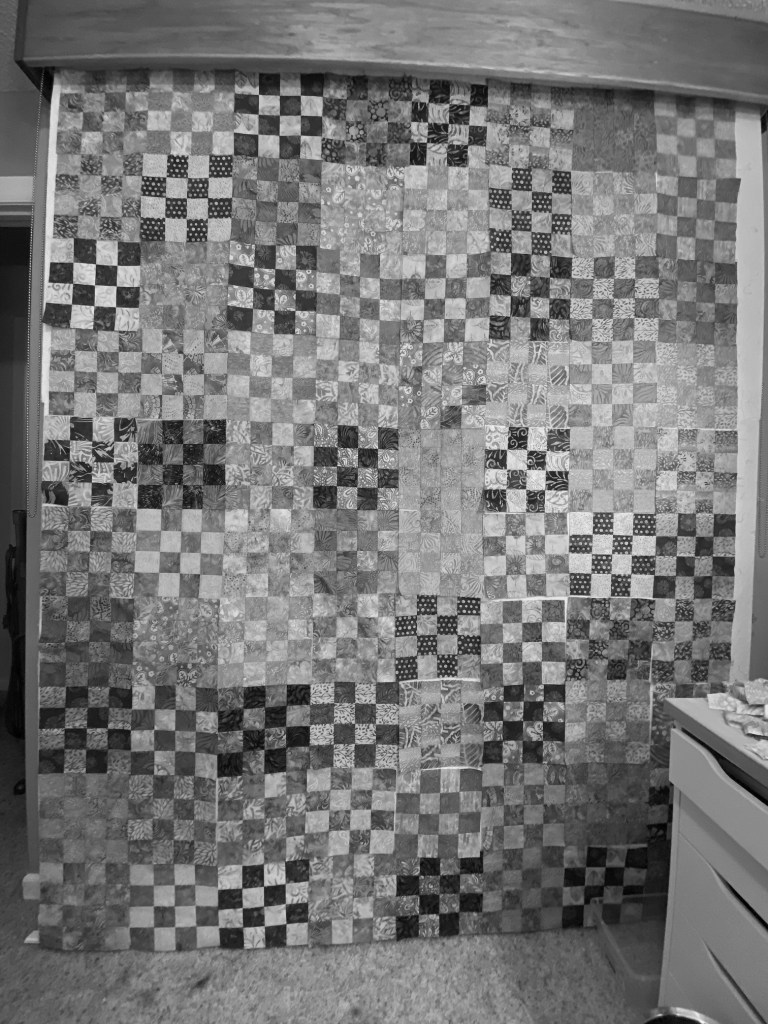
Over the last two evenings I’ve made four strip sets and completed eight blocks for this Ice Storm quilt. That means I’m up to 26 blocks done, with only 16 more to make.

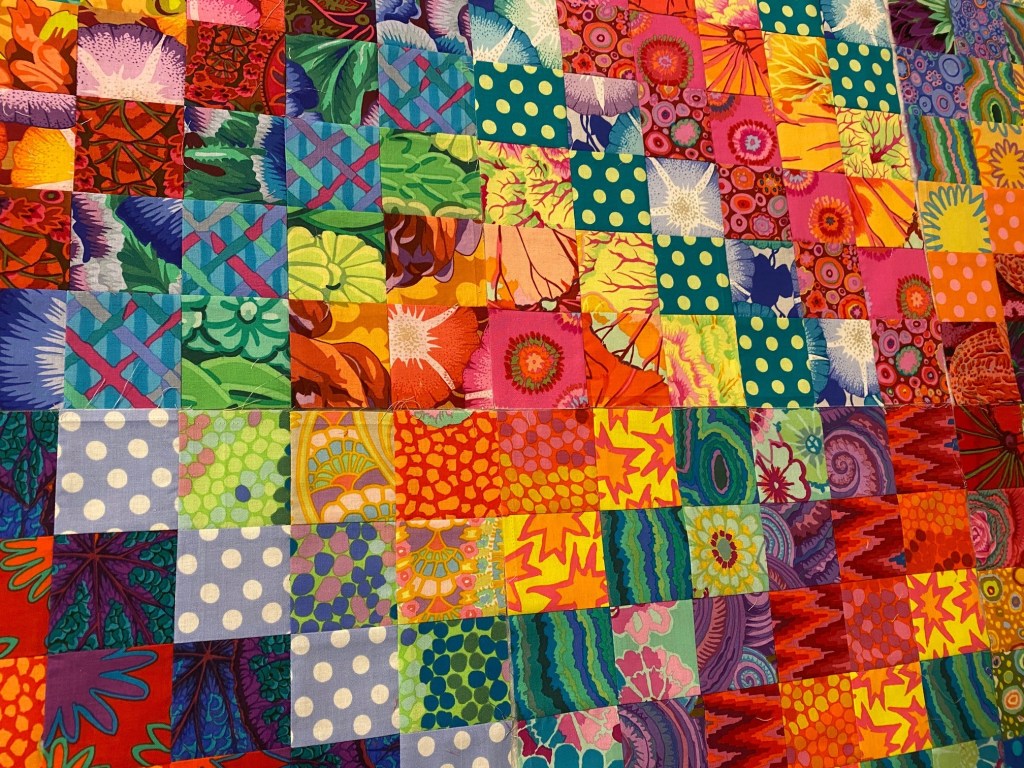
From here on out I’ll just stack these blocks up as my other design walls are full. This one won’t go onto the bigger design wall until I assemble all the KFC trip blocks. That will be how I discipline myself to finish that top.
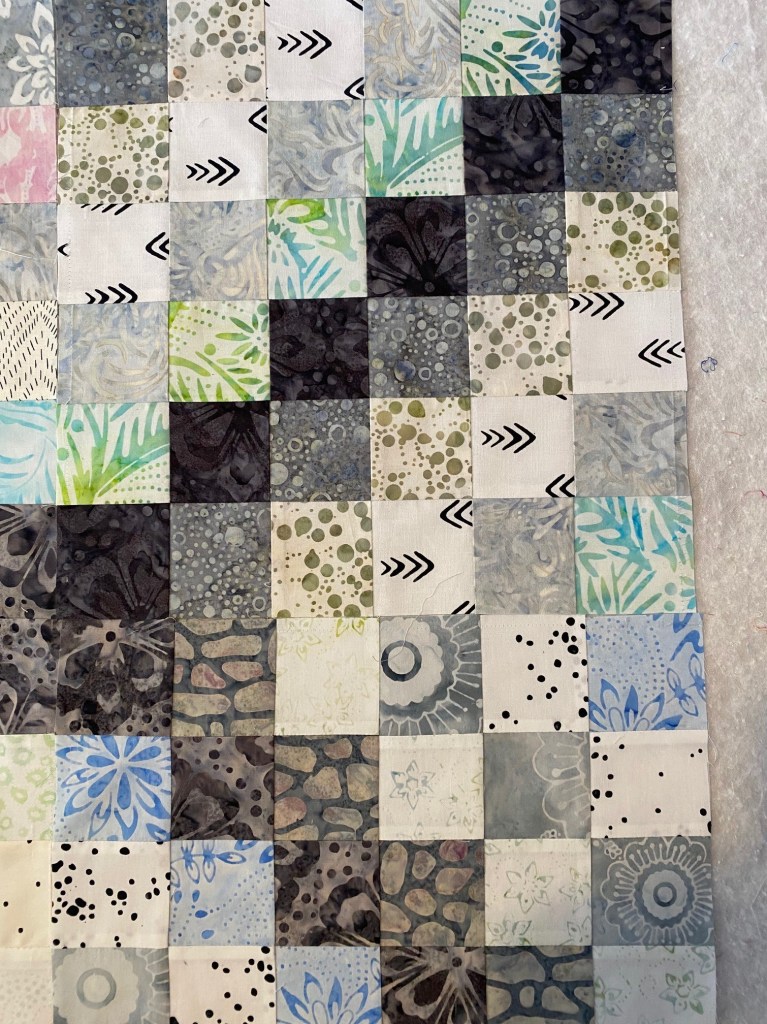
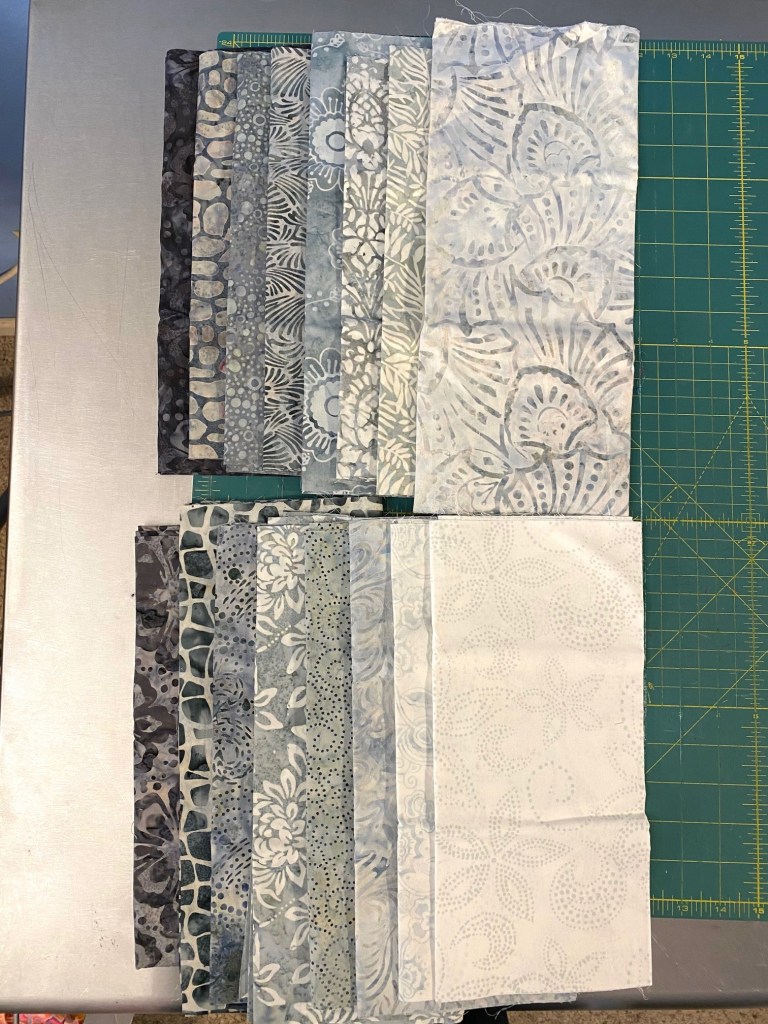
I like this quilt more and more as more pastel batiks make their way into blocks and as I see more variety in the black and white fabrics. And it looks completely different when you step back and look at it. Definitely a departure for me, but I’m really enjoying this quilt.
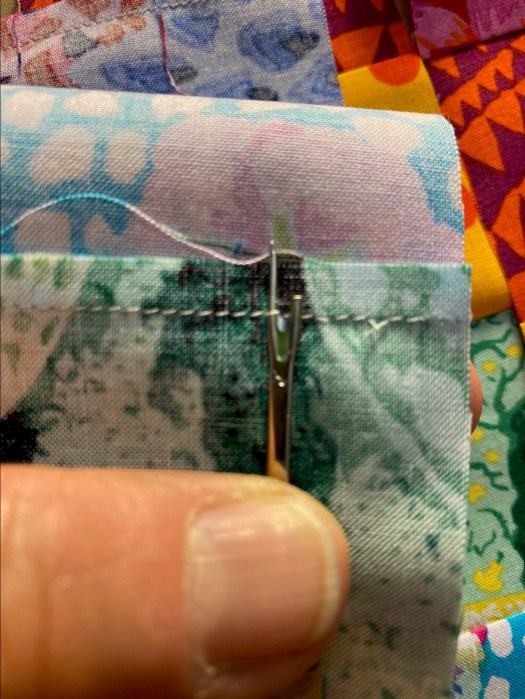
I sat down at the machine and chain pieced these 8 blocks tonight. It goes so much faster when you don’t have to stop and deal with thread after each section. It really didn’t take much time at all to get these done.
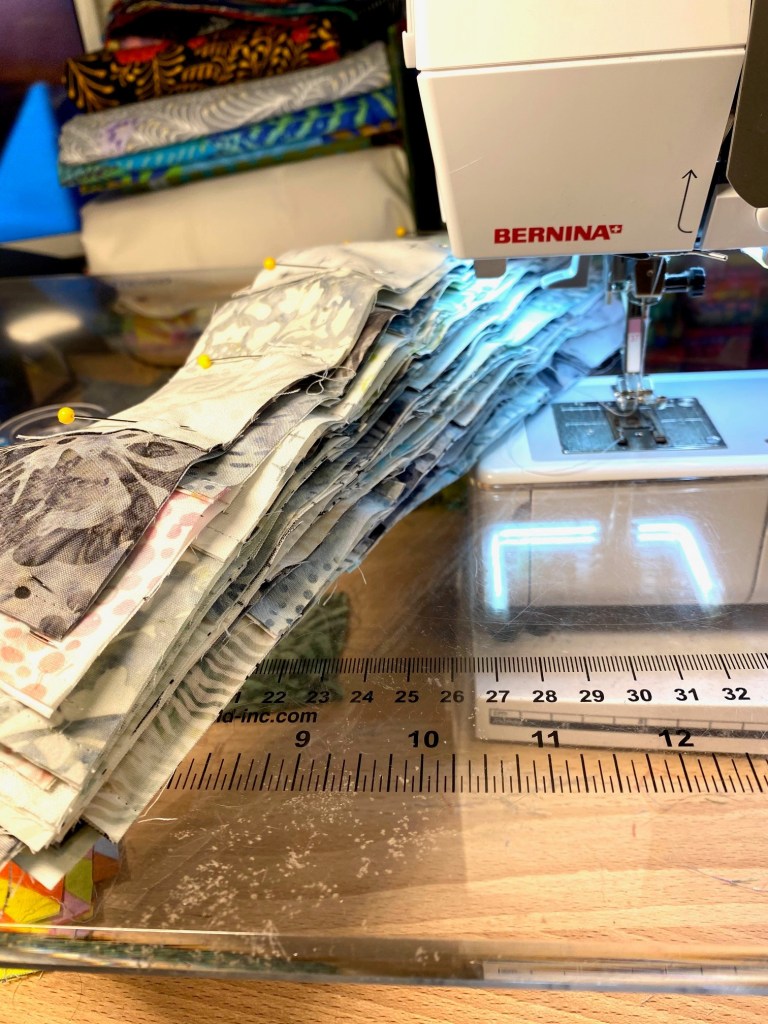
That’s all the pieces pinned and ready to chain piece. Once I get all these pairs of strips sewn, I finger press the three sets for each block and assemble one block, then another, then another, until I have them all done and then I press them all.
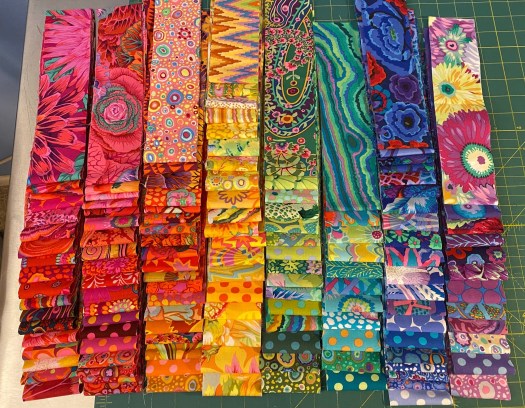
I’ve been trying to decide what quilt top I’m going to work on next. I have it narrowed down to two. The first is the second Ruffled Feathers Quilt. You can see the first one I made here. I have some Kaffe Fassett Collective fabrics and a Kona off white cotton set aside for this quilt. I’m just waiting for a couple of pieces of fabric to arrive and then I’ll be ready to do some math and start cutting. I’m hoping this one will be a little less chaotic than the first one.
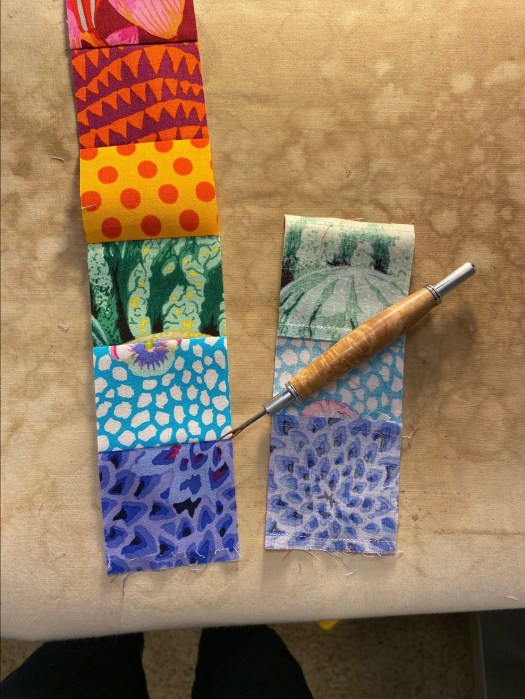
The other quilt I’m thinking about making sort of came to me in a flash. It will involve some of these fabrics and might involve an big economy block — I’m thinking to have them finish at 10 inches in order to let that border collie fabric do its thing. I’ve been wanting to make economy blocks and this might be a fun combo to use for that.
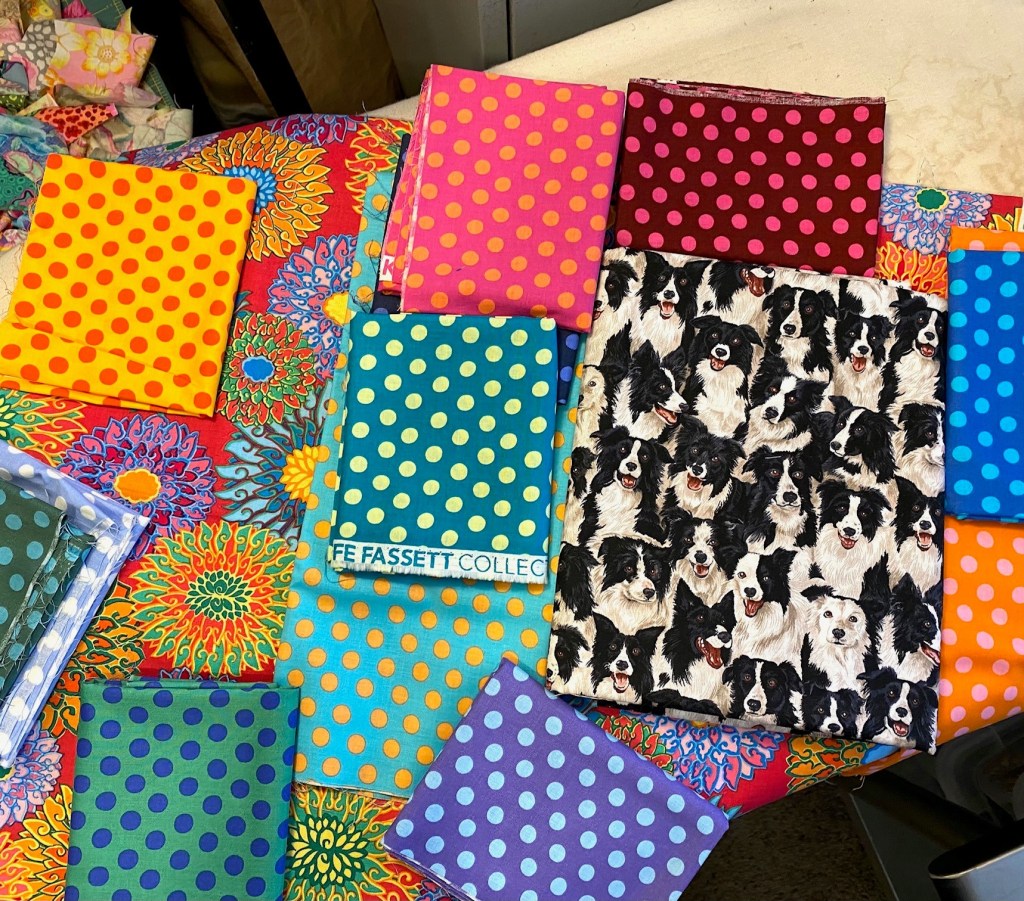
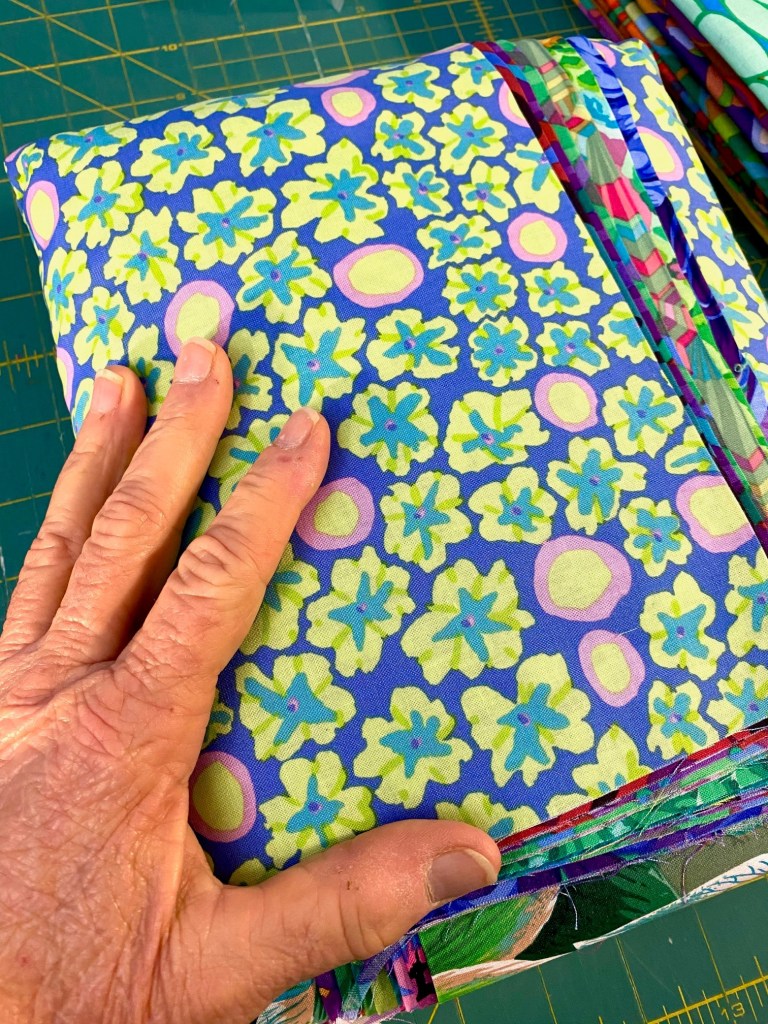
That gorgeous colorful fabric behind the spots is from Philip Jacob’s Snow Leopard collection. There’s the red colorway you can see, and a blue colorway that has bigger blooms on it. Really gorgeous fabric.
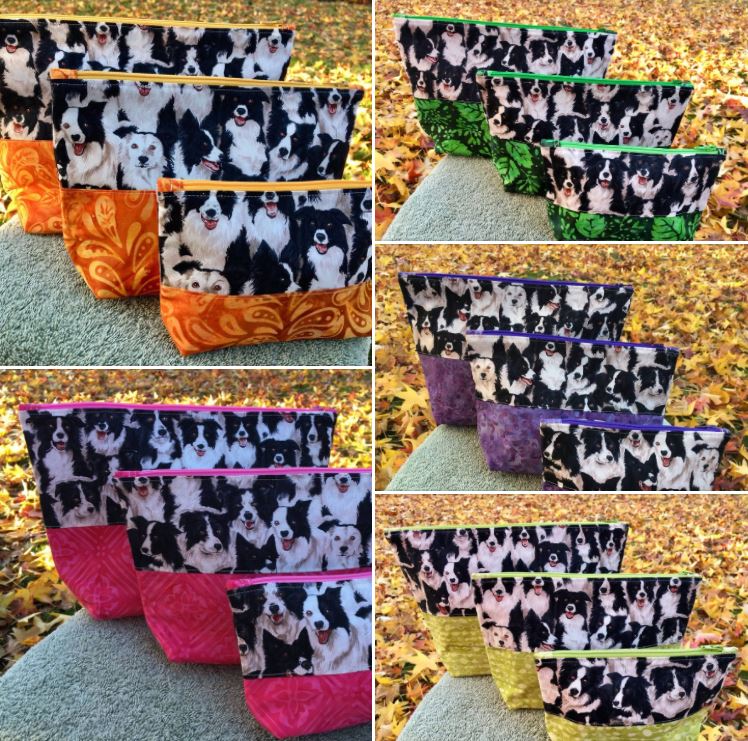
The border collie fabric has been around for years and I’ve bought yardage of it several times. I’ve made a lot of zipper pouch sets using that fabric, as well as some tote bags. Here are some of the many pouch sets I’ve made combining it with bright batiks. I love the way the graphic black and white plays with that saturated color.
A friend of mine gave me a heads up recently that a quilt shop on the Oregon Coast had it in their store. So I gave them a call to have them ship me some. I’ve never used it in a quilt, but I think it will be fun.
I’ve gone a little crazy buying some fabrics for my stash the last couple of weeks. I think I’ve ordered from three online stores… maybe four. It’s really bad when you can’t even remember the stores you ordered from. Well, it will be a nice surprise when the packages arrive. The first one should arrive tomorrow. Then who knows!