Holy cow! Have I been busy! It’s been nearly three months since my last post here and I’ve been creating up a storm.
I just have to start chunking away at it all.
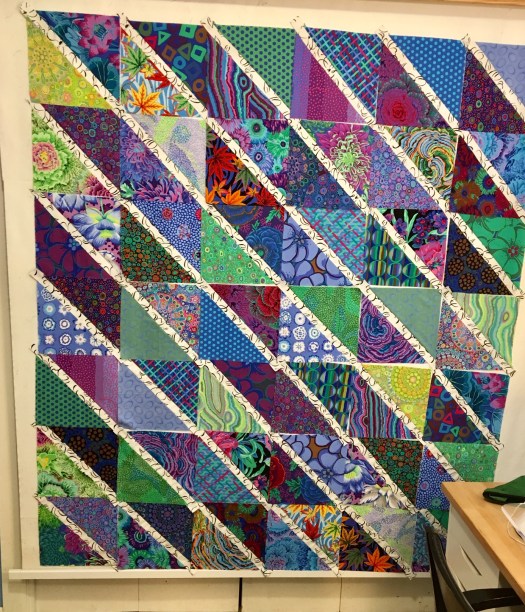
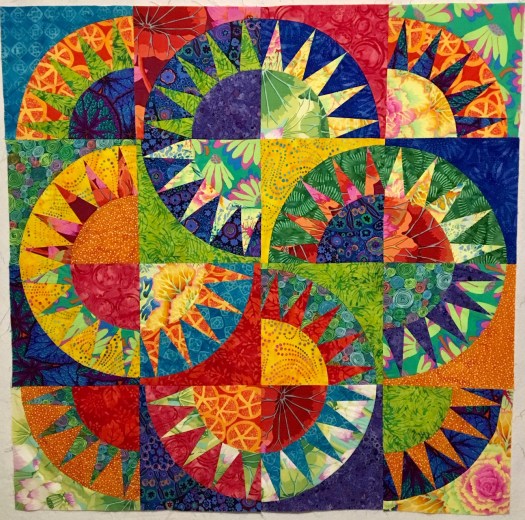
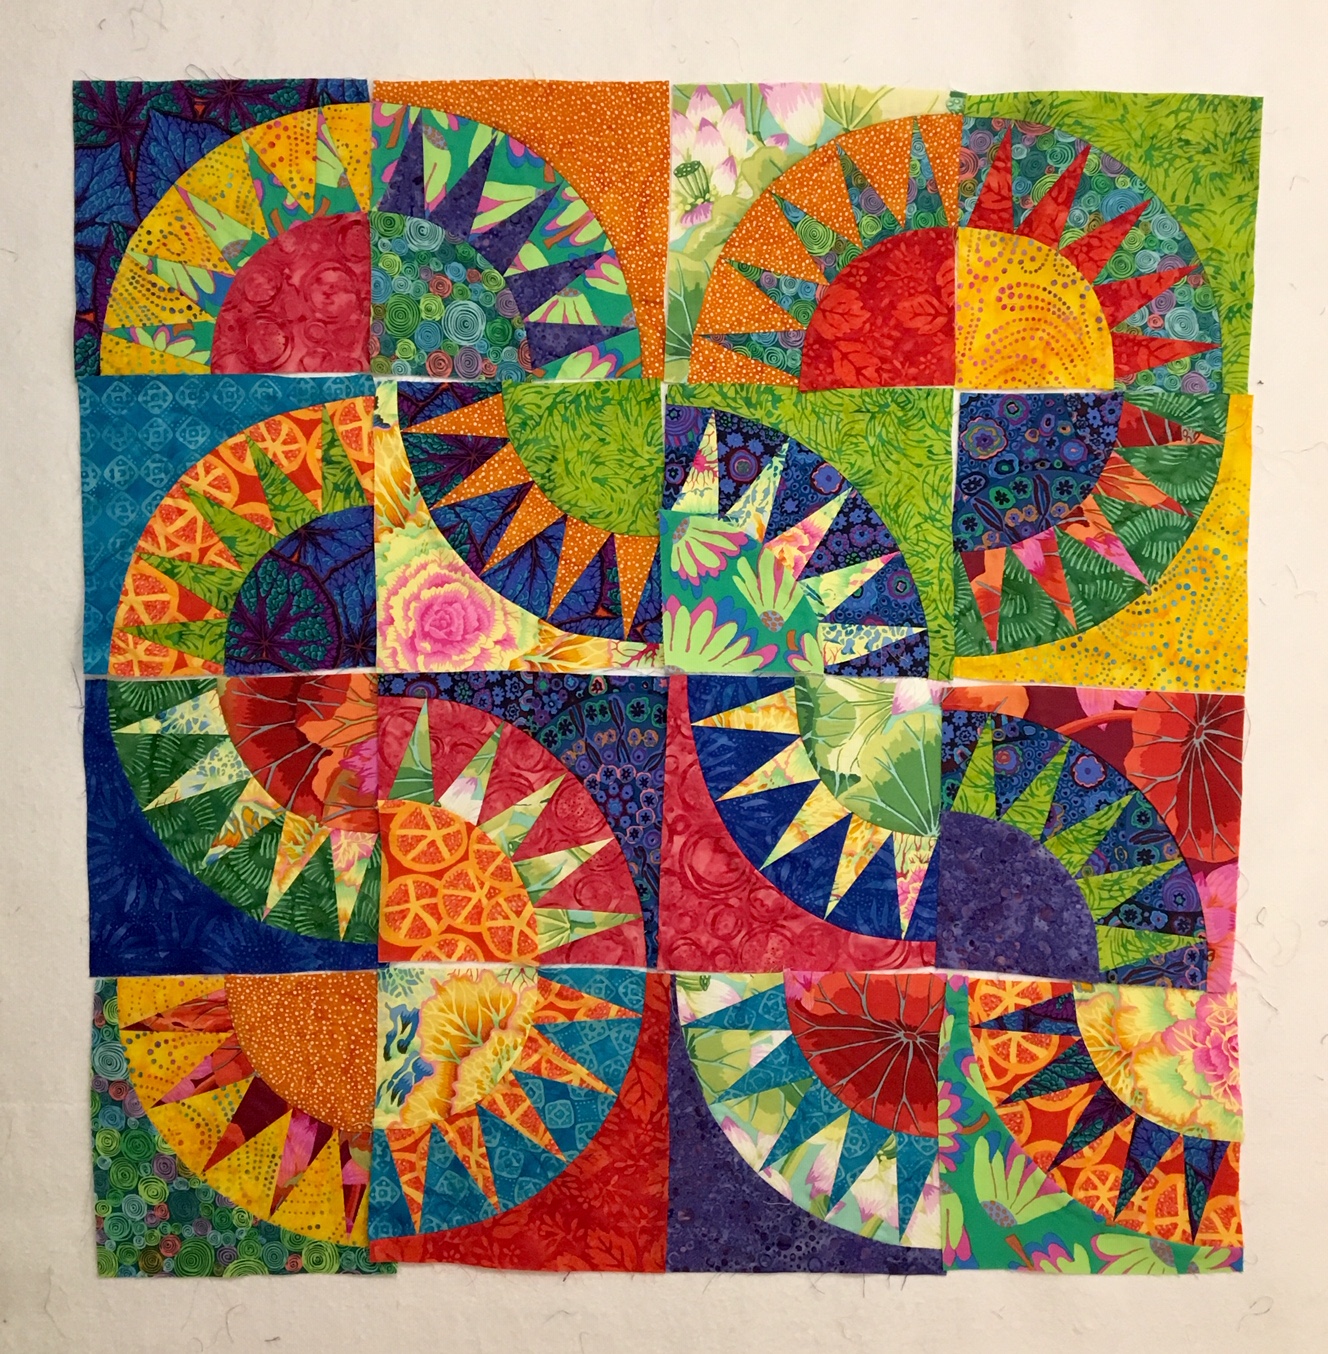
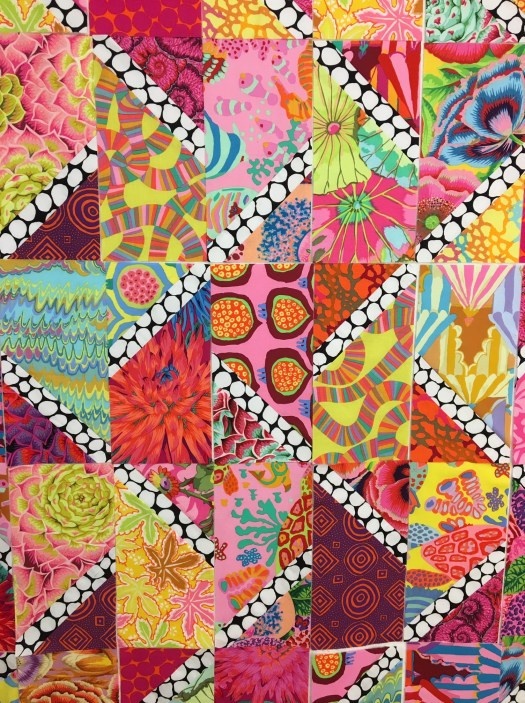
So, what happened after the blue Algorithm quilt? Well, I loved making it so much that I decided to use up another KFC layer cake and make another one. And I like this one even better! The best part? THAT BLACK AND WHITE JUMBLE… OMG! IT JUST MAKES THE QUILT SING!!!
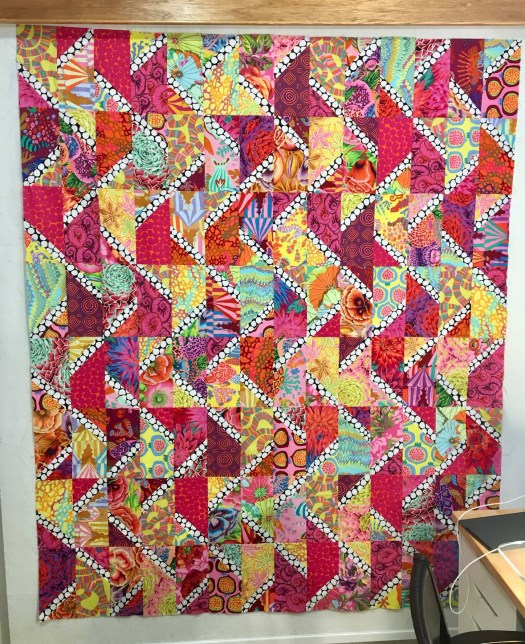
And all the color. it’s so fantastic! I like this quilt even more than the original one that inspired me to make this pattern.
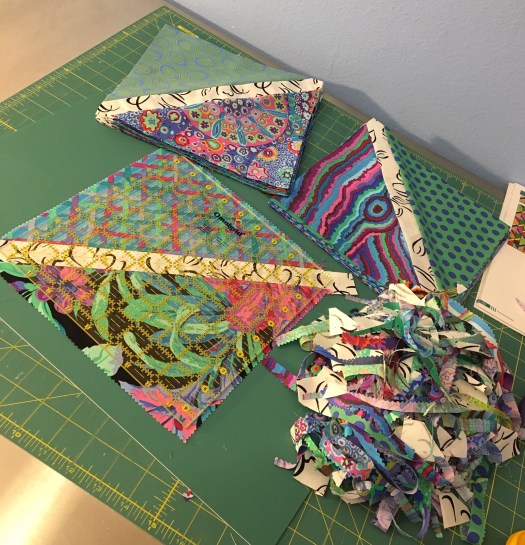
I started with a 2016 KFC Layer cake and added a few more fabrics to get the blocks I needed. It was so much fun to put this together because the fabrics were all just so amazing together!
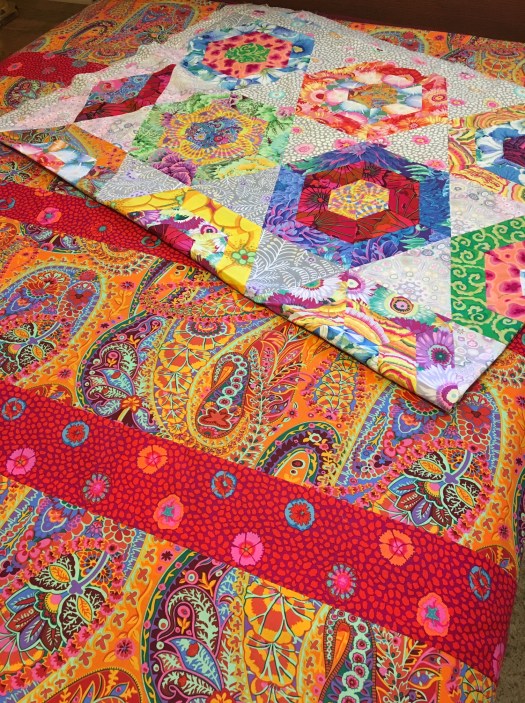
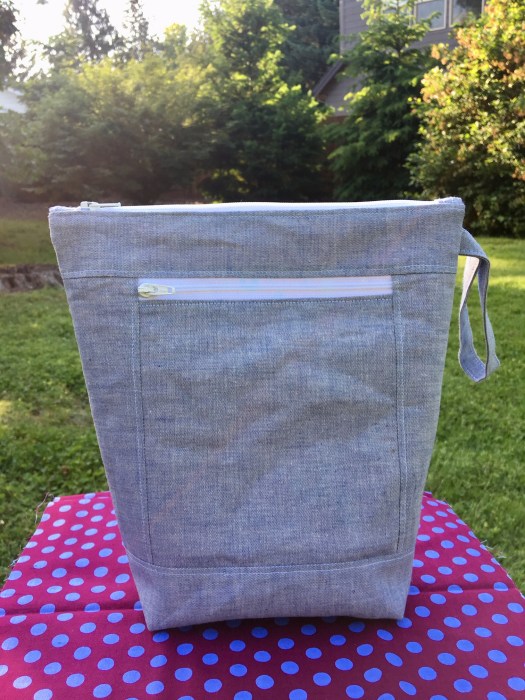
I happened to find some of the yellow Roller Coaster on sale and bought enough for the back. I’m going to wait to take this to my long arm quilter because I have a couple in line in front of it, and I don’t really have any plans for this quilt so I can afford to wait.

I posted photos of this quilt on the KFC Facebook page and someone contacted me and wanted to buy it, but they wanted it bigger. After consider different options to make it bigger, I decided I loved it too much to mess with it and proposed to the person that I make the same quilt again, but make it the desired size, and they said yes. So there will be another, bigger version coming to this blog soon.
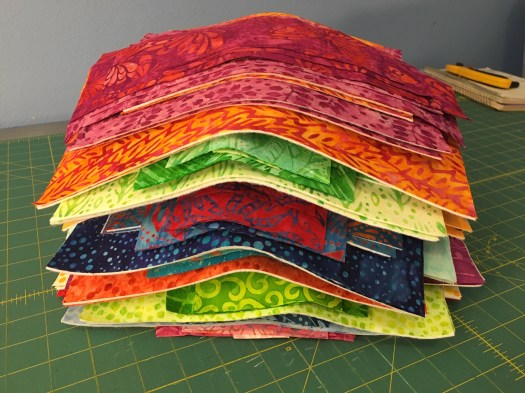
GAH! These fabrics!