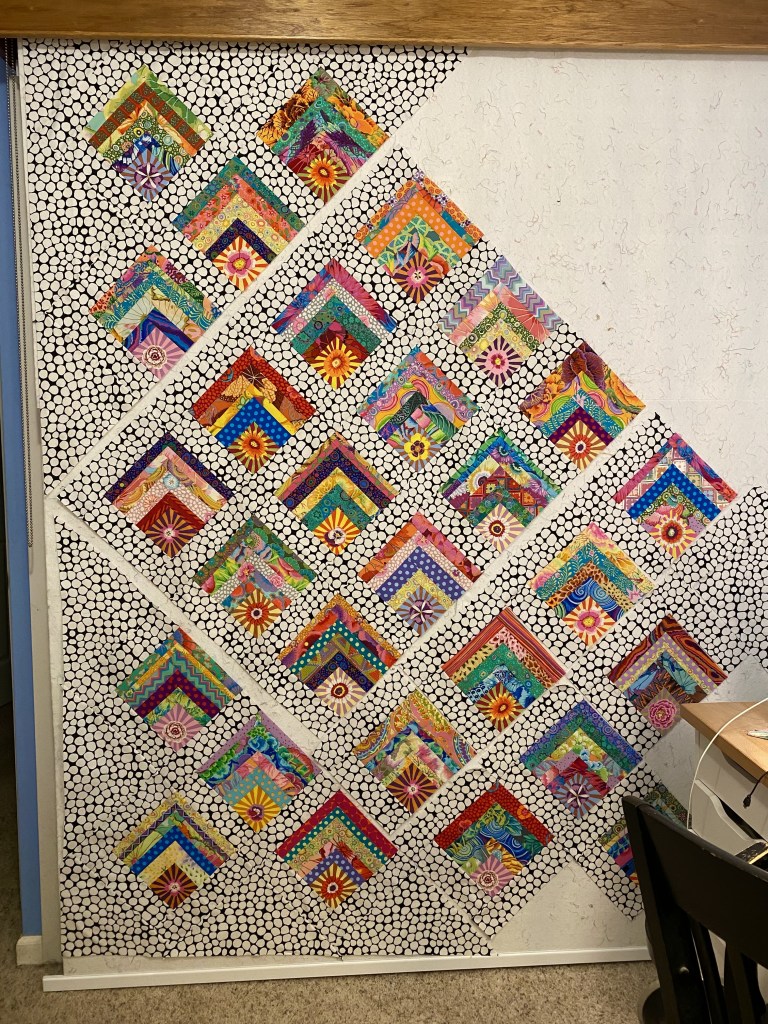
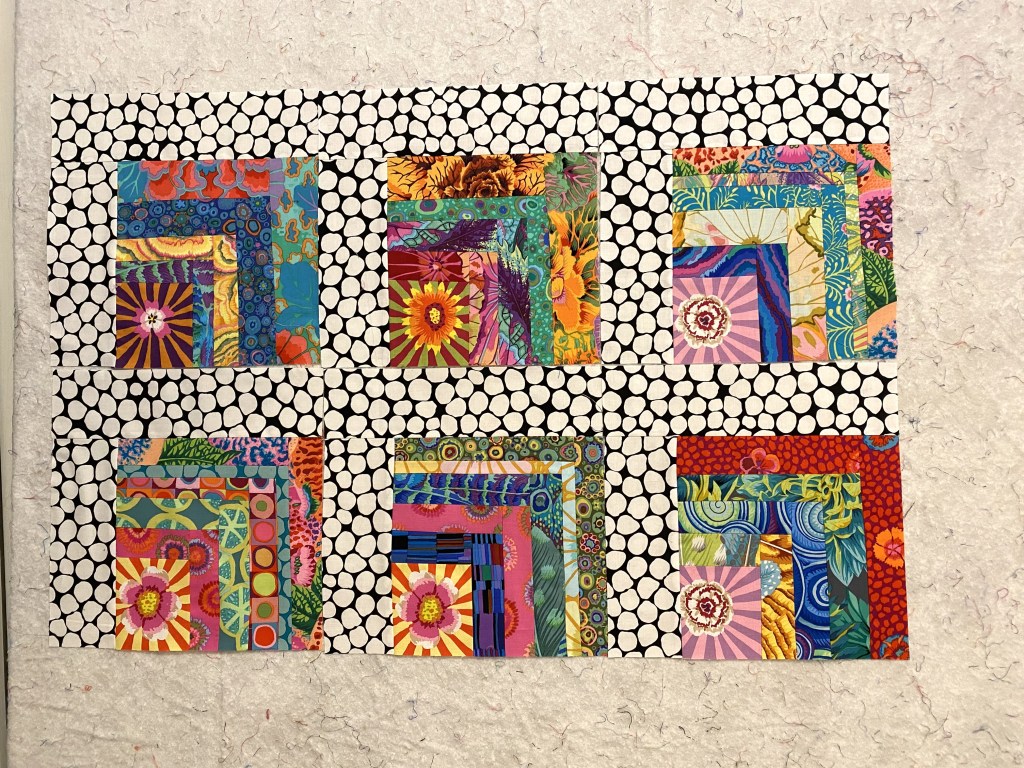
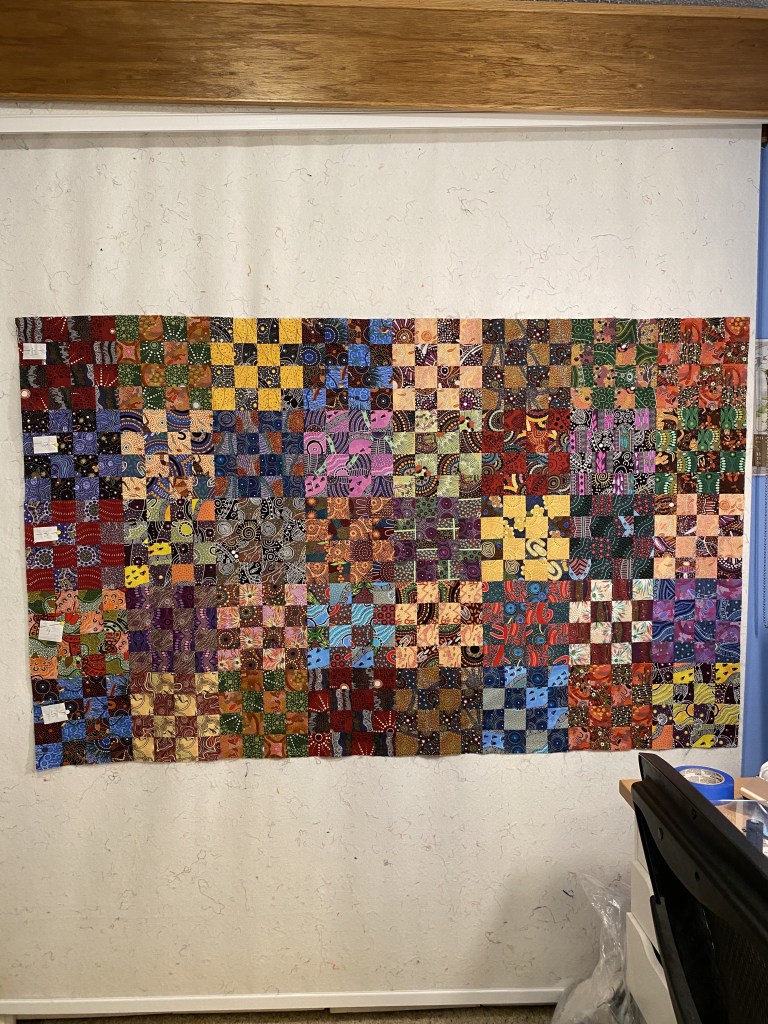
I actually think I’m almost there. After another hour or so in my sewing room tonight and some judicious use of my seam ripper, I have all the sections of this quilt sewn together with the exception of that pesky lower right corner.
But the really good news is that that lower right corner is actually ready to be sewn together!!! I almost can’t believe it’s true!
So here’s what I had to do tonight to get it to this point.
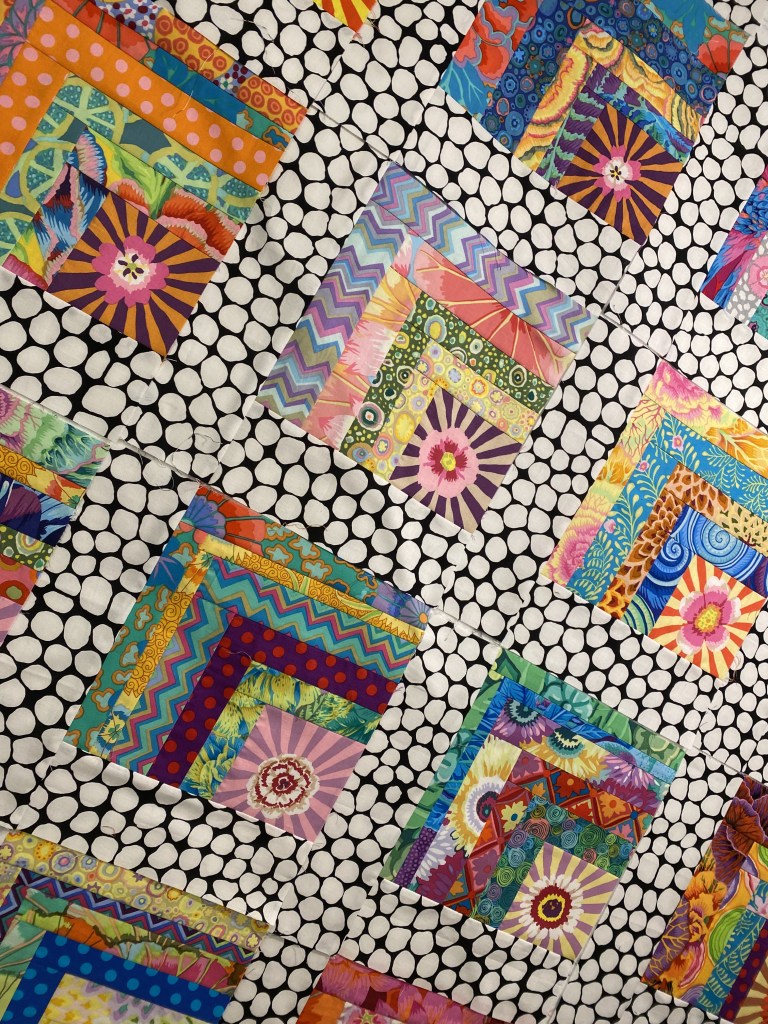
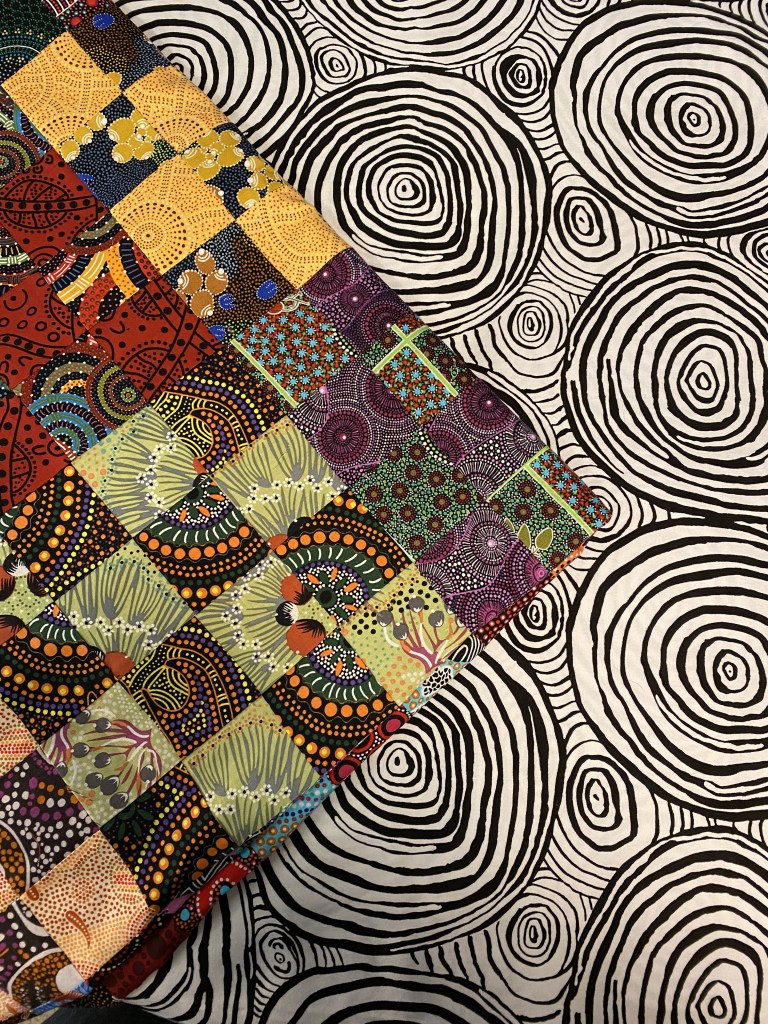
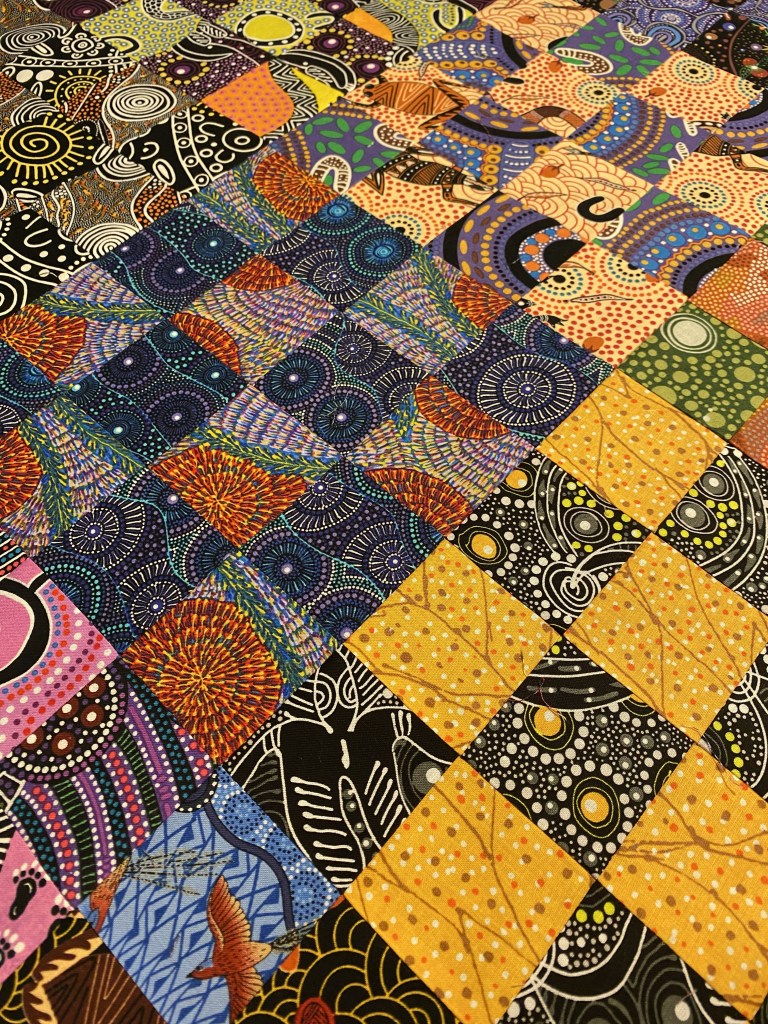
First, after looking at it and figuring out how the different sections were going to go together, I decided to sew the row of four blocks on the lower right corner to the center rectangle. I figured out that I could do that to actually HELP the construction of that pesky corner.
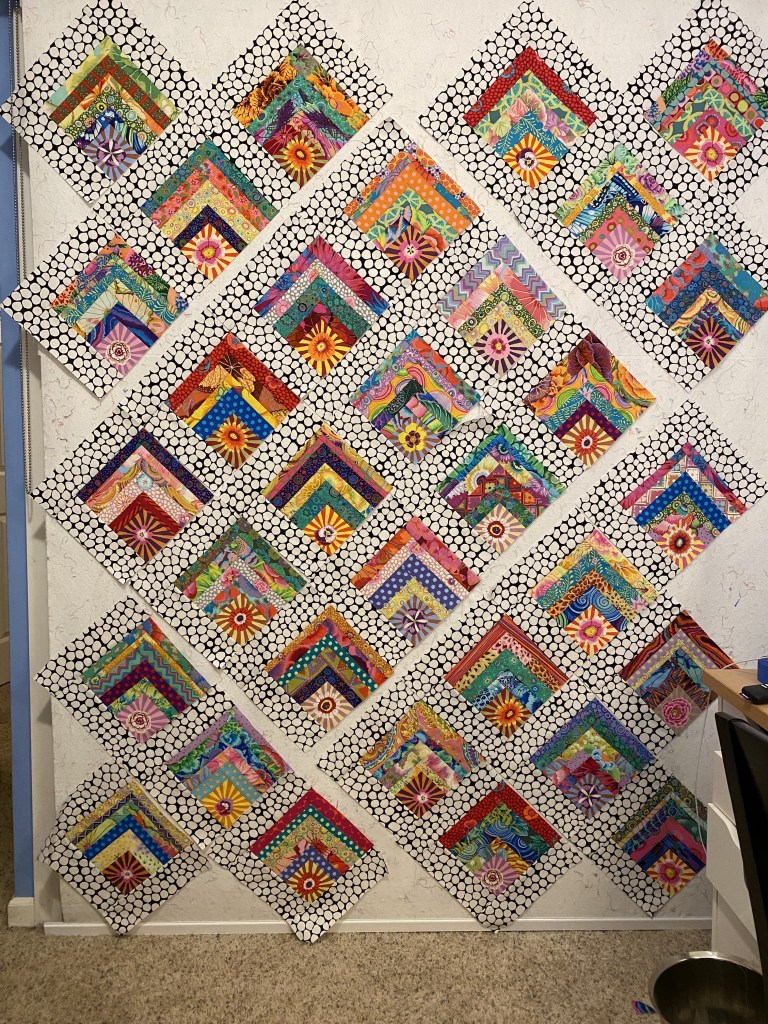
The large diagonal space between the rows in this photo is the seam I sewed together.

So that means that the lower right corner only has two rows in it… the row of three blocks and the corner with one sunburst block.
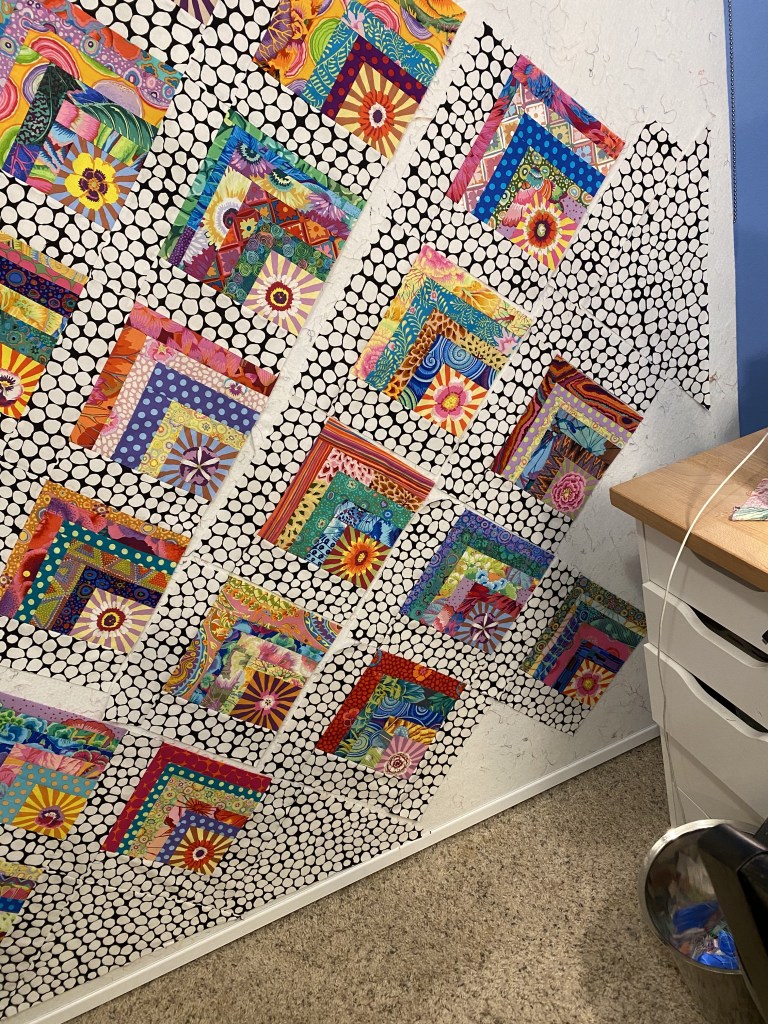
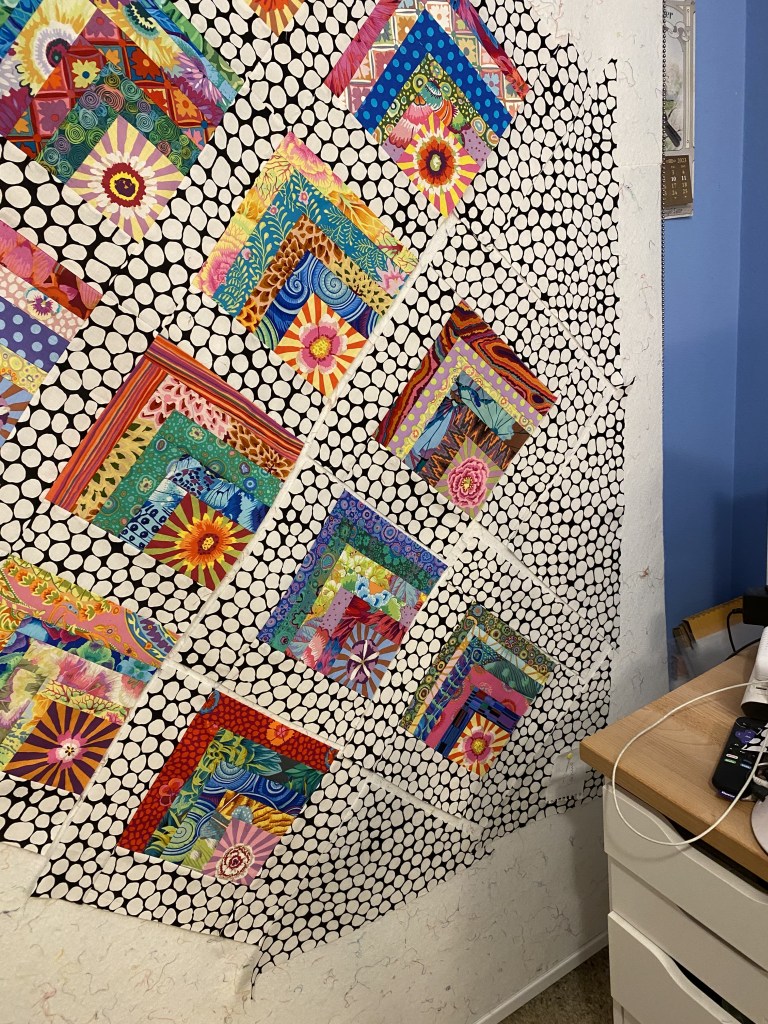
Then I decided to dig into the upper right corner and get it put together. The construction on this one is pretty straight forward, but the way I had sewn the sashing onto the blocks was making putting this together in a way that would join nicely with that lower right corner very, very difficult.
So I looked at it very carefully, determined what the issue was, and made a plan of action.
To make this section join nicely with the corner, I needed to remove the sashing on the bottom of the three blocks in the row of three blocks. That space in the middle of those blocks is where I removed the sashing from two of the three blocks.

This meant rekindling my relationship with my seam ripper.

It’s not a relationship I cherish.
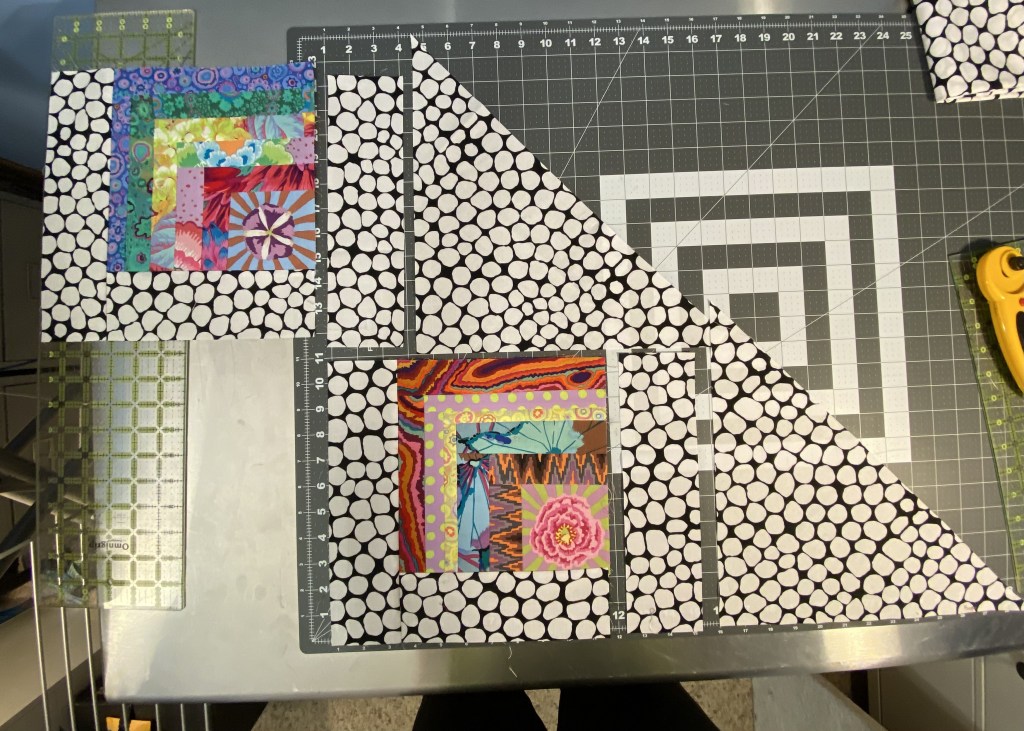
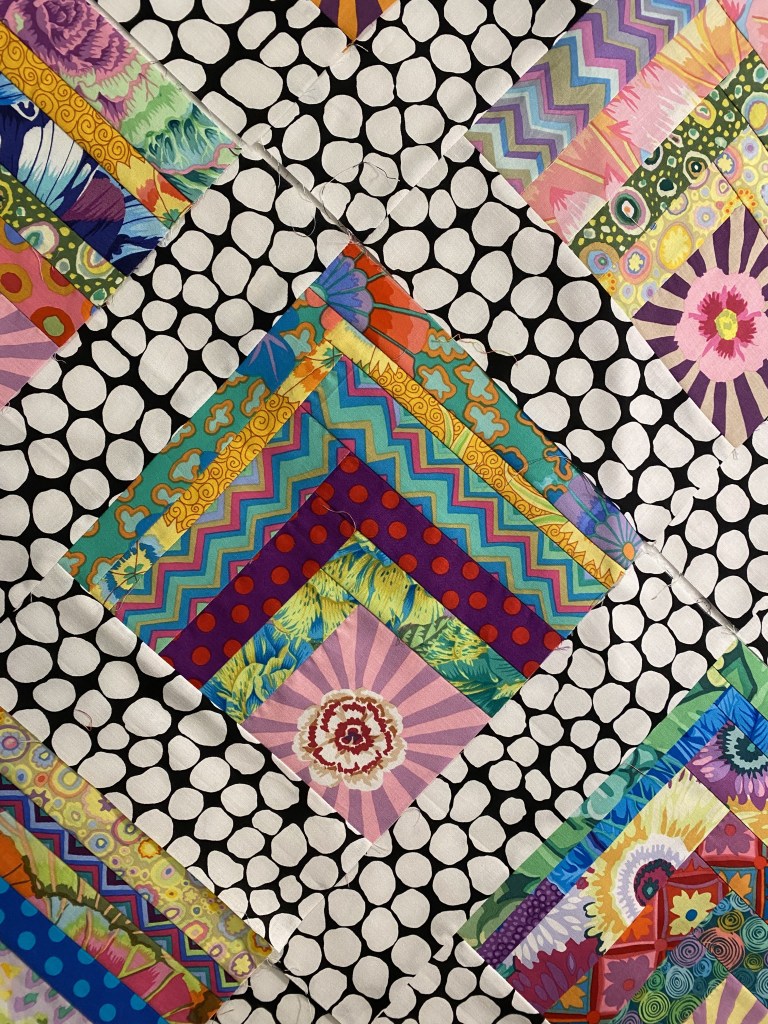
Once I had that done, I measured and cut a long piece of sashing and sewed it to the row below this row of blocks. Here it is all pinned in place and ready to sew.

So, here’s what that little adjustment made possible. It made it so that those corners of the blocks and setting triangles will all be sewn in one straight line, rather than having to do Y seams to get it put together. . . and probably some terrible mistakes if I took that approach.
Once I had that sashing moved to the row below, I was able to sew this upper right triangle together and put it aside for the final assembly.

I’m feeling pretty confident that the final pesky, irritating, challenging, swear-inducing corner will be done tomorrow night! Can that really be true???
I don’t think I’ve ever had a quilt top that’s been such a puzzle and brain challenge to get put together. I’m really wondering how much of this pain and frustration would have been avoided if I had put the sashing on the way I intended. It may not have completely alleviated the challenges, but I’m thinking they might have been simpler to solve. I’m thinking I want to make some 2 inch paper blocks and lay them out to see what difference that would make.
And now, a recommendation. Several people have commented that they want to make a quilt like this.
If you make a quilt like this, I recommend that you don’t sew your sashing to your blocks. Lay out your blocks and sashing on your design wall, then sew the rows together from there. I think it would all go together much more smoothly with that approach.
I’m going to restate that with every remaining post about this quilt. I may even go into older posts and add it so people who want to make this can avoid all I’ve gone through.
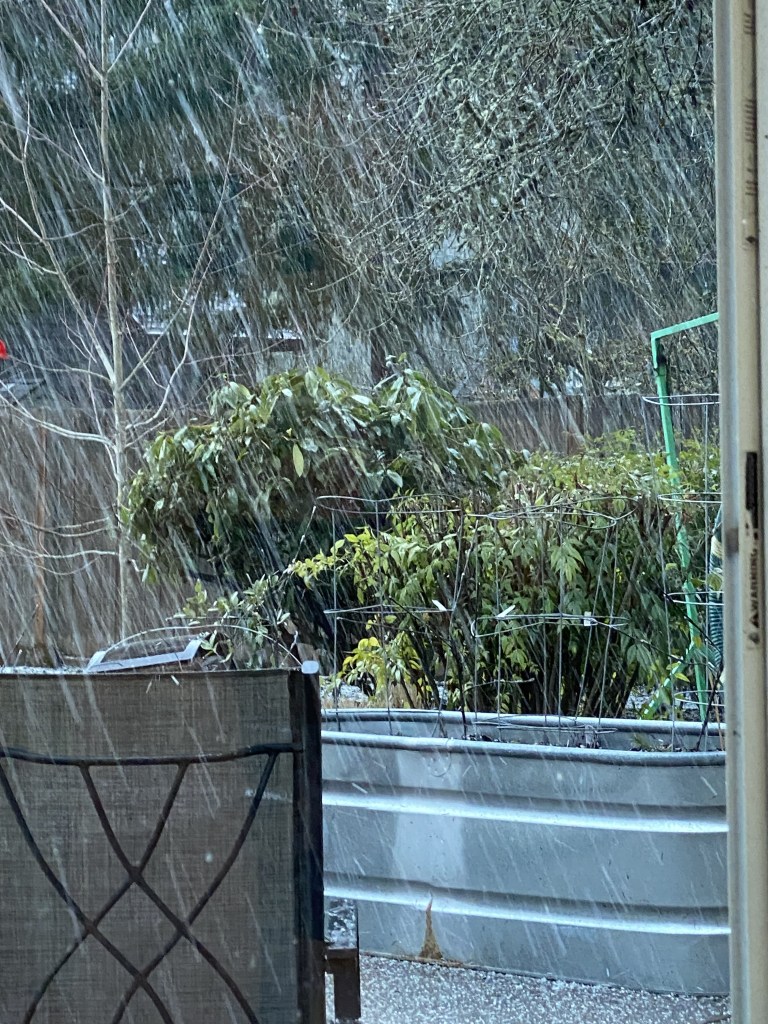
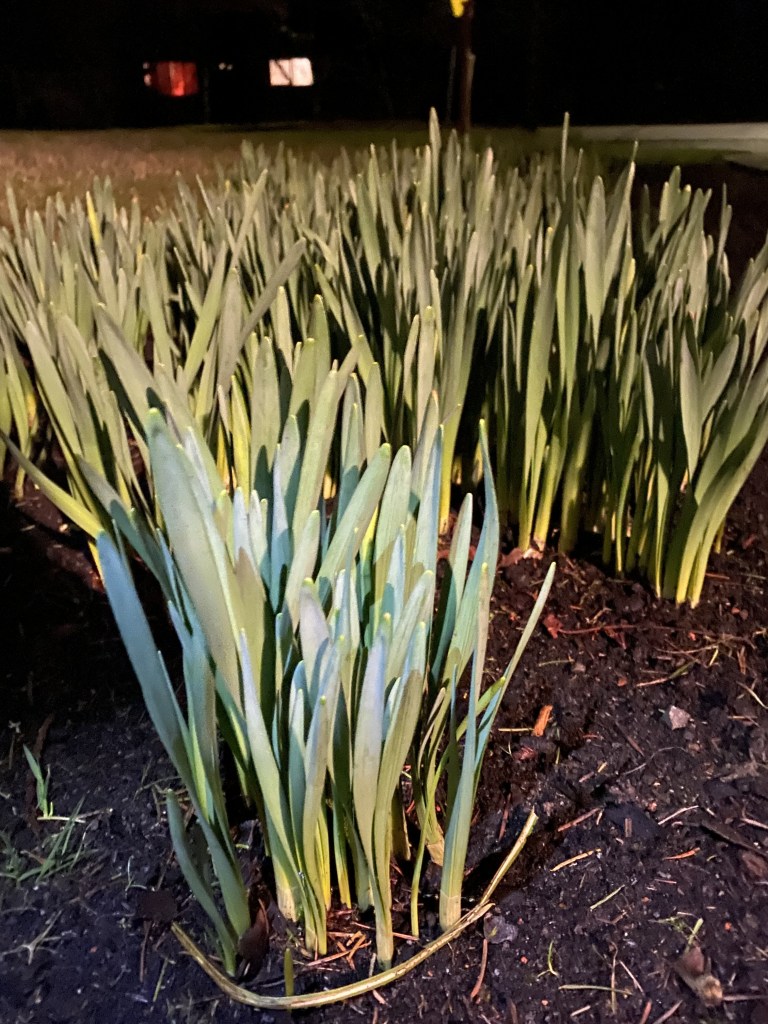
It was a beautiful spring day here today. I swear my daffodils have grown four inches since they were covered with snow a couple weeks ago. I’m even seeing buds forming!

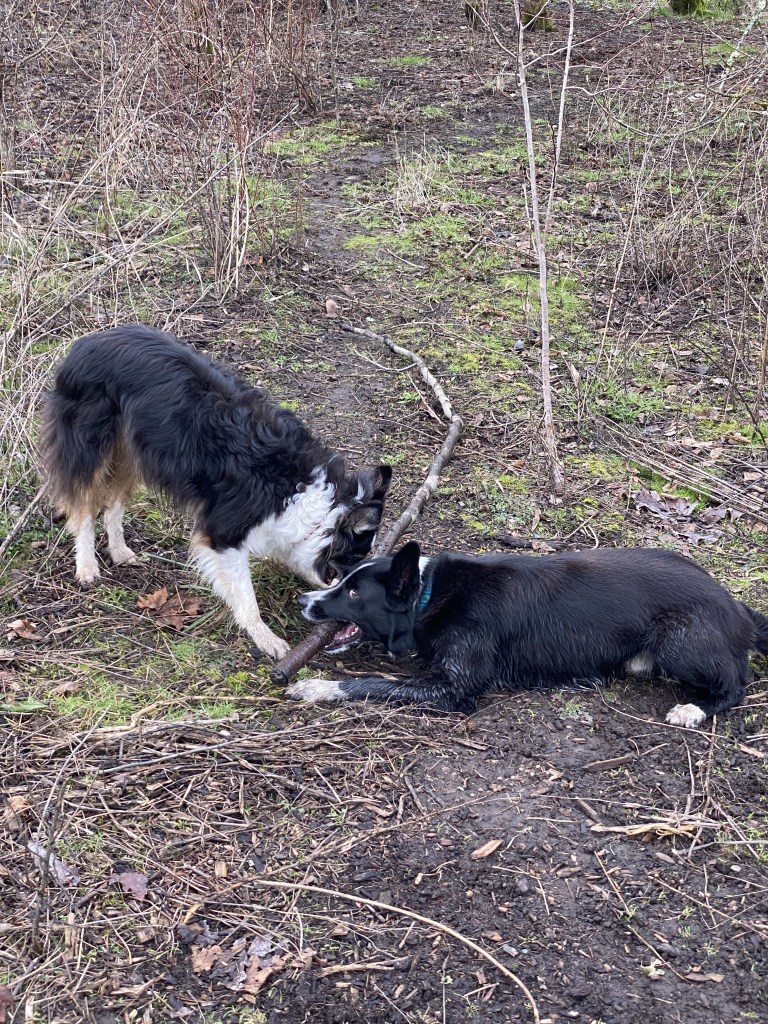
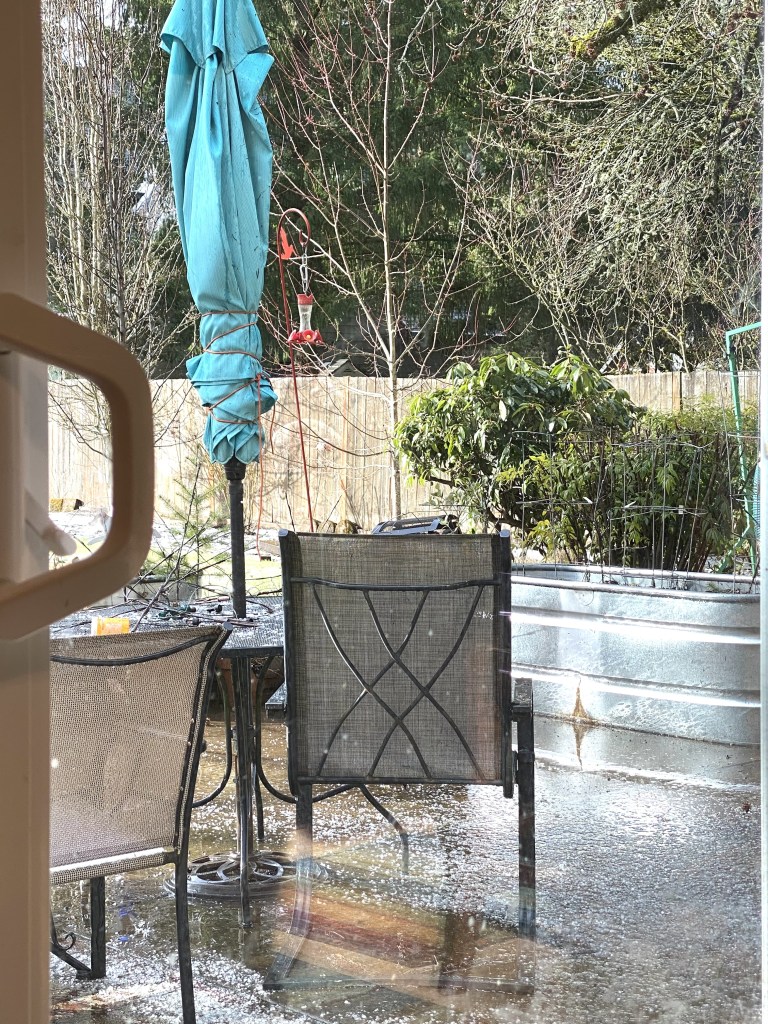
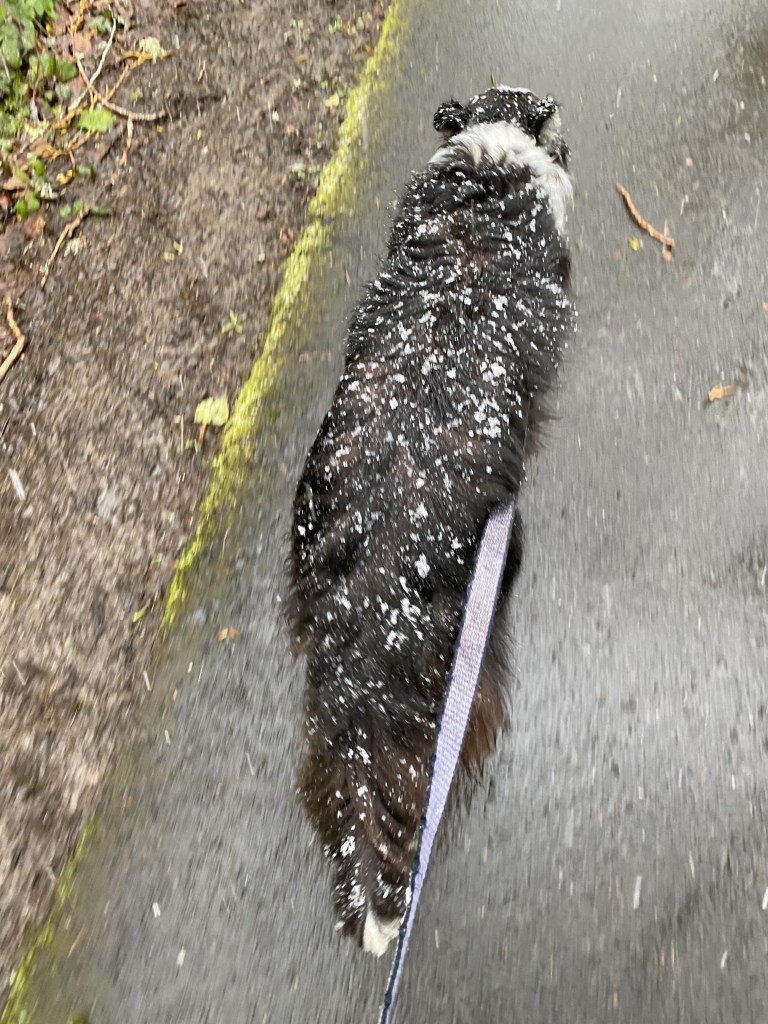
We had a lovely walk in the sunshine this afternoon.

It was raining tonight so we didn’t get a walk. My boys were not happy about that.
I forgot to share this video of a bird singing in my back yard yesterday. It was so loud and I’m sure he was letting everyone know that spring has arrived!
I hope he knows what he’s talking about!